

This post may contain affiliate links. Please read our disclosure policy.
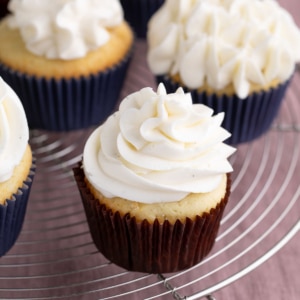
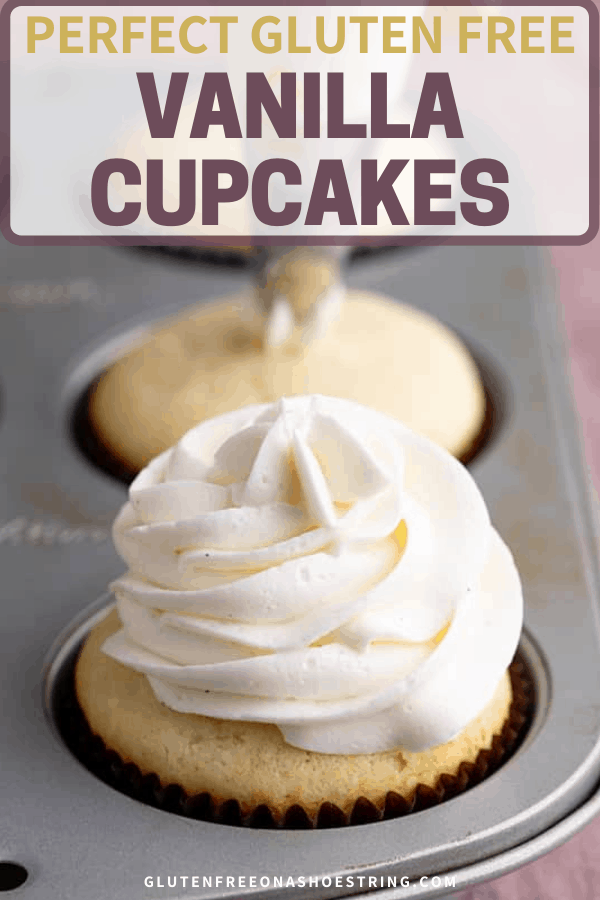
These gluten free cupcakes have the classic vanilla flavor and texture you want for birthdays, weddings, baby showers, or any celebration where no one should miss out.
They’re simple, reliable, and easy to frost, decorate, and serve! Plus, there's a simple buttercream frosting recipe below for the perfect bakery-style pairing.
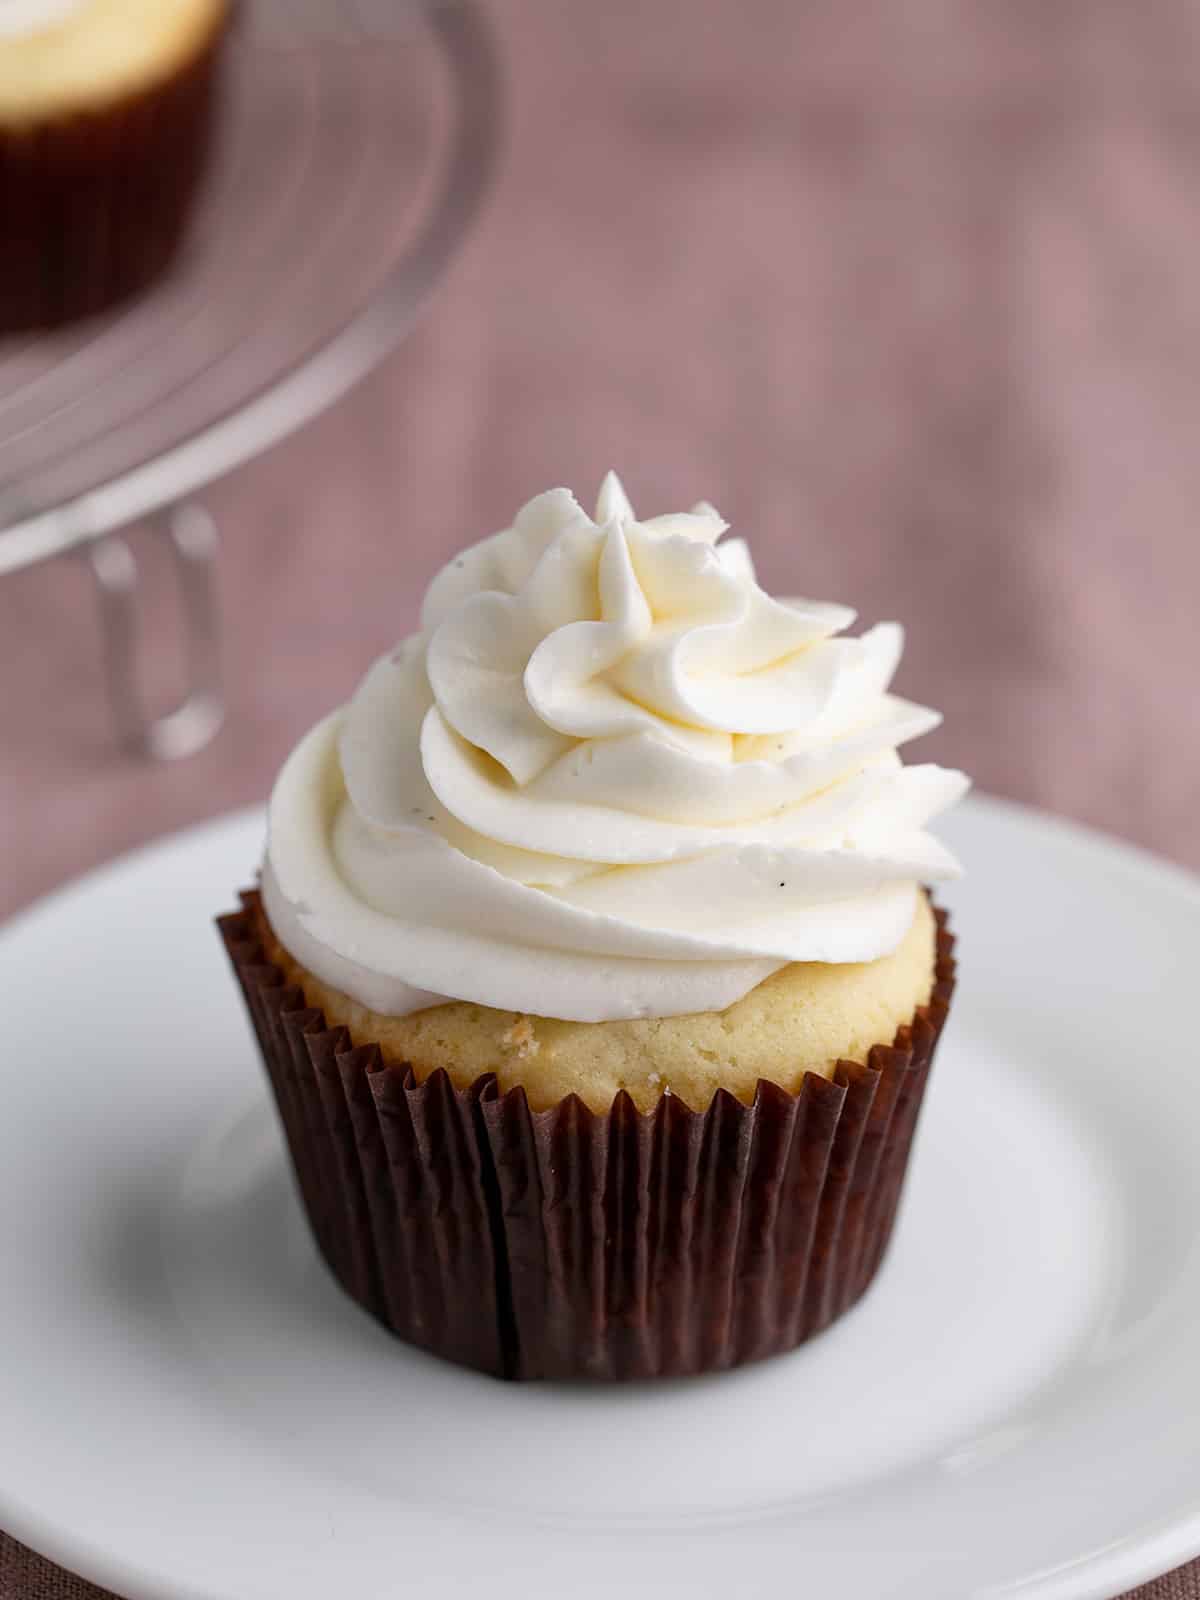
Table of Contents
- Why this recipe works
- Cupcake ingredients
- How to make gluten free cupcakes (step by step photos)
- How to make vanilla buttercream frosting (step by step photos)
- Frosting ingredients
- How to make the frosting (step by step photos)
- Expert tips
- Ingredient substitutions
- Storage suggestions
- Vanilla Gluten Free Cupcakes Recipe
- FAQs
“Just made these cupcakes today for a wedding. I received nothing but praise. Everyone questioned whether they were gluten free or not!”
Why this recipe works
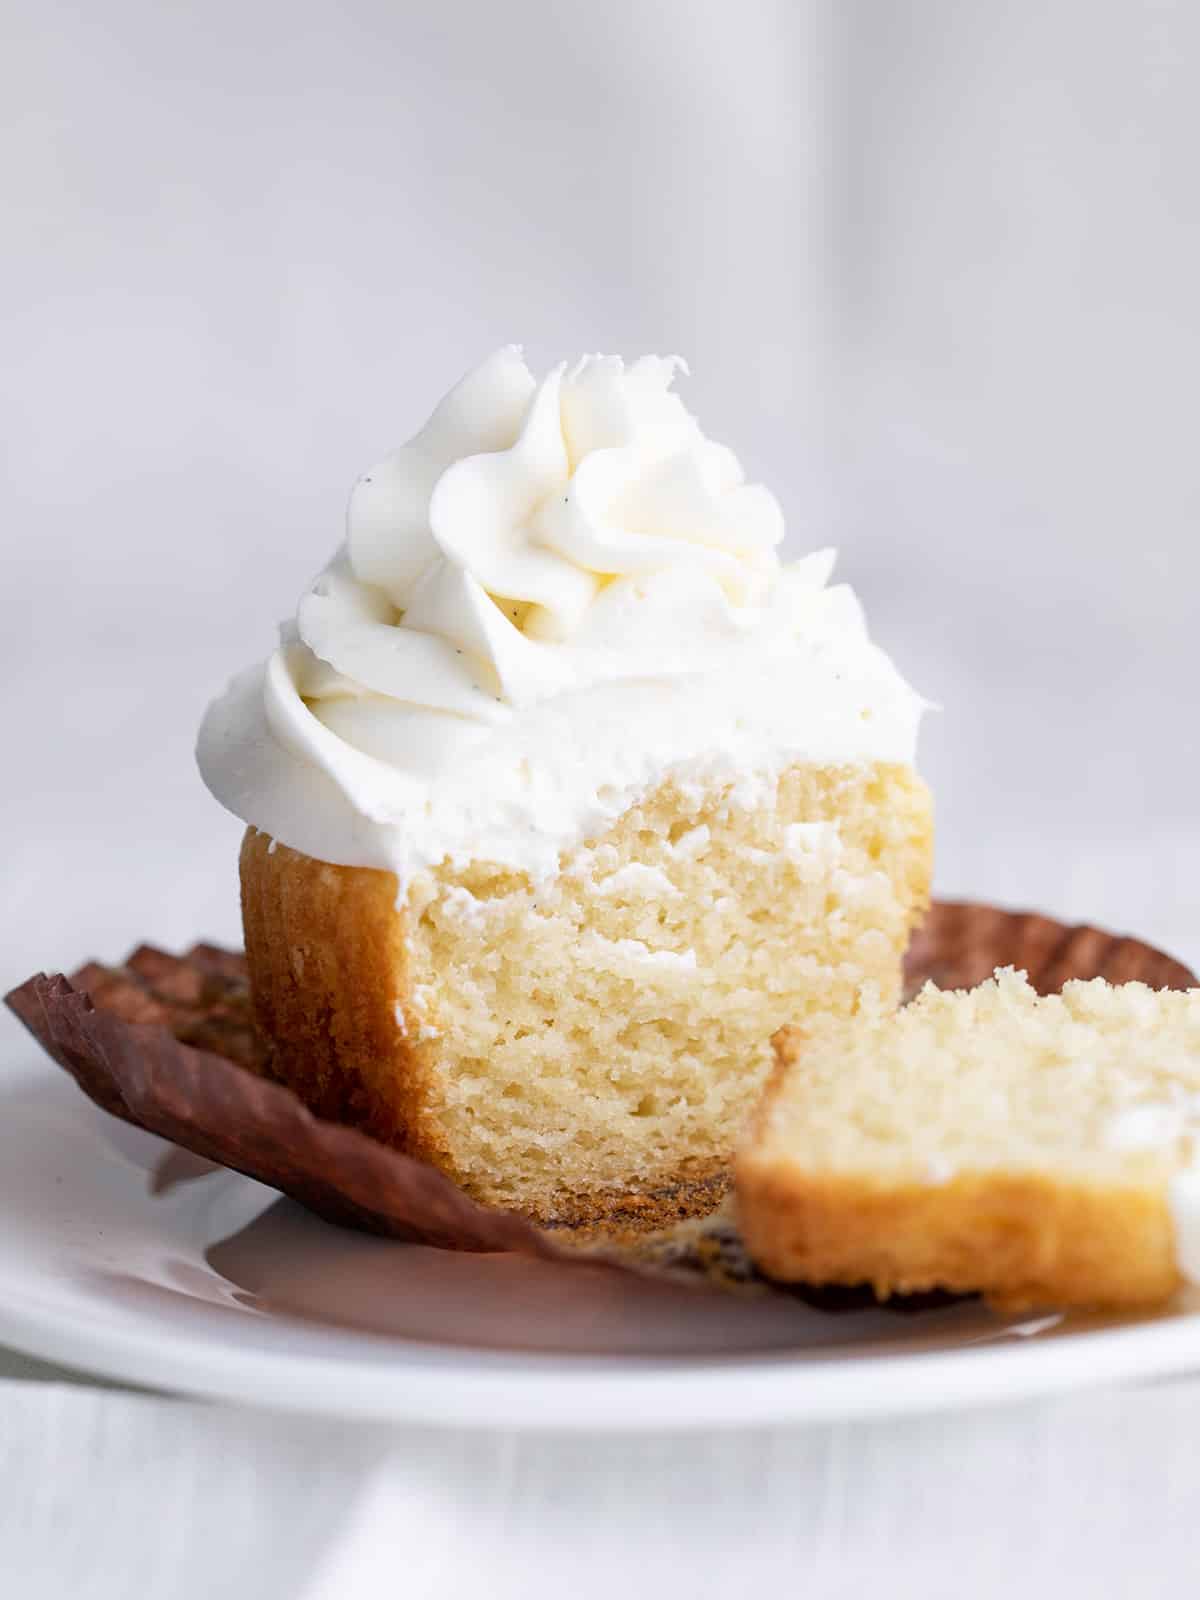
The cupcakes bake up with a light, even crumb that stays moist without ever feeling heavy. The vanilla flavor is simple and classic, so they taste like the cupcakes everyone expects.
The batter is easy to make, with no sifting or special steps: just mix the batter, scoop it into the tin, and bake. Plus the cupcakes rise with flat tops that are perfect for frosting.
They’re easy to dress up with vanilla frosting, chocolate frosting, sprinkles, or nothing extra at all. You can also freeze the plain cupcakes for up to 3 months, so they’re ready when you are.
Cupcake ingredients
Here's what you'll need to make this recipe at home, plus an explanation of the role each ingredient plays in the perfect cupcake:
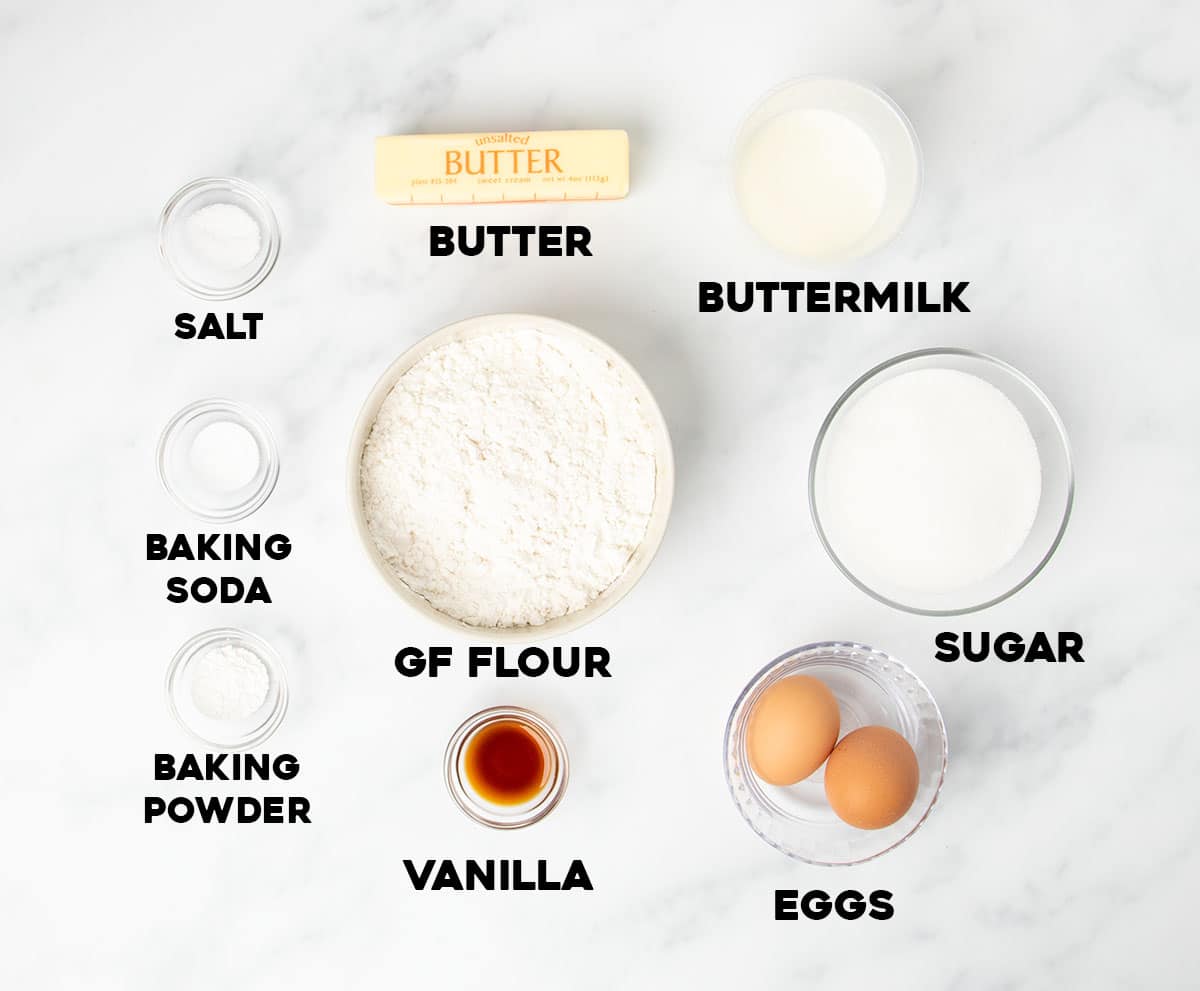
- Gluten free flour blend: Provides most of the structure for the cupcakes. I recommend Better Batter's original blend, Nicole's Best multipurpose with the added xanthan gum listed in the recipe, or Bob's Red Mill 1-to-1 in the blue bag with 1/2 teaspoon extra xanthan gum since it has some, but not enough to prevent a crumbly result that goes stale faster. Since this is such a simple recipe and it's best not to rest the batter, it's especially important to use something with superfinely ground and sifted rice flours to avoid any of that telltale grit that gluten free baked goods can suffer from.
- Baking powder + baking soda: Help the cupcakes rise and stay light and airy, and brown gently around the edges.
- Salt: Enhances other flavors and balances sweetness.
- Butter: Adds richness and moisture to help create that soft, tender crumb, plus lots of buttery flavor.
- Granulated sugar: Sweetens the cupcakes and keeps them moist by locking in moisture.
- Egg + egg white: Give structure and help the cupcakes rise evenly and the extra egg white helps them hold their shape without collapsing as they cool.
- Vanilla extract: Adds depth of flavor.
- Buttermilk: Adds moisture, gentle tang, and reacts with the leaveners to help the cupcakes rise. You can also use regular milk, but I'd recommend reducing the amount by about 1 teaspoon since regular milk has more moisture and could make the cupcakes cave in as they cool.
How to make gluten free cupcakes (step by step photos)
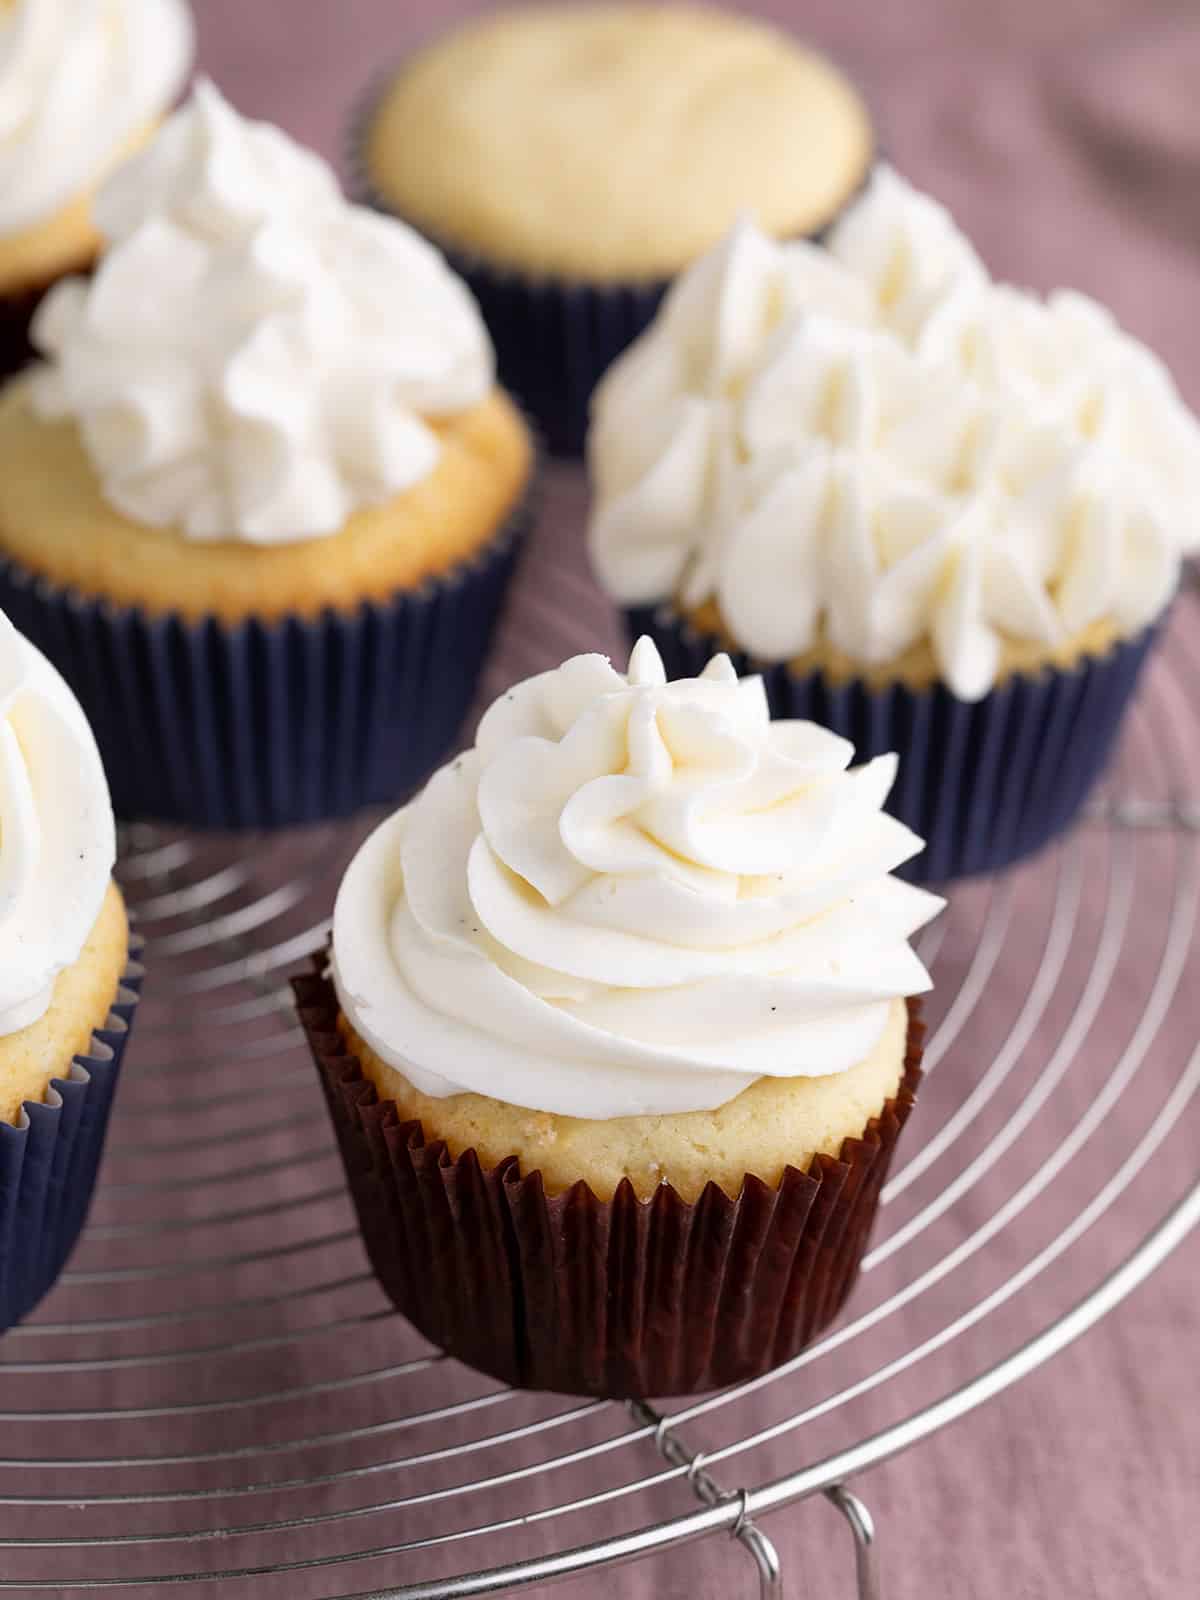
Making these gluten free cupcakes is as simple as whisking, creaming, and alternating the wet and dry ingredients. Here's a visual overview with some explanation of why each step is important:
Whisk the dry ingredients
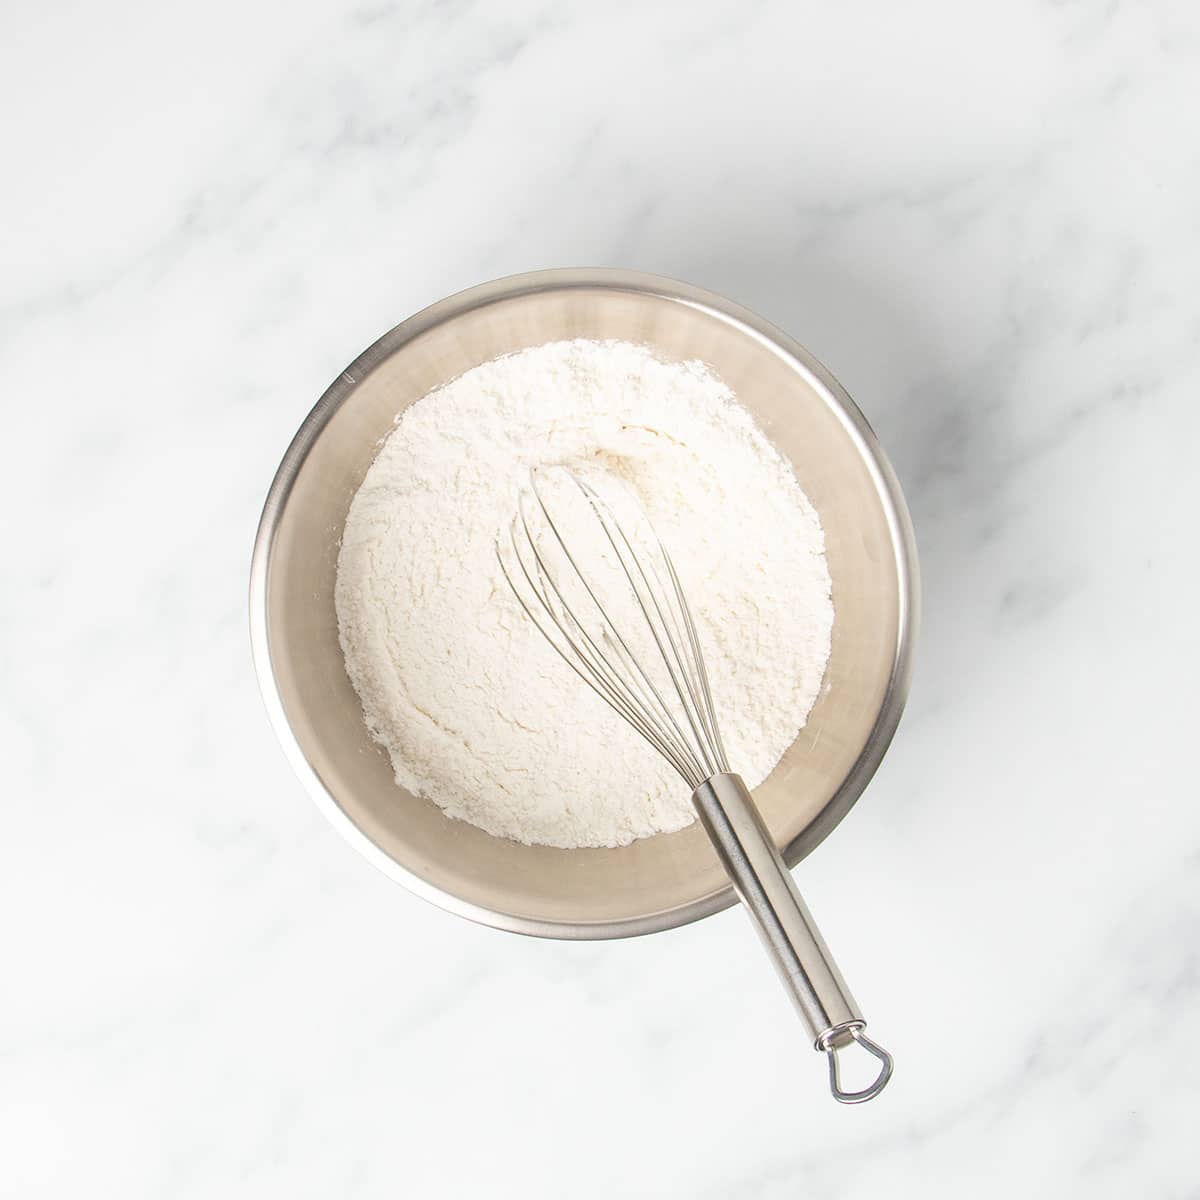
In a small mixing bowl, whisk together the gluten free flour blend, xanthan gum (if needed), baking powder, baking soda, and salt. This is we ensure that there are no bitter clumps of leaveners and that the cupcakes rise evenly. Then set those dry ingredients aside because we'll add them later.
Combine the wet ingredients with the sugar
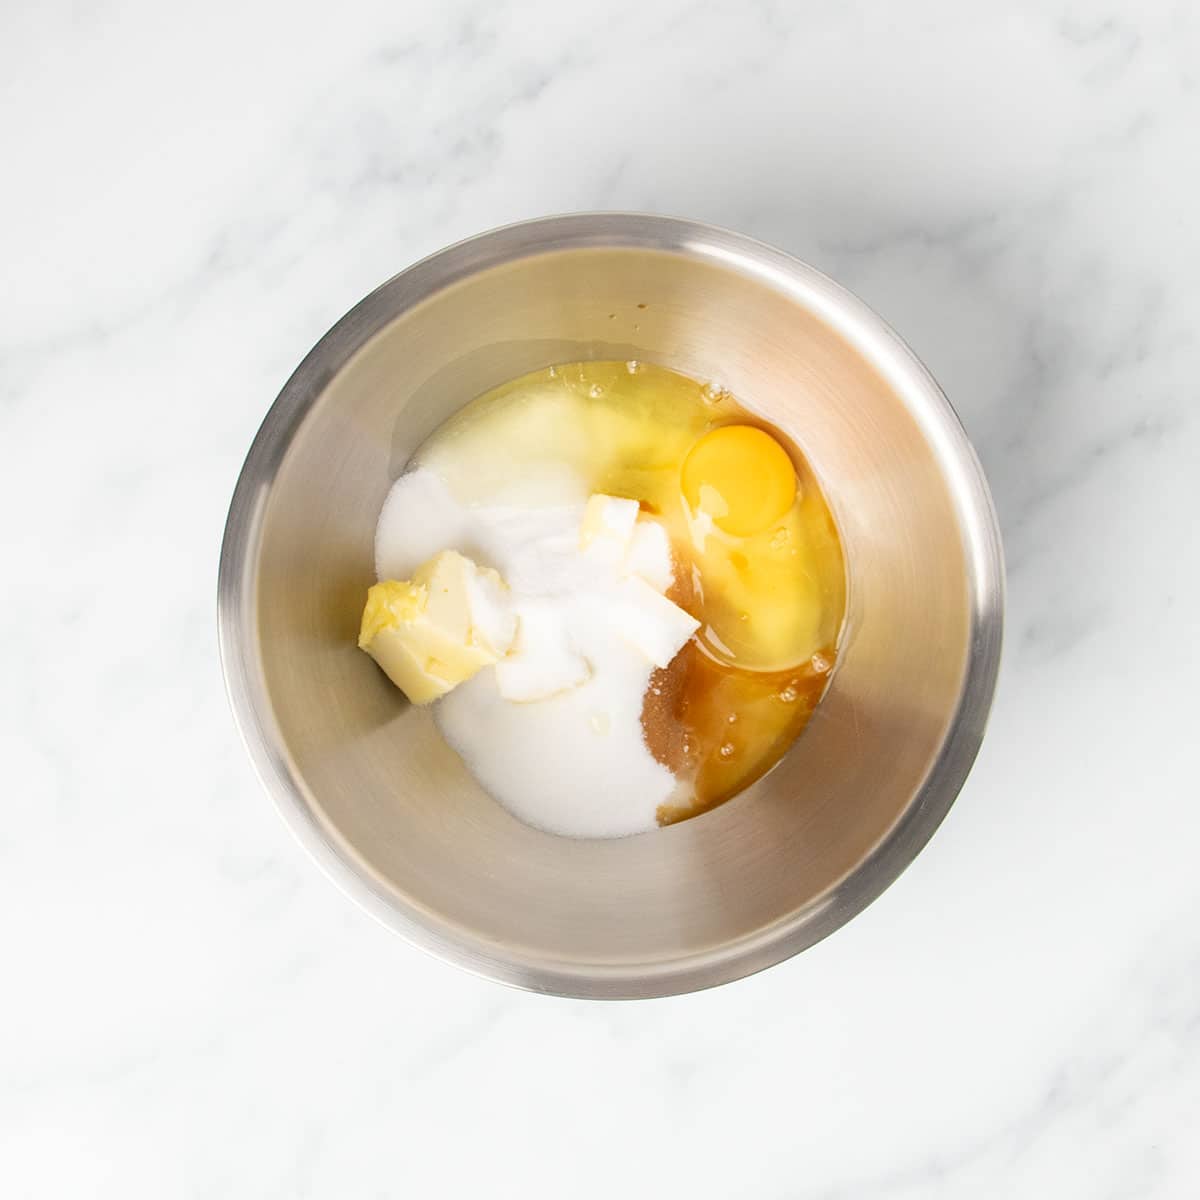
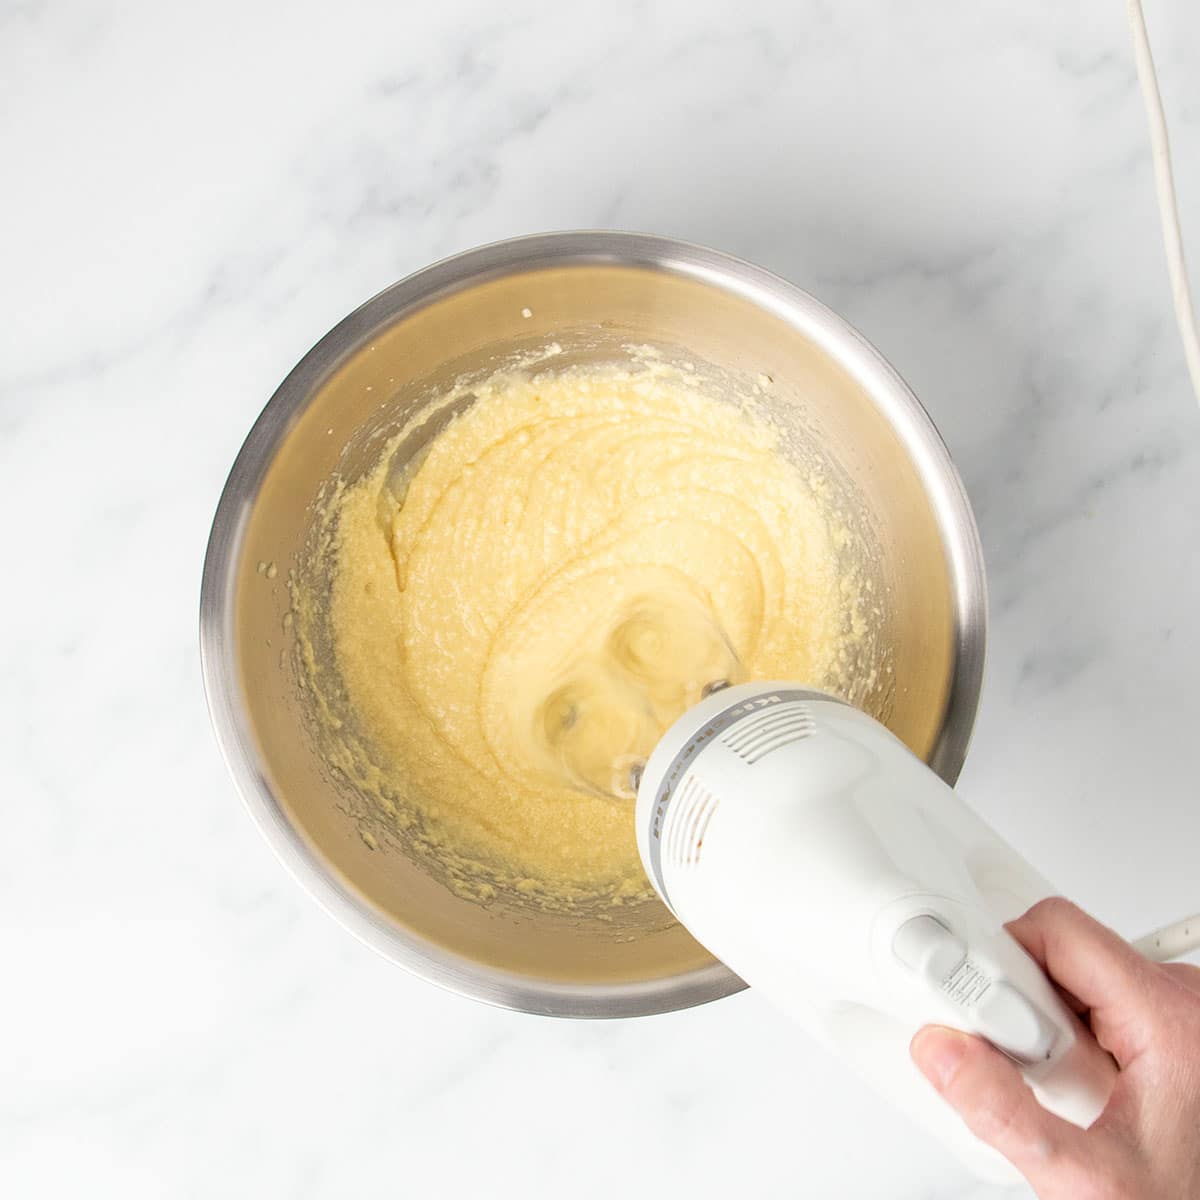
In a large mixing bowl, place the butter, sugar, egg and egg white, and vanilla, and beat them together until fluffy and well-combined. This helps dissolve the sugar in the butter first to create some lift, but not as much as it would if you creamed the butter and sugar together first separately. That might create too much rise, and the cupcakes could dome like gluten free muffins.
Combine the wet and dry ingredients
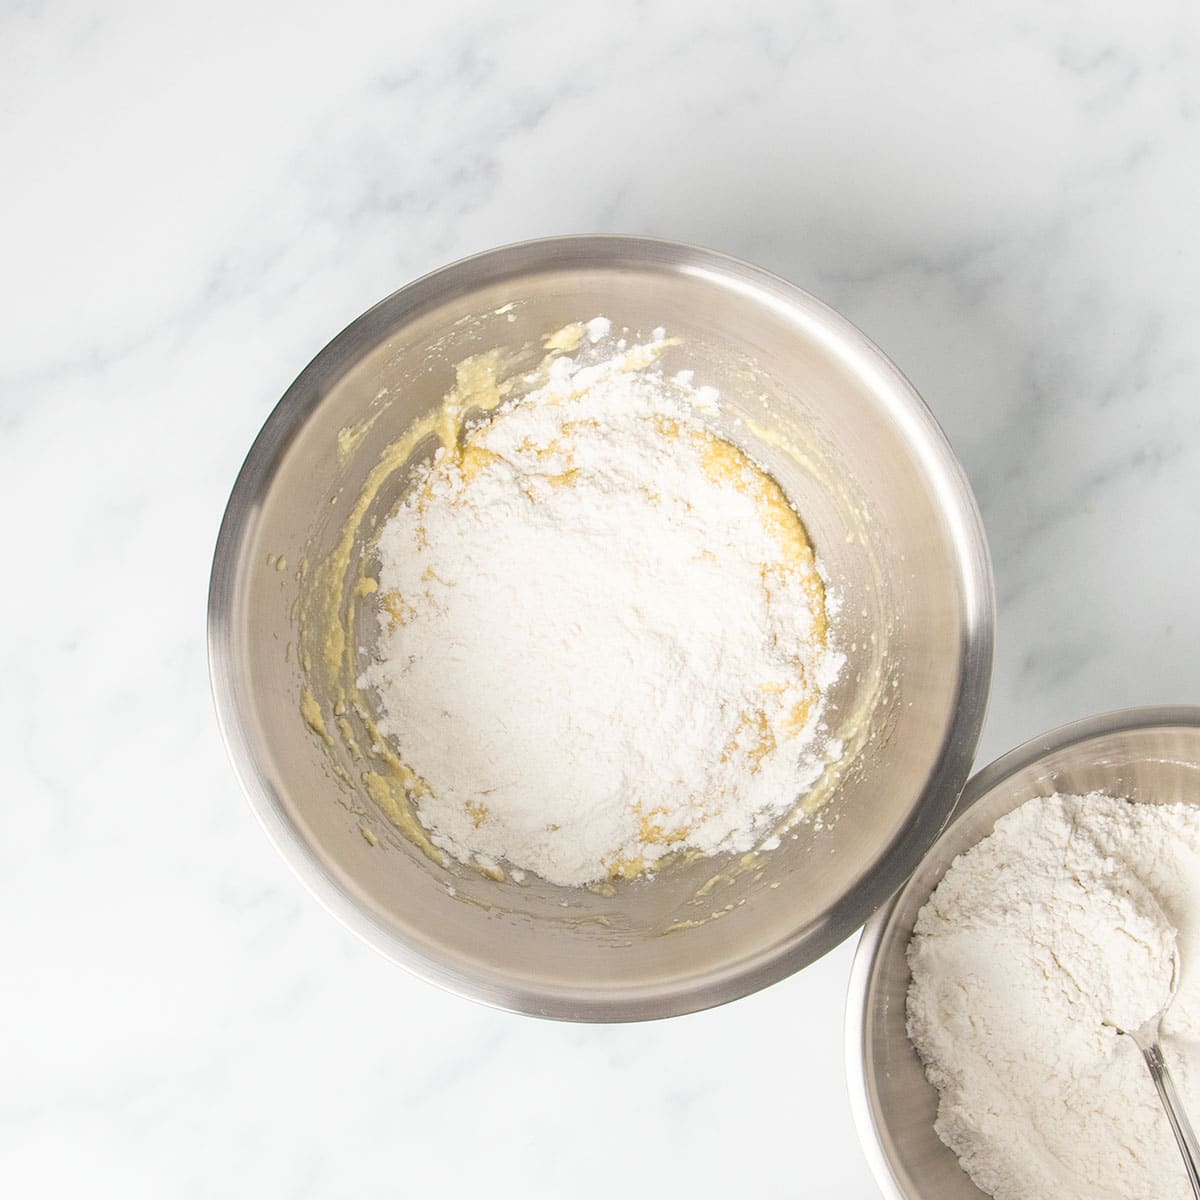
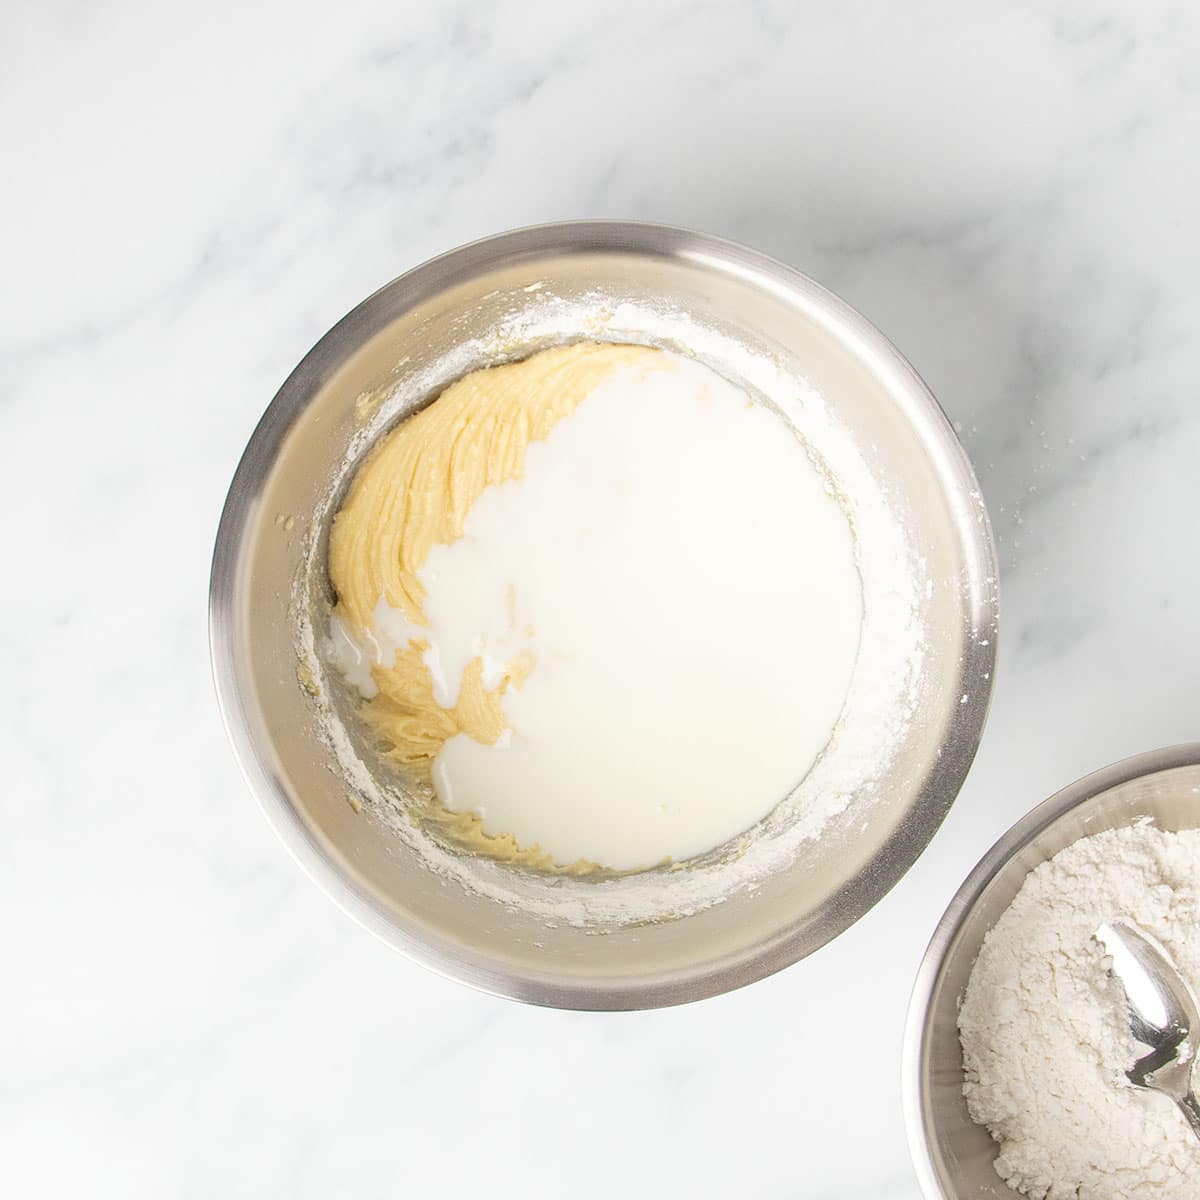
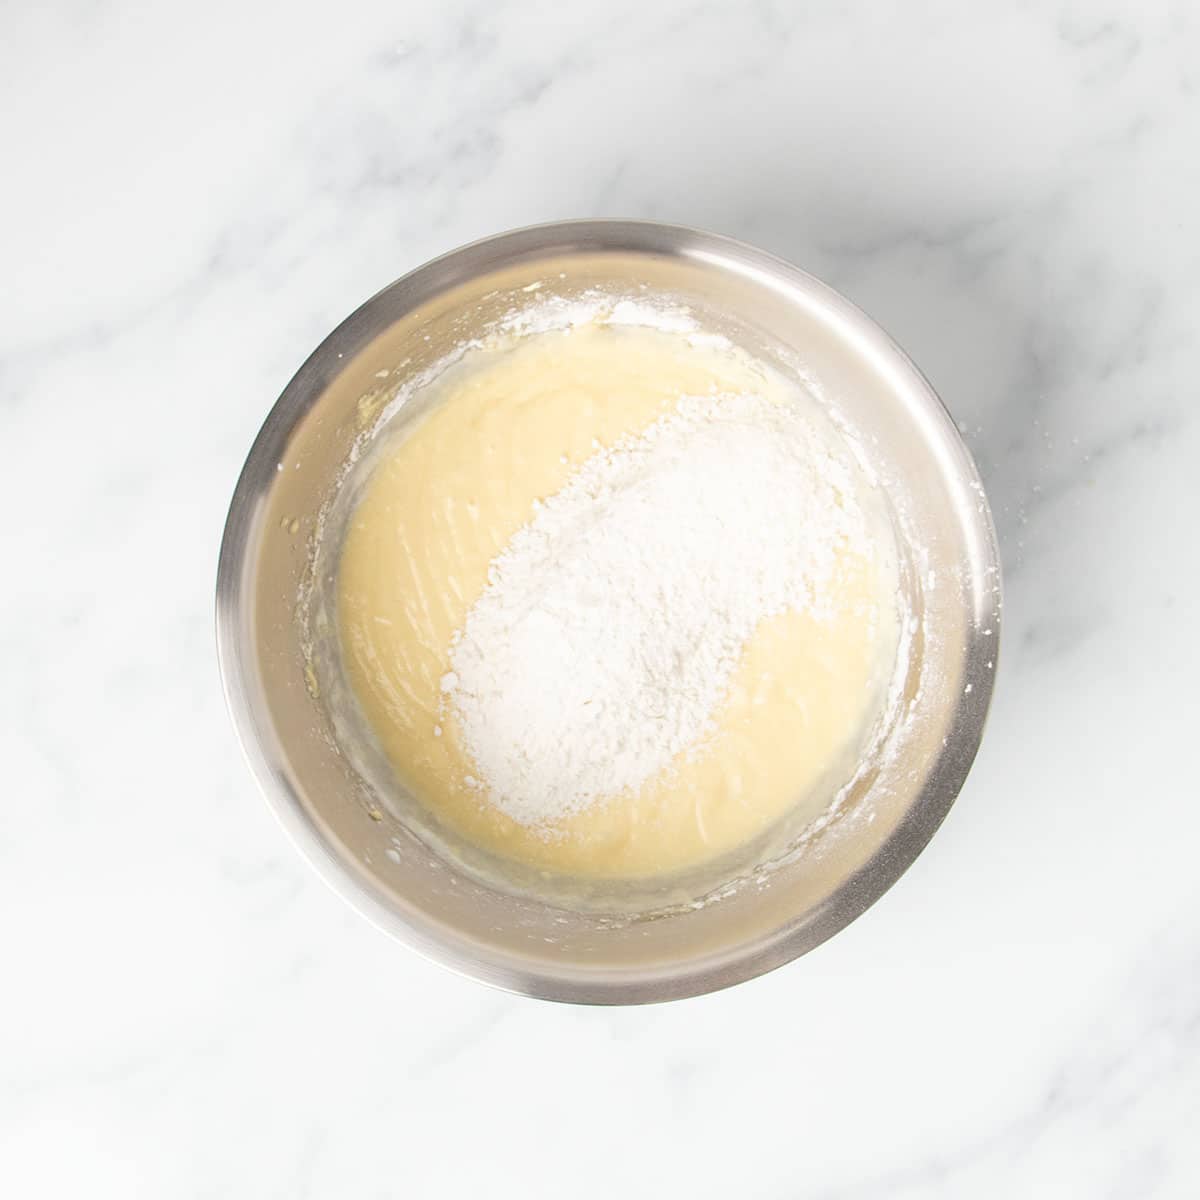
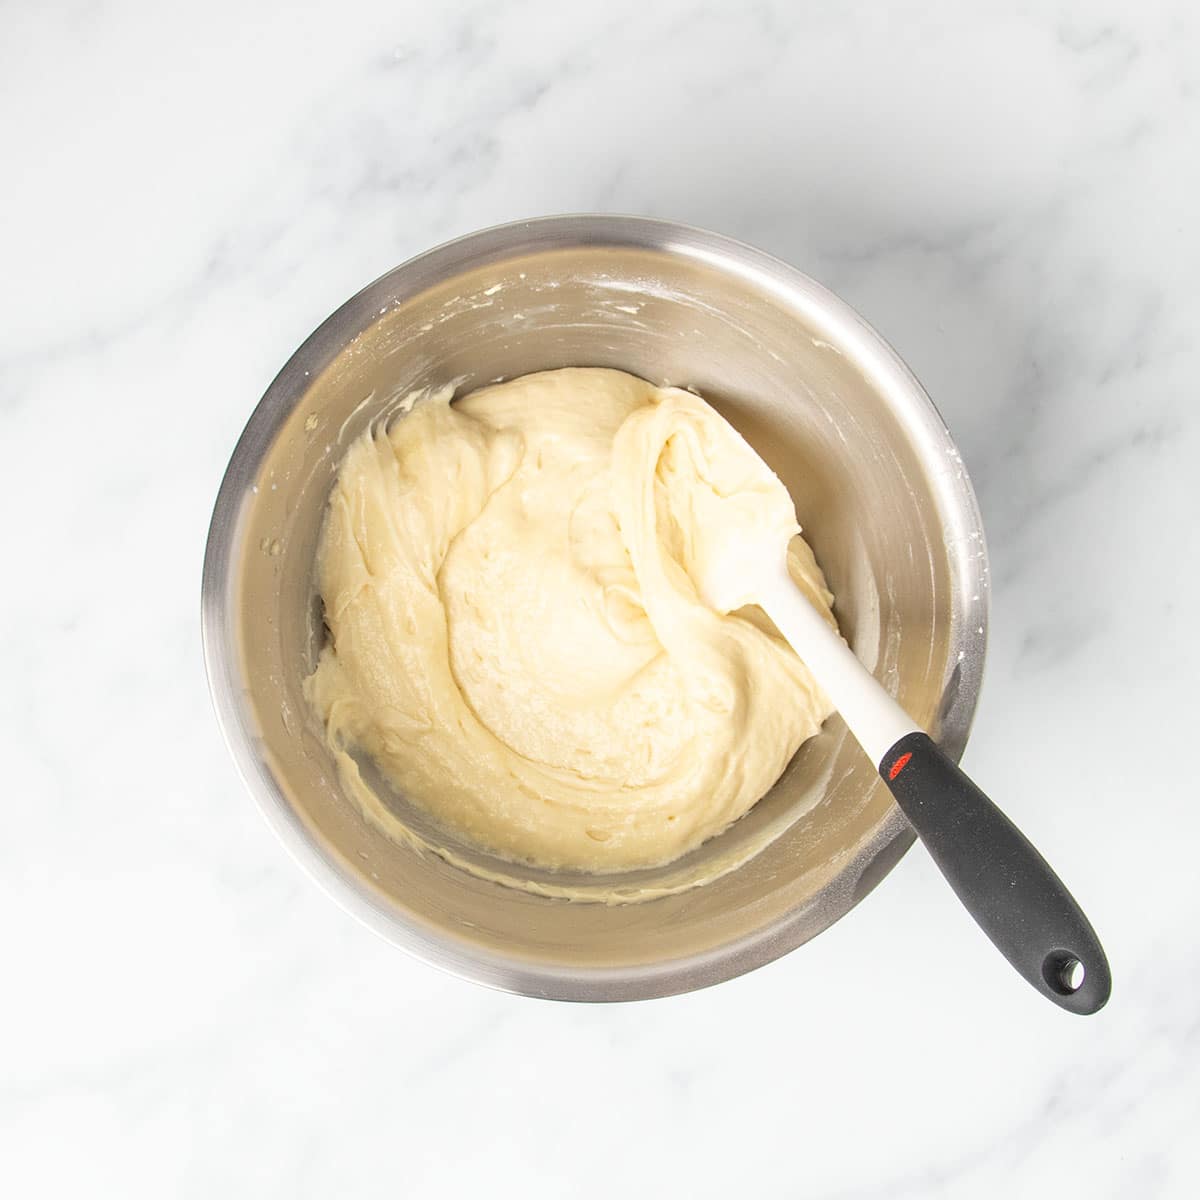
To the bowl with the egg and butter mixture, mix in the whisked dry ingredients in three parts, alternating with buttermilk in two parts in between. Start and end with dry. This is the best way to ensure that everything is combined well without overmixing, which could lead to too much rise or a stringy mixture.
Portion the batter
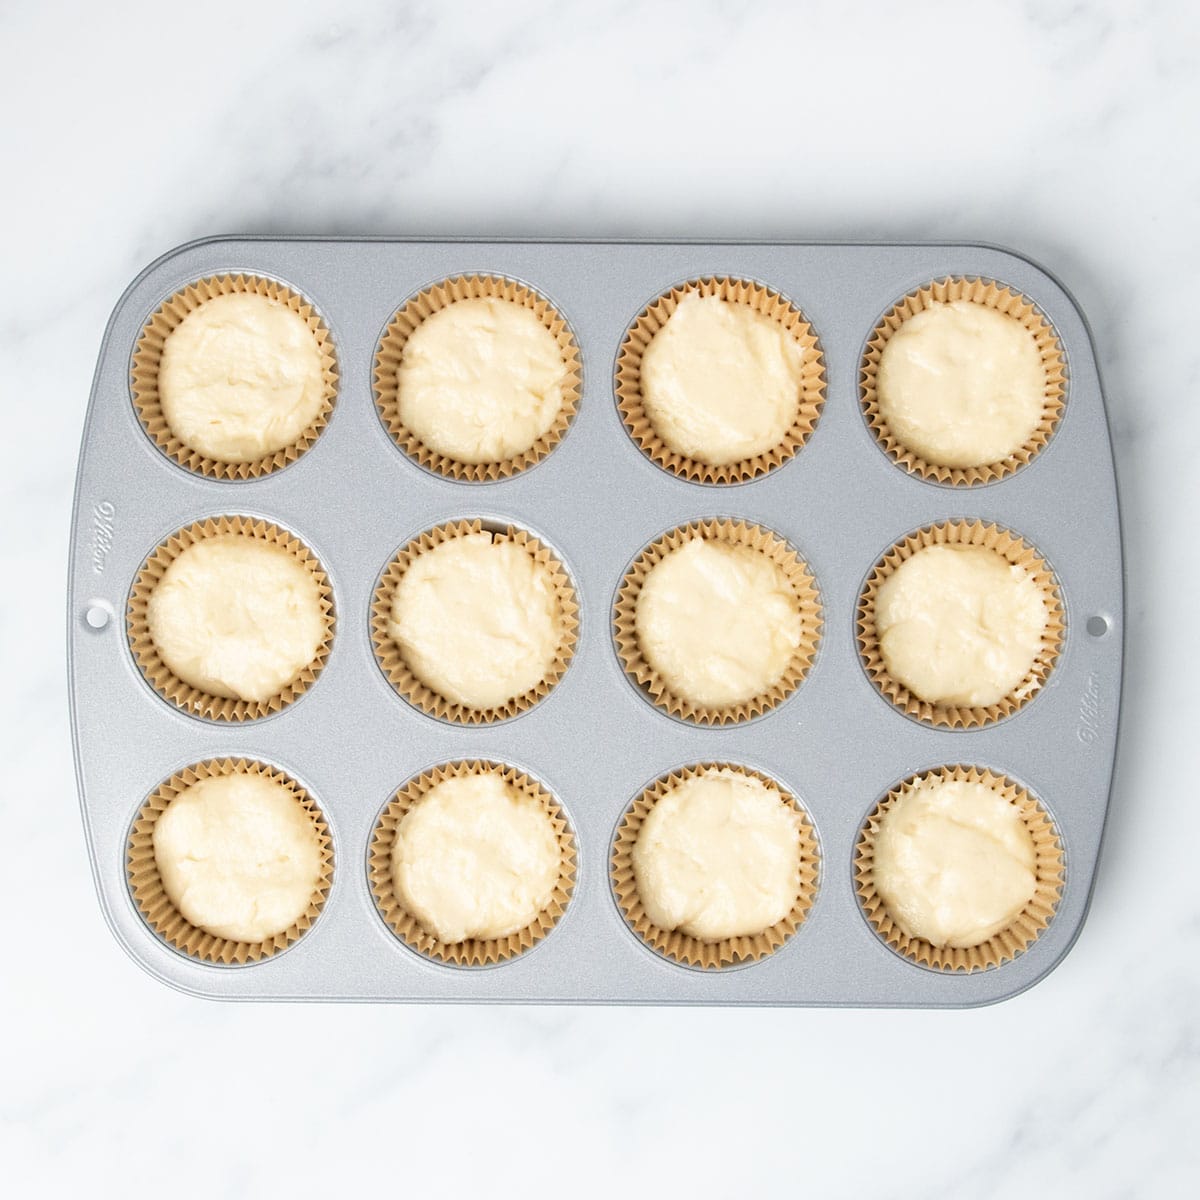
Scoop the soft but thick raw cupcake batter into a lined muffin tin, filling each well about 2/3 full. This way they'll rise to about the top of each liner. Plus, baking in liners will help the cupcakes keep their shape and ensure that nothing sticks to the muffin tin.
Bake at 325°F
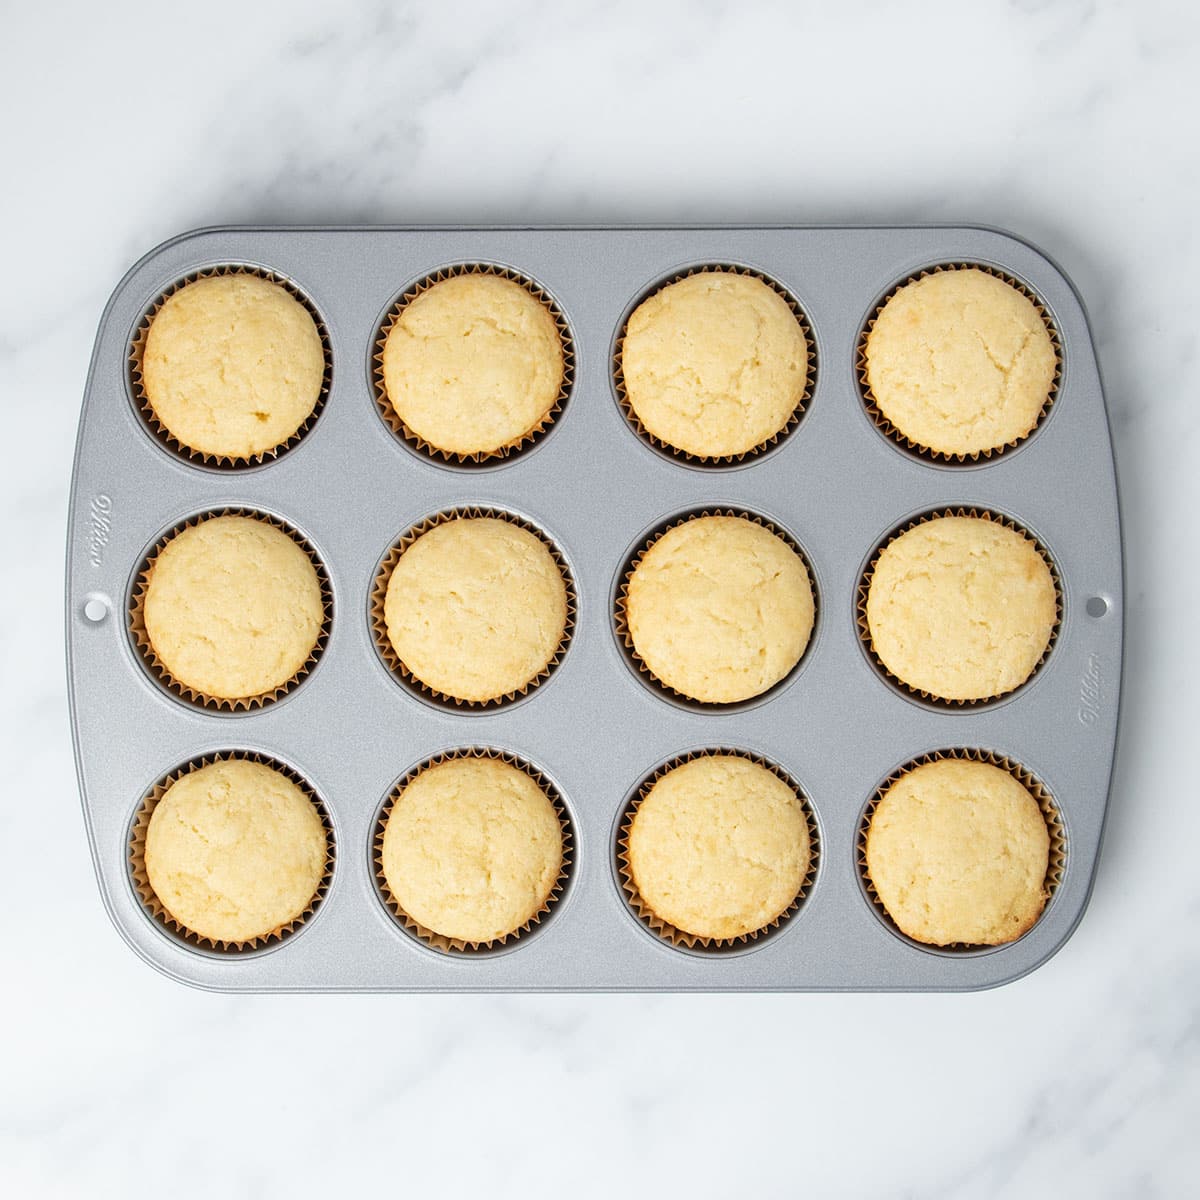
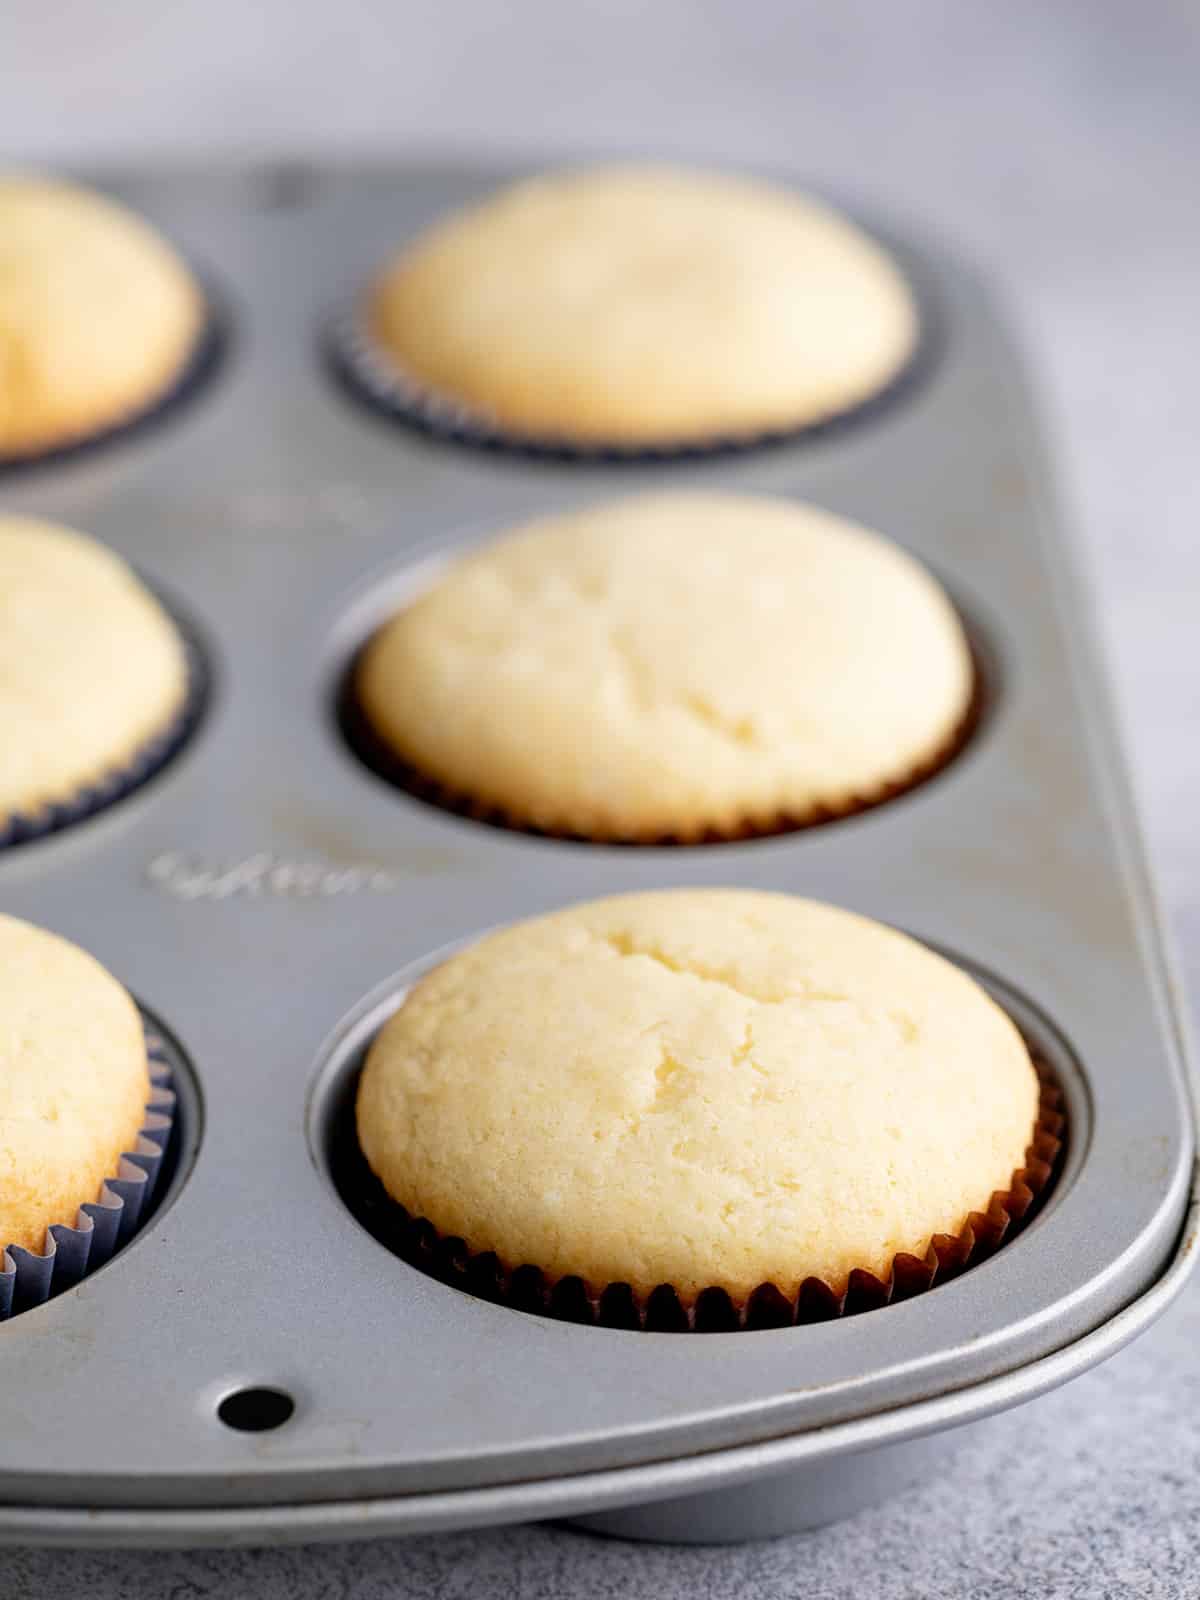
Bake for about 20 minutes, or until the tops spring back when gently pressed. Don't overbake or the cupcakes can turn out dry.
Cool completely
Let the cupcakes cool in the pan for 5 minutes just so you don't collapse them when they're too warm, then transfer to a wire rack to cool completely before frosting.
How to make vanilla buttercream frosting (step by step photos)
This classic vanilla buttercream is smooth, stable, and pipes beautifully. It’s naturally gluten free and the perfect match for these cupcakes.
Frosting ingredients
Here's what you'll need to make a simple buttercream frosting, but you can use any gluten free frosting you like best:
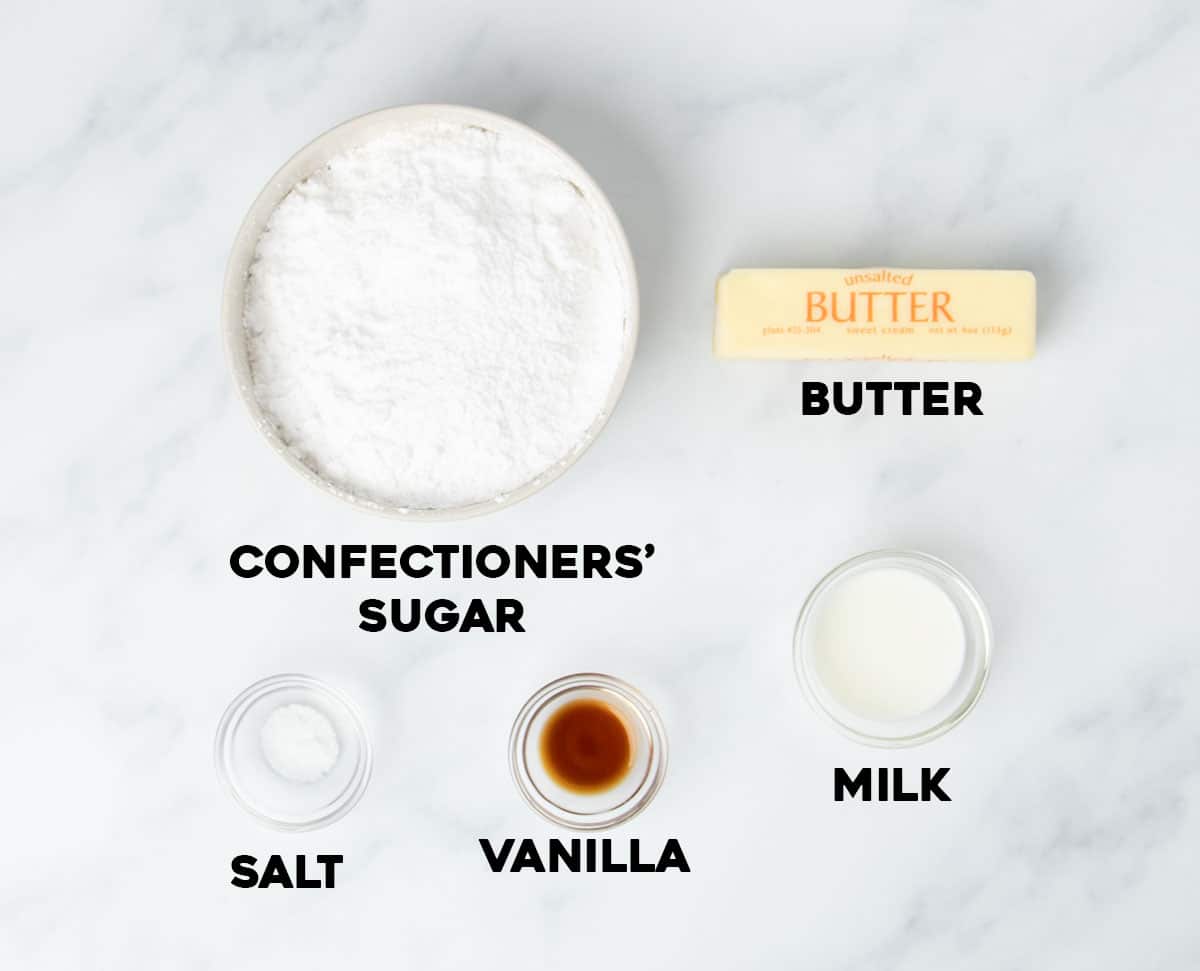
- Butter: Room temperature butter provides the creamy base for buttercream frosting. It adds buttery flavor, traps air well when beaten, dissolves the sugar, and creates a smooth texture. We use unsalted butter so we can control exactly how much salt we add.
- Confectioners' sugar: Sweetens and thickens; it also helps the frosting hold its shape by dissolving quickly and easily into the butter, and creates structure by thickening the dairy both with the finely ground sugar and the bit of added starch it contains (usually cornstarch).
- Vanilla extract: Adds depth of flavor.
- Milk (as needed): Helps thin the frosting to piping consistency since it can be hard to get the amount of sugar added exactly right.
How to make the frosting (step by step photos)
This is a visual overview of how to make a simple vanilla buttercream frosting,
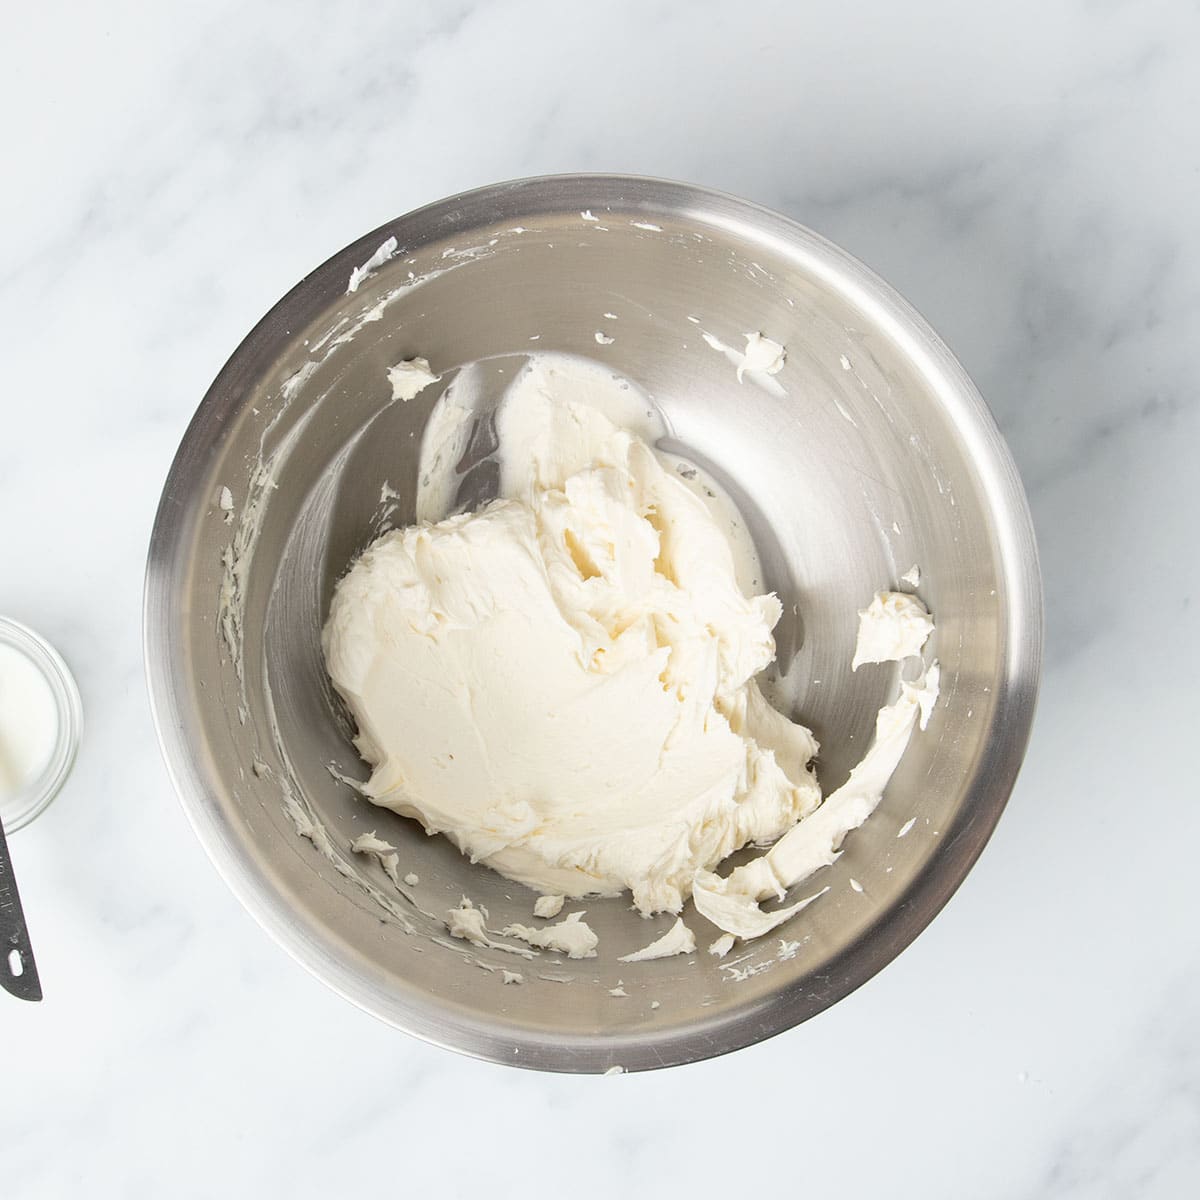
Cream the butter
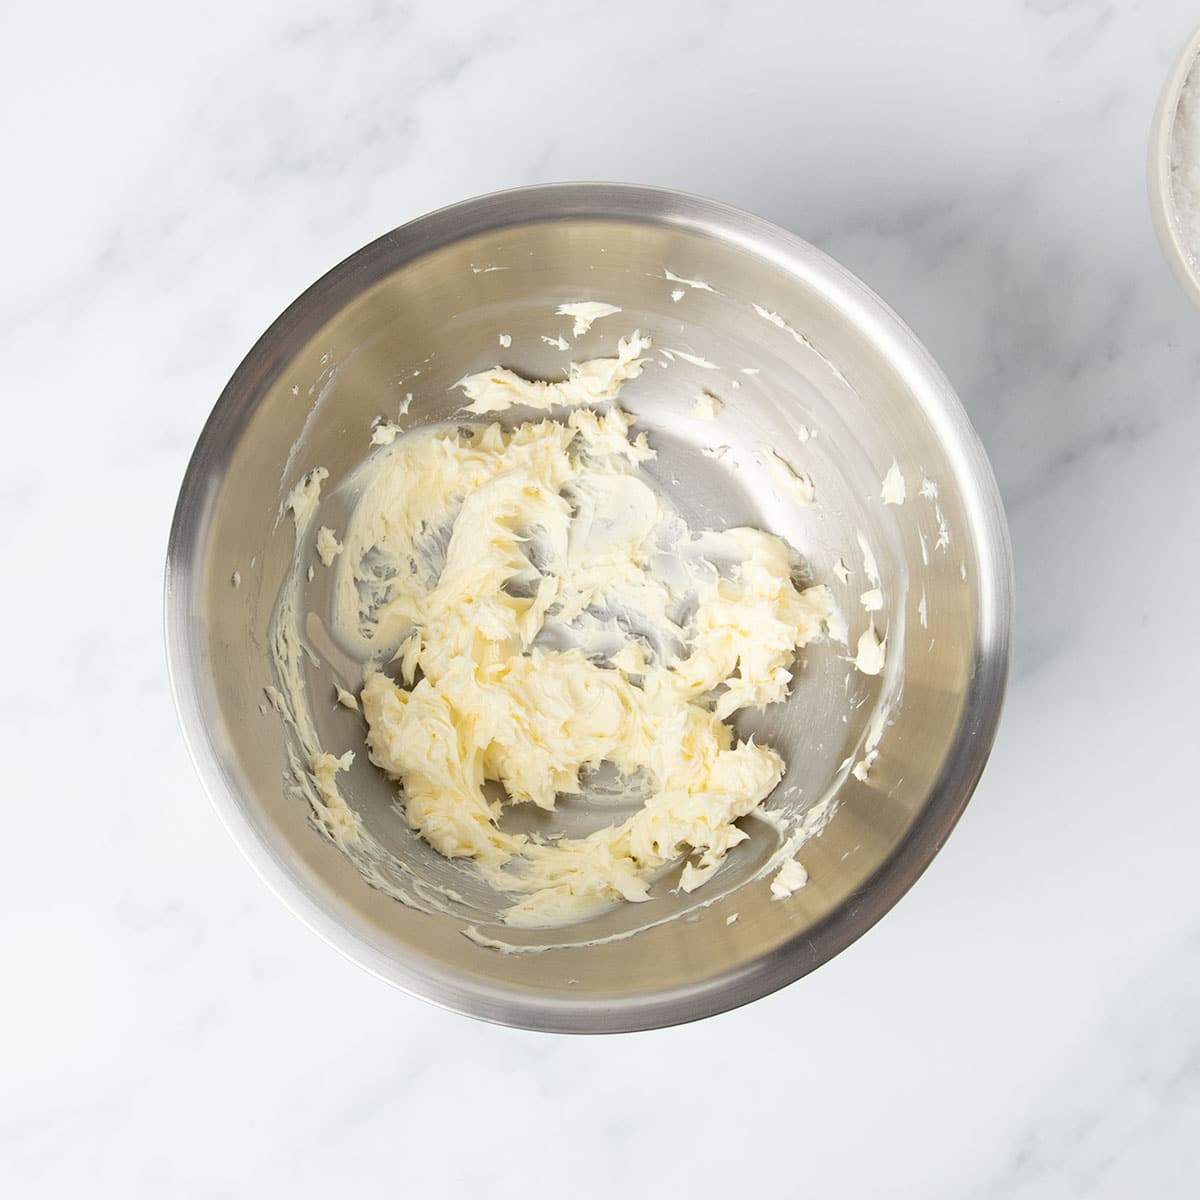
Unlike in the cupcakes, we want to beat the butter until smooth and creamy, about 3 minutes, to add air to it which helps make it spreadable and easy to pipe.
Add the sugar, vanilla, and a splash of milk
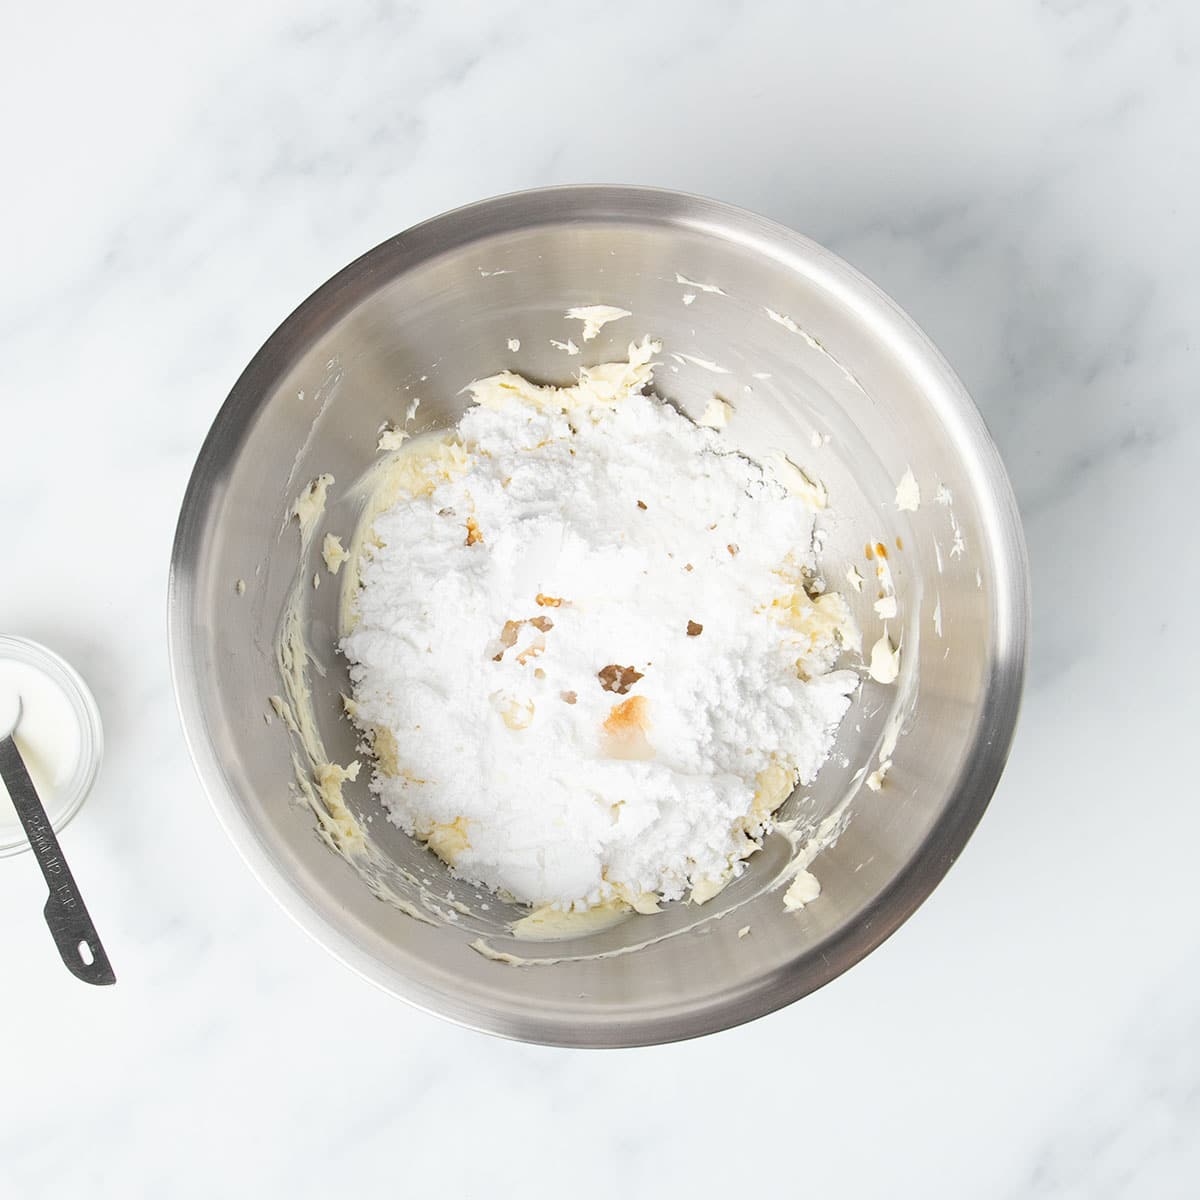
Beat in just 1 cup of confectioners' sugar for 1 stick of butter at first until well-combined, then add in vanilla which will contribute some moisture. If the buttercream seems at all crumbly or seems to stiff to spread smoothly on a cake or cupcake, beat in some milk.
Whip until fluffy
Turn the mixer to high and beat for about 5 minutes, or until the frosting is light and airy.
Adjust consistency
The frosting is ready to use when it doesn't grip the side of the mixing bowl too tightly. Add more sugar to thicken or a few drops of milk to loosen, but go slowly. Try piping some right back into the mixing bowl, and if you see frayed edges it needs a bit of moisture. If it doesn't hold its shape, it needs some more sugar.
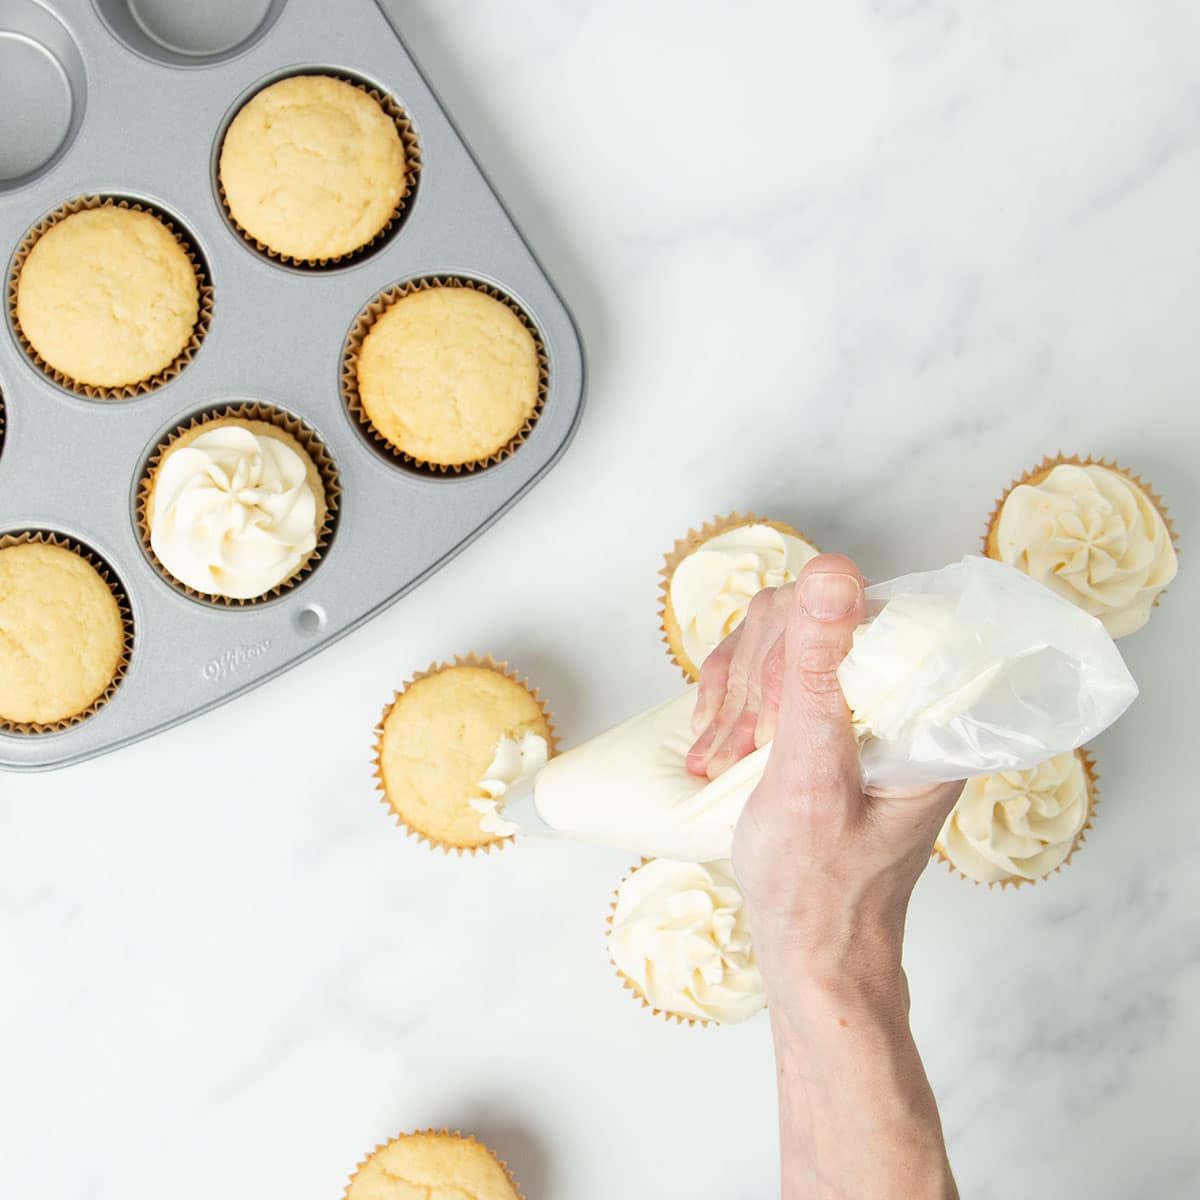
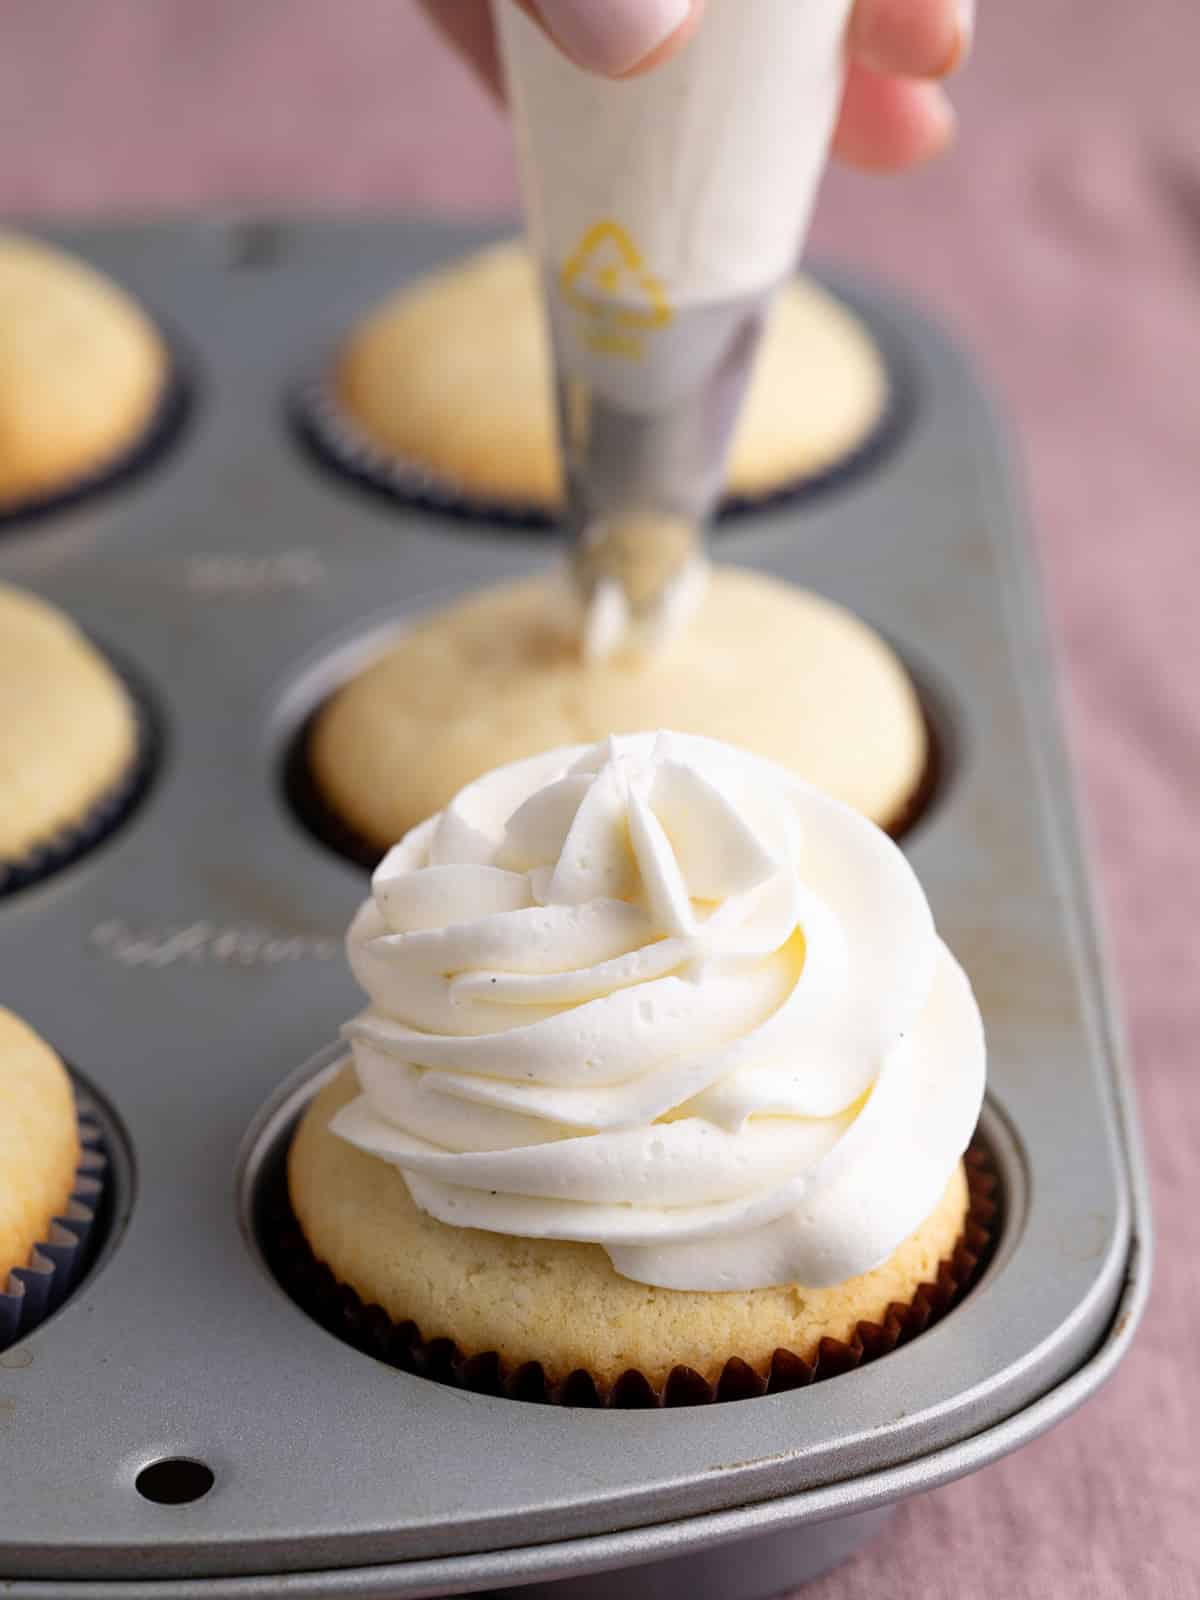
5. Frost your cooled cupcakes
Use a piping bag or just scoop with a spoon, but be sure not to frost warm cupcakes, or the frosting will melt rather than holding its shape.
Expert tips
Use room-temperature ingredients
Cold butter, eggs, or milk won’t mix evenly and can cause texture issues.
Don’t overmix
Mix just until the batter is smooth. Overmixing adds too much air and can create tunnels.
Scoop evenly
Fill cupcake wells about 2/3 full to prevent overflow and ensure even baking.
Bake just until done
At 325°F, bake until the tops spring back when lightly pressed. Skip the toothpick, as it can be misleading here and lead to overbaking if you wait until it's completely clean.
Cool completely before frosting
Warm cupcakes will melt your frosting. Let them cool fully for best results.
Measure by weight
For reliable results, use a digital kitchen scale instead of measuring cups, especially for the flour which is very easy to overmeasure. Plus, you don't want to use what your measuring cups say is a cup, you want to measure exactly as I, the recipe developer, did to get my exact results.
Ingredient substitutions
Dairy-Free
Use block-style vegan butter (like Melt or Miyoko's brands are best) or butter-flavored nonhydrogenated shortening in place of butter.
For the best texture, replace buttermilk with a mix of half plain yogurt and half nondairy milk by volume. You can also use just unsweetened, unflavored nondairy milk, but the crumb will be a little more condensed.
Egg-Free
Replace the egg with a chia egg, Bob’s Red Mill egg replacer, or Just Egg. Avoid flax eggs because they add a strong flavor that doesn’t work well here.
Storage suggestions
Room temperature
Store unfrosted or frosted cupcakes in an airtight container at room temperature for up to 2 days. Avoid the fridge since it dries out cakes, especially when they're made with butter instead of oil.
Freezing unfrosted
Once completely cool, wrap each cupcake tightly in freezer-safe wrap, then place in a sealed container or zip-top freezer bag. Freeze for up to 3 months or the flavor might taste a bit off.
Freezing frosted cupcakes
You can freeze them fully frosted, too. Let them defrost at room temperature, and don’t microwave or the frosting will melt.
To serve from frozen
Unwrap and let sit at room temperature until thawed, or microwave unfrosted cupcakes at 50% power in 20-second bursts.
Vanilla Gluten Free Cupcakes Recipe
Equipment
- Stand mixer or handheld mixer
Ingredients
For the vanilla cupcakes
- 1 ½ cups (210 g) all purpose gluten free flour blend, (See Recipe Notes) (Click thru for full info)
- ¾ teaspoon xanthan gum, omit if your blend already contains it
- 2 tablespoons (18 g) cornstarch
- 1 teaspoon baking powder
- ½ teaspoon baking soda
- ½ teaspoon kosher salt
- 8 tablespoons (112 g) unsalted butter, at room temperature
- 1 cup (200 g) granulated sugar
- 1 (50 g, weighed out of shell) egg, at room temperature
- 1 (25 g) egg white, at room temperature
- 2 teaspoons pure vanilla extract
- ⅔ cup (5 ⅓ fluid ounces) milk or buttermilk, at room temperature
For vanilla buttercream frosting
- 8 tablespoons unsalted butter, at room temperature
- 1 cup confectioners' sugar, plus more as necessary
- ⅛ teaspoon kosher salt
- ¼ teaspoon pure vanilla extract
- Milk by the teaspoon, as necessary
Instructions
For the cupcakes.
- Preheat your oven to 325°F. Line 16 wells of standard muffin tins with cupcake liners or grease the wells, and set the tins aside.
- In a small bowl, place the flour, xanthan gum, cornstarch, baking powder, baking soda, and salt, and whisk to combine well. Set the bowl of dry ingredients aside.
- In the bowl of a stand mixer fitted with the paddle attachment, or a large bowl with a handheld mixer, place the butter, sugar, egg, egg white and vanilla, and beat at medium-low speed to combine. Increase the mixer speed to medium-high and beat until it appears whipped (about 2 minutes).
- To the large bowl with the butter mixture, add the dry ingredients in 3 batches, alternating with the milk or buttermilk, beginning and ending with the dry ingredients. Beat lightly after each addition until just combined. Do not overmix. The batter should be light and fluffy.
- Fill the prepared wells of the muffin tin about 2/3 of the way full of the batter. Shake the tin back and forth to evenly distribute the batter in each of the wells.
- Place the tin in the center of the preheated oven and bake until the cupcakes are very lightly golden brown and spring back when pressed lightly in the center (about 20 minutes). Don’t over bake.
- Allow the cupcakes to cool for at least 5 minutes in the tin before transferring to a wire rack to cool completely. Repeat with the remaining cupcake batter. Cool the cupcakes completely before frosting and/or decorating.
For the frosting.
- In a large bowl with a hand mixer or the bowl of a stand mixer fitted with the paddle attachment, place the butter. Beat on medium speed until creamy (about 30 seconds).
- Add the 1 cup (115 g) of confectioners’ sugar, the salt, vanilla, and 1 teaspoonful of milk, and beat on medium speed until well-combined (about 1 minute).
- Beat in more confectioners’ sugar until the consistency is thick but not stiff. Turn up the mixer speed to high and beat for about 5 minutes or until light and fluffy.
- Transfer the frosting to a piping bag fitted with your favorite piping tip. Pipe the frosting on the cooled cupcakes, or use two spoons to scoop a dollop onto each cupcake.
Video
Notes
For best results, use Better Batter original blend or Nicole’s Best multipurpose blend with added xanthan gum as directed. Bob’s Red Mill gluten free 1-to-1 also works well as long as you add ½ teaspoon xanthan gum to the dry ingredients to prevent crumbling. To make your own blend, see the All Purpose Gluten Free Flour Blends page. Nutrition information: Approximate nutrition information is per cupcake, excluding frosting.
Nutrition
Nutrition information is automatically calculated, so should only be used as an approximation.

FAQs
Yes, vanilla bean paste works well and has a stronger flavor than extract. Use the same amount as you would vanilla extract.
Yes, just reduce the baking time. They’re ready when the tops spring back when lightly pressed.
That usually means the oven was too hot, so the outside set before the inside had time to build structure. Use a standalone oven thermometer to be sure your oven temperature is accurate. Or you may have added too much moisture by using milk instead of buttermilk.
Yes! Freeze them (unfrosted or frosted) as soon as they’re completely cool. Defrost at room temperature for best results.
You can. Just divide the batter evenly across more tins, and rotate them during baking for even results.
No, this recipe doesn't have enough structure to hold its own as a full cake. Instead, use our vanilla gluten free cake recipe. It calls for a few more steps, but go see the comments. You'll see it's worth it!










I used this all the time – it’s still the best recipe – so moist!
Thank you for sharing your experience, especially after using the recipe multiple times, Miriam!
Very moist and delicious!! Best gluten free vanilla cupcake recipe I’ve found!
So glad you love the cupcakes, Renae!
At the last minute I needed to make gluten free vanilla cupcakes. All I had was gluten free pizza flour. Using King Arthur pizza flour (with xanthum gum listed in the ingredients) I tweaked the recipe by using 2 eggs and added another tablespoon of milk, then let them sit for 20 minutes before baking. They were amazingly moist and delicious. This recipe is definitely a keeper!
If I’m using the Better Batter original gluten free flour do I still add the 3/4 tsp of xanthan gum? xanthan gum is listed as an ingredient on the back of the Better Batter package.
Hi, Megan, nope. With xanthan gum listed in the ingredients list, that means you eliminate that ingredient, as stated in the recipe card. Sometimes, I recommend more than is in the package, but I always state that very clearly. I hope that’s helpful!
I am wondering if I dan take half of this batter and make it into a spice or chocolate cupcake so I have half vanilla and half spice.
Thank you for all of your recipes. They have never failed me.
Hi, Delia, I’m afraid you can’t make this vanilla batter into chocolate batter, since it’s not a simple flavoring swap, but requires many different ingredients. You’d need my gluten free chocolate cupcakes recipe for that. You can try adding up to 1 teaspoon dried spices to the vanilla batter, but nothing that will change the chemistry of the batter. And you’re welcome! I’m so glad you trust my recipes.