This post may contain affiliate links. Please read our disclosure policy.
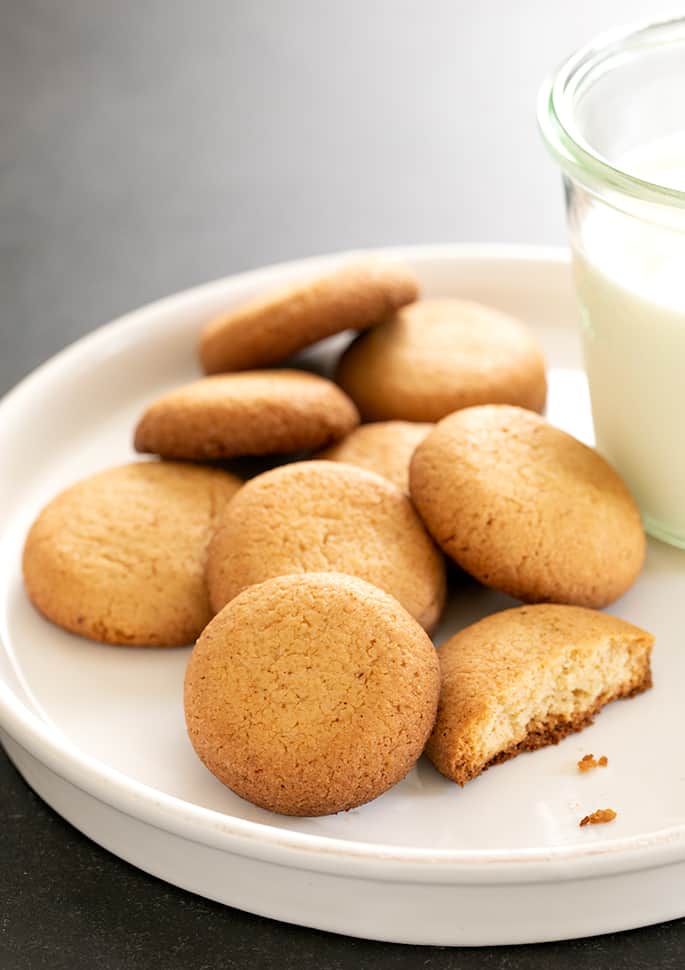
These gluten free vanilla wafers taste just like Nabisco's Nilla Wafers, and the easy cookie dough is made easily in your food processor.
Why these gluten free vanilla wafers are special
I miss Nilla Wafers. When I first shared this recipe, nobody made a gluten free version. That made this copycat recipe for gluten free Nilla wafers very, very important.
Today, a few companies do make crispy-type gluten free vanilla wafers. And they're honestly not bad at all. But if you want the real taste you remember, or just want to share that taste with someone who is gluten free, make this recipe.
Remember the waxy brown stay-fresh pouch inside the box of Nilla Wafers? It looks like it's going to be hard to open, and like maybe you're gonna have to rip it open and risk its tearing down instead of across, resulting in a cascade of cookie crumbs all over.
Instead, it opens so nice and easy. And still keeps the Nilla Wafers fresh inside. How does it do that?
Well, this copycat recipe for gluten free Nilla wafers bakes up so nice and crunchy-soft, you'll wonder if you cheated and got the ones from Nabisco.

Gluten free vanilla wafers ingredients and substitution suggestions
Gluten free dairy free vanilla wafer cookies
The main dairy in these cookies is in the form of butter. There's quite a lot of butter for just over one cup of all purpose gluten free flour, so the butter is an important ingredient.
To replace the butter, try using vegan butter like Miyoko's Kitchen or Melt brand. If you can't find either of those, you can try using Earth Balance buttery sticks but they have a lot of moisture.
If you use Earth Balance pay close attention to the consistency of the cookie dough. You probably won't need nearly as much milk, if any at all. Any unsweetened nondairy milk will work.
Gluten free egg free vanilla wafer cookies
There's only one egg in this recipe. You should be able to replace it with a “chia egg.” Just place 1 tablespoon ground white chia seeds in a small bowl, add 1 tablespoon lukewarm water, mix and allow it to gel.
FAQs
No! Nabisco brand vanilla wafers are made with wheat flour, so they are not gluten free.
Yes, Kinnikinnick brand makes a version of gluten free vanilla wafers. When I don't feel like making my own and I'm really craving them, I will sometimes buy a box. But they're very expensive, and they just don't have that special deep vanilla flavor and crispy texture I crave!
If you didn't make any ingredient substitutions and measured carefully by weight, not volume, your vanilla wafers probably weren't baked long enough to get crispy in the oven. Check your oven temperature, too, since if it runs hot, the outside will brown too quickly and the inside won't be baked all the way through.
You definitely can! You can use these vanilla wafers anywhere you might use the “regular” kind made by Nabisco.
To keep these gluten free vanilla wafers crisp and crunchy, let them cool completely, then store them in a glass jar with a tight-fitting lid for up to 1 week. Crispy cookies will always get soggy if you store them in plastic. For longer storage, you can freeze them but they will lose some of their crispness.
Yes, you do have to use a food processor to get the dough smooth enough without overheating the dough (a blender will turn make the dough too soft), but you can use one of those mini chop food processors so it shouldn't require a huge expense.
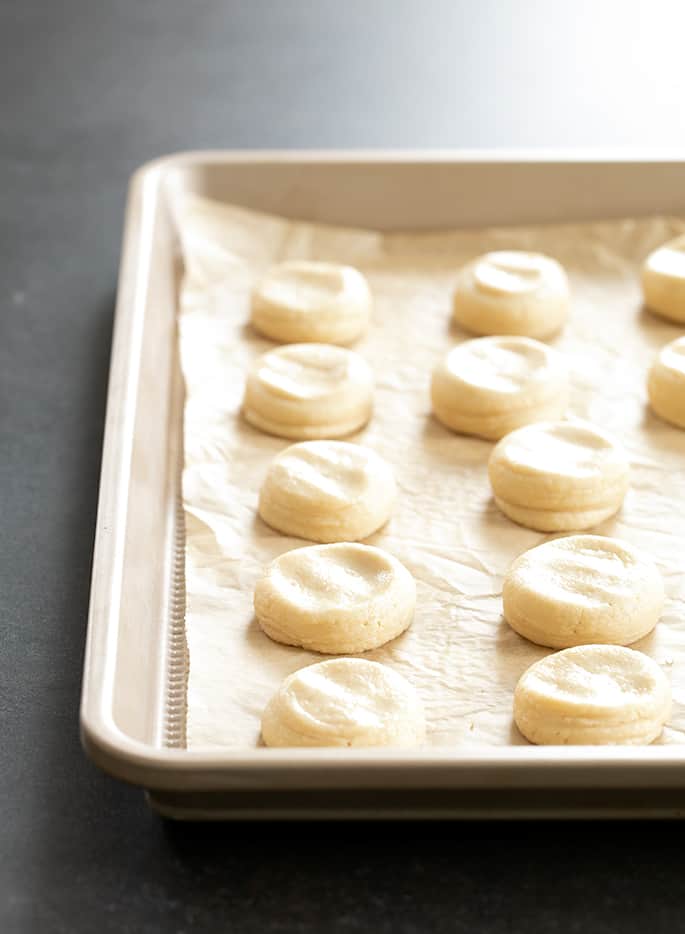
Yes, you don't have to put the cookie dough into a pastry bag and pipe it into mounds on a baking sheet. You can just use a spoon to make small portions of dough, each about 1 tablespoonful. Be sure to press them down a bit with wet fingers because they won't spread much during baking and you want flat disks, not balls of dough.
How to make Nabisco-style gluten free vanilla wafers
Gluten Free Vanilla Wafers | Like Nabisco
Equipment
- Food processor with steel blade or stand mixer fitted with paddle attachment
Ingredients
- 1 ⅓ cups (187 g) all purpose gluten free flour blend, (I used Better Batter)
- ½ teaspoon xanthan gum, omit if your blend already contains it
- ½ teaspoon baking powder
- ⅛ teaspoon baking soda
- ½ teaspoon kosher salt
- ½ cup (109 g) packed light brown sugar
- 8 tablespoons (112 g) unsalted butter, at room temperature
- 1 (50 g (weighed out of shell)) egg, at room temperature, beaten
- 4 teaspoons pure vanilla extract
- 2 tablespoons (1 fluid ounce) milk, at room temperature
Instructions
- Preheat the oven to 325°F. Line rimmed baking sheets with unbleached parchment paper and set them aside.
- In the bowl of your stand mixer fitted with the paddle attachment, or the bowl of a food processor fitted with the steel blade, add the flour, xanthan gum, baking powder, baking soda, salt, and brown sugar.
- Whisk with a separate handheld whisk or pulse to combine. Add the butter, egg, and vanilla, and beat or process until well-combined. Add the milk, and beat or process until the dough clumps.
- Either scoop dough by the level tablespoonful, or pipe an equivalent amount through a pastry bag fitted with a plain piping tip (for more consistent cookie sizing) about 1 inch apart on the prepared baking sheets.
- The dough will spread during baking, but not a lot. If you have piped the dough, with wet fingers, gently flatten the top of each raw cookie if anything is sticking up.
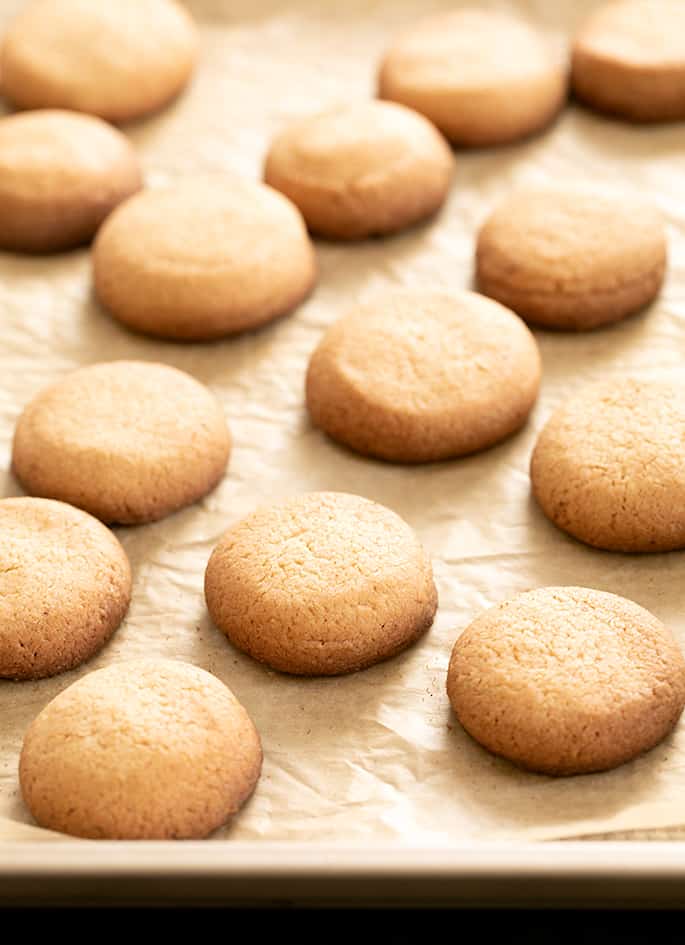
- Place the baking sheets in the center of your preheated oven and bake for 15 to 17 minutes, or until the cookies are uniformly golden brown in color.
- Allow the cookies to cool completely on the baking sheets. Store any leftover cookies, completely cooled, in a sealed glass container at room temperature to preserve crispness.
Video
Notes
Nutrition information is automatically calculated, so should only be used as an approximation.





These were fabulous! Tablespoon/ wet finger technique worked better for me than piping. At 17 min cook time, the wafers taste just like Nabisco, but were tender, not crispy. Still delicious . Must make more now to freeze for summer desserts!
Can you use a sugar substitute like swerve brown sugar in this recipe? My son is a diabetic and we have to avoid sugar.
Hi, Michel, you can try using a sugar alternative, but you’ll almost certainly have to add a bit more moisture, but there’s no way to tell how much without experimenting. Sugar alternatives tend to be drying, and if you add too much moisture, the cookies will spread too much. I hope that’s helpful!
I would use this to make a crumb pie crust. Do you think it would have the crispness I need if I were to make bigger thinner cookies, or even a sheet of rolled out dough to save time?
I think they’d probably get properly crispy if you made them larger and flatter, but I don’t recommend baking them as a sheet, no.
Do you use a convection oven?
None of my recipes are developed using a convection oven, Beth. I do have that option on my oven, but I don’t use it when recipe testing. Only when cooking for my family.