

This post may contain affiliate links. Please read our disclosure policy.
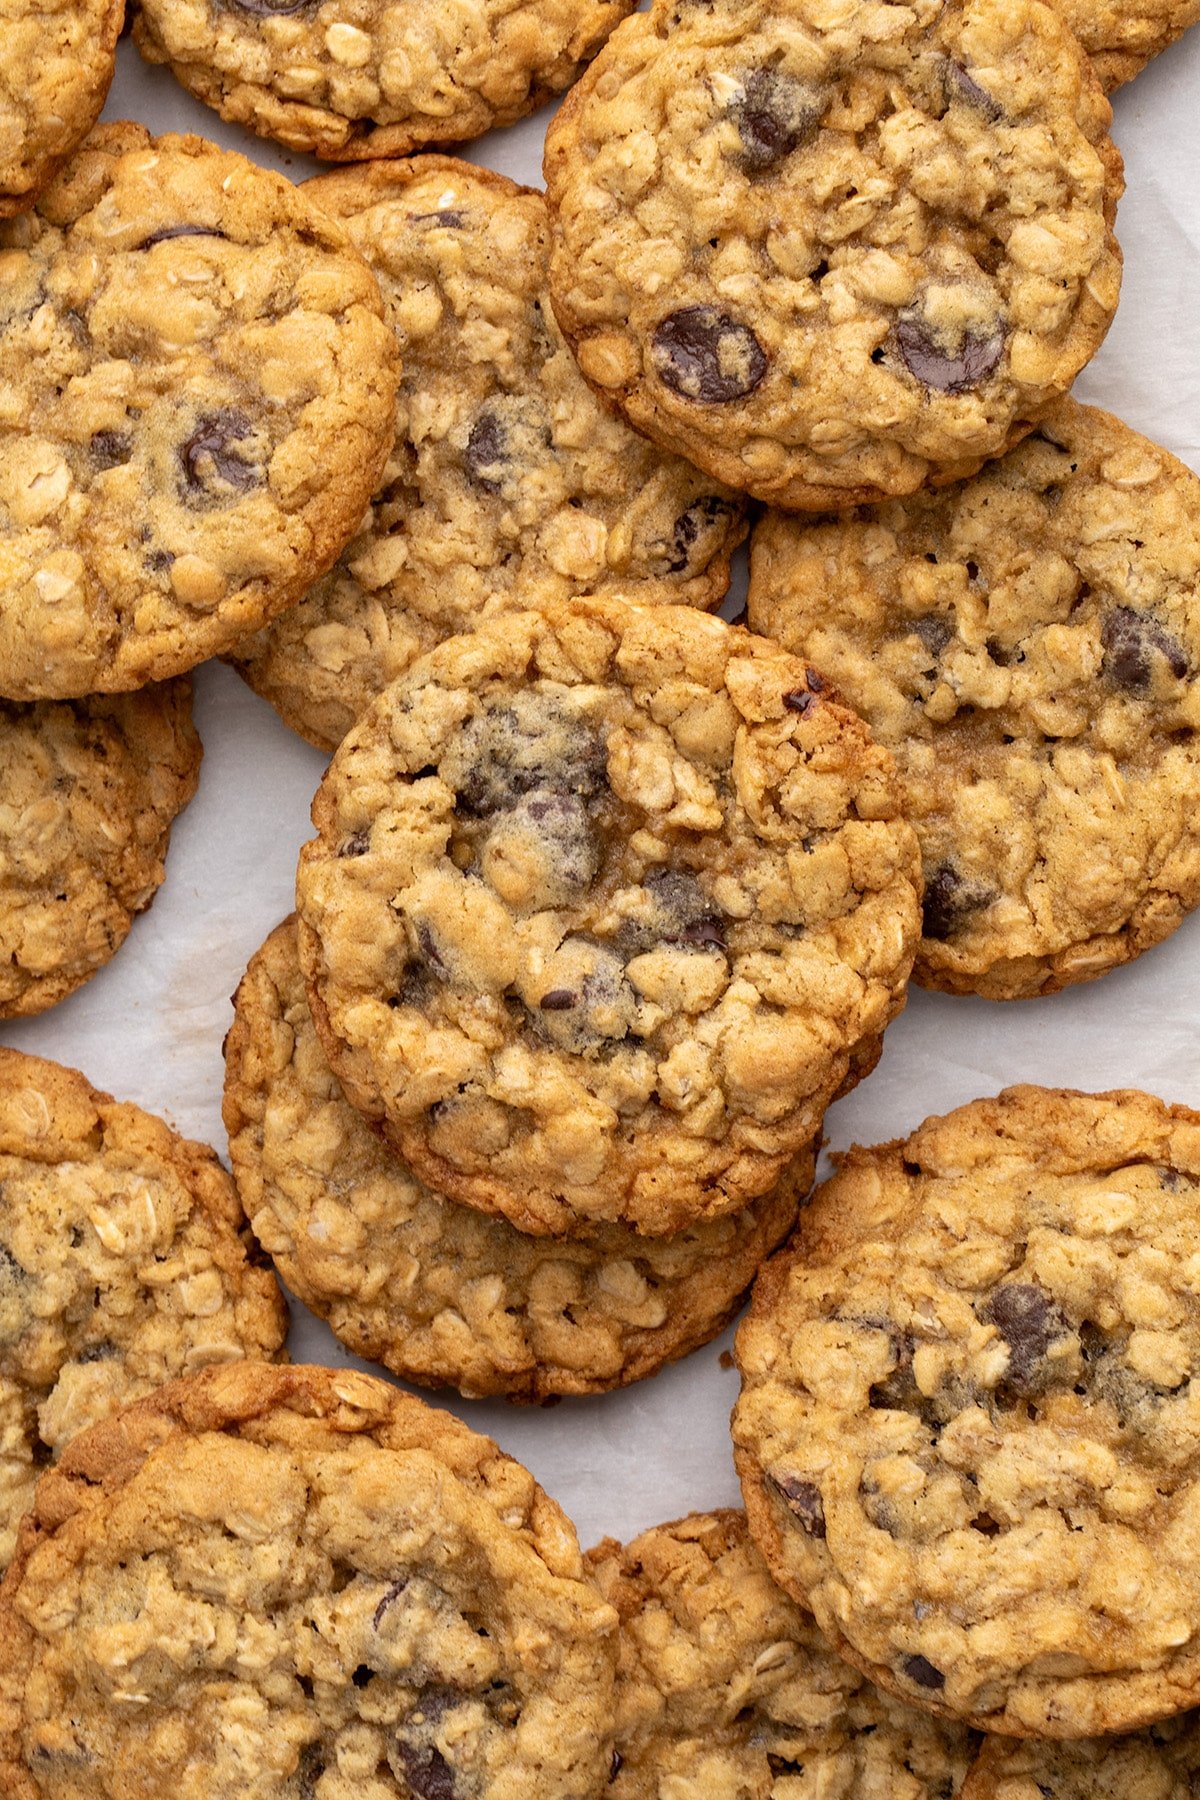
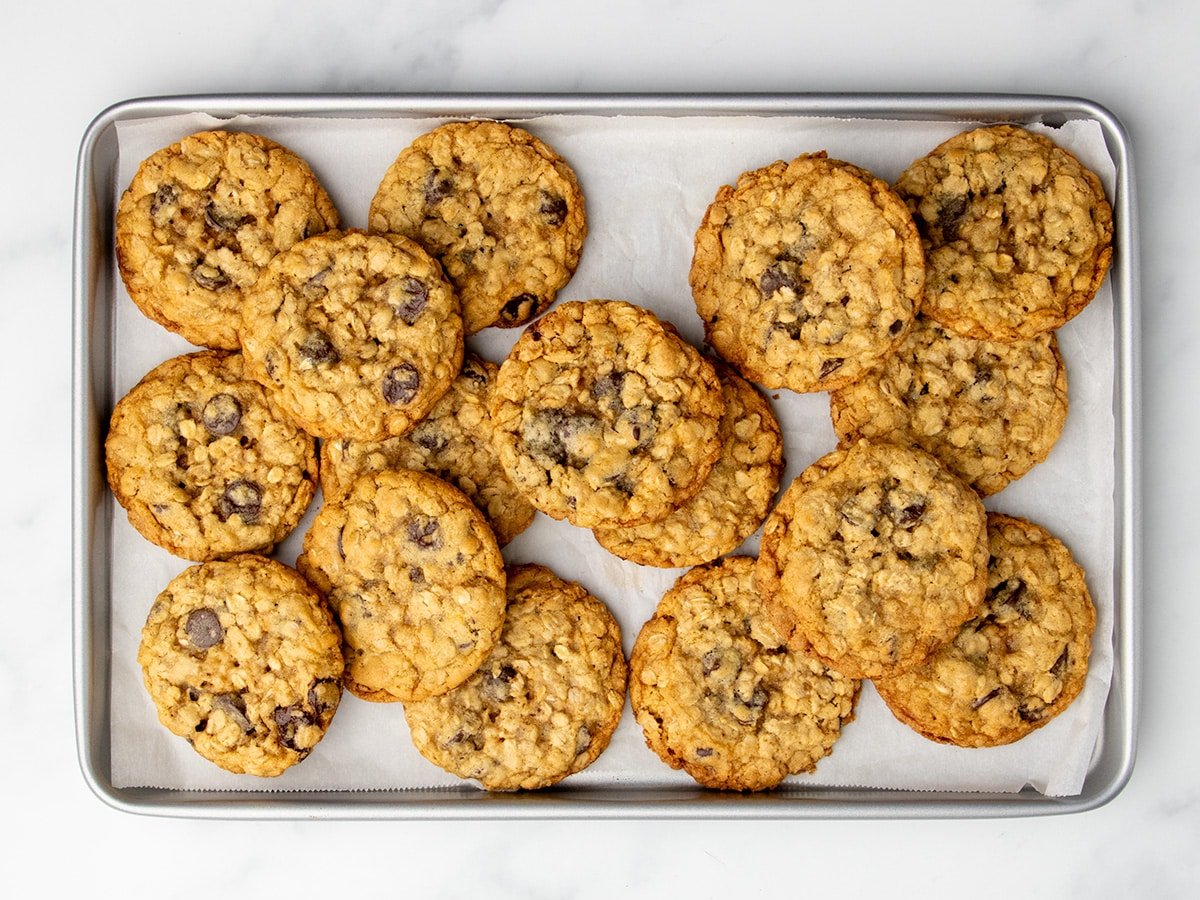
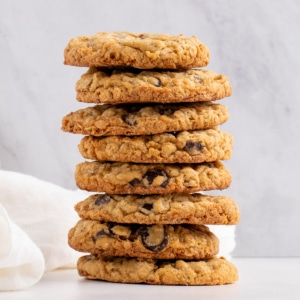
These simple, one-bowl thick and chewy gluten free oatmeal cookies are crispy around the edges, and soft and extra chewy the rest of the way through.
Packed with oats and golden brown sugar, and made using the “reverse cream” method, these special cookies will be the first to go at a party!
Why this recipe works
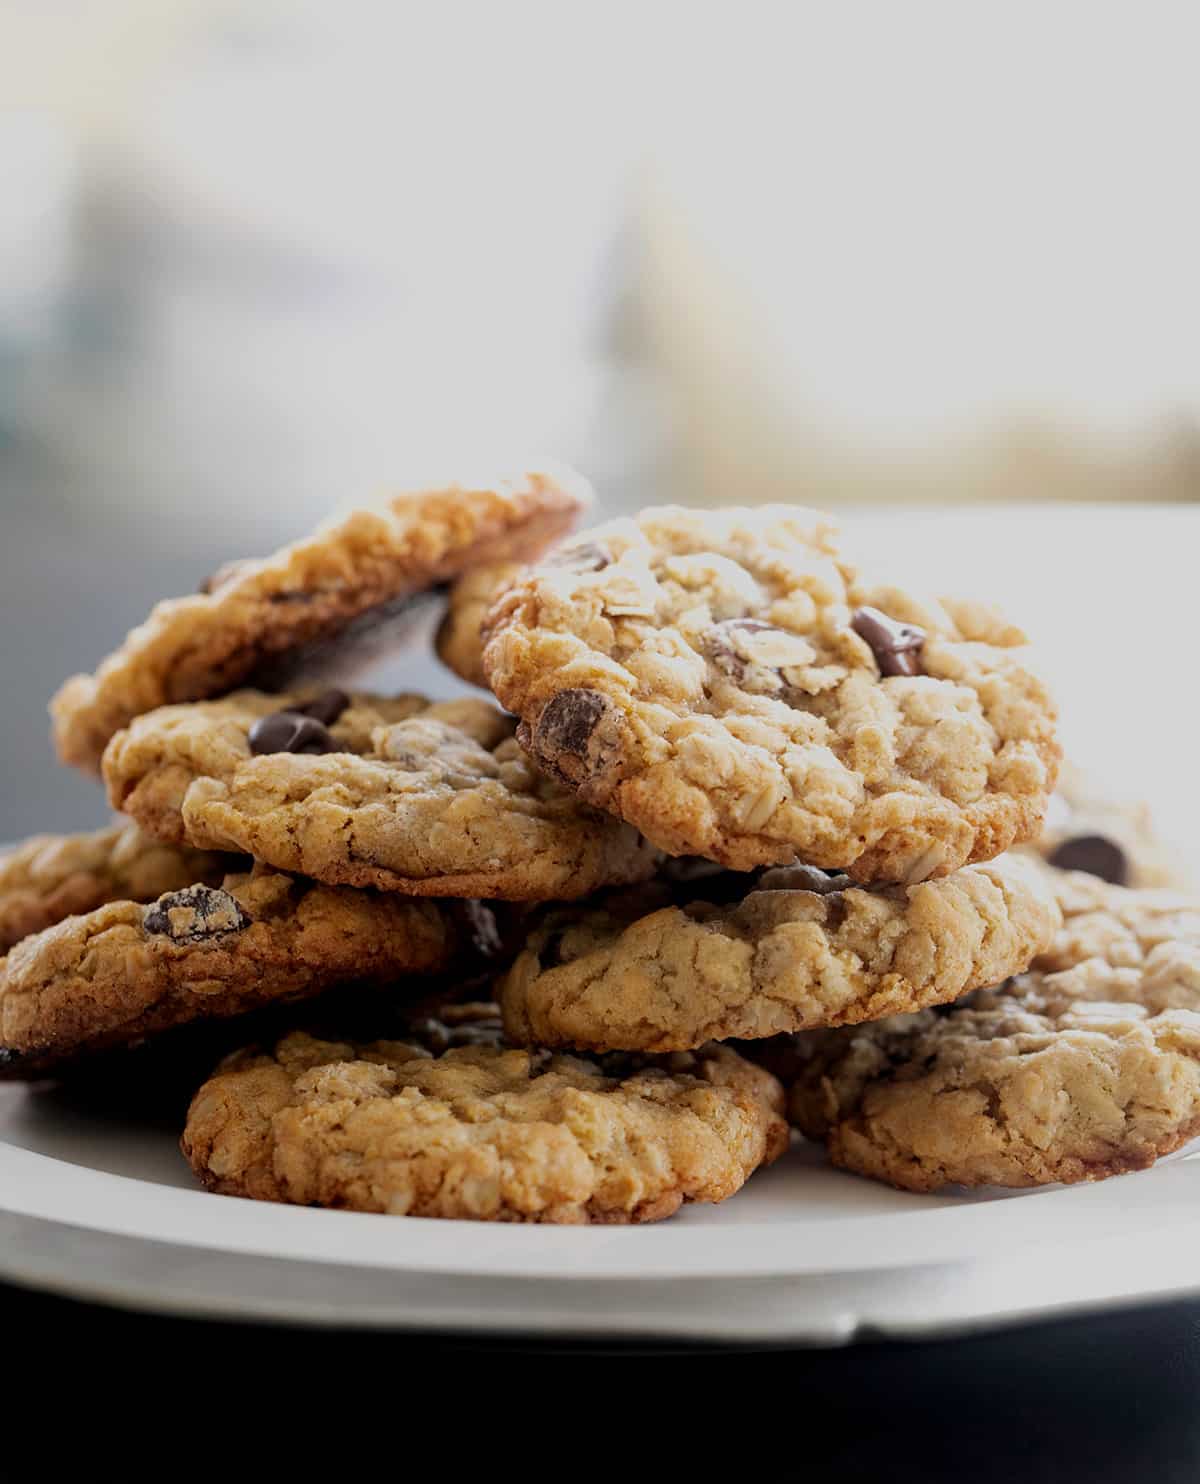
With a full cup more chewy, nutty-tasting old fashioned rolled oats than all purpose gluten free flour, these rich, moist cookies have that thick and chewy texture you can sink your teeth into. That’s also what gives them a completely different texture and flavor from another classic, our thick and chewy gluten free chocolate chip cookies.
Made with the perfect mixture of white sugar and light brown sugar, they’re crisp on the edges and the bottom, but still tender and never hard to bite.
They also have tons of caramel flavor even without a long chilling time, so they’re ready to eat in less than an hour start to finish!
Recipe ingredients
Here are the ingredients you’ll need to make this recipe, plus some tips on what each one does to make these the perfect oatmeal cookies. The full ingredient amounts and instructions are in the recipe card below:
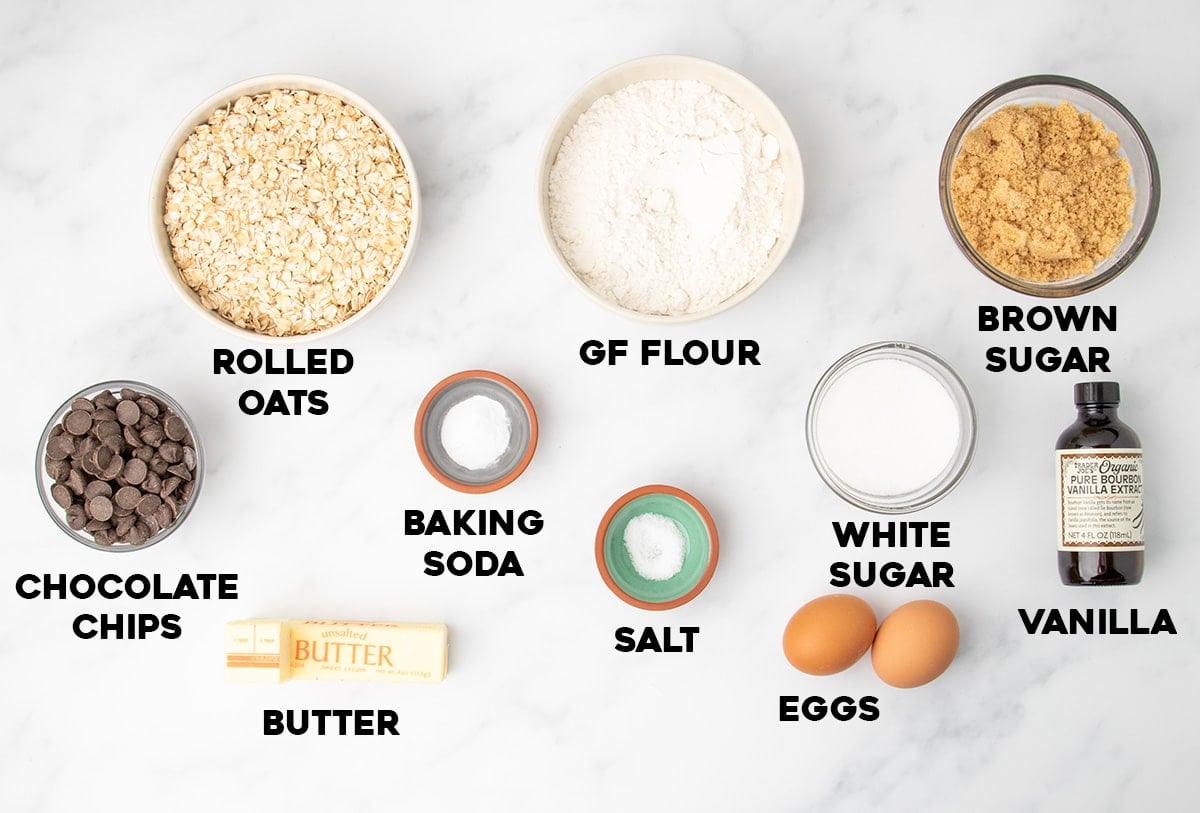
- Gluten free flour blend: Creates a structure to help bind the rolled oats together into a cookie that holds its shape even as it cools. It works out to be only about 1 tablespoon of flour in each cookie, so be sure to choose something that can perform in small amounts, like Better Batter’s classic blend or Nicole’s Best multipurpose with added xanthan gum. Bob’s Red Mill 1-to-1 should also work with an additional 1/4 teaspoon xanthan gum or the cookies will be a bit crumbly since it has some, but not enough, binder.
- Baking soda: Helps the cookies brown, and reacts with the acid in brown sugar to create some rise.
- Granulated sugar: Adds sweetness, and also provides crispness by helping the cookies spread during baking, and crystallizing upon cooling.
- Old fashioned rolled oats: Add that classic nutty flavor and chewy texture, and absorb moisture to help control the spread and provide structure. Make sure yours are labeled gluten free.
- Light brown sugar: The rich molasses in brown sugar adds caramel flavor, aroma, chewiness and moisture, and helps keep the cookies from spreading too much.
- Chocolate chips: A smaller-than-usual amount of chocolate chips adds texture chocolate flavor without overpowering the brown sugar and oat flavors. They also lower the moisture content of the cookie dough to control spread. You can also use 6 ounces of raisins and make gluten free oatmeal raisin cookies if you want to avoid chocolate altogether.
- Butter: Adds richness and buttery flavor, and makes the cookies spread in the oven.
- Eggs: Bind the cookies together, add some rise, and help them keep their shape as they cool.
- Vanilla extract: Adds depth of flavor.
How to make gluten free oatmeal cookies (step by step photos)
Here’s how you make these cookies in your own kitchen in one bowl, with the reason behind each step:
Combine the dry ingredients
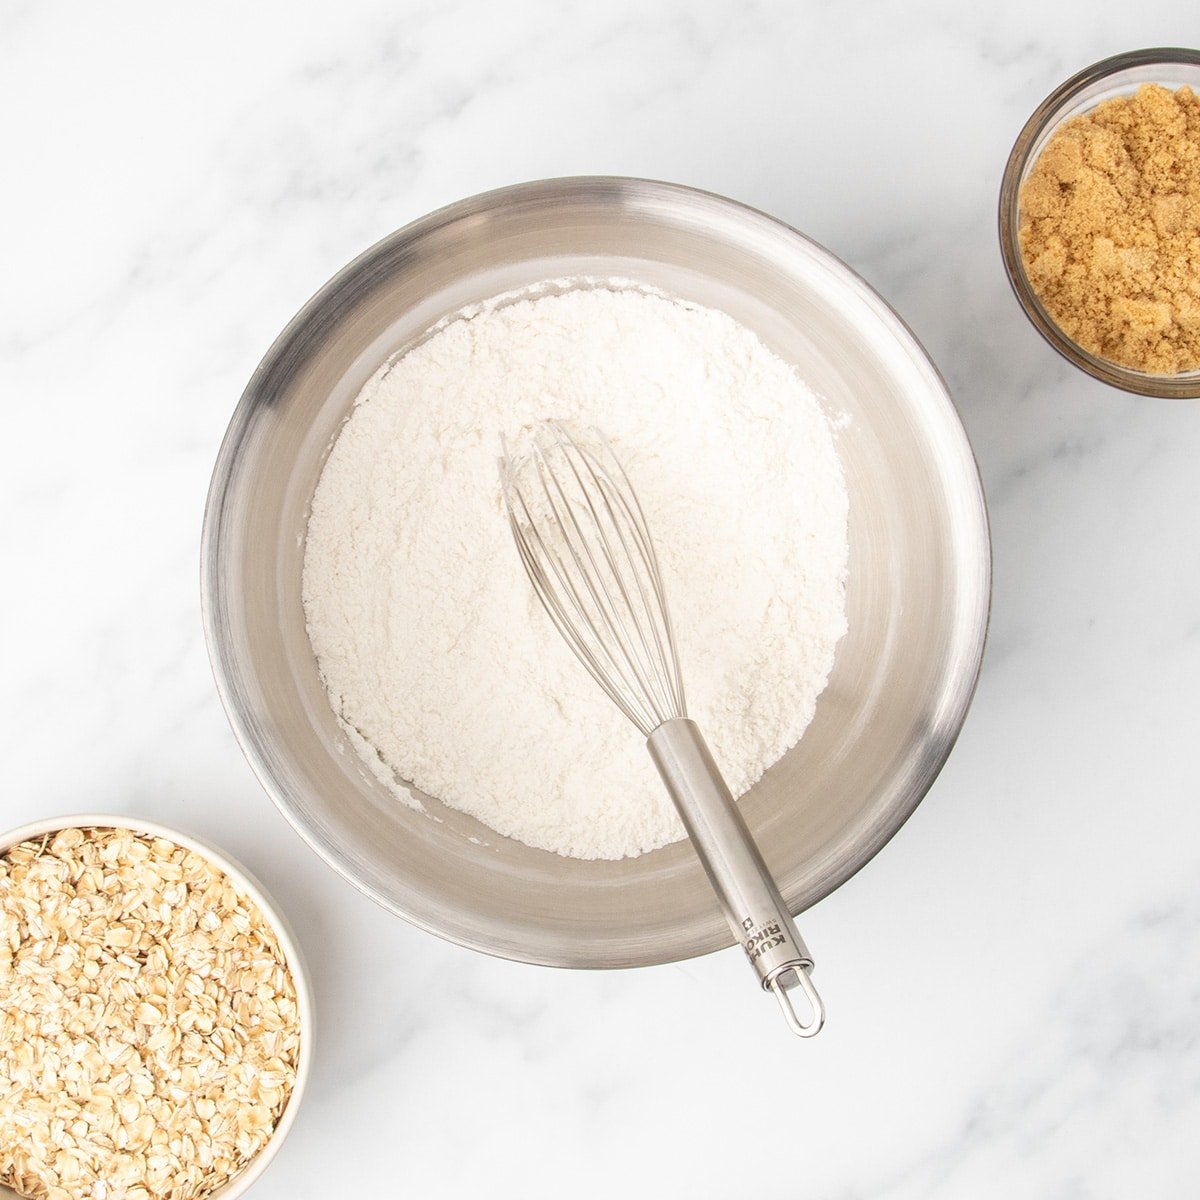
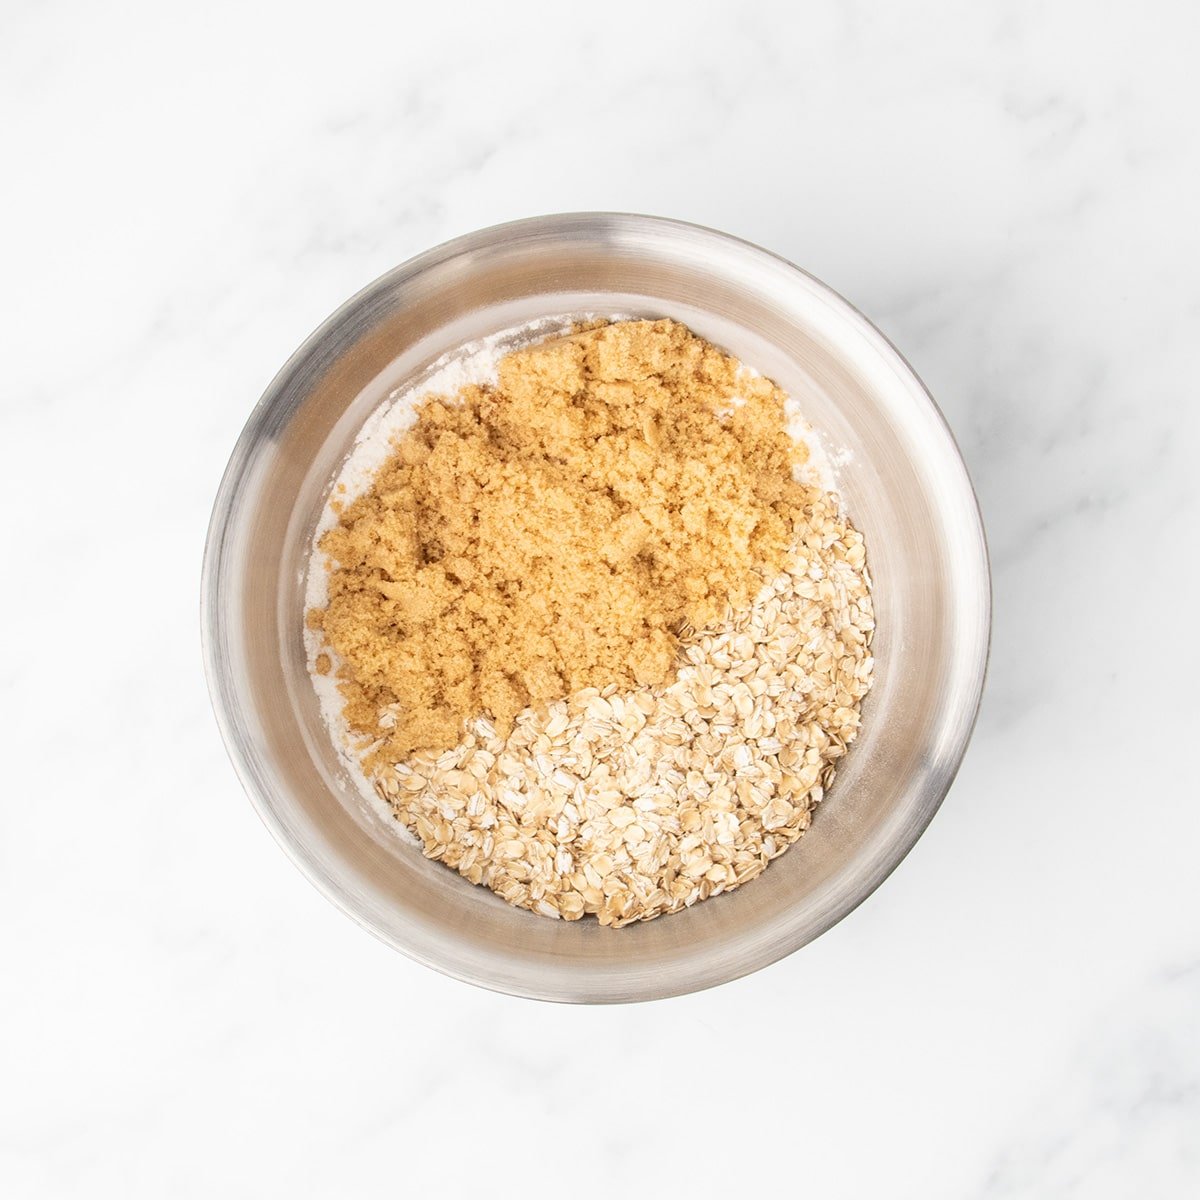
In a large mixing bowl with at least an 8-cup capacity, whisk together the gluten free flour blend with xanthan gum, baking soda, salt, and granulated sugar so there’s no clumping of these thinner dry ingredients.
Add the brown sugar and oats, and mix to combine fully, breaking up lumps in the brown sugar, which would melt quickly and could burn in the oven.
Add the butter
Add the softened butter by the tablespoon to the dry mixture, and use a large mixing spoon to toss the mixture to separate and coat the butter in flour and oats. Press the back of the mixing spoon firmly down on the butter pieces to break them and work them into the batter until the mixture darkens a bit and looks like wet sand.
In a gluten cookie, this “reverse cream” method is designed to avoid too much gluten development. In these gluten free cookies, we’re using it to distribute the butter fully without adding air into the cookies, which results in a lighter cookie.
Finish the cookie batter
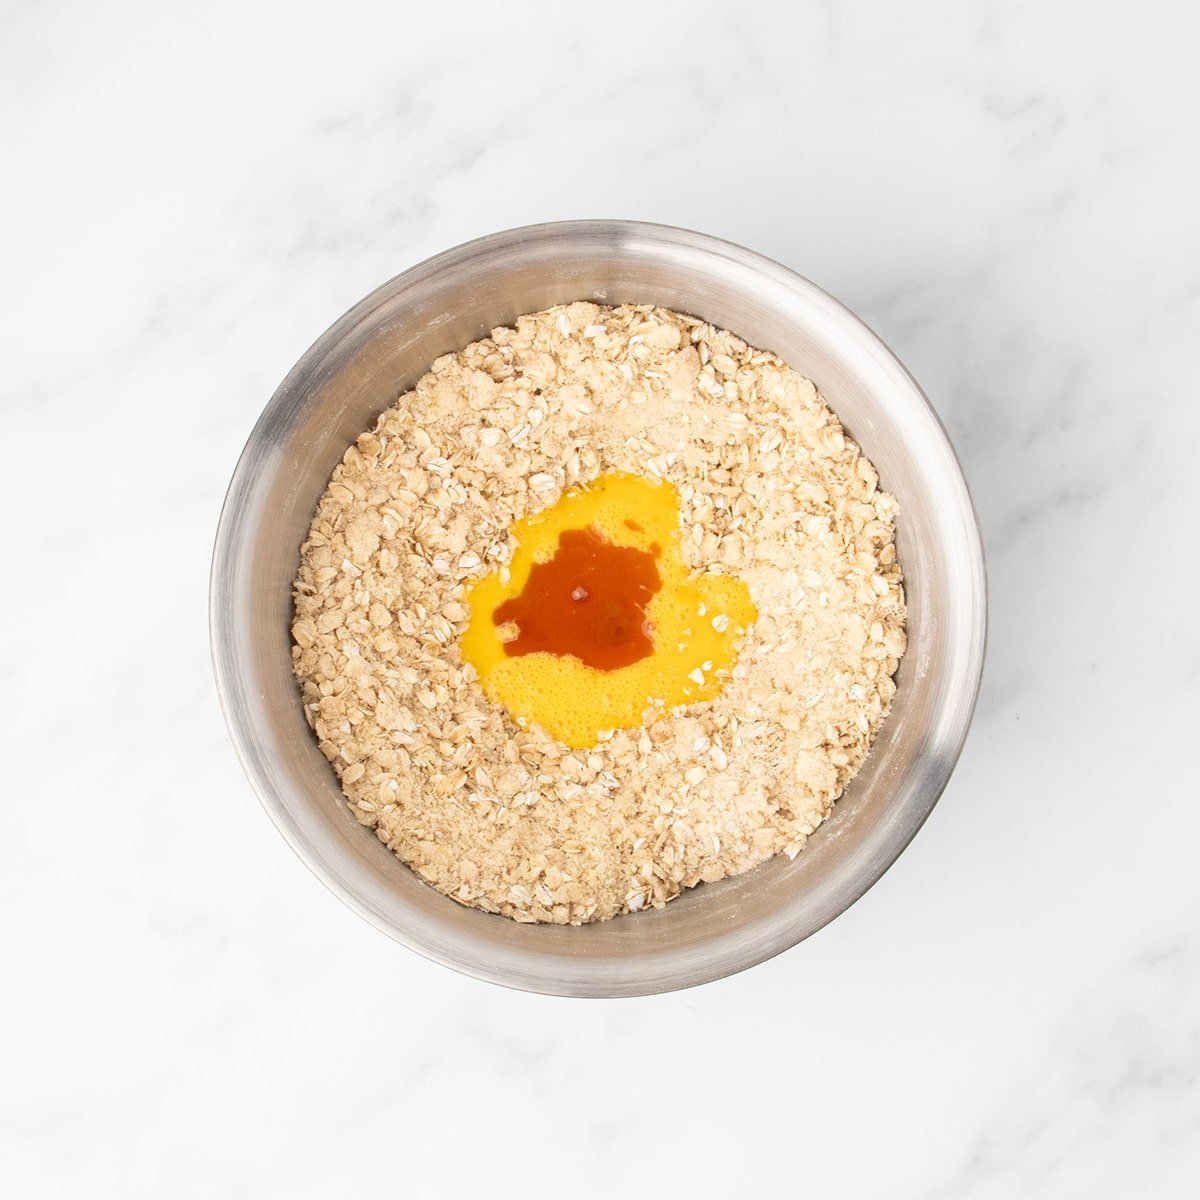
Add the beaten eggs and vanilla to the mixture by creating a well in the center first. This makes it easier to combine into a cohesive, soft but thick cookie dough without overmixing which can lead to a stringy batter.
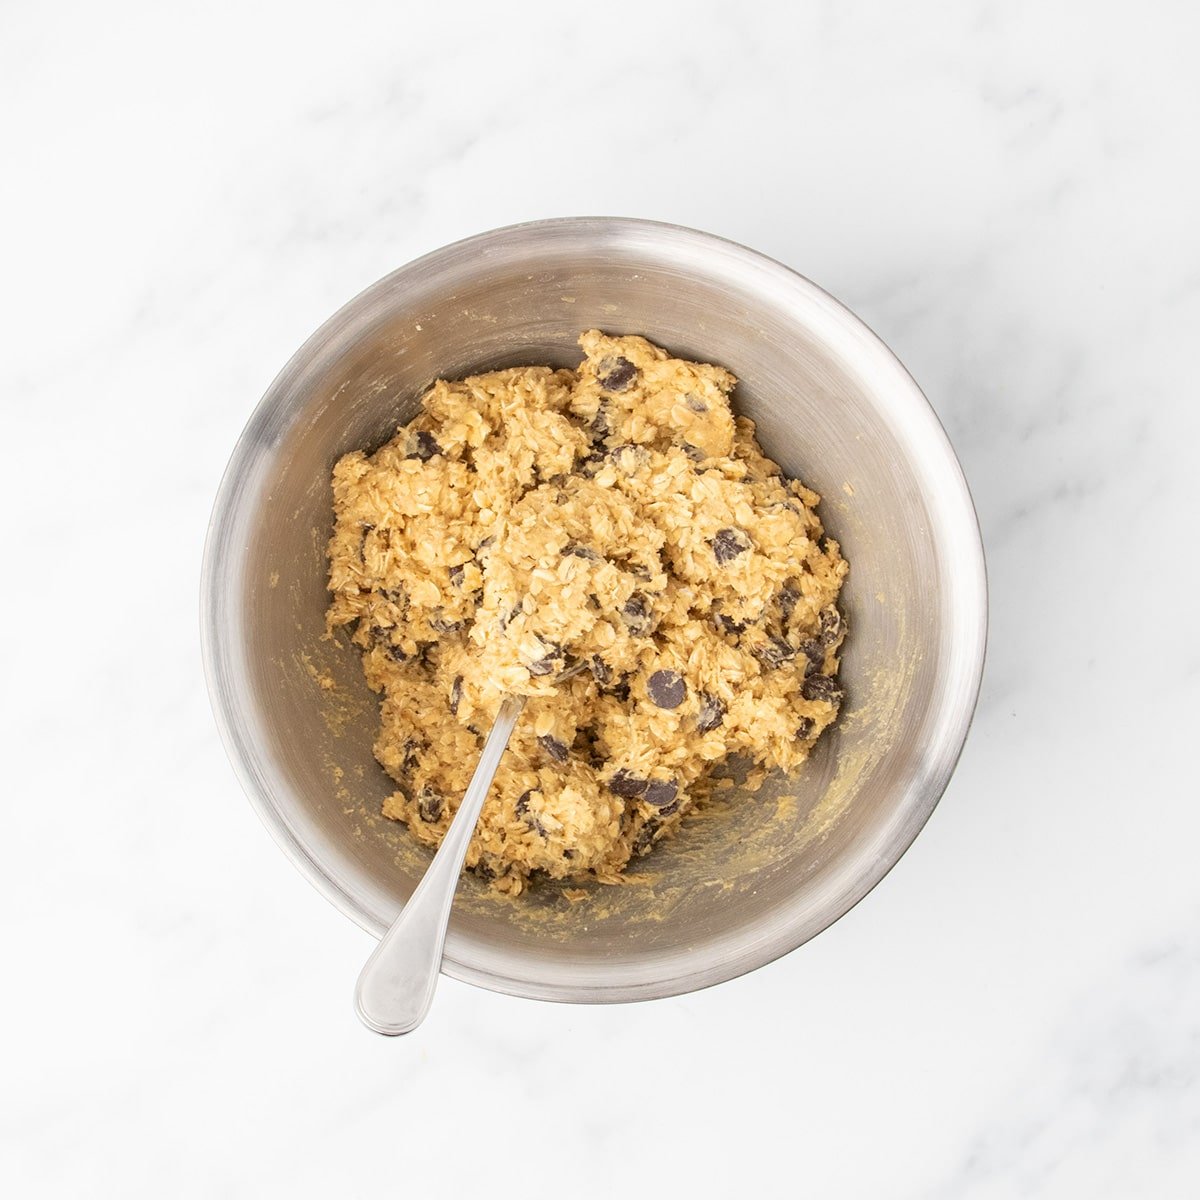
Add the chocolate chips at the end, and mix until fully distributed throughout the dough so each cookie has a similar amount of chips.
Shape the dough
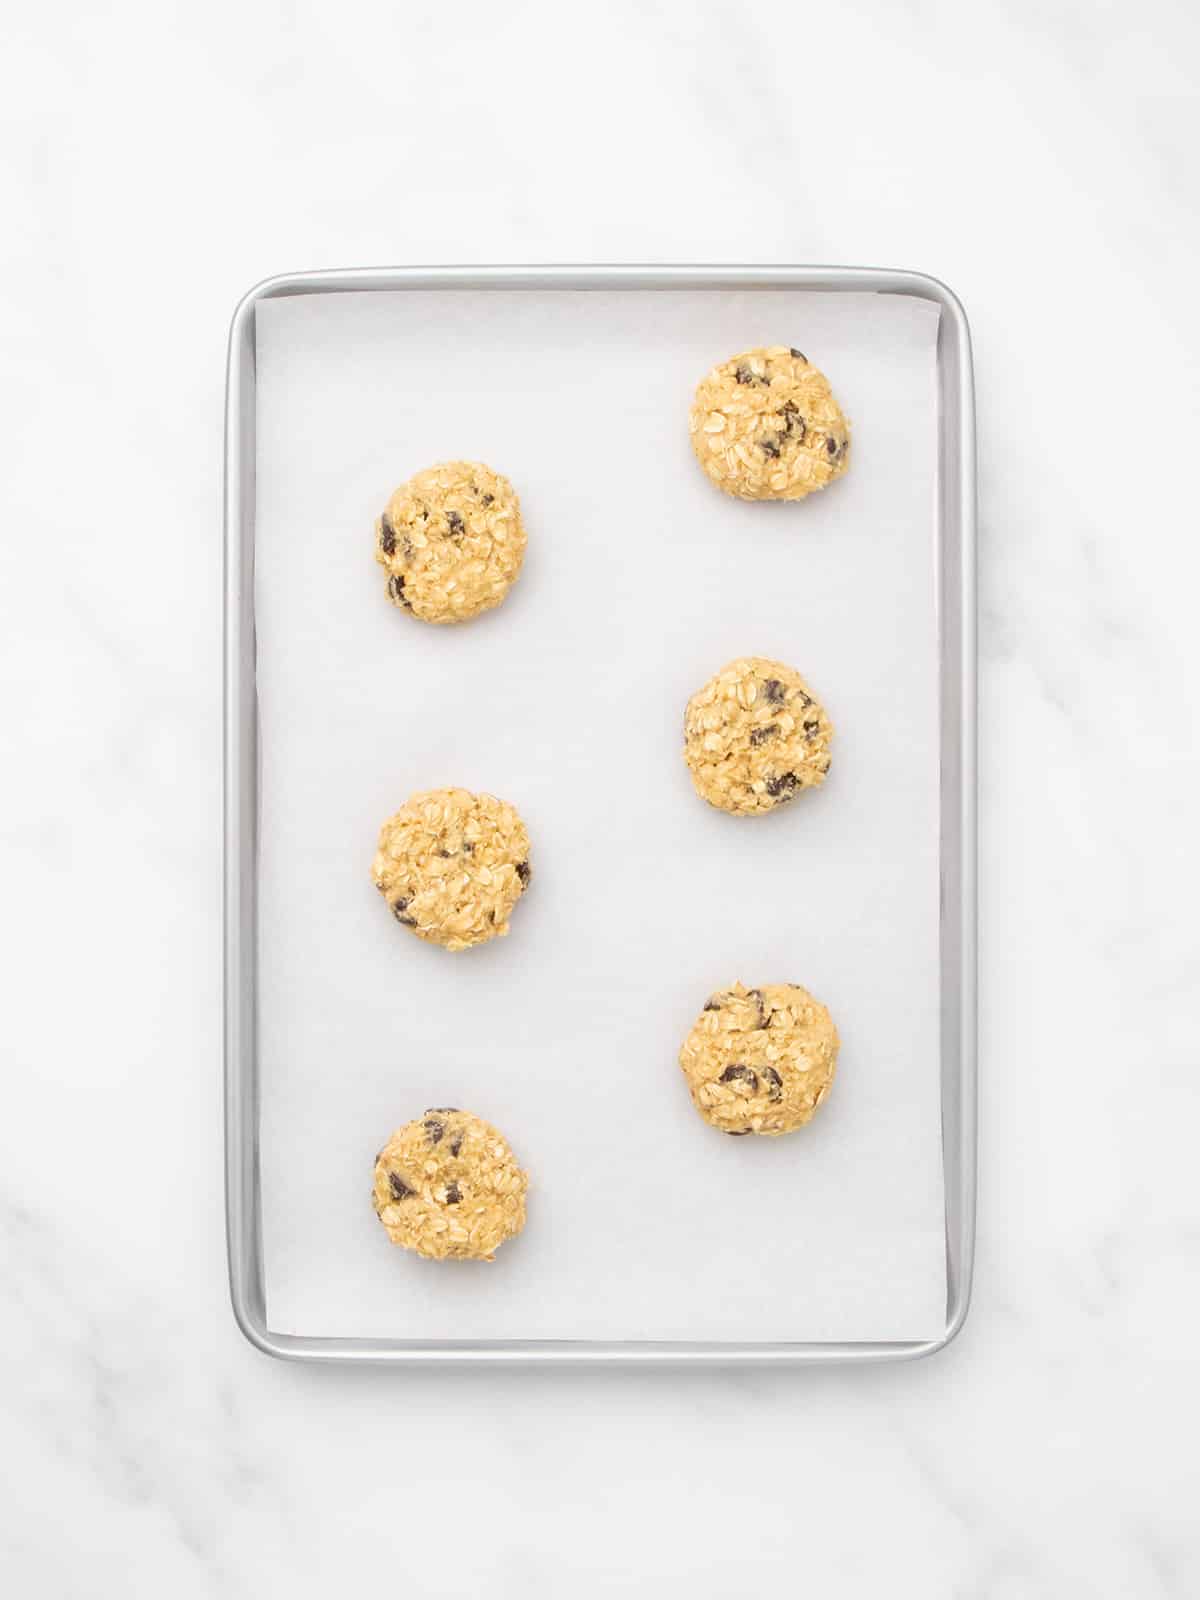
Divide the cookie dough into about 24 portions, each about 1.5 tablespoons, using a medium cookie scoop or two spoons, for even baking. Roll each piece into a round between clean palms, and press into a disk about 3/4-inch thick.
Chill briefly
Place the disks of dough either in the refrigerator or the freezer just until they’re firm to the touch, not frozen. This will firm up the butter to help control the spread during baking.
Place the chilled disks about 2 inches apart on lined baking sheets, to allow the cookies enough room to spread.
Bake and cool
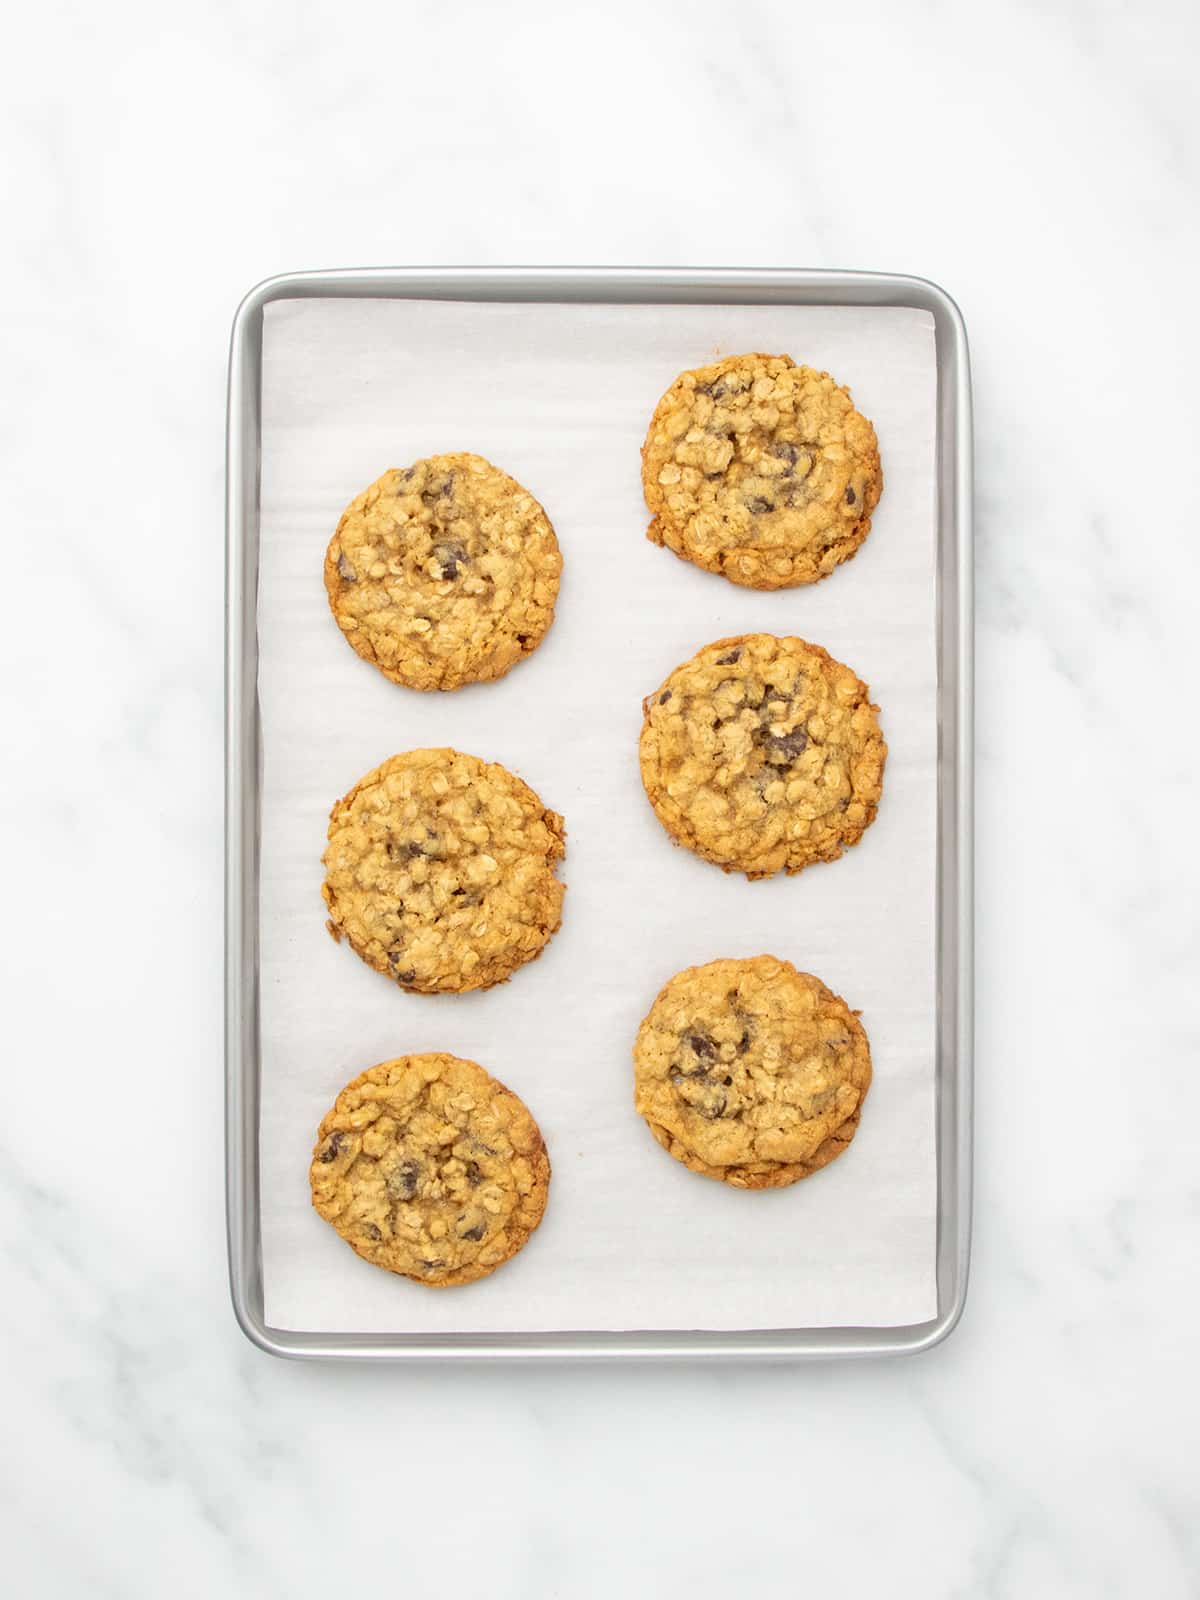
Bake in a preheated oven just until spread to about double their original size, golden brown around the edges and light brown all the way to the center.
The cookies will be very unstable even when they’re done baking, so leave them to cool on the baking sheet until firm enough to transfer to a wire rack to cool completely.
Expert tips
Work the butter into the oat mixture
The raw cookie dough is very thick, and nearly seems like it won’t come together, but it will. Work the butter into the dry ingredient mixture (with the sugars) by pressing down on it with the back of your mixing spoon until everything is slightly moistened. Then, mix in the beaten eggs and vanilla to bring the dough together.
Divide the dough evenly
A spring-loaded ice cream scoop makes it easy to divide the cookie dough up into uniform portions, each about 50 grams. I love my OXO medium cookie scoop for this, which is equivalent to about a #50 scoop. It begins to create the right shape for baking, and helps your cookies all bake at the same rate.
Chill the shaped dough on its own
To control the spread of the cookies in the oven, we chill the raw, shaped disks of dough. But I’ve found that it’s best to chill the dough on a separate surface, not on the baking sheets that will go in the oven. If the baking sheet is very cold, the oven temperature may spike to regain its designated temperature, which could burn the cookies.
Avoid over-baking
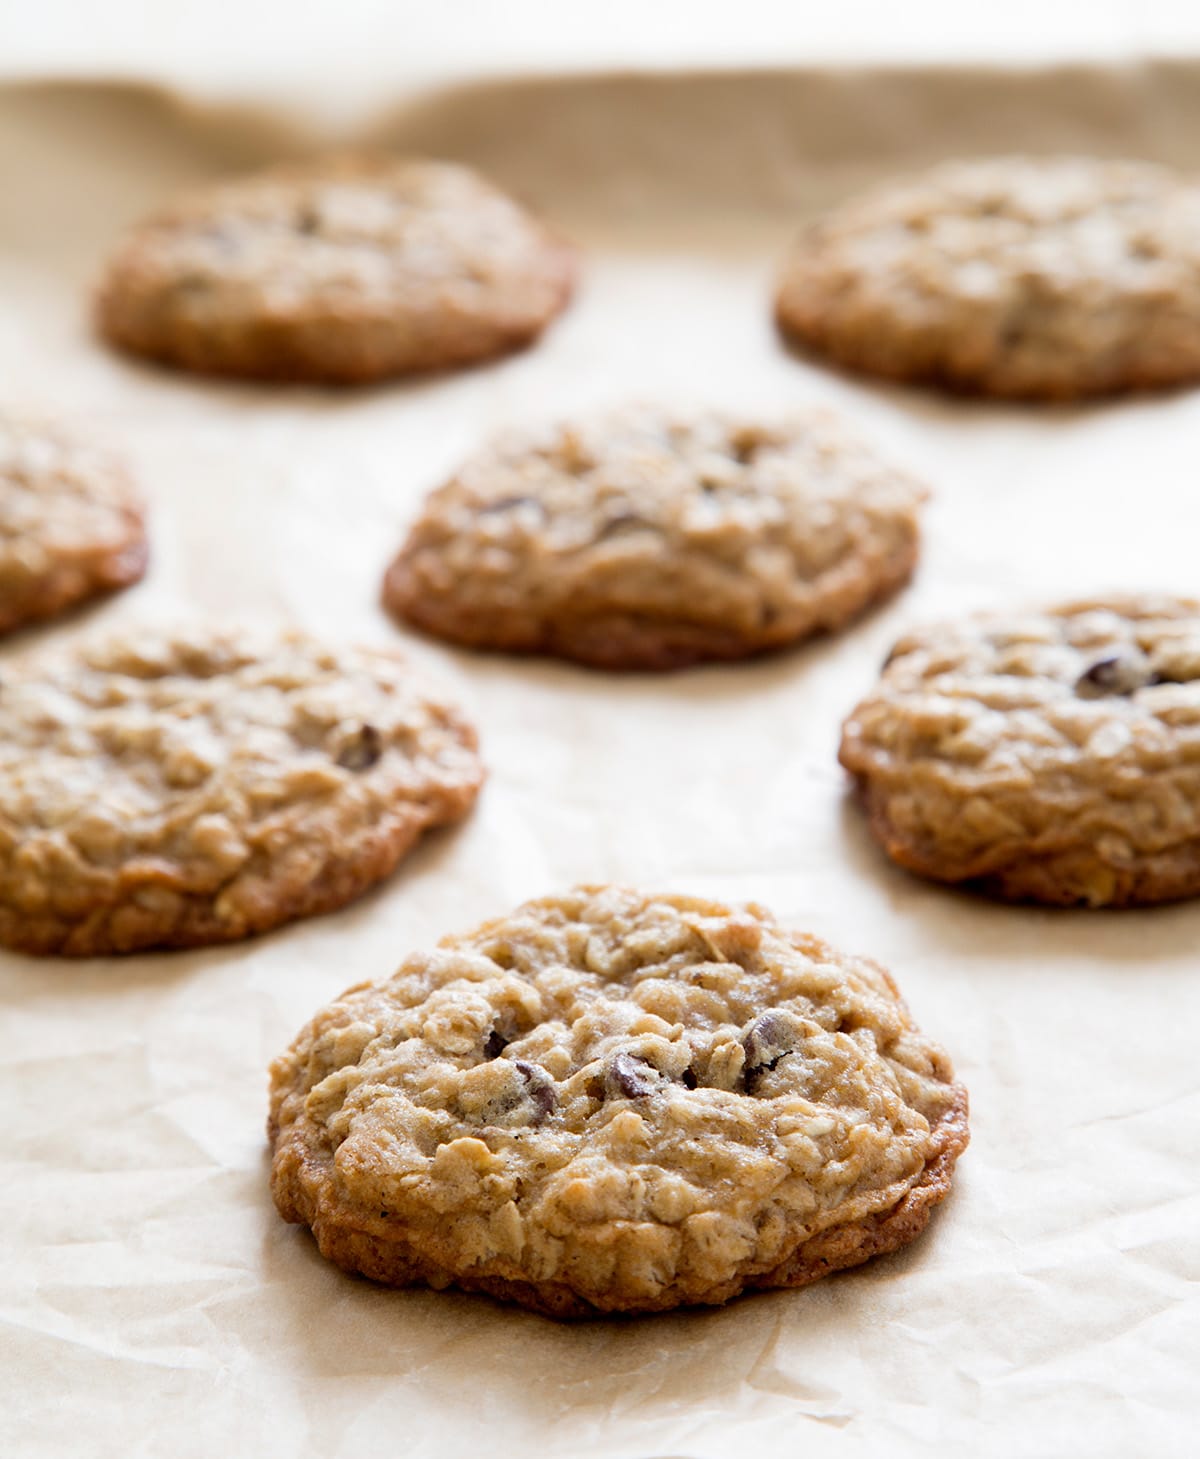
Just before the edges of these cookies turn brown in the oven, the tops will still be glossy and look wet. Even when the cookies are done, they won’t be firm, particularly on top.
If you bake them until they’re firm on top to the touch, they’ll be overdone. If you’re concerned about over-baking, reduce the oven temperature to 325°F and bake them for 15 minutes.
Ingredient substitutions
Dairy free
In place of regular butter, try block-style vegan butter (not in the tub, which is made with too much oil). I’ve made this recipe with Melt brand vegan butter in place of butter, and it worked really well. The cookies didn’t brown quite as nicely, and they spread a bit more, but overall the substitution worked great. Miyoko’s Kitchen brand of vegan butter is also a great choice.
Egg free
In place of each of the two eggs in this recipe, you can try one “chia egg” (1 tablespoon ground white chia seeds + 2 tablespoons lukewarm water, mixed and allowed to gel). You can also try Bob’s Red Mill’s egg replacer or Just Egg refrigerated liquid egg replacer.
Oat free
You can replace the old fashioned oats in this recipe with rolled buckwheat groats, or flattened (or beaten) rice. If you can’t have oats, I recommend having a look at our full discussion about how to substitute oats in baking.


Storage suggestions
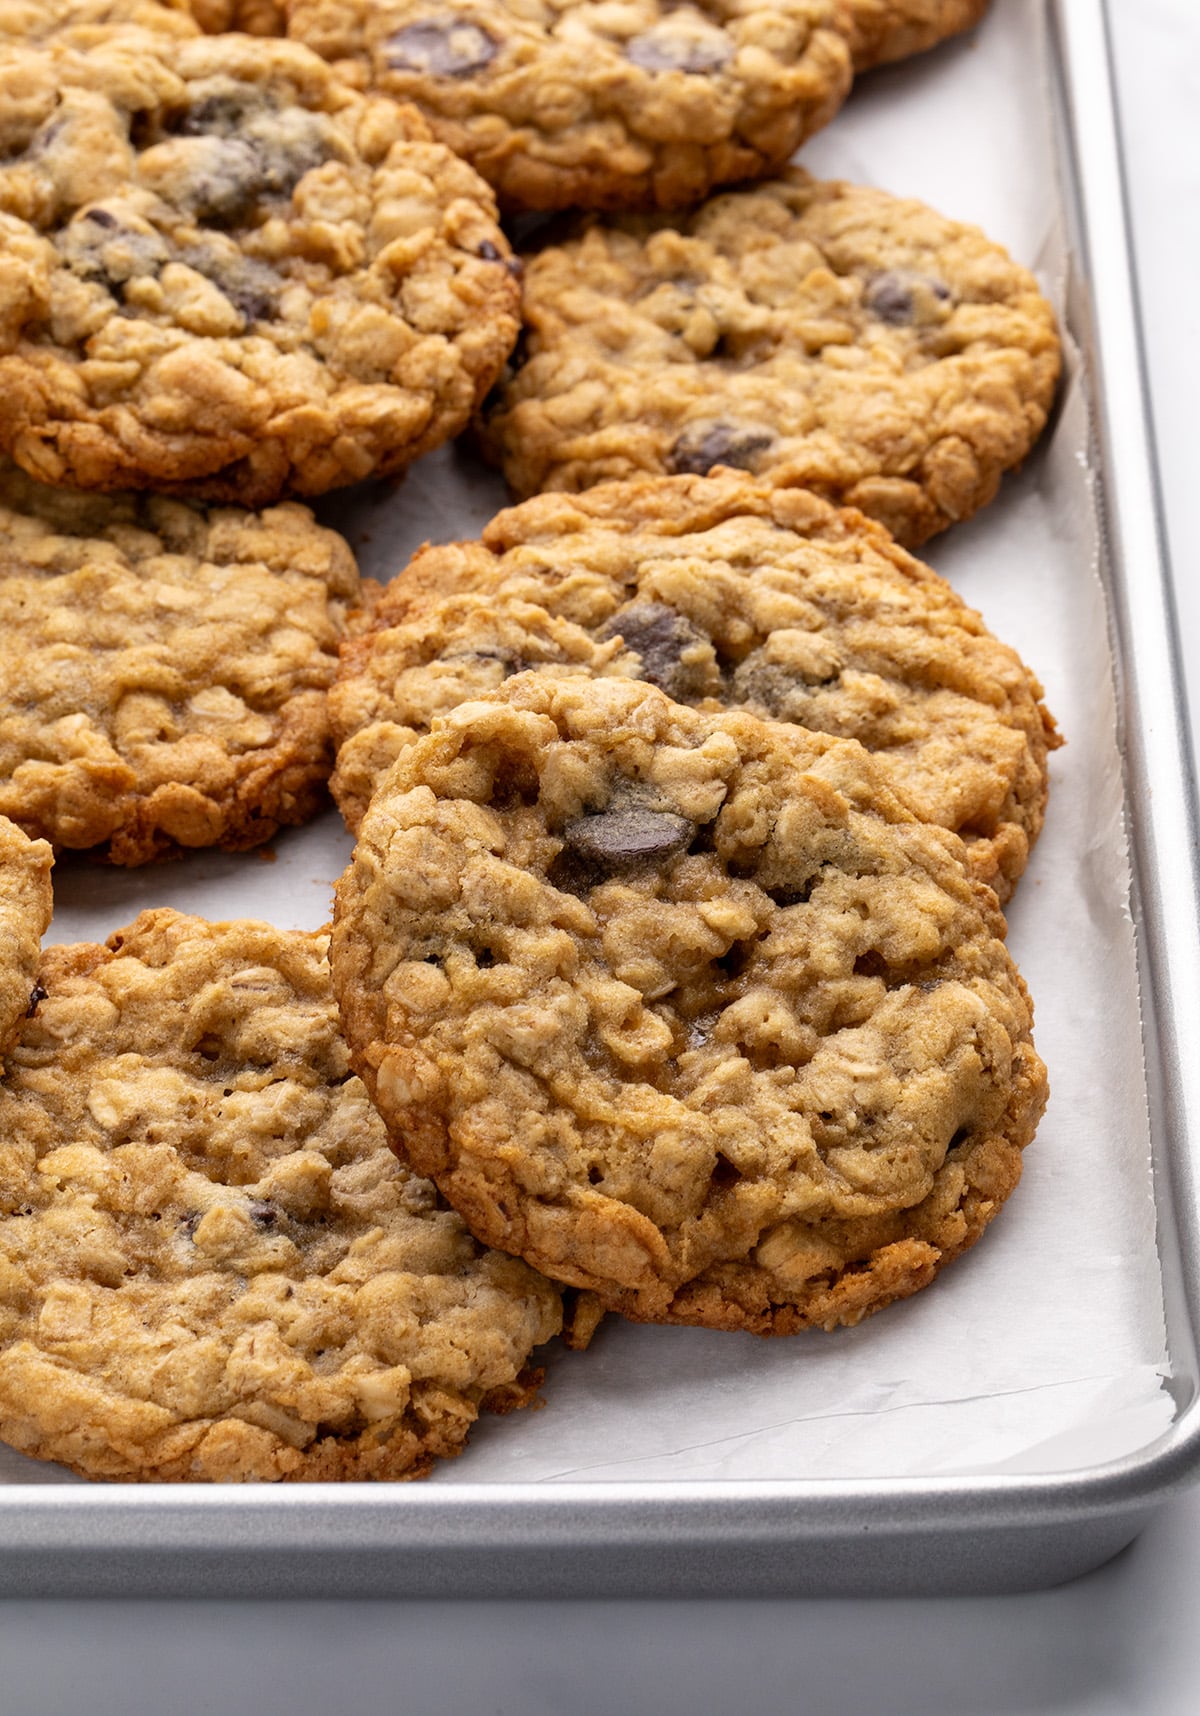
These cookies will maintain their texture at room temperature for at least 3 days. For longer storage at room temperature, store them in a sealed glass container for 5 days or more.
For longer storage, place them in a freezer-safe zip-top container, squeeze as much of the air out of the bag as possible, and freeze for up to 3 months. Defrost at room temperature.
You can also freeze the raw, shaped cookie dough in a single layer on a baking sheet. Pile it in a freezer-safe bag, squeezing out all the air, and freeze for up to 3 months. Before baking, defrost the mounds of cookie dough at room temperature until they’re still firm, but aren’t frozen solid. Bake as usual, in small or large batches.
Gluten Free Oatmeal Cookies Recipe
Tell Google you trust GFOAS!
Ingredients
- 1 ½ cups (210 g) all purpose gluten free flour blend, (See Recipe Notes)
- ¾ teaspoon xanthan gum, omit if your blend already contains it
- 1 teaspoon baking soda
- ½ teaspoon kosher salt
- ½ cup (100 g) granulated sugar
- 2 ½ cups (250 g) gluten free old fashioned rolled oats
- 1 cup (218 g) packed light brown sugar
- 6 ounces semi-sweet chocolate chips, (See Recipe Notes)
- 10 tablespoons (140 g) unsalted butter, at room temperature
- 2 (100 g (weighed out of shell)) eggs, at room temperature, beaten
- 1 teaspoon pure vanilla extract
Instructions
- Preheat your oven to 350°F. Line rimmed baking sheets with parchment paper and set aside.
- In a large bowl, place the flour, xanthan gum, baking soda, salt, and granulated sugar, and whisk to combine well.
- Add the oats and brown sugar and mix, breaking up any lumps in the brown sugar.
- Add the butter in clumps, each about 1 tablespoon, and toss to coat them in the dry ingredients. Press down the back of the bowl of a mixing spoon to work the butter into the dry ingredients until the mixture resembles coarse sand. You shouldn't see any large clumps of butter when you're done.
- Create a well in the center of the dry ingredients, and add the beaten eggs and vanilla.
- Mix until the dough comes together. Alternately stir and press the cookie dough with the back of the spoon until the dry ingredients are moistened.
- Add the chocolate chips, and mix to distribute the chips evenly throughout and until the dough is completely integrated.
- Divide the dough into 24 equal pieces, each about the size of a golf ball, weighing at least 45 grams.
- Roll each piece of dough into a ball and then press into a disk of about 3/4-inch thick. Place the shaped cookie dough on a plastic-lined plate and place in the refrigerator (for about 30 minutes) or freezer (for about 15 minutes) just until firm to the touch.
- Once the cookie dough is chilled, place the pieces on the prepared baking sheets about 2 inches apart. Bake in the center of the preheated oven, and bake for about 12 minutes, or until very lightly golden brown all over, and a bit browner around the edges.
- The cookies will still be soft to the touch. Remove the baking sheet from the oven, and allow the cookies to cool on the baking sheet until firm (about 10 minutes). Transfer to a wire rack to cool completely.
- Repeat with any remaining pieces of cookie dough.
Video
Notes
Nutrition
Nutrition information is automatically calculated, so should only be used as an approximation.
FAQs
Bob’s Red Mill makes safe gluten free oats, but just be sure to grab the bag that says “gluten free.” And reach for old fashioned, not quick-cooking, oats for the right chewy texture and controlled spread.
Yes, you can use dark brown sugar in place of light brown sugar, if you’d like a richer, deeper molasses flavor. The cookies themselves will be a bit darker in color, too.
Did you overbake them? Did you make ingredient substitutions, especially the flour blend, or measure by volume instead of weight and thereby overmeasure your flour? All of those can lead to hard cookies.











These are wonderful cookies, I don’t eat chocolate and was out of raisins, so I tweaked the flavors: I substituted dried cranberries for the raisins and or chocolate chips, then added 1/2 teaspoon of almond extract and the 1-2 tablespoons of orange zest along with fresh orange juice, they are crispy around the edges and the chewy orange cranberry centers are perfect. Thank you for all of your recipes and cookbooks. I have followed you since I became Gluten Free
Those are the perfect ways to customize these cookies without changing any of the moisture balance or anything else that might jeopardize the outcome, Em. Just the flavors to your liking. Sounds delicious, and thanks for sharing your experience. You’re so welcome, and thank you for your loyalty and trust!
Cookies turned out chrispy on the outside gooey inside. My child loves them. Thank you
That’s the best, Jess! Thanks so much for sharing your experience, especially that your child loves them!
These are wonderful and so easy to make. The recipe yielded 36 cookies for me but I made them using a small cookie scoop.
The nutrition information (estimate) appears to be missing from the page. Any idea how many kCals?
These are the best gluten free chocolate chip cookies – I made them for my husband who has celiac, but I couldn’t stop eating them either! Followed the recipe exactly but cut it in half so we wouldn’t over eat. Used a scale for precision.
So happy you used a scale, Jen. No wonder you had such stellar results. So glad you loved the cookies and thanks for sharing!
This was a good recipe, and did not taste gluten-free at all. Texture and flavor was great!!!! I added a little touch of cinnamon for my taste. Will definitely try again, but with raisins next time.
Hi Nicole. I’ve tried a few of your recipes and loved every one of them. Thank you for sharing them with us.
Thank you so much for the kind words, Christine. I really appreciate your taking the time to say that!
These were delicious! Nice and chewy. I even froze some baked ones and they defrosted beautifully. I also appreciate the metric measurements as weighing ingredients is easier and more accurate. I also noticed that the measurements increased appropriately when the 2x or 3x was clicked. (Doesn’t always happen on other sites!) I’m making these again this weekend!
So glad you loved the cookies, Della, and that you appreciate the metric weights. So much more accurate, and the only way to have success every time! Thanks so much for sharing your experience.
I made these with chopped dates and walnuts to rave reviews from family and friends. My husband, who swears that he can tell the difference between GF and not and doesn’t like GF anything, ate a bunch of them before I told him they were GF. Eventually, with your recipes Nicole, I’ll win him over.
I’m so happy to hear that, Mary! Let’s normalize not telling anyone that what they’re eating is GF until after they say they love it! Thanks so much for sharing that.
Love many of your recipes thanks so much for all you do..!❤️
You’re so welcome, Krystal! Thank you so much for the kind words and taking the time to share them. It means so much to me!
They came out perfect on the first try! I was skeptical because every other recipe always states I need to use a stand mixer, which I don’t have so I decided to give this recipe a try, and I was not disappointed! My boyfriend who has celiac LOVED THEM, and is now requesting for them to be made for every holiday and get together!
Next time, I am going to try and use Country Crock’s dairy free butter to see if I can make them dairy free as well.
Thank you for such an amazing recipe!!!