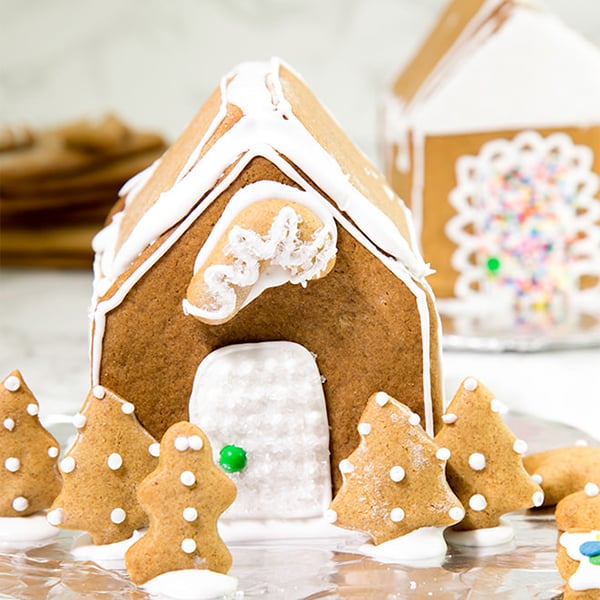

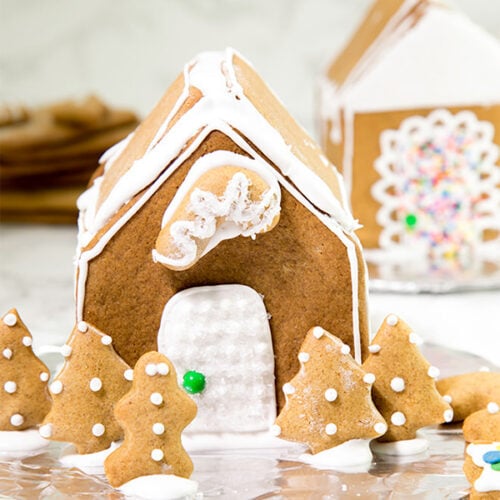
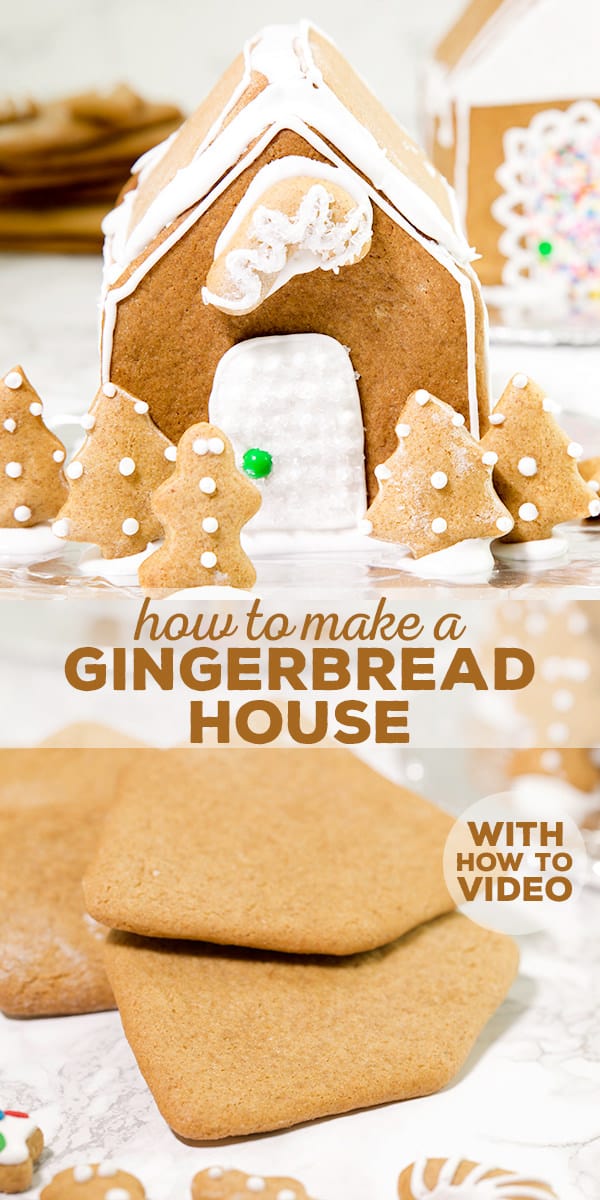
How to make a gluten free gingerbread house, the easy way. All you need are two different shapes of gingerbread cookies, and plenty of icing!

WANT TO SAVE THIS RECIPE?
Why we love this gluten free gingerbread house
Does your family have a holiday tradition of making gingerbread houses? There are probably as many ways of making a gingerbread house as there are families that make them.
This is my new favorite way to make a gluten free gingerbread house. Because it can be so hard to describe the assembly using words, I knew a short how-to video of my assembling a house was the way to go.
I've dressed up my house a little bit with some extra little shapes, and some royal icing decoration. You certainly don't have to do that. In fact, the messier the gingerbread house, the more fun was likely had by little hands “helping.”
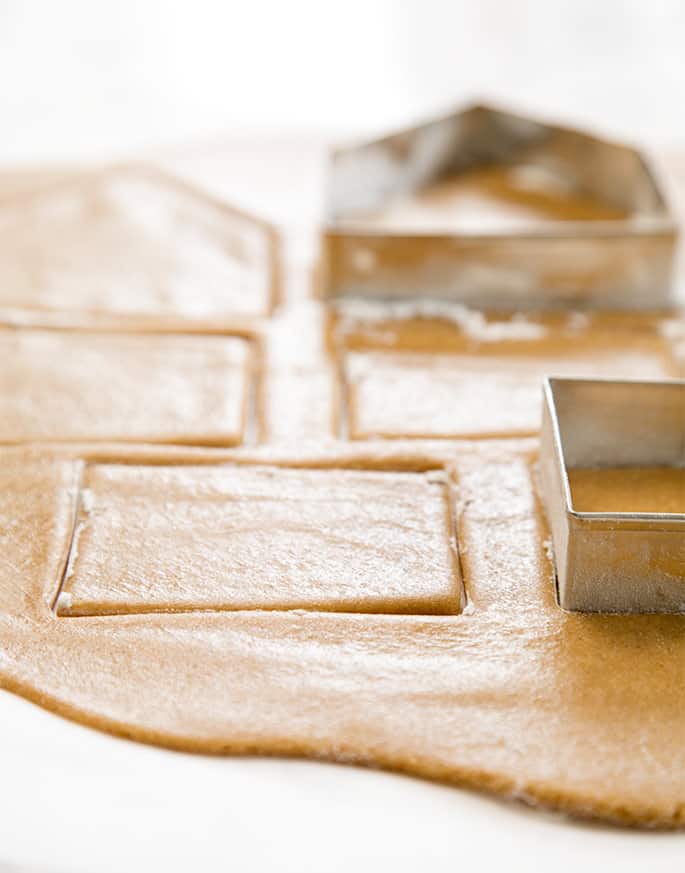
I've used all sorts of templates in the past, but I've always longed for a simpler version. The cookie cutter set (affiliate link) that I used is as simple as they come, with only two types of shapes necessary. One is an end piece, and one a side/roof piece.
If you don't want to order the cookie cutters that I used, no worries. I've created a simple paper Gingerbread House Template for you to print out. And it's very easy to use.
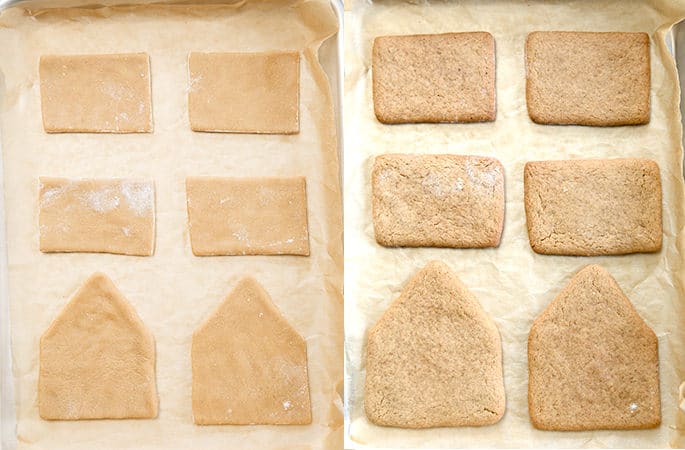
Once you've printed the template, cut out the 6 shapes (2 end pieces + 4 side/roof pieces) along the black lines. Make and roll out the dough according to the recipe instructions below. Then, place the paper shapes on top of the dough, and slice around them with a sharp knife.
The dough should be rolled about the thickness of a graham cracker, and in any case no less than 1/8-inch thick.
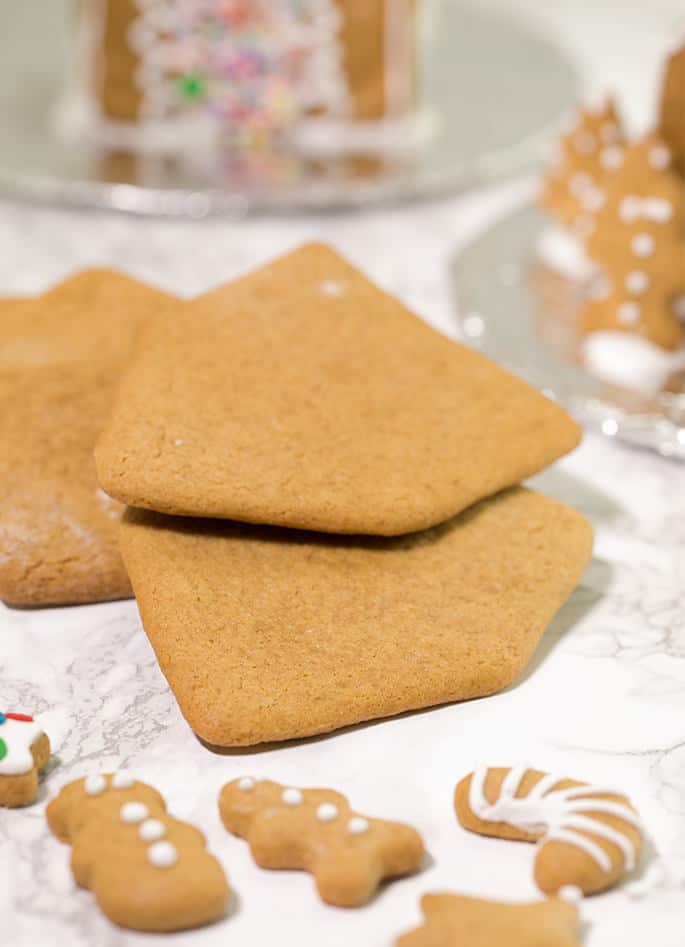
For “perfect” decorating, the royal icing should be thicker or thinner depending upon its use. For finer decorations, like piping little dots on miniature evergreen tree cookies, it's helpful for it to be thinner. For using as glue to assemble a gluten free gingerbread house, it's helpful to have thicker royal icing.
But the truth is that it just doesn't matter that much. Once it dries, the thinnest lines of royal icing have a tendency to crack off anyway. The one thing you absolutely need your royal icing to do is to “glue” together the pieces of the gingerbread house. Everything else is nice, but not necessary.
This is the simplest way I know of for making a sweet little gingerbread house to celebrate the season. And I've tried plenty of ways. Have some fun! And have a happy, healthy holiday, with love from me.
Gluten Free Gingerbread House | With Free Template
Equipment
- Gingerbread House Cookie Cutters or my Paper Template and a sharp knife
Ingredients
- 1 ½ cups (210 g) all purpose gluten free flour blend plus more for sprinkling (I used Better Batter; please click thru for full info on appropriate blends)
- ¾ teaspoon xanthan gum (omit if your blend already contains it)
- ⅜ cup (56 g) cornstarch (replace with more Cup4Cup if that is your all purpose gluten free flour blend)
- ½ teaspoon baking soda
- 1 ½ teaspoons ground cinnamon
- 1 teaspoon ground ginger
- ¼ teaspoon kosher salt
- ⅜ cup (75 g) granulated sugar
- ⅓ cup (73 g) packed light brown sugar
- 6 tablespoons (84 g) unsalted butter at room temperature
- 3 tablespoons (63 g) unsulphured molasses
- 2 tablespoons (42 g) honey
- 1 (50 g (weighed out of shell)) egg at room temperature, beaten
- ½ teaspoon pure vanilla extract
- Royal Icing
Instructions
Make the gingerbread cookie shapes.
- Preheat your oven to 325°F. Line rimmed baking sheets with unbleached parchment paper and set them aside.
- In a large bowl, place the flour, xanthan gum, cornstarch, baking soda, cinnamon, ginger, salt, and granulated sugar, and whisk to combine well. Add the brown sugar and whisk again to combine, working out any lumps.
- Create a well in the center of the dry ingredients and add the butter, molasses, honey, egg and vanilla, mixing to combine after each addition. The dough will be thick and soft.
- Sprinkle a large sheet of unbleached parchment paper lightly with flour, and place the dough on top of it. Sprinkle with more flour, and roll into a rectangle about 3/8-inch thick (more than 1/4-inch, less than 1/2-inch).
- Dip the cookie cutters in flour, and use it to cut out shapes from the cookie dough. You’ll need 4 rectangular pieces and 2 side pieces.
- With each cut, jiggle the cutter back and forth to create a neat shape. If you’re using the paper template, print out the template and cut out all 6 shapes along the black lines.
- Lay the template pieces on top of the rolled out dough and, using a sharp knife, cut around each shape.
- Remove the templates.
- Place the dough, with the cutout pieces still in place, in the refrigerator or freezer until firm (about 10 minutes).
- Once the dough has chilled, peel back the rest of the dough from around the cut-outs and gather the scraps.
- Then carefully peel off the cut-out shapes and place them, about 1 1/2-inches apart, on the prepared baking sheets. Repeat the process with the remaining dough until you have used it all. You should have enough for two full houses (6 pieces each).
- Place the baking sheets in the center of the preheated oven and bake until golden brown all over, about 14 minutes.
- Remove from the oven and allow to cool completely on the baking sheets.
Decorate and assemble the house.
- Prepare the royal icing according to the recipe instructions.
- Decorate the panels with royal icing and allow it to dry for at least 2 hours before proceeding.
- Place the royal icing in a piping bag (or zip-top bag with the corner snipped off) fitted with a medium open piping tip.
- Select one end piece and one side piece and place them together on a clean, lined surface.
- Pipe a thick, straight line of royal icing on the surface, underneath each piece and another line along the edge of the end piece.
- Assemble the two pieces and hold for 1 minute to allow the icing to begin to set. Repeat with the second side, and then the second end piece, holding the pieces in place for 1 minute after each placement.
- Allow the 4 walls to sit at room temperature for about an hour or until very stable. Ice all of the exposed top edges of the 4 walls, and between the two remaining cookie panels, and place the roof pieces.
- Fill in the any gaps with more icing. Allow the house to sit until completely set (about 4 hours).
WANT TO SAVE THIS RECIPE?

Thanks for stopping by!
Hi, I’m Nicole. I create gluten free recipes that really work and taste as good as you remember. No more making separate meals when someone is GF, or buying packaged foods that aren’t good enough to justify the price. At Gluten Free on a Shoestring, “good, for gluten free” just isn’t good enough! Come visit my bio!

Bethany Damron says
Love this recipe! Just finished making the houses and they turned out adorable! I also made the soft and chewy gingerbread men to go with them. So delicious! Your recipes are awesome! Thanks for sharing them! ❤?
Sue Bekker says
Hi, I would love to make this recipe with the kids for xmas, but I cannot get hold of your Gluten Free flours from here (back and beyond!) can you tell me how I mix my own? Many thanks
Jennifer S. says
You are the cutest!! love the video!
Niki says
I can’t wait to try it!
Rhonda @ Change In Seconds says
That looks amazing! Shared on Pinterest.