This post may contain affiliate links. Please read our disclosure policy.
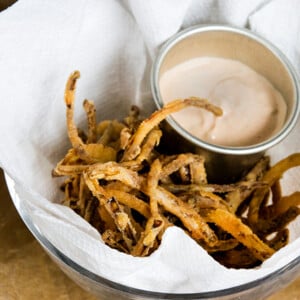
Gluten free crispy fried onions are the finishing touch for your green bean casserole or just for snacking.
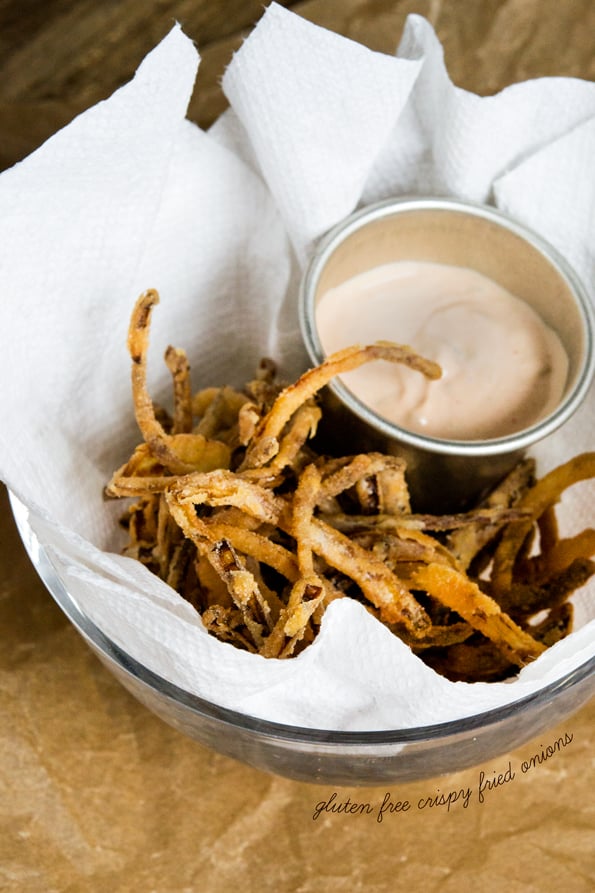
Table of Contents
Since we can't just pop open those fried onions a can (the gluteny mess they are), we need to make our own, and you are BUSY. You don't have time to mess around getting them wrong.
You need to know how to make gluten free crispy fried onions from a tested recipe that works. Well, not only does this crispy fried onions recipe work, it's easy and fabulously delicious.
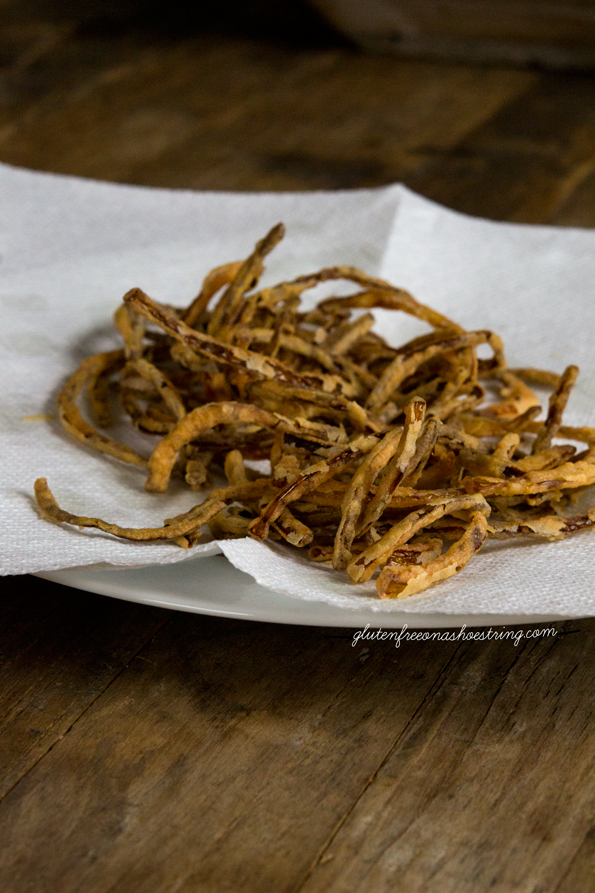
We dipped them in a better-than-Thousand-Island-dressing, and they were amazing.
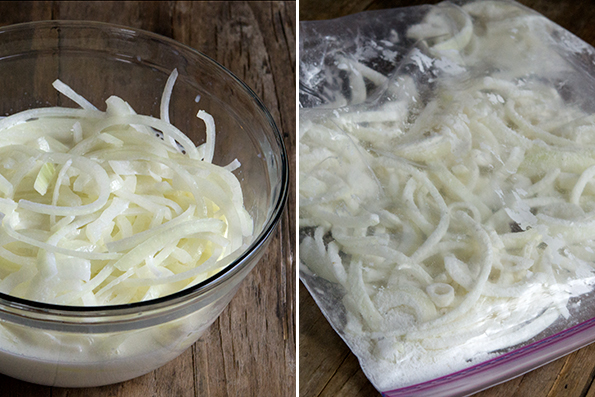
All you do is soak thinly-sliced Spanish or Vidalia onions in buttermilk (it mellows out the onions and helps the batter stick), then drain them and shake them in the perfect gluten free flour mixture, with a bit of sugar.
I made them first without that wee bit of sugar (it's just 1 tablespoon!), and then with it. It's amazing what a little sweetness can do to balance things out.
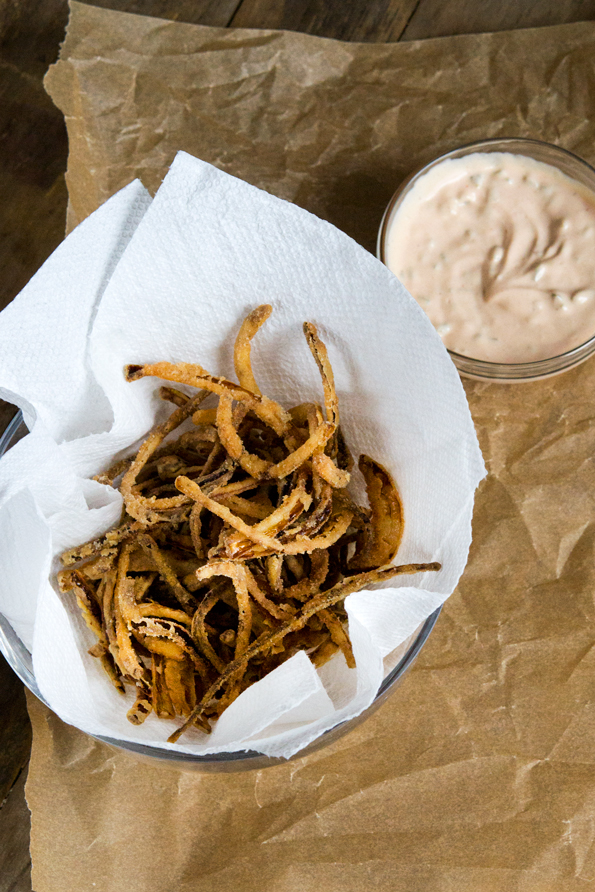
Once we have these onions, you can make that most traditional Thanksgiving dish, gluten free green bean casserole.
Gluten Free Crispy Fried Onions
Ingredients
- 1 large Spanish or Vidalia onion, peeled, halved and sliced thinly (about 8 ounces)
- 1 ½ cups (12 fluid ounces) buttermilk
- 6 tablespoons (53 g) gum-free gluten free flour blend
- ½ teaspoon kosher salt
- ⅛ teaspoon freshly ground black pepper
- 1 tablespoon (12 g) granulated sugar
- Vegetable oil, for frying
Instructions
- In a medium-size bowl, soak the sliced onion in the buttermilk for at least 10 and up to 30 minutes. While the onion is soaking, place the flour blend, salt, pepper and sugar in a large zip-top plastic bag. Seal the bag and shake to blend.
- While the onions are soaking, heat at least 2 inches of oil in a heavy-bottom saucepan until it reaches 350°F.
- Once the onions have finished soaking, remove the onions from the buttermilk and allow them drain fully. Transfer the drained onions to the zip-top bag with the flour blend. Reseal the bag and shake the onions to coat them fully in the flour mixture.
- Remove the onions in batches from the bag of flour, shake off the excess, and place in the 350°F oil. Be sure not to crowd the onions in the frying oil or they will clump and not crispy properly. Fry until very light golden brown (about 3 minutes). Drain on paper towels. Serve immediately.
Nutrition information is automatically calculated, so should only be used as an approximation.



These are so delicious!! I’m so glad the recipe made more than I need for the green bean casserole I’m taking to a potluck tonight, because I can’t stop munching on them! I will pine for GF onion rings no more. :)
Made for tonight’s dinner with steak and spinach. These onion rings are awesome!! You just keep making me happier and happier!!
That was what I really needed! …bowing…. you my dear Nicole are ah-mazing!!
Aaahhhh!! So excited! I already have homemade GF dairy free cream of mushroom in the freezer! Can these be made ahead and stored? I thought I was going to have to leave these off!
Making my first entirely gluten free thanksgiving this year! Couldn’t do it without you:)
I LOVE you for including the measurements for 6T of GF flour! YUM!
So not a GBC person – but I am an onion ring person!!! Doing Snoopy dance! Happy happy joy joy!!! Steak and rings now on this week’s menu
Not a GBC gal – but I am an onion ring gal! Snoopy dancing!! Happy happy joy joy!!!!! Steak and rings now on the menu this week!!
Yeah baby!!!! So excited when I saw this!!!! GBC HERE WE COME! :)
oh and yes – we do want the recipe for the better than 1000 Island dressing!!
Yes, it seems like places like Outback have a spicier version. Maybe with horseradish or cayenne?
Looks good! I’m going to try this with coconut milk instead of buttermilk
Hi, Sue, canned coconut milk will be too thick, and will cause the batter to clump. If you are looking to make these nondairy, I would recommend using a thinner milk, and souring it with vinegar. Enjoy!
I have used rice milk. I put one tablespoon of vinegar (to a cup of rice milk) and let it sit for about ten minutes or so for the “buttermilk” effect :)
That is a fabulous tip! Thank you!
These look *SO* good!
Thanks, Donia!! They’re even better than that. ;)
Do the comments accept HTML? How about: *SO* good!