This post may contain affiliate links. Please read our disclosure policy.
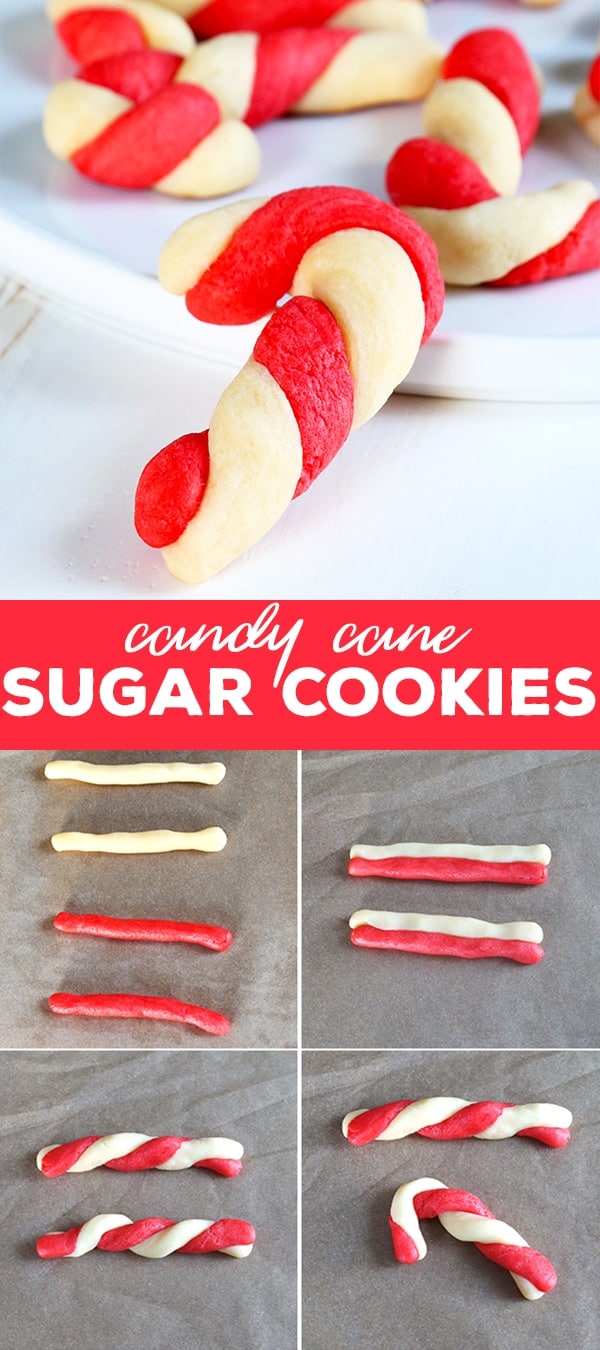
Basic sugar cookie dough is dyed and twisted easily into these soft and tender gluten free candy cane sugar cookies. Add a touch of peppermint extract for some extra holiday cheer!
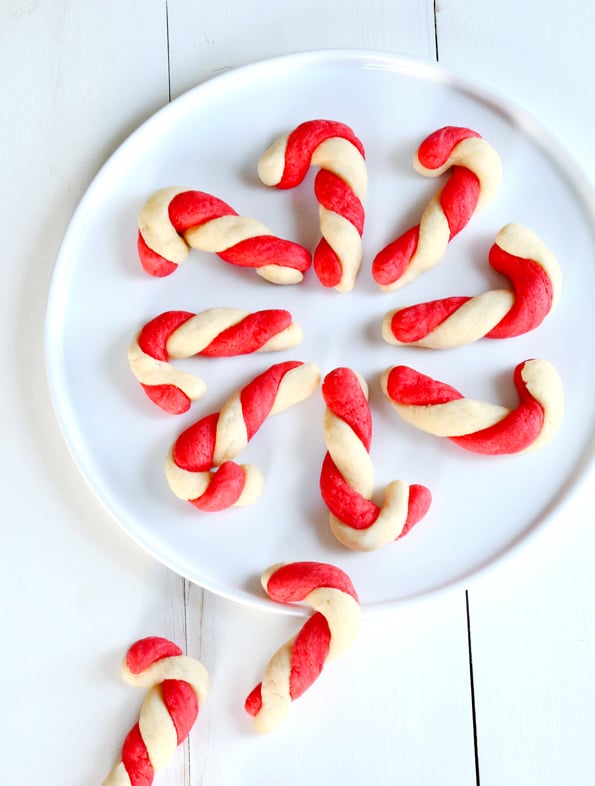
Table of Contents
I did it! Last night, we put together 18 sweet boxes of gifty Christmas cookies: all of them gluten free, all but 1 for recipients who can (and do!) eat all the gluten they like. Ask me if they'll know (or even care) that any of the cookies are gluten free.
The whole purpose of baking cookies for the holidays (to give as gifts, or to share at your holiday parties alike) is to show them that they're worth some trouble. You cared enough to take time out of your day (or days!) to bake cookies that you weren't going to eat yourself. You had to make sure you had all the ingredients on hand, at the proper temperature, and sometimes you even used some food coloring (like in these gluten free candy cane sugar cookies) so your hands got all messy.
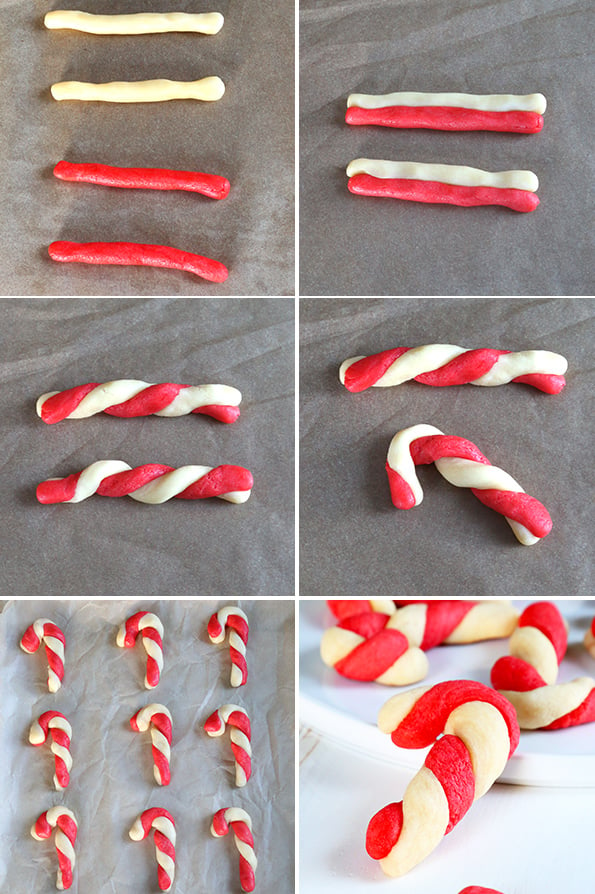
If you google “candy cane sugar cookies,” you'll find a whole bunch of recipes and methods. Some may even be gluten free, too. But I present to you that this is the gluten free candy cane sugar cookies recipe to beat: the dough is simple to work with, and it won't crack or split during shaping—or during baking. The method is easy enough, but a visual never hurt anyone.
Keep in mind that you don't want to go overboard on your twisting. A few (3?) turns on opposite ends of the bi-colored dough is all it takes. Then bend one end over, and you're all set (remember that you're shaping candy canes, not question marks, so the other end should be straight up and down!).

And, as always, if you just.won't.abide.food.coloring, don't use it! Make candy cane shapes colored au naturale. And if your cookie recipients are deserving of their bounty, they won't mind one bit. Happy happy merry merry!!
Gluten Free Candy Cane Cookies
Ingredients
- 3 cups (420 g) all purpose gluten free flour blend, (I used Better Batter; please click thru for full info on appropriate blends)
- 1 ½ teaspoons xanthan gum, (omit if your blend already contains it)
- 1 ⅛ teaspoons baking powder
- ½ teaspoon kosher salt
- ¾ cup (150 g) granulated sugar
- 5 tablespoons (36 g) confectioners’ sugar
- 13 tablespoons (182 g) unsalted butter, at room temperature
- 3 (150 g (weighed out of shell)) eggs, at room temperature, beaten
- ½ teaspoon pure vanilla extract
- ½ teaspoon pure peppermint extract, (or more vanilla extract)
- Red gel food coloring, (AmeriColor brand is gluten free)
Instructions
- Preheat your oven to 350°F. Line rimmed baking sheets with unbleached parchment paper and set them aside.
Make the cookie dough.
- In a large bowl, place the flour, xanthan gum, baking powder, salt, granulated sugar and confectioners’ sugar, and whisk to combine well. Add the butter, eggs, vanilla, and optional peppermint, and mix to combine. The dough will be thick and smooth.
- Divide the dough into two equal pieces. Wrap one piece in plastic wrap and set it aside.
- Place the other half of the dough on a piece of parchment paper or plastic wrap, and add about 1/8-teaspoon of the red gel food coloring. Knead in the food coloring until the color is uniform throughout the dough. Divide each half of cookie dough into teaspoon-sized pieces of dough, about 10 grams each. Roll each piece of dough tightly into a ball, and cover the balls of dough with plastic wrap to prevent them from drying out as you shape the cookies.
Shape the cookies.
- Working with two pieces of each color of cookie at a time, roll each ball of cookie dough into a rope about 4-inches long. Pair together one plain rope and one red rope along the length of each, and press together carefully but firmly so they adhere lightly to one another.
- Holding the now-doubled rope at each end, twist the rope in opposite directions to twirl the ropes. About 3 turns should do it—don’t go overboard or the dough may crack or tear. Bend one end of the twisted rope into a hook so it resembles a candy cane.
- Repeat with the other pieces of dough, and place about 1-inch apart from one another on the prepared baking sheets.
- Repeat with the remaining dough of each color.
Bake the cookies.
- Place the baking sheets in the center of the preheated oven, one at a time, and bake until the cookies are puffed and just beginning to brown around the edges (about 10 minutes). Remove from the oven and allow to cool completely on the baking sheet.
Nutrition information is automatically calculated, so should only be used as an approximation.



It’s really up to you, youngbaker. I only store nut flours in the refrigerator or freezer.
OK. I just mixed up the mixes the other night and I already have ‘soft white sandwich bread’ and ‘cinnamon swirl bread’ dough rising in the fridge. So excited to start making my way through the bread book. And the new book for that matter! Ps. I’m keeping the flours in our breeze way. It’s about 10 degrees cooler in there than in the rest of the house.
Nicole, I just love your blog and your cookbooks! You have saved my life since having to go gluten free 4 years ago! (My husband thanks you also, since I keep a GF kitchen!) I’m so excited about these cookies, my mom made these every year growing up!
I am having a Christmas cookie emergency though!! For the last few years I’ve made your chocolate thumbprint cookies with the peppermint kisses for the guys in my husbands office. But now I can’t seem to find the recipe on your site?! There is a turtle version which looks divine, but I’m looking for the original one, which I believe had peppermint extract and used confectioners sugar. Where or where did it go??
I’ll be honest, Victoria, I have no idea where that recipe went! There have been a few elderly recipes here on the blog that have up and disappeared recently. It’s very unsettling! I’d use the chocolate thumbprint recipe for the turtle cookies you mention, and just add peppermint extract (a little goes a long way, though!). So sorry for the inconvenience. :/
I have that recipe printed out! It is 1/2 tsp. peppermint extract. I made them last year, but used mint (not peppermint) extract and melted an Andes mint (the perfect food) in the center. They were delicious that way, too!
Oh-favorite cookie from childhood that I thought to never have again! Yeah! Thank you, thank you, thank you! My old recipe had crushed peppermint candy canes sprinkled on top before baking. I think I’ll try it with this recipe too. Can’t say enough how much I appreciate all your hard work and experiments to improve our baking experiences. Your website and blog make my day every time I open them. Happy, happy, merry, merry!
These are adorable! They also look delicious.