

This post may contain affiliate links. Please read our disclosure policy.
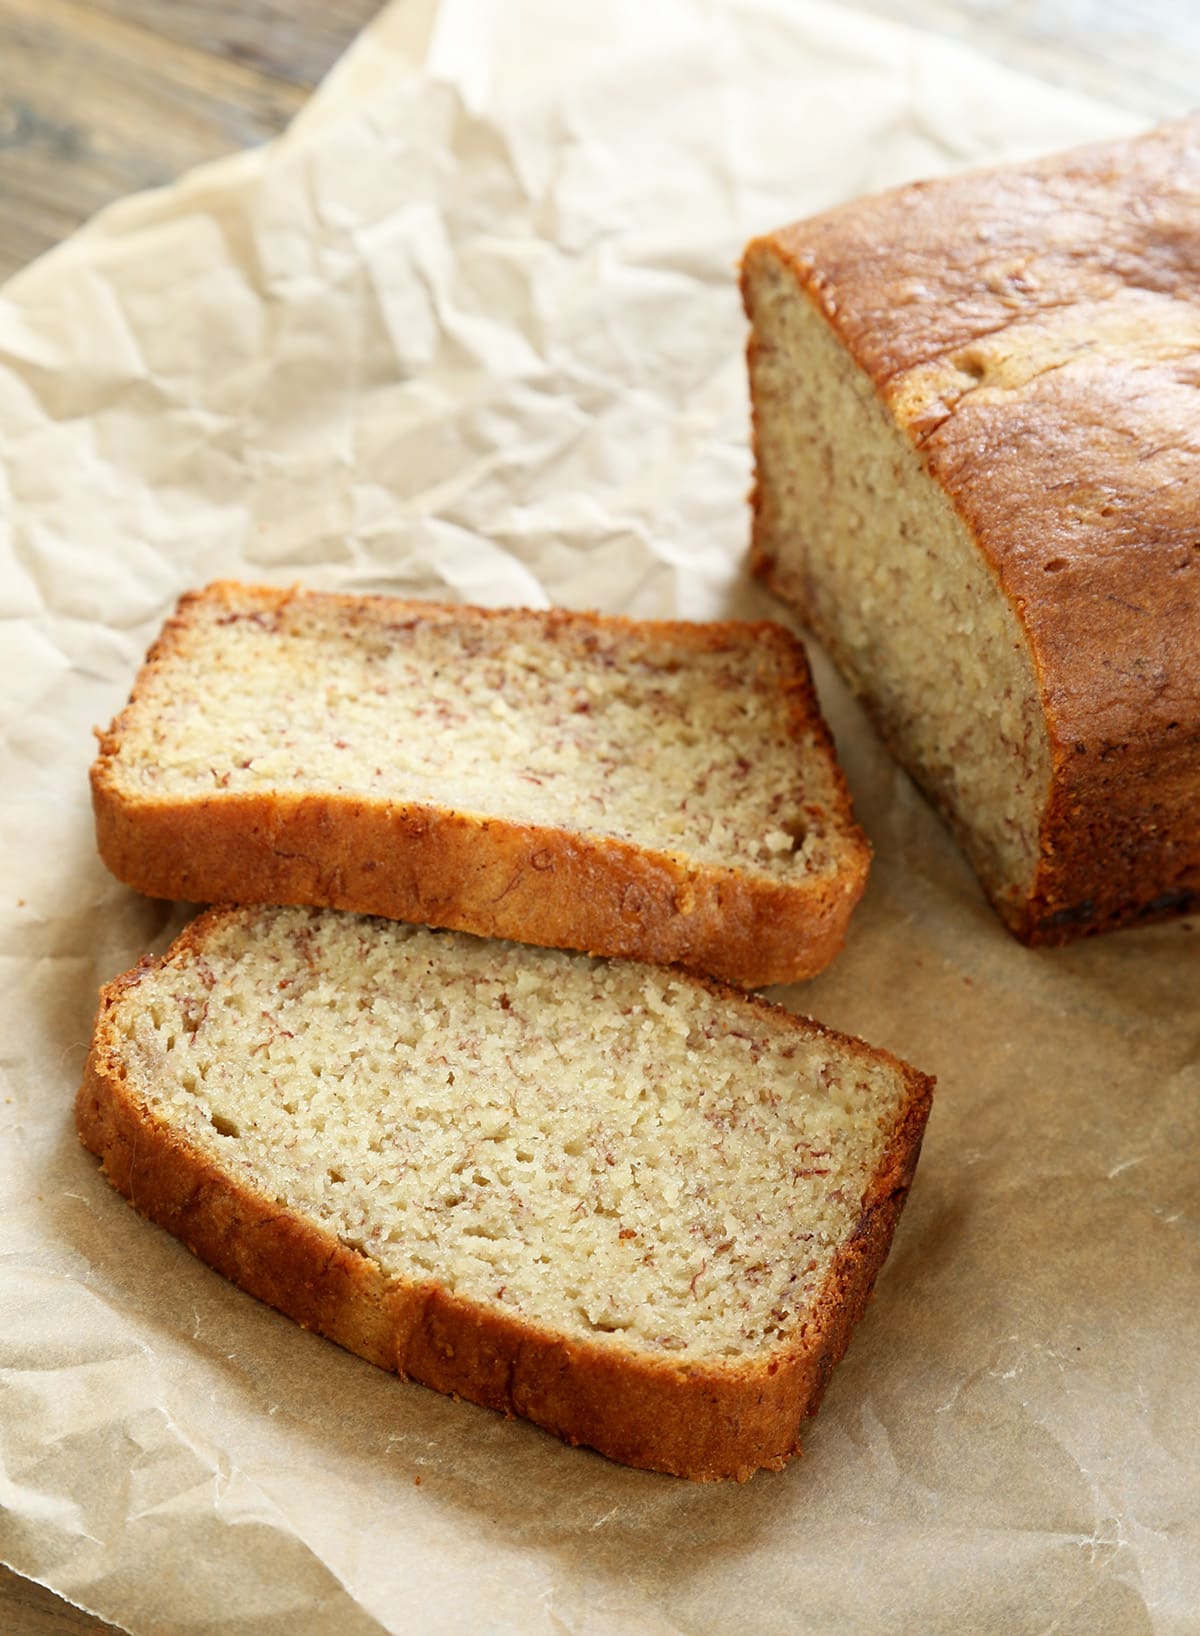
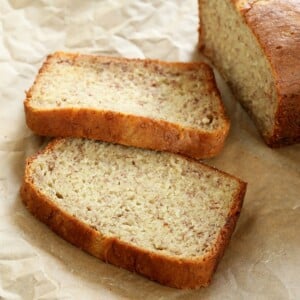
This gluten free banana bread is packed with banana flavor and delivers a soft, fork-tender crumb that stays light and moist. It’s quick to make in one bowl and flexible enough for whatever ripe bananas are on your counter.
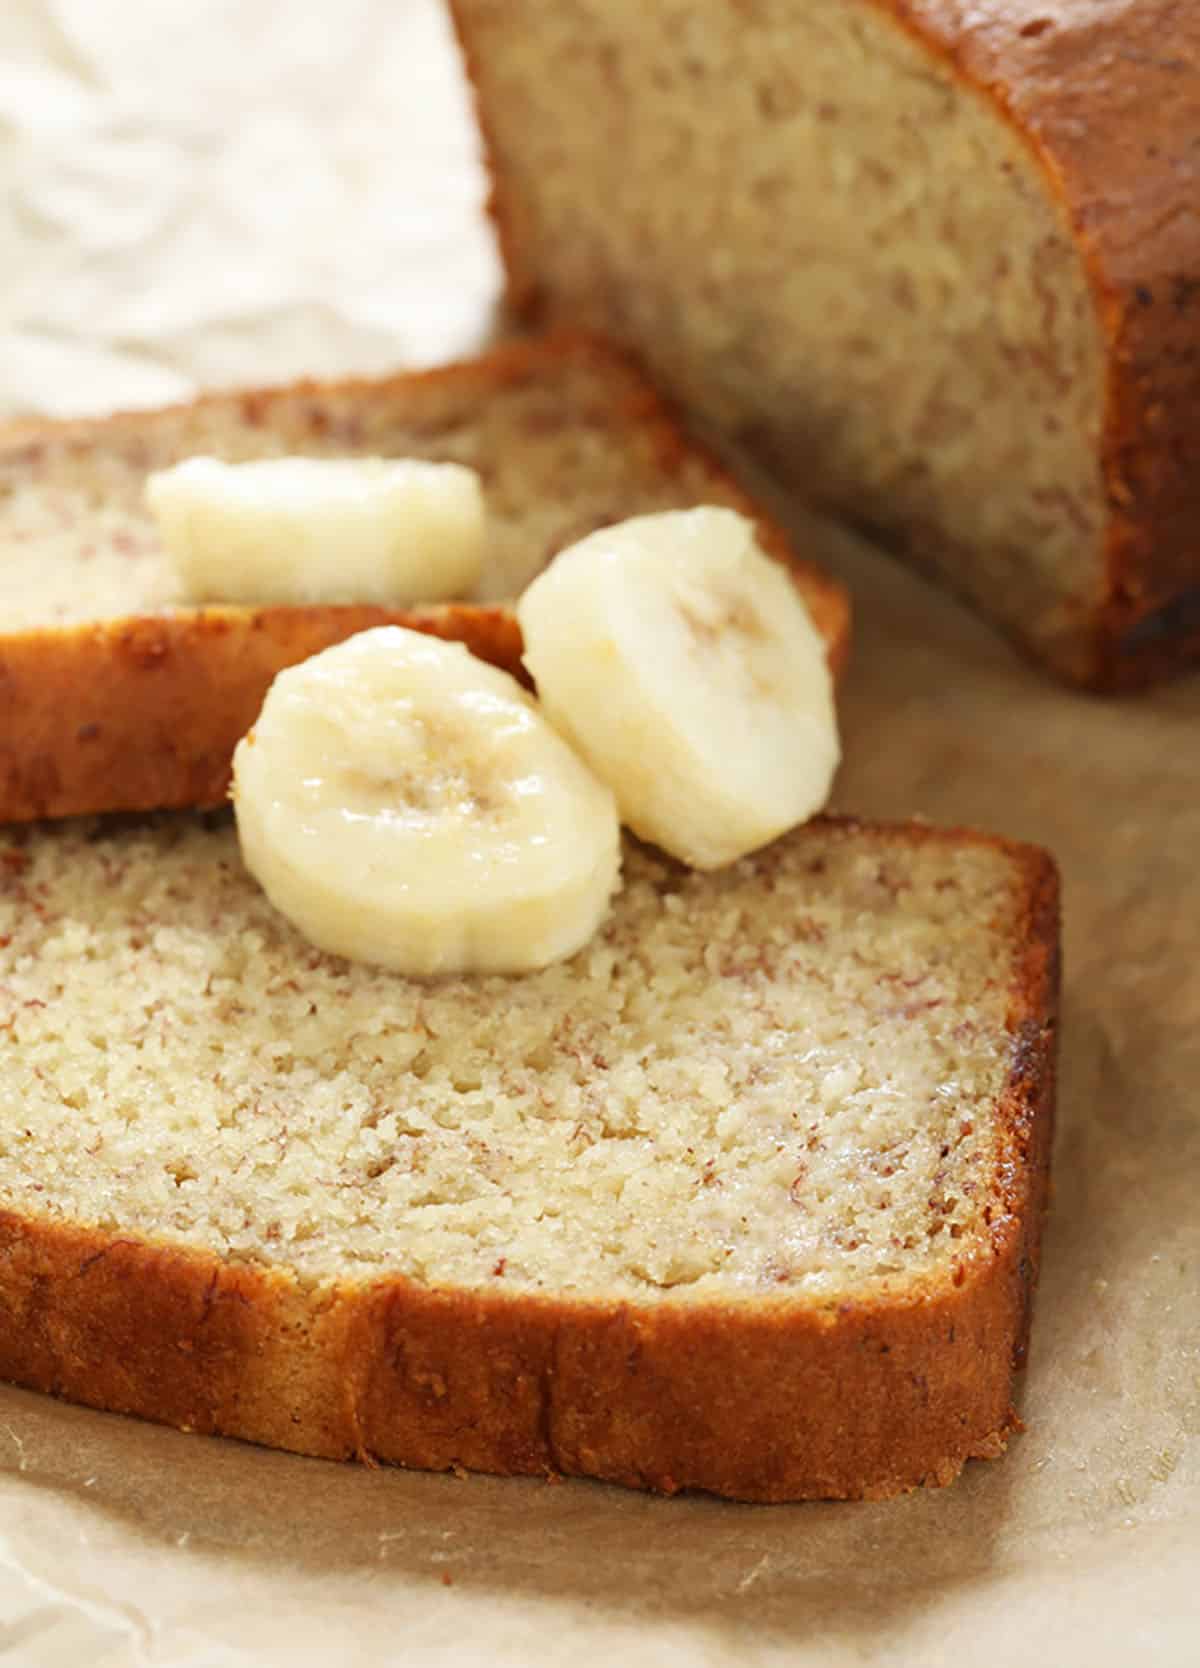
Why this recipe works
Most gluten free banana breads fail because they have too much banana, too much liquid, or both. The result is a dense or gummy loaf that won’t bake through.
This recipe works with bananas at any stage of ripeness by preparing them differently. Mash very ripe bananas lightly so they don’t turn to liquid, and less ripe ones more fully into a textured paste that softens in the oven.
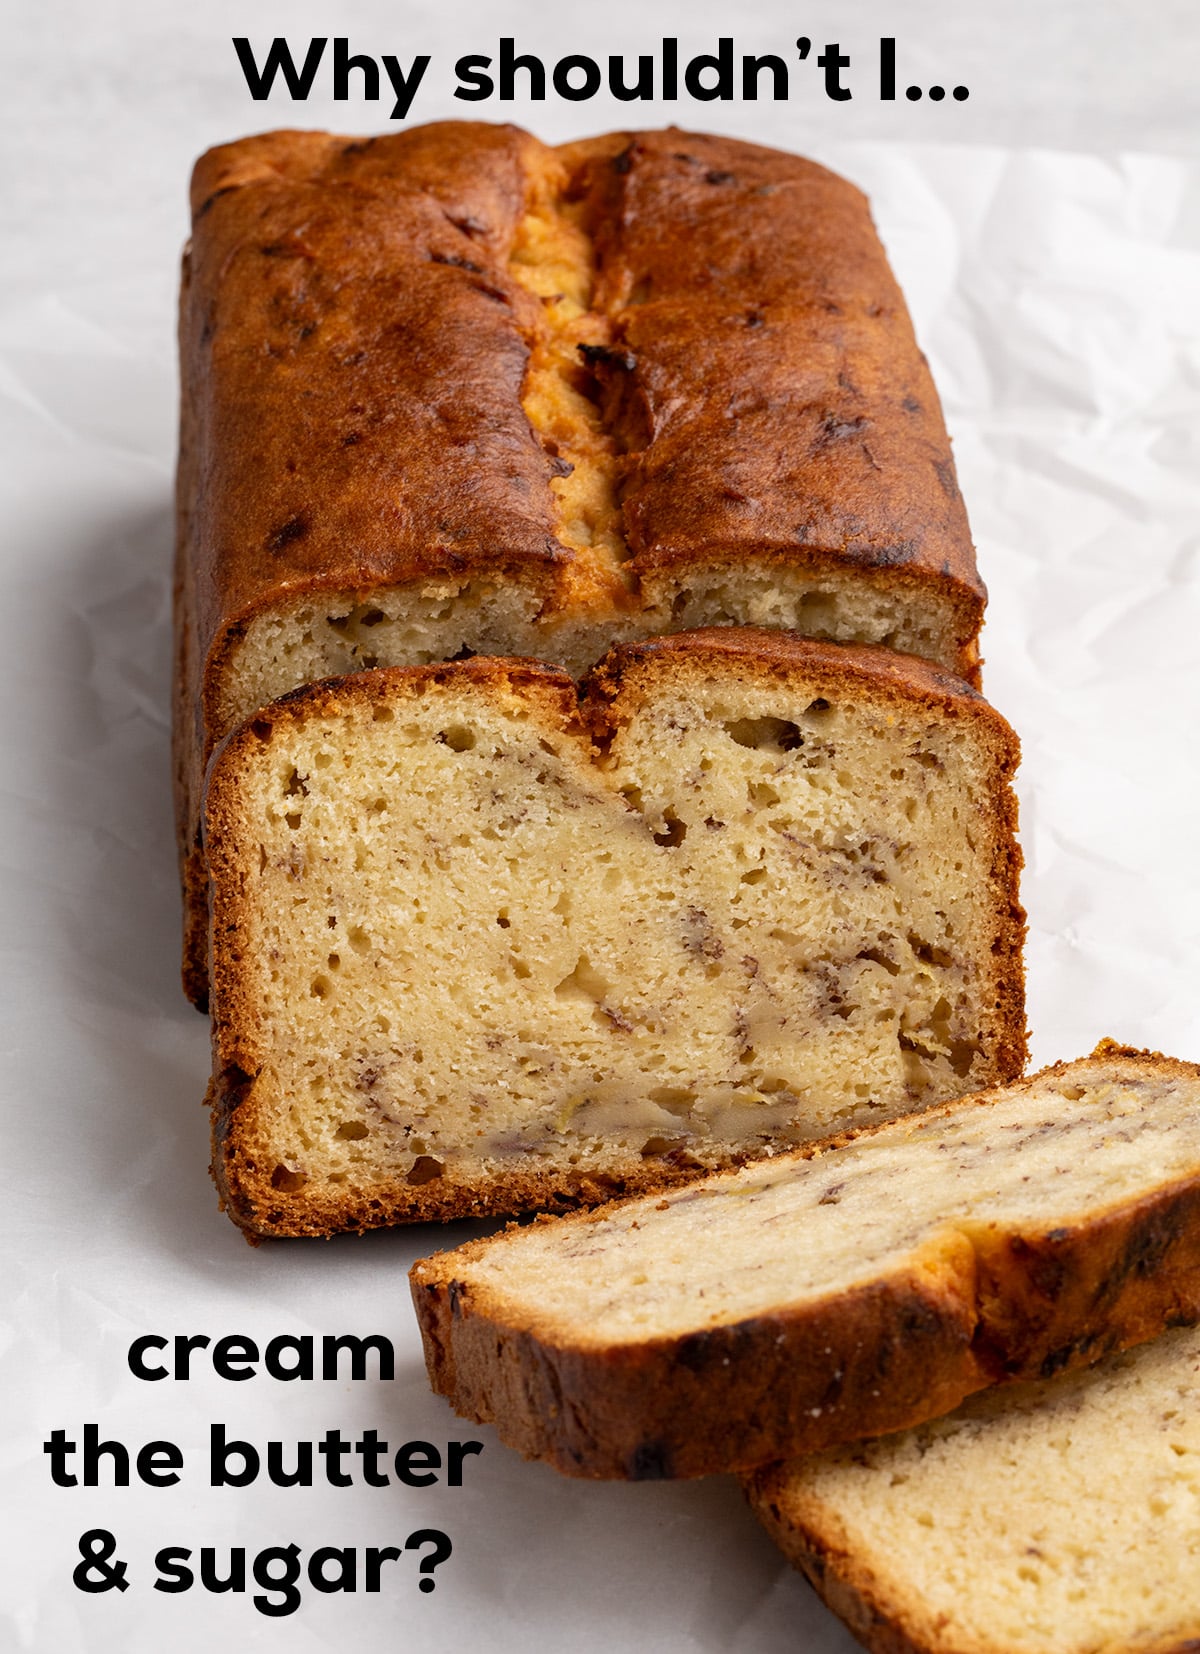
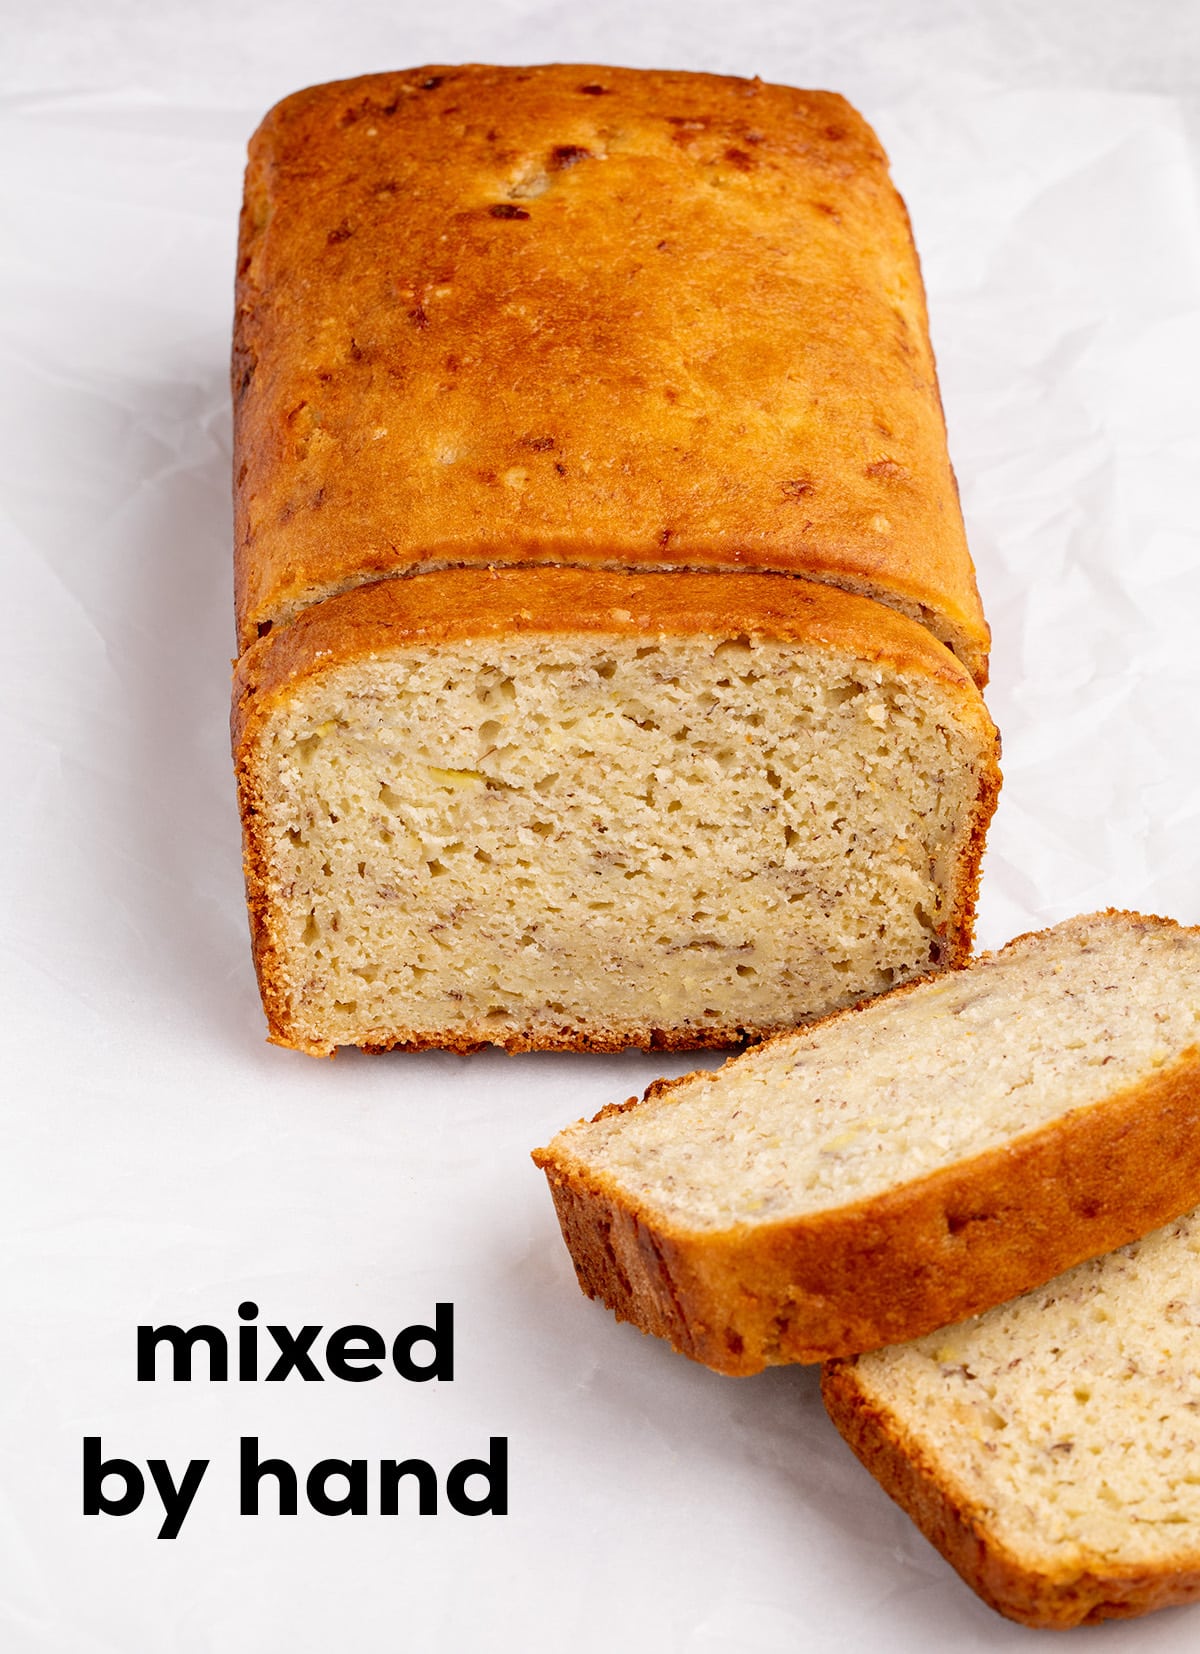
Sour cream adds richness and acidity for a tender, flavorful crumb. Melted butter, mixed in by hand rather than creamed with sugar, provides moisture and flavor without incorporating too much air, so it doesn't rise too high or sink as it cools.
Recipe ingredients
Here's what you need to make this recipe, plus a few words about the role each ingredient plays in the perfect banana bread.
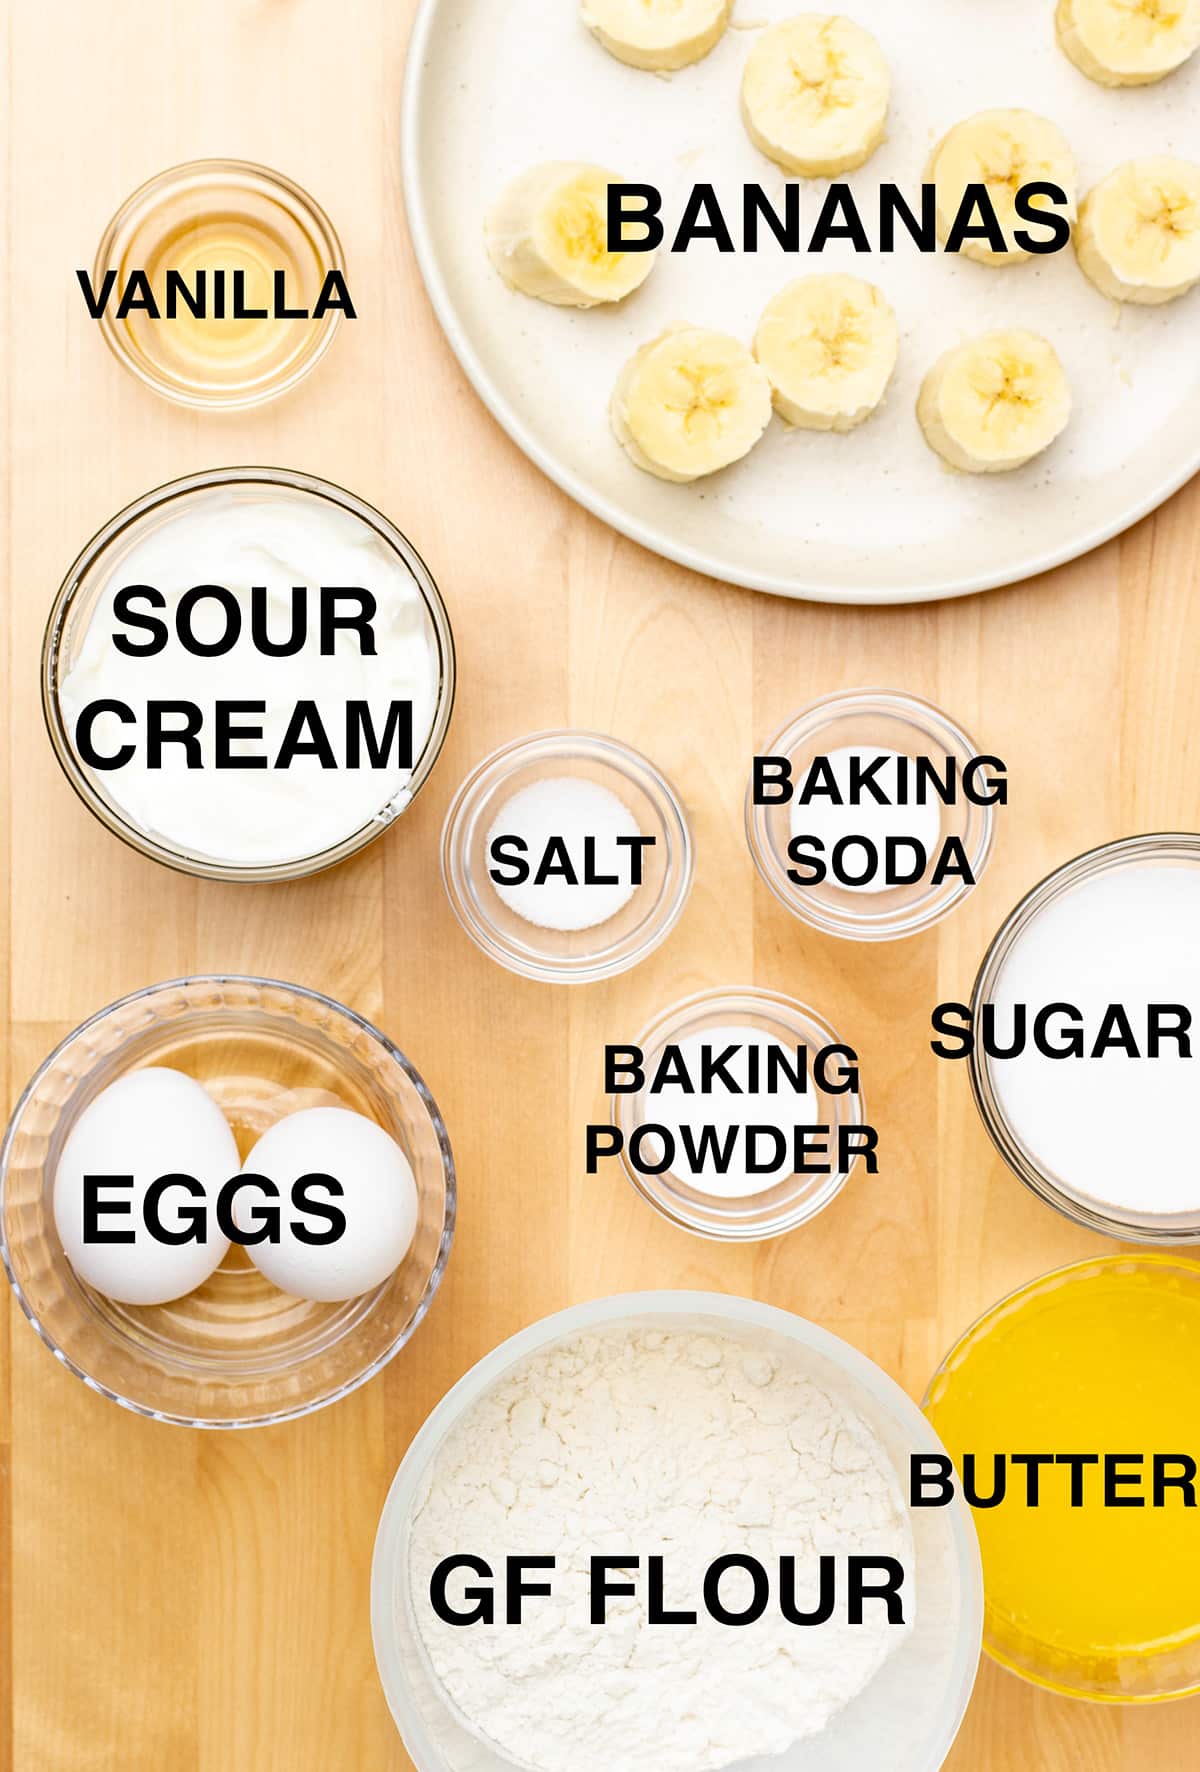
- Gluten free flour blend: Provides much of the structure of the bread. I recommend Better Batter's original blend, Nicole's Best multipurpose, or Bob's Red Mill's 1-to-1 gluten free baking flour adds structure to keep the bread together without the toughness that mixing a gluten-filled quickbread fully can create. If your flour is Nicole's Best, add 1 teaspoon xanthan gum; Bob's has some xanthan gum but needs 1/2 teaspoon more or the bread may be crumbly.
- Bananas: Very ripe bananas will have more natural sugars that deepen the banana flavor, but any that are ripe enough to smell like bananas will work. Measure 200 grams peeled bananas by weight for consistent results without adding too much moisture, leading to dense bread.
- Sour cream: Adds richness and the acidity also reacts with baking soda to help the bread rise. Avoid fat free for the best mouthfeel. You can also use plain Greek-style yogurt in an equal amount, by weight.
- Butter: Melted butter adds richness, moisture, and keeps the crumb tender by making it easy to mix the batter without incorporating too much air, which leads to a loaf that rises too high and falls as it cools.
- Eggs: Help bind the bread and provide structure to hold the rise as the bread cools, so there's no sunken top.
- Granulated sugar: Enhances the sweetness of the bananas and helps keep the crumb tender. It also adds bulk, so even if your bananas are super sweet, don't reduce the already modest amount of sugar in the batter. If your bananas are less ripe, you can add another 2 tablespoons (24 grams) granulated sugar.
- Baking powder, baking soda & salt: The essentials that round out flavor, provide rise, and help the bread brown in the oven. Fun fact: baking soda reacts with bananas to create those brown flecks in the bread.
- Vanilla extract: Add depth through a complex blend of flavors, unlike artificial vanilla which only has one-note vanillin.
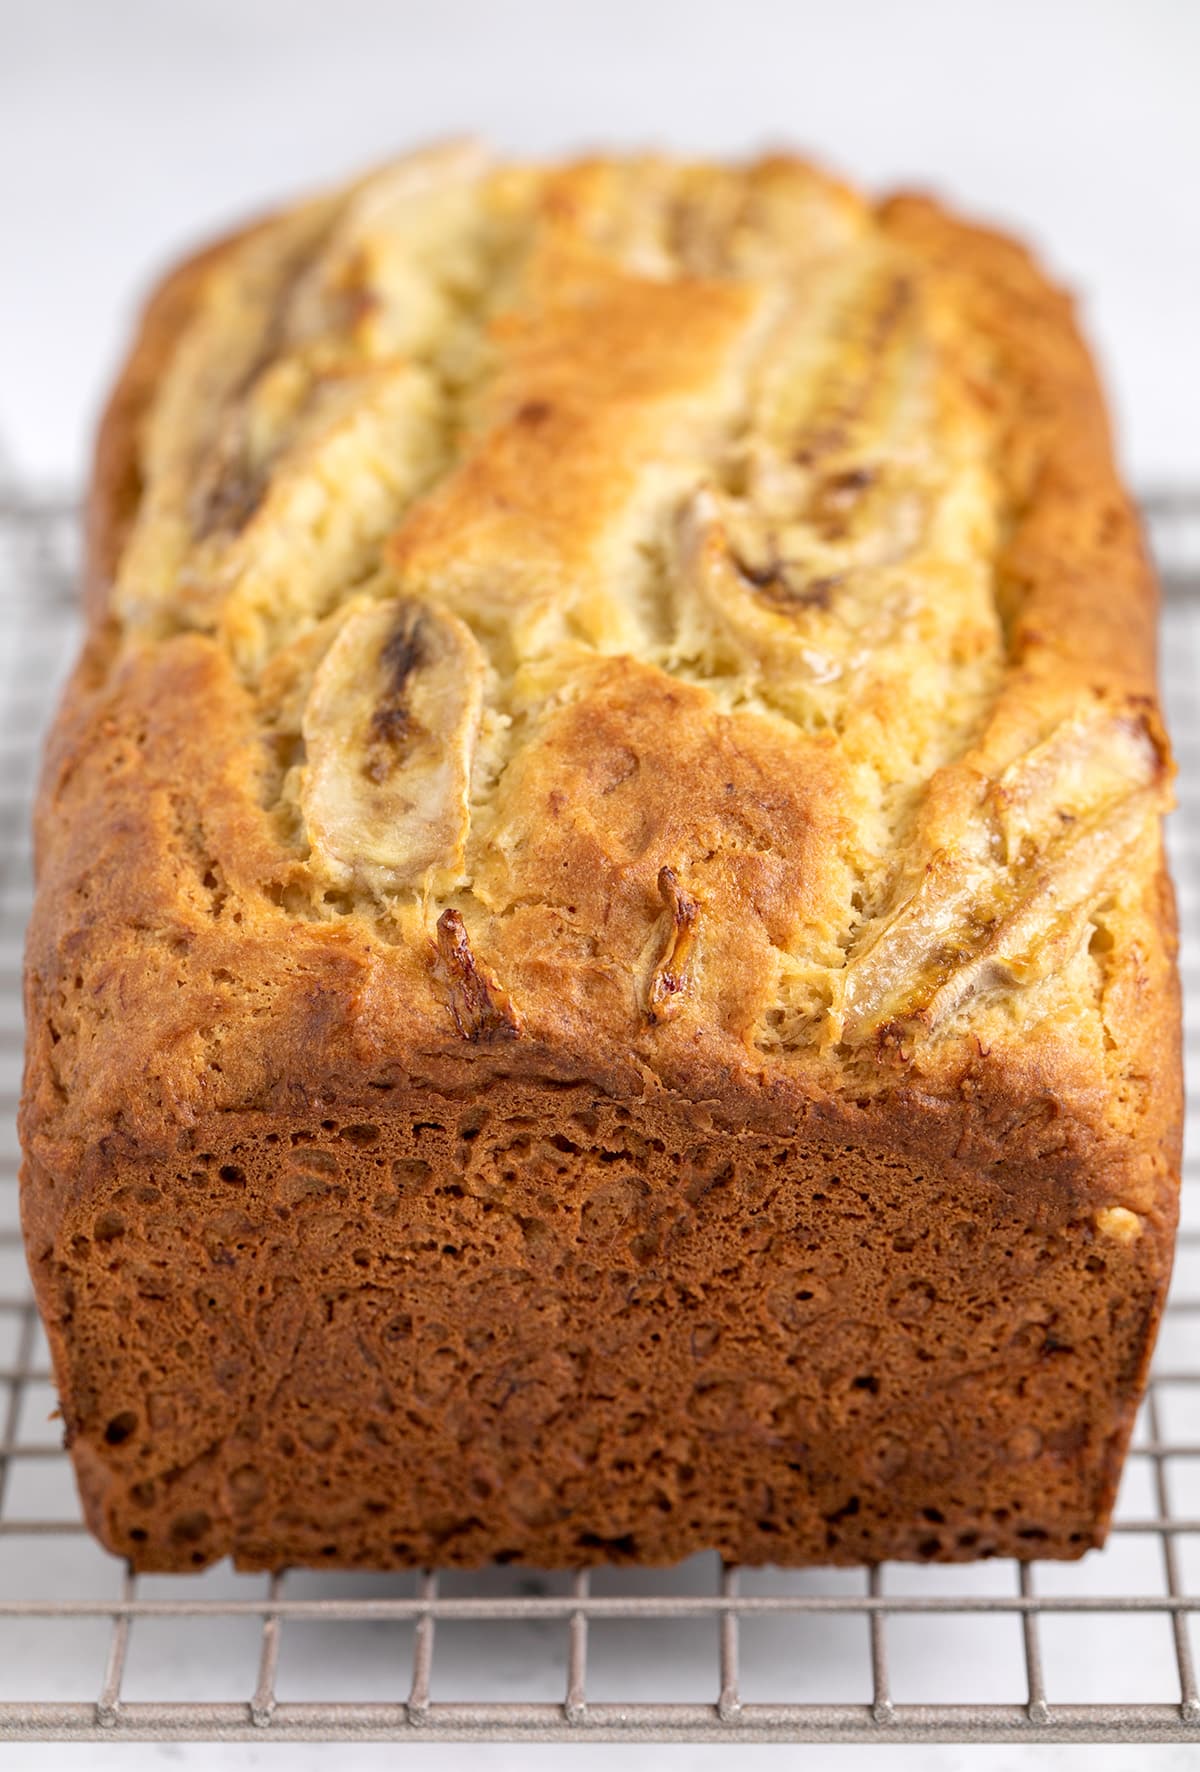
How to gluten free banana bread (step by step photos)
This is a visual overview of how to make this recipe in your own kitchen, with the reasoning behind each step. For exact ingredient amounts, please see the recipe card below:
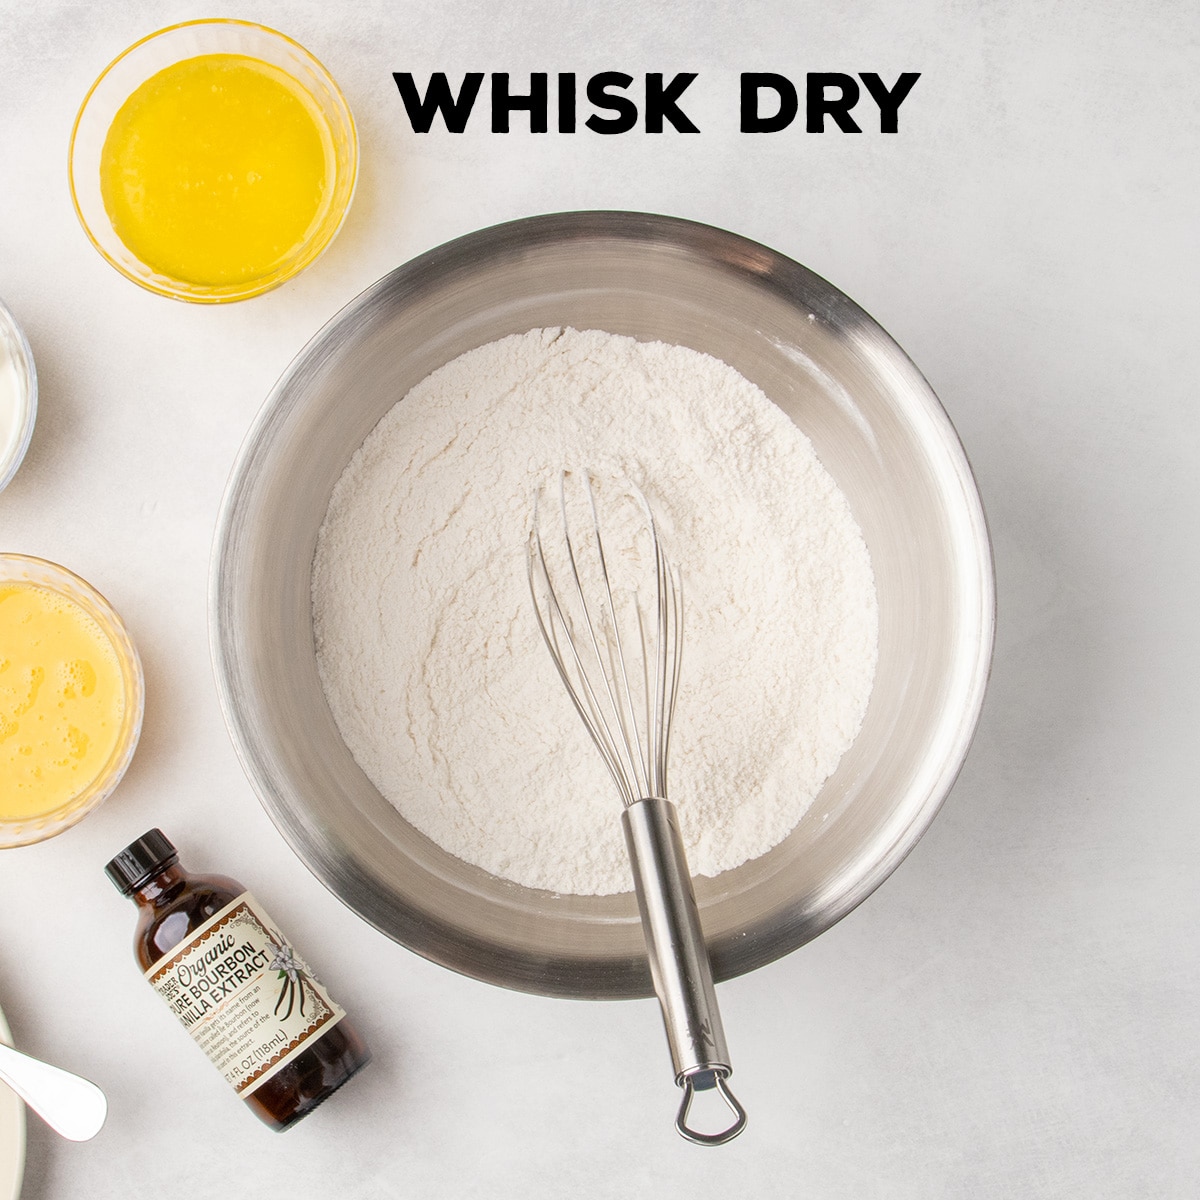
Step 1: Combine dry
Whisk together the gluten free flour with xanthan gum, baking powder, baking, salt, and sugar in a large mixing bowl. This keeps the leaveners from clumping which creates bitter pockets and leads to an uneven rise.
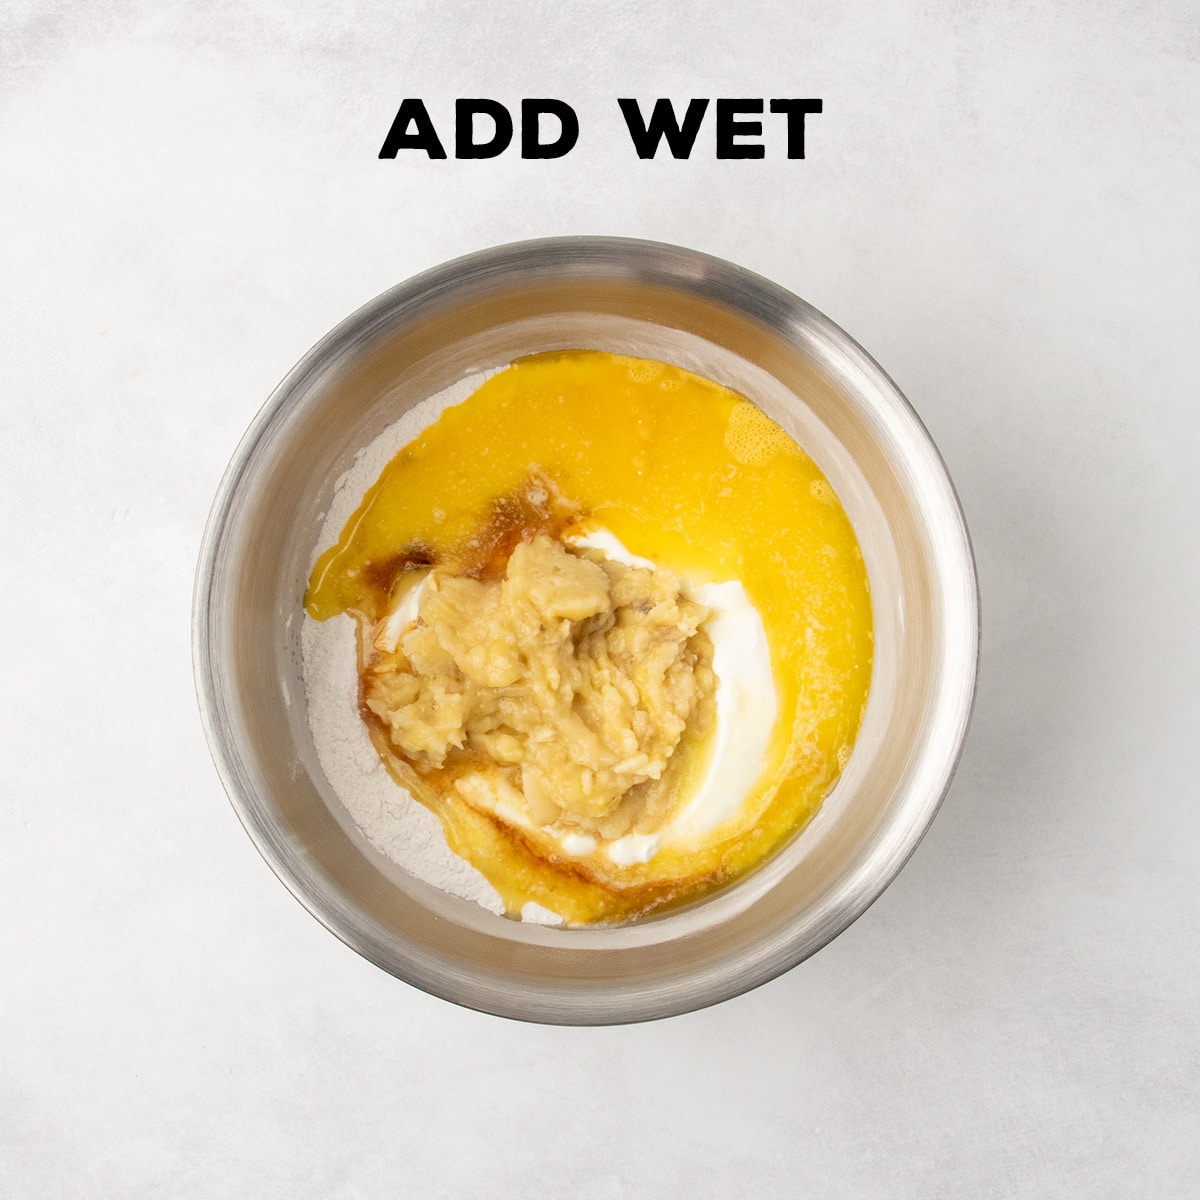
Step 2: Add wet
Create a well in the center of the dry ingredients and add the the melted butter, beaten eggs, vanilla, and sour cream, but don't mix anything yet. Mash the peeled bananas, then add them on top of the sour cream.
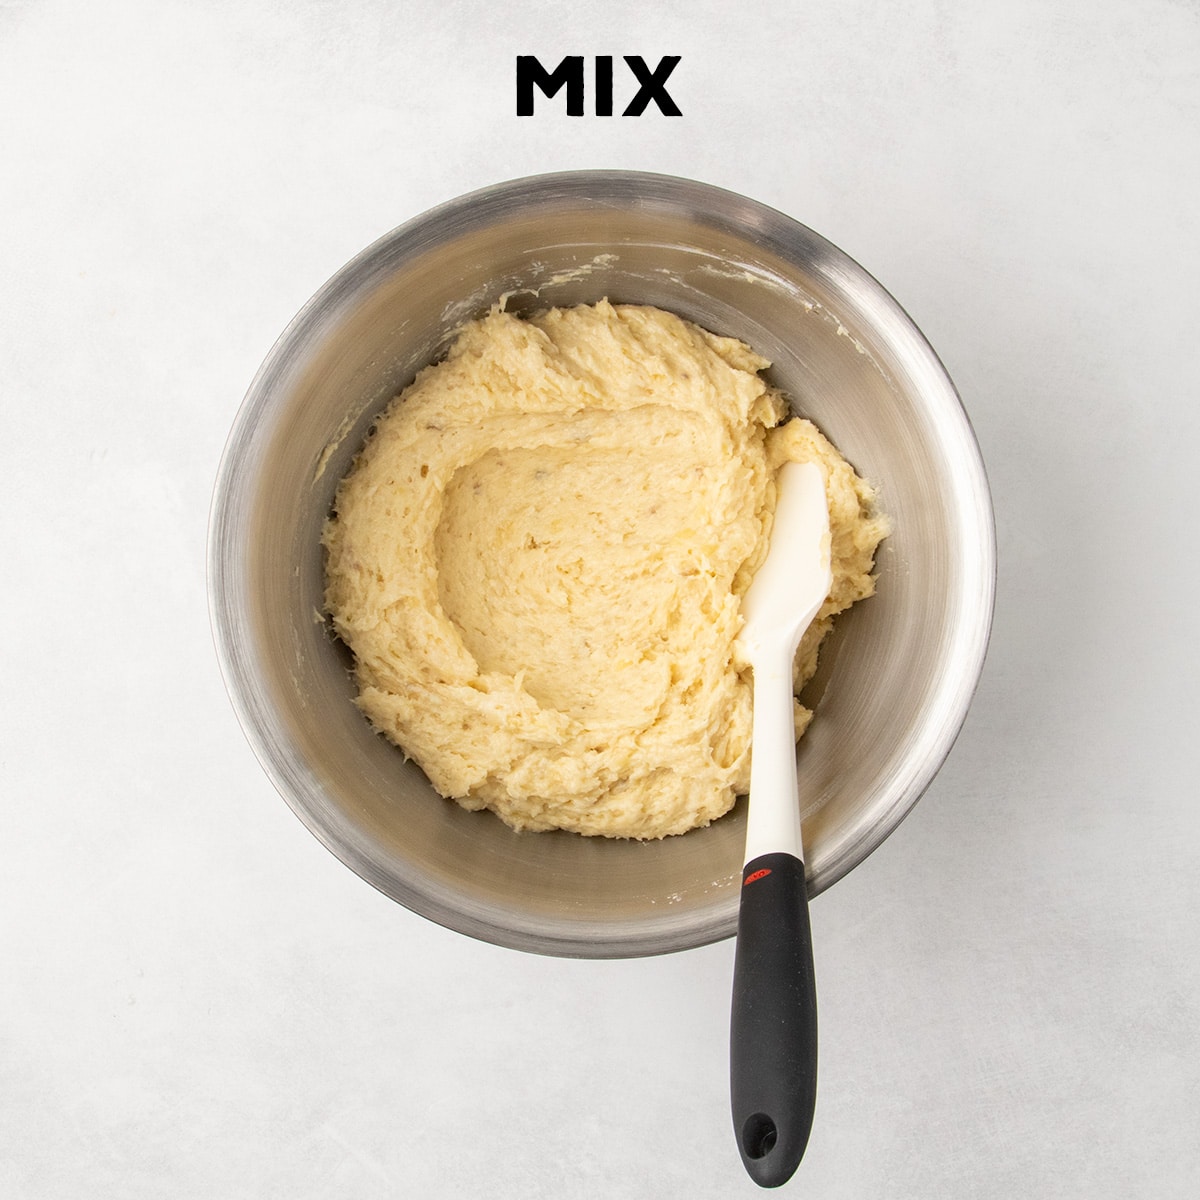
Step 3: Mix
Mix until just combined, since overbeating the batter can lead to tunnels of air in the bread and a dense crumb. The batter should be thick but soft and easy to spread, not stiff.
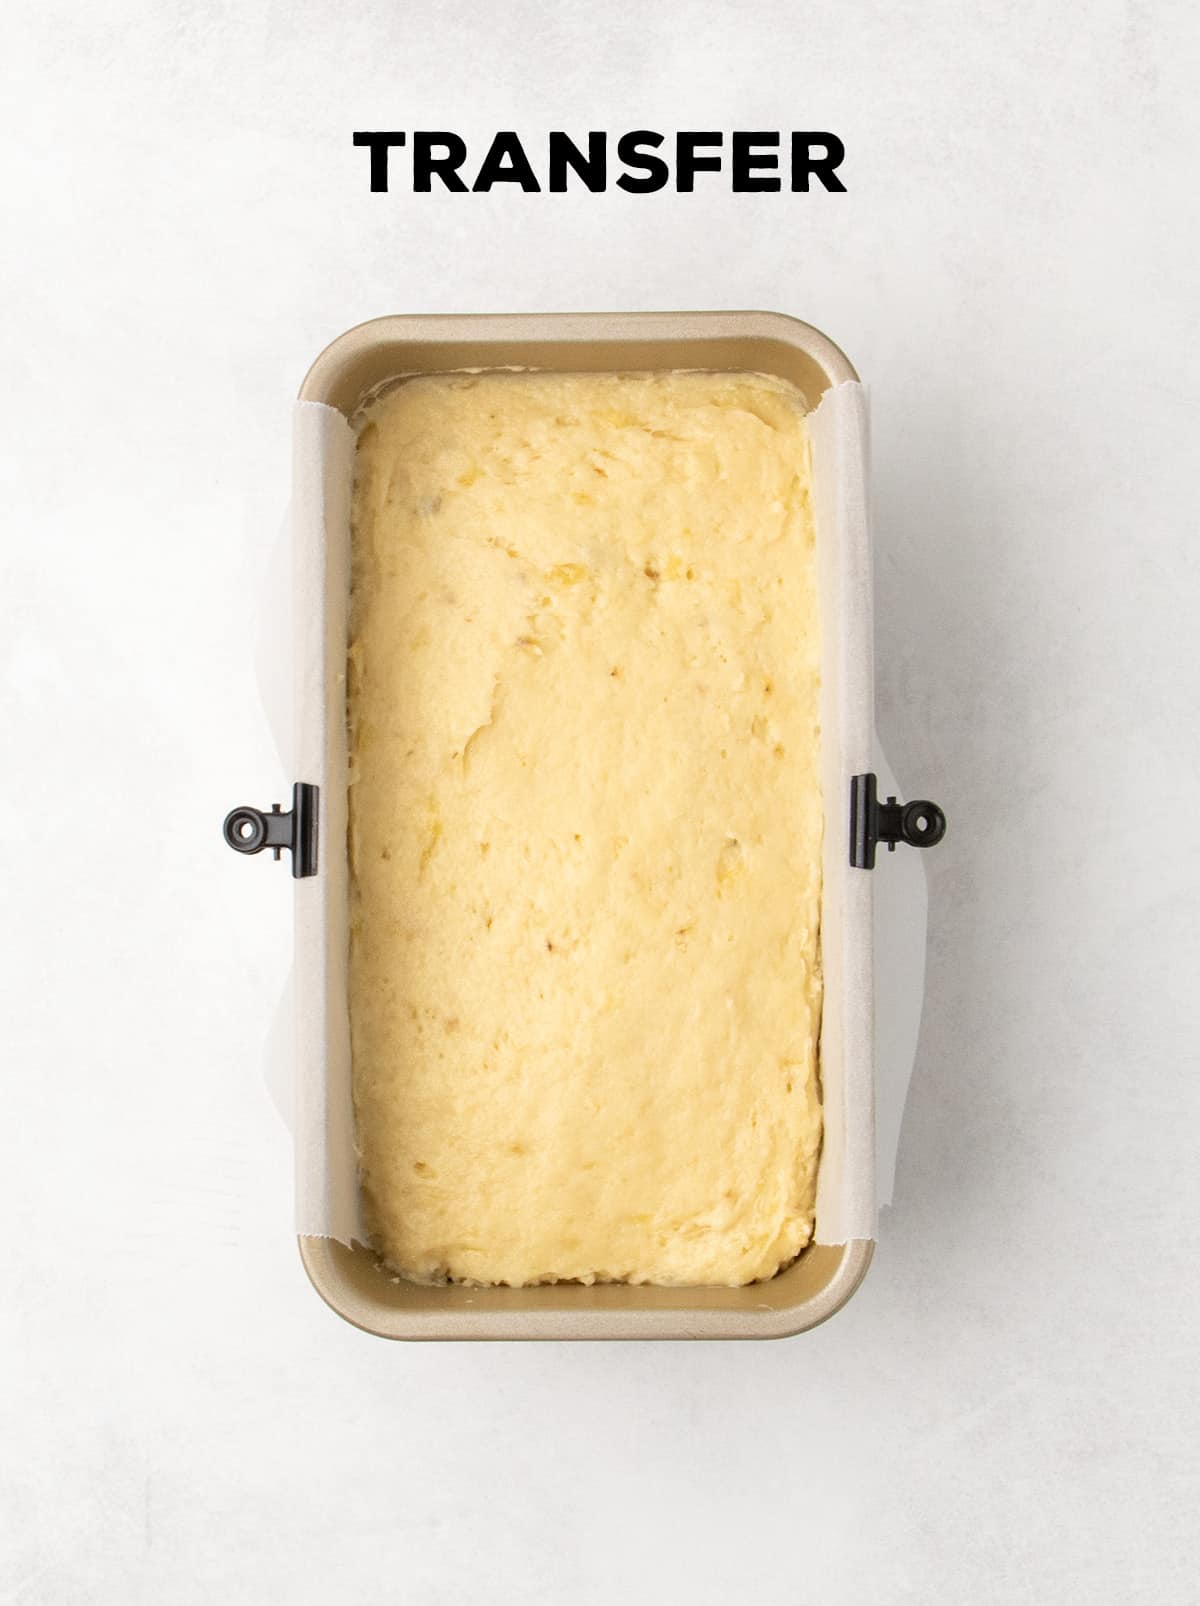
Step 4: Transfer the batter
Scrape the prepared batter into a greased and lined 9-inch x 5-inch loaf pan. Lining with parchment helps the bread bake evenly without sliding around, and makes it easy to lift the prepared bread from the pan easily. Smooth the top with a spatula for even baking.
Step 5: Bake the bread
Bake at 350°F for 40 minutes, then check to see if the outside is browning very quickly. If so, lower the oven temperature to 325°F and continue to bake until a toothpick comes out with a few moist crumbs but no wet batter, about another 10 to 15 minutes.
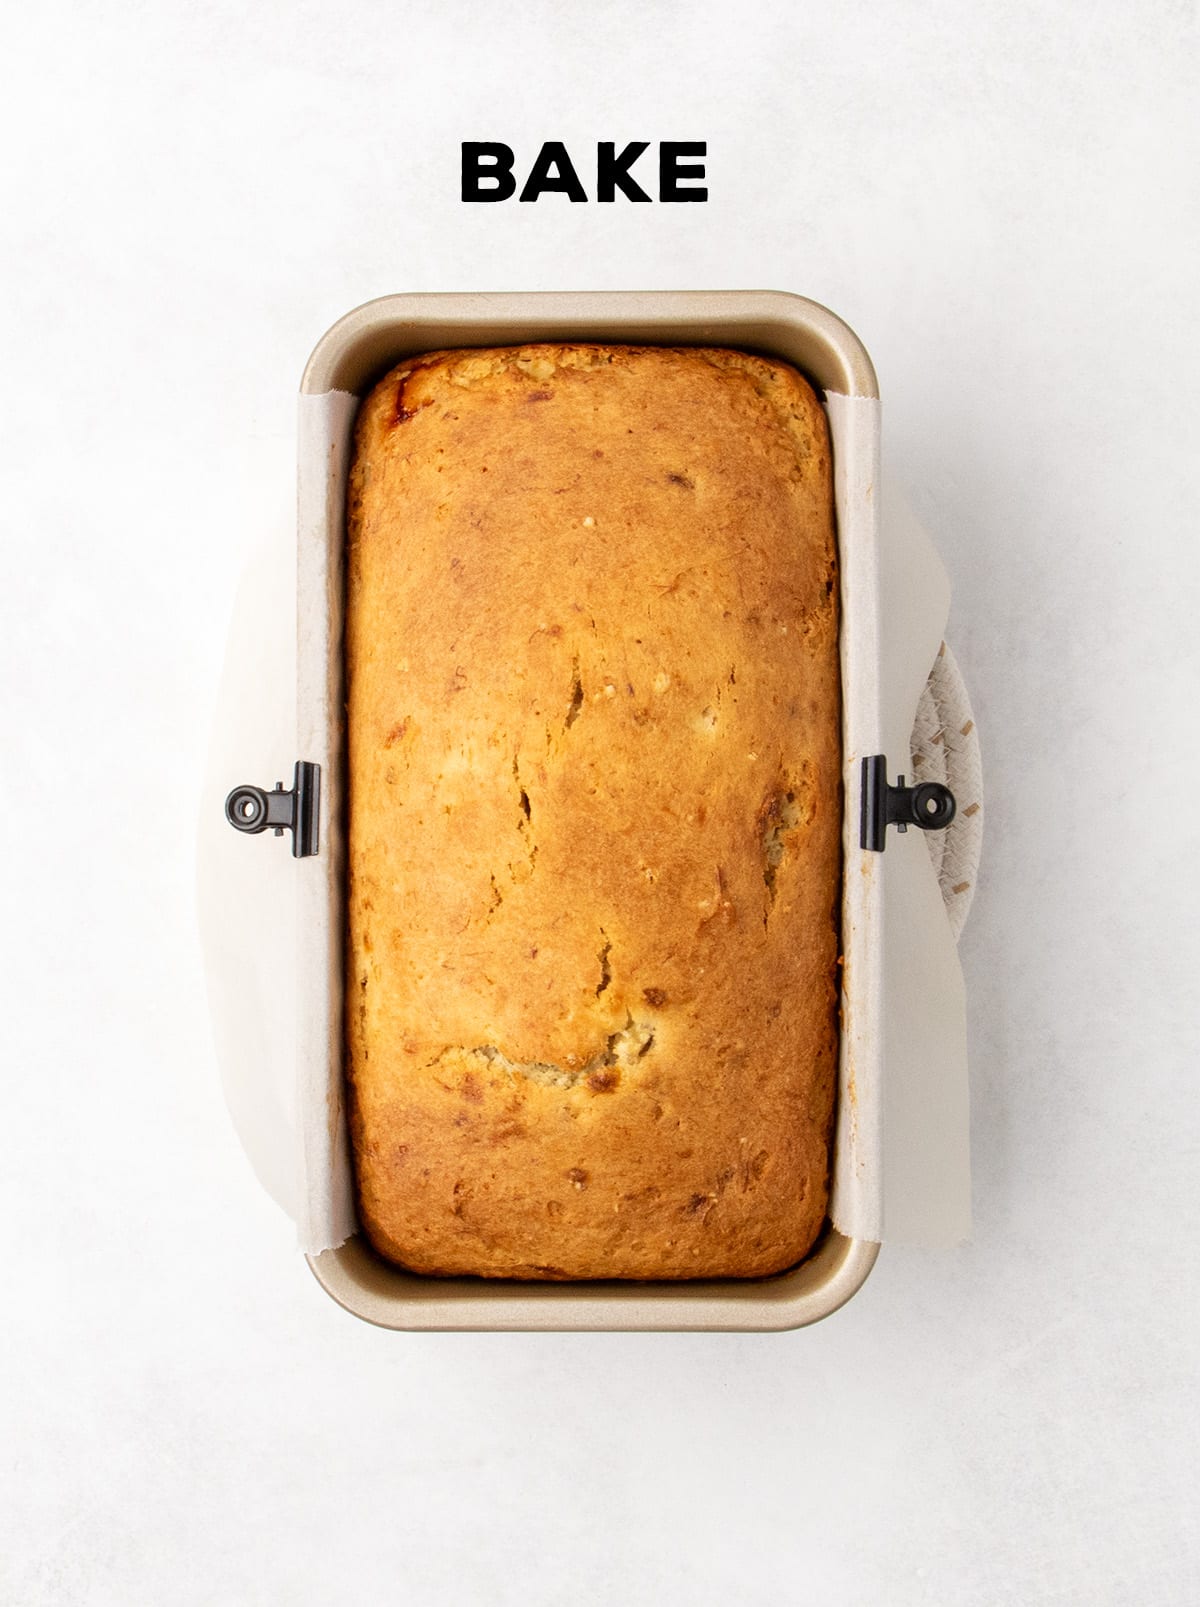
Step 6: Cool
Let the bread cool in the pan for 10 minutes to finish baking and become stable enough to transfer with breaking. Then transfer to a wire rack to cool completely before slicing so the starches have time to become firmer and hold their moisture.
Expert tips
I've been making this banana bread for more than 10 years, and I've become an expert by trying it every different way you can imagine. Here's what I've learned:
Mix only by hand
Readers often ask why we mix melted butter into the dry ingredients, rather than creaming room temperature butter and sugar first, like in our gluten free cake recipe. When you use room temperature butter and cream it with sugar, that incorporates extra air into the batter, leading to loaf that rises higher than the structure can support. The loaf falls and compresses into a dense crumb that also tends to have wet spots that require a longer baking time, and a darker crust.
Use any ripe bananas
Yes, the riper your bananas are, the sweeter and more flavorful your loaf will be. But as long as your bananas are ripe enough to be at all fragrant, use what you have. To help them ripen more quickly, place them in a brown paper bag with an apple overnight.
Mash ripe bananas less
If your bananas are super ripe, mash them with a large fork very lightly to maintain some texture. Very ripe bananas that are mashed too much release a lot of liquid which will weigh down the bread and make it harder to bake allt he way through. If they're less ripe, mash them into more of a lumpy paste.
Avoid a too-hot oven
If you know that your oven sometimes spikes in temperature, watch it carefully and lower it to 325°F and just bake for a bit longer until done. A slow, steady rise creates a stable crumb, and there's enough baking soda and sugar in the loaf that it will brown on top eventually.
Cool completely before slicing
Warm banana bread is tempting, but slicing too soon can make it gummy or crumbly. Waiting until the bread is completely cool before slicing makes it more stable, keeping it from drying out by releasing moisture as steam.
Ingredient substitutions and add-ins
Here are my suggestions on how to replace additional allergens, or to add mix-ins:
Dairy free
Replace the butter with your favorite block-style vegan butter (like Miyoko’s or Melt). For sour cream, use any plain nondairy alternative, or strained plain nondairy yogurt until it resembles Greek-style.
Egg free
Try replacing each egg with a “chia egg” (1 tablespoon ground chia seeds + 2 tablespoons warm water, mixed and allowed to gel). You can also try Just Egg liquid egg replacer or Bob's Red Mill egg replacer.
Mix-ins
Add up to 1 cup of extras like chopped walnuts, pecans, or chocolate chips. Fold them in once the batter is mixed and ready for the pan. Add up to 1 teaspoon ground cinnamon to the dry ingredients with or without other mix-ins, and try sprinkling about 2 tablespoons cinnamon-sugar on top of the raw bread right before baking for a warm, sweet crispy top.
Storage instructions
Let the banana bread cool completely, then wrap tightly and store at room temperature for up to 3 days.
For longer storage, slice the loaf, wrap each piece individually in plastic wrap or Press'n Seal, and freeze for up to 3 months.
Defrost individual slices at room temperature, microwave for 20 seconds, and/or toast gently to refresh.
Gluten Free Banana Bread Recipe
Ingredients
- 2 cups (280 g) all purpose gluten free flour blend, (See Recipe Notes for Recommendations)
- 1 teaspoon xanthan gum, omit if your blend already contains it
- ¾ teaspoon kosher salt
- ¾ teaspoon baking powder
- ½ teaspoon baking soda
- ⅔ cup (133 g) granulated sugar
- 8 tablespoons (112 g) unsalted butter, melted and cooled
- 2 (100 g out of shell) eggs, at room temperature, beaten
- 1 teaspoon pure vanilla extract
- ⅔ cup (150 g) sour cream, at room temperature (avoid fat-free)
- 200 grams (2 medium-size bananas) peeled ripe bananas, the weight measurement is especially important here
- 1 small slightly less ripe banana, sliced thinly lengthwise, for topping (optional)
Instructions
- Preheat your oven to 350°F. Grease a standard 9-inch x 5-inch loaf pan (or slightly smaller), line it with parchment paper overhanging the two long sides, and set it aside.
- In a large bowl, place the all purpose gluten free flour, xanthan gum, salt, baking powder, baking soda and sugar. Whisk to combine well.
- Create a well in the center of the dry ingredients. Add the melted butter, eggs, and vanilla, then the sour cream. Do not mix yet.
- If your bananas are very ripe and soft, mash them gently with a large fork, maintaining as much texture as possible. If your bananas are less ripe but still fragrant, mash with a fork more fully.
- Add the mashed bananas on top of the other wet ingredients, and mix until just combined.
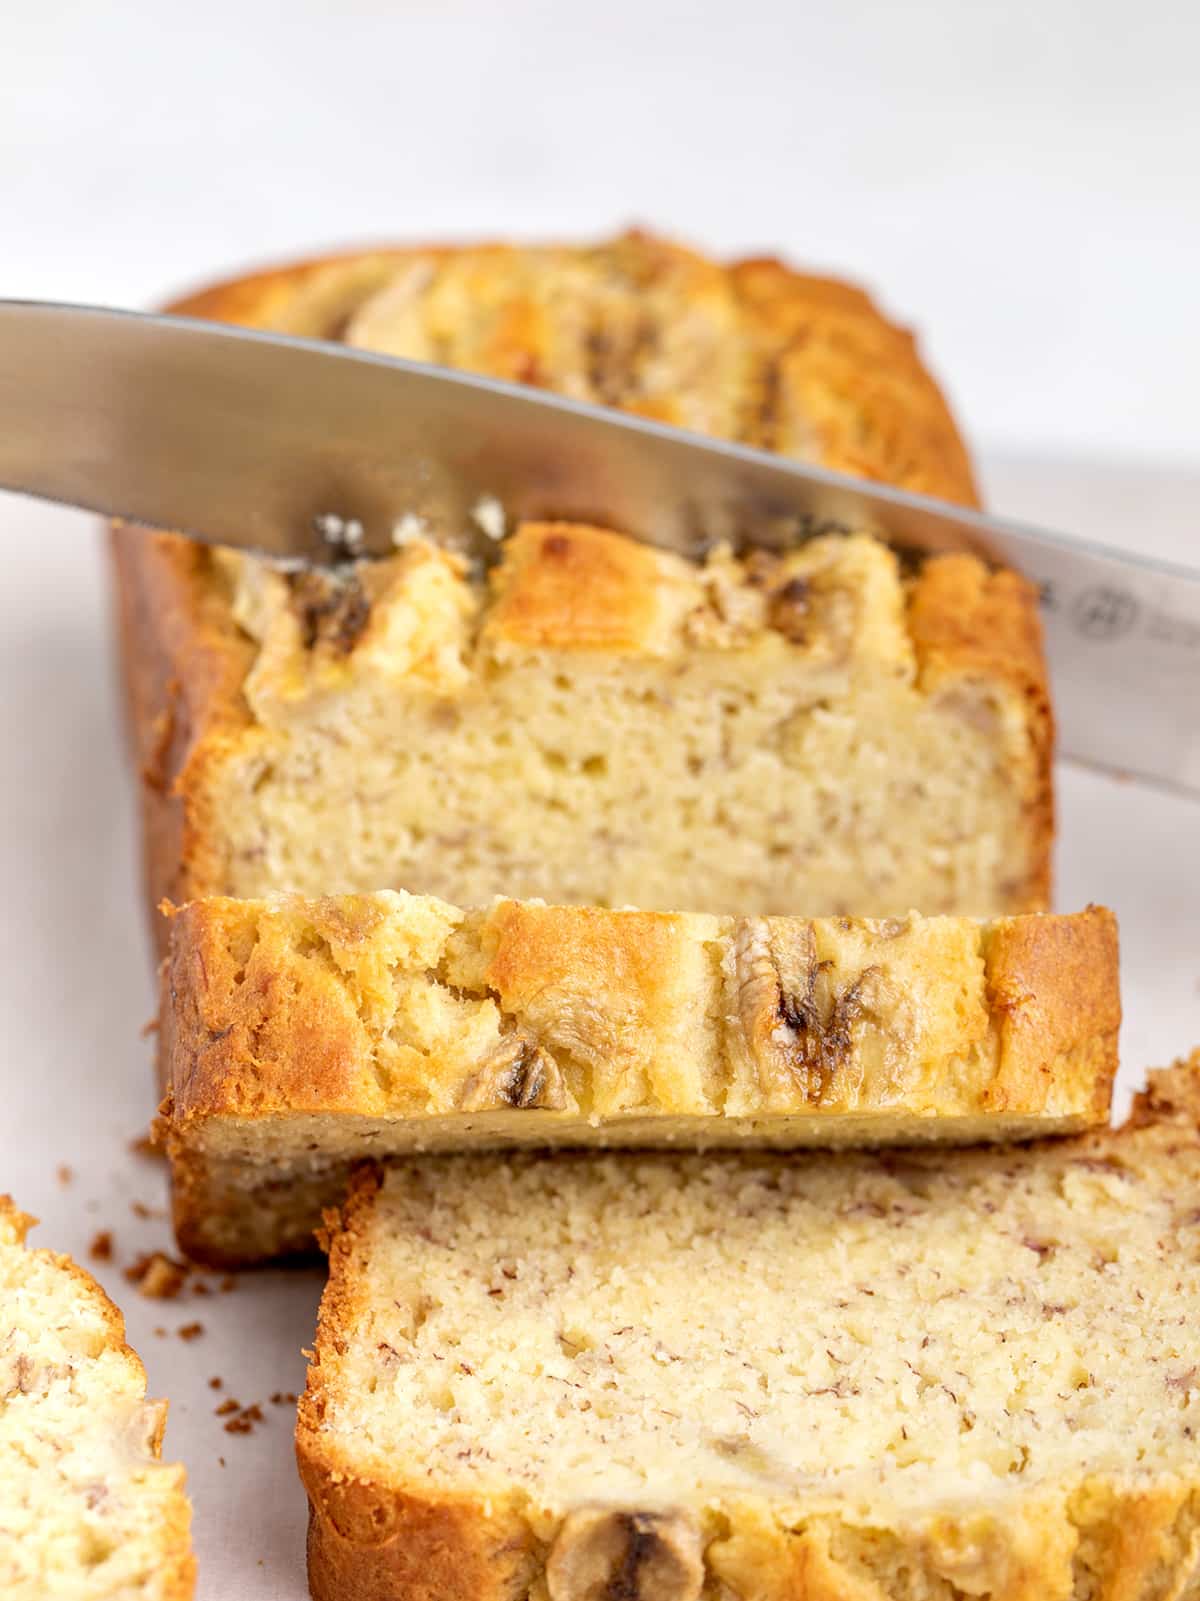
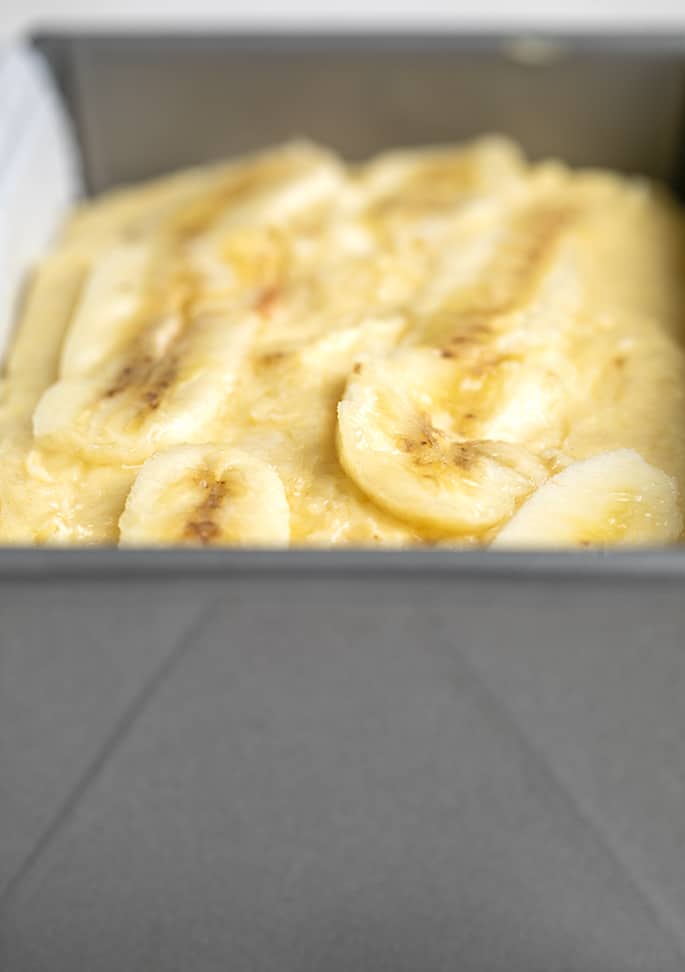
- Scrape the batter into the prepared loaf pan, and smooth the top with a spatula dipped in water. If you're using the optional banana as a topping, place very thinly sliced bananas (cut lengthwise) on top of the smooth batter, sparingly.
- Place the pan in the center of the preheated oven. Bake until the top is golden brown and a toothpick inserted in the center comes out with a few moist crumbs but no wet batter.
- After 40 minutes, check to see if the top is browning too quickly. If so, reduce the oven temperature to 325°F for the rest of the baking time.
- Total baking time will be about 50 minutes without the additional bananas on top, and about 1 hour with them.
- Let the banana bread cool in the pan for 10 minutes, then transfer to a wire rack to cool completely before slicing.
Video
Tell Google you trust GFOAS!
Notes
Nutrition
Nutrition information is automatically calculated, so should only be used as an approximation.
FAQs
Usually, that means your oven is running hot. The outside sets too fast, before the center can bake through. Use an oven thermometer to confirm your temp.
No, this recipe needs a structured blend. Try my almond flour banana bread instead. If you'd like an alternative flour but need to be nut-free, try our oat flour banana bread.
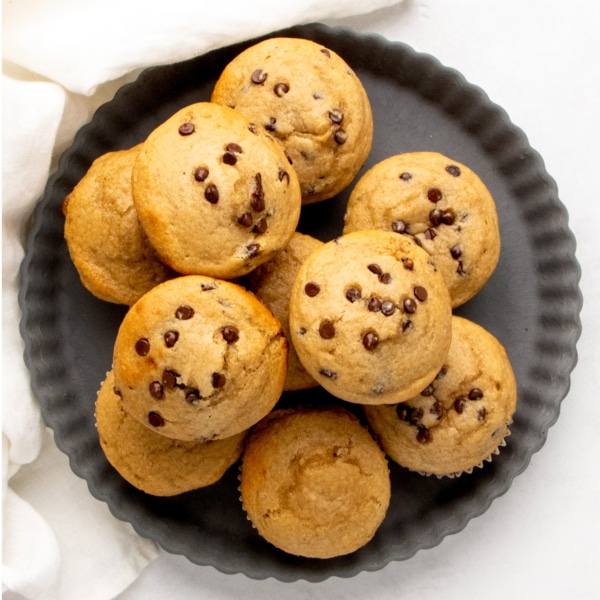
Yes! Try my gluten free banana muffins or divide the batter from this recipe into three 6×3-inch pans and bake for 25–30 minutes.
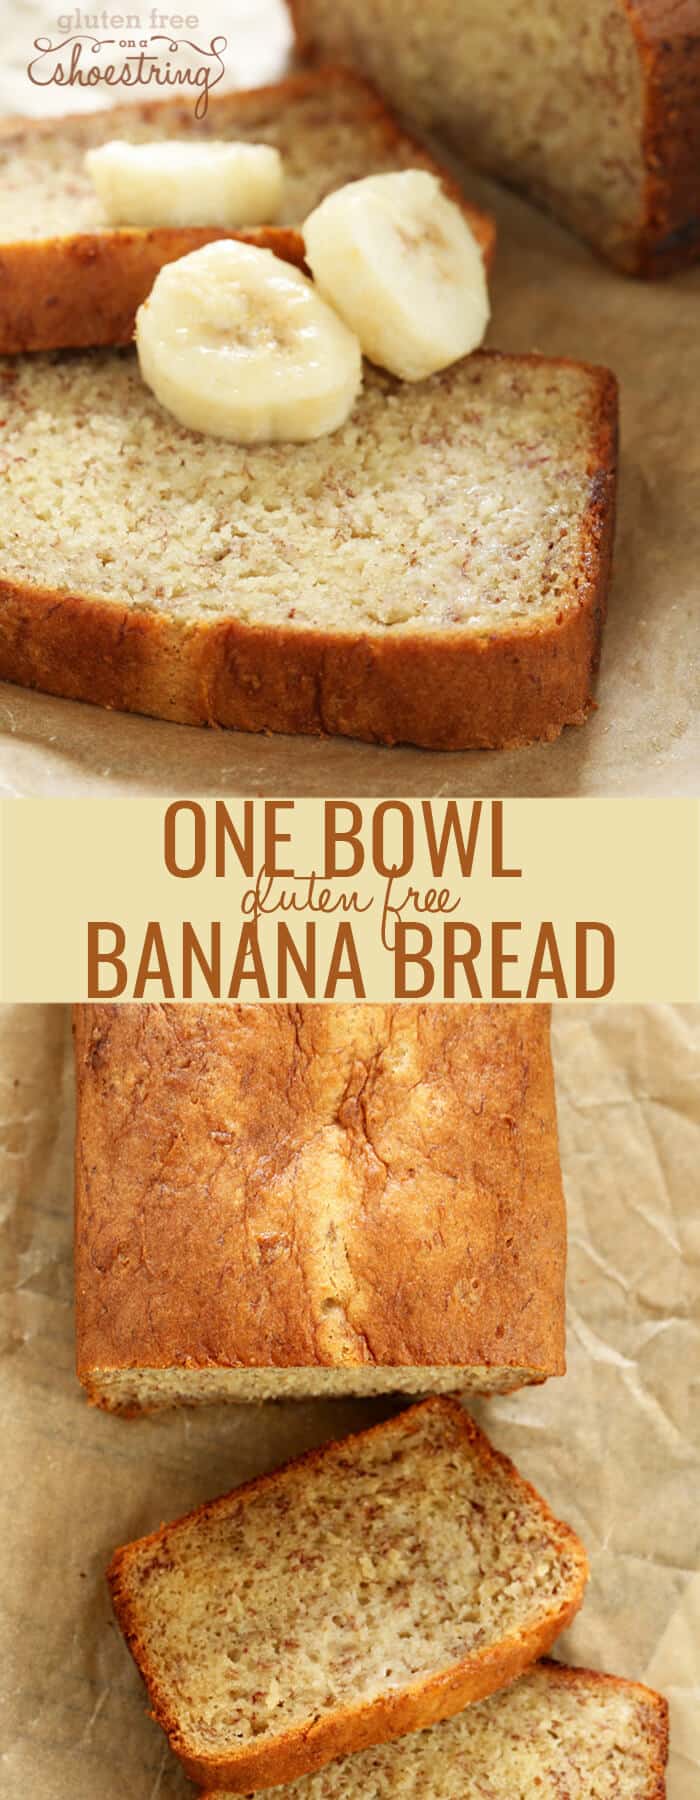











Perfect recipe! As always, weighing ingredients is better than using measuring cups. I made it today with no modifications or additions and this bread is moist and tastes wonderful. The crumb, texture, and taste are spot on. I used Better Batter. Thanks for the great recipes, this is truly the BEST site for GF cooking and baking.
Thank you so much for the kind words, Phyllis, and for your trust in my gluten-free recipes. Yes, weighing ingredients (and using a high quality gluten free flour blend) are the secrets to success. I’m so glad you are on board, and that you loved the gf banana bread!
My GF muffins & loaf pan cakes always look uncooked in the middle, even if I leave them in the oven at 350 for double the time, what can I do or doing wrong. Using GF flours with Xantham gum already in the flour
If you’re having the same issue with every recipe you try, you’d need to find the common denominator. Without knowing anything, I’d always guess that it’s your all purpose gluten free flour blend. Please follow the link in the recipe associated with that ingredient for full information on appropriate blends.
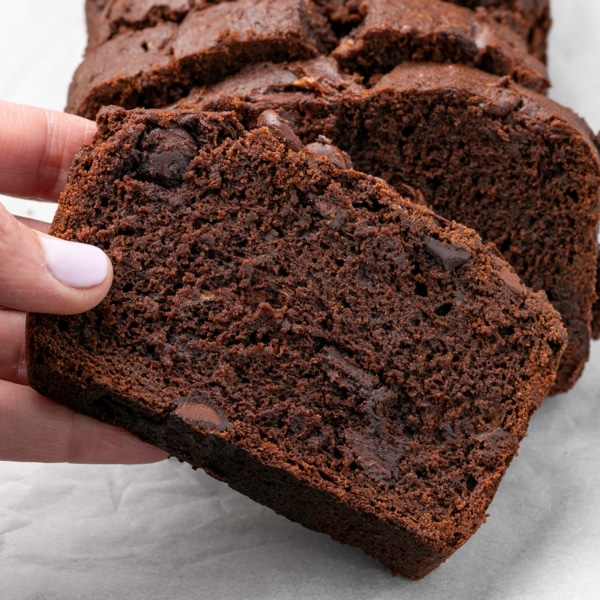
The picture shows Chocolate Banana Loaf (before you click on button to make it) Where is the Chocolate Banana loaf recipe please?
I’m not sure what link you’re referring to, Brenda, but here is a link to recipe for gluten free chocolate banana bread.
Hello Nicole, this very recipe above for Banana bread, the previous cover photo of this recipe shows Chocolate Banana Bread. ??♀️
Thank you for the link to the Chocolate Banana Bread.
The link for that recipe has been changed, Brenda. It’s here now. If something you’ve bookmarked is redirected, which does happen from time to time, you can always use the search function to find what you’re looking for. So sorry for the inconvenience.
I would like to put 4 bananas in, how would that affect the outcome?
Or is there something i can adjust to accommodate increasing the bananas?
Thanks
No, you really can’t add any more bananas to this recipe and have it turn out. I actually talk about that in the post, that all you can really do is add some more slices to the top, but even that means that the top sinks a bit.
Can I use all or part coconut oil?
No, I don’t recommend a liquid like coconut oil in place of butter.
The first banana bread I made turned out OK. I wish it had more of a banana taste, but I did like the tang of the sour cream. This was the first time I weighed my flour and sugar and bananas beef instead of just putting them in a measuring cup
I went a vegan route for the second banana bread I made, using chia eggs and vegan sour cream. I still weighed all my dry ingredients, and it turned out fantastic.
I have been making your banana bread recipe for years. I was wondering if you had the nutritional break down on the bread? It would be helpful for those of us who have to watch our intake for various reasons.
I go to your site for most of my gluten free recipes.
Thank you
Ann
Hi, Ann, I’ve provided approximate nutritional information, but I must caution you that it is an estimate only from online calculators, provided as a courtesy, and should not be relied on under any circumstances.
This recipe is divine! And so versatile. I ate 1/4 of it waiting for it to cool! I added a cup of chopped walnuts and pecans (mixed), 3 tbl poppy seeds, used a little less sugar, used salted butter and sprinkled the top with unsweetened coconut. My oven is at temp and it took close to an hour at sea level.
Thanks for sharing your experience, Megan. Using salted butter can increase baking time, as it has more water than unsalted butter, but baking times are always approximate!
Is there a way I can add ground nuts to this banana bread?
Hi, Paula, sure, you can definitely add chopped nuts. Please see the text of the post under the heading “How to make gluten free banana nut bread”
Thank you, I didn’t realize I had missed that the first time I read the recipe. Looking forward to making this!
This recipe looks amazing. I went to print it and was asked to provide my email to unlock the printer ability. I did so although I already receive your emails. I tried to print double sided and ended up with an unusual negative view of the recipe and so needed to print it again. Again, it asked me for my email which I gave again. Is this requirement a new feature because I really don’t wish to receive multiple emails. BTW, I do appreciate your recipes and your helpful hints.
Hi, Joan, Grow is a service that allows you to save your favorites on my blog and on any other blog that runs the same service, and it allows my advertising management company to serve you more relevant advertisements. You won’t receive any more emails, as you’re already on my email list.
I’m afraid there’s no way for me to customize the window that asks you to sign up for Grow to print, so I can’t explain up front that you won’t receive any additional emails from me or anyone else if you sign up.
When it asked for your email again, the same window has the option to “log in,” rather than sign up. As long as you are signed in to Grow using the email that you provided originally whenever you visit my site (and any other website on the web that uses Grow), you will have all the additional features, like printing and saving bookmarks.
Thanks for your understanding!