
This post may contain affiliate links. Please read our disclosure policy.
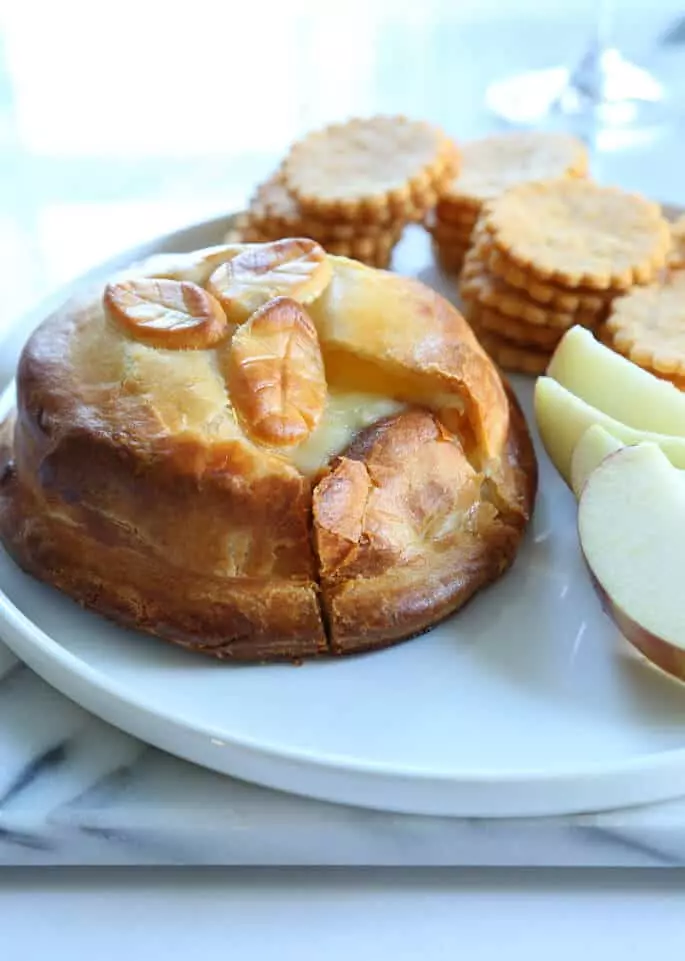
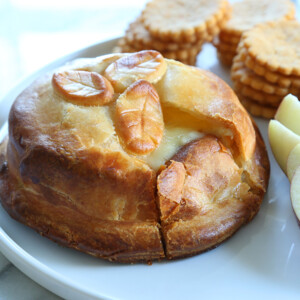
Serve this gluten free baked brie as an appetizer to your friends and family during holiday time or whenever you get together, and then sit back and take in all the compliments.
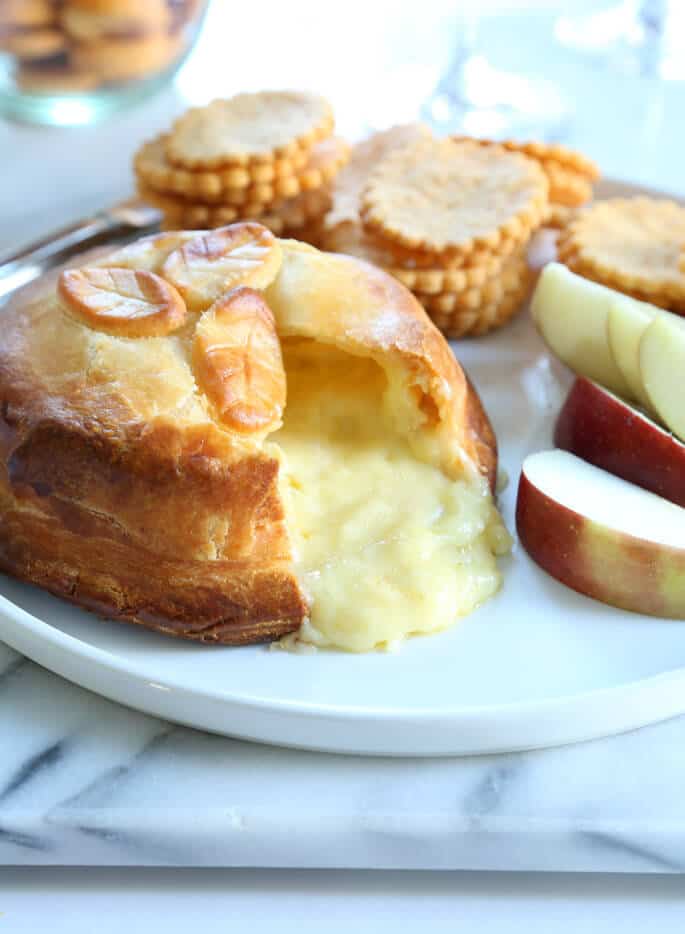
Table of Contents
We're down to the wire here, and I'm sure you've either got your menu planned if you're hosting the holiday, or your marching orders if someone else is doing the lion's share of the cooking. So what else could you possibly need from me? Why, this recipe for gluten free baked brie en croûte, of course.
Mostly, as with many of the recipes on this blog, it's me putting my money where my mouth is. That is, cashing the check that I wrote that goes something like this: If they can make it with gluten, we can make it without!
Baked brie en croûte is typically made with gluten free puff pastry, and of course we could do that if we were so inclined. But instead I used my favorite gluten free pie crust, since it's so light and flaky that only the most snooty guests would even know the difference. And who needs them anyway?
It's so, so easy to make this most gorgeous of appetizers, and it can be made in stages and then just baked at the last moment. Just prepare the pie crust (takes mere minutes!) whenever you have a moment and then stash it in the refrigerator.
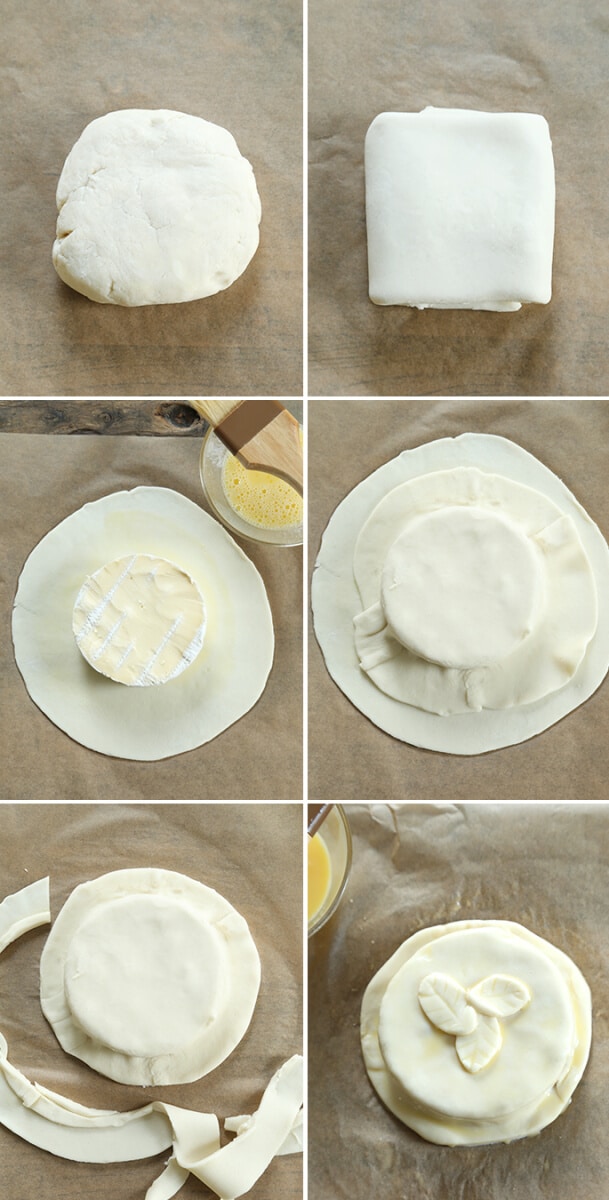
When you're ready, smooth it out, divide it in half and then roll out 2 8-inch rounds. Slice the top off of a small wheel of brie cheese, place it on one of the pastry rounds and then top with the other pastry. Seal, brush with egg wash and chill. Bake about 1 hour before your guests are set to arrive. It will take about half that time to bake, and a bit more than another half to set.
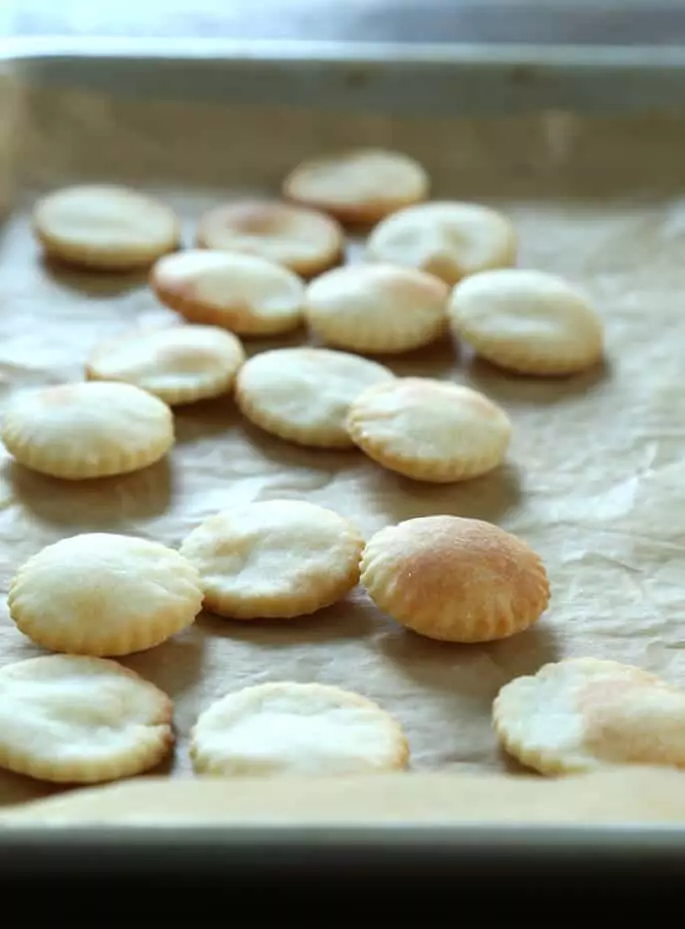
You can serve with whatever fruit and crackers you like, and you can even cut out rounds from the pie crust scraps and bake those. Don't waste those precious scraps!
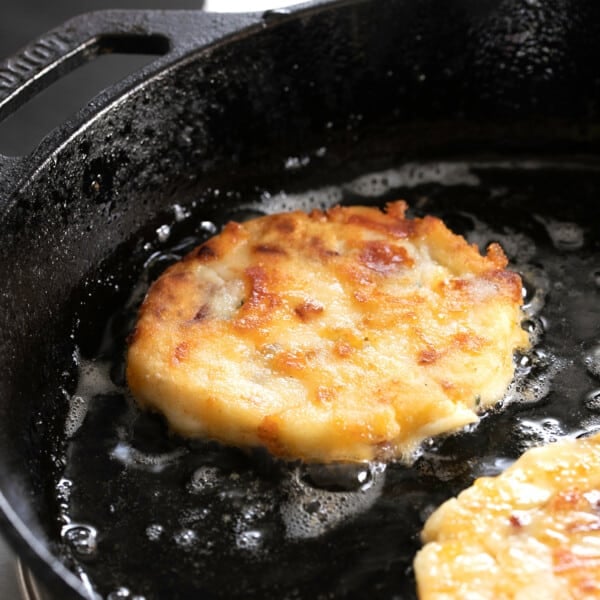
I made Gluten Free Ritz Crackers to serve here, but try our simple but delicious gluten free cheese crackers, too.
You can also try layering some sweet or savory flavors on top of the round of cheese before you encase it in the second pastry round. Some flavor suggestions:
- Spread 2 tablespoons of your favorite jam on top of the cheese, then sprinkle with some chopped pecans.
- Drizzle some honey on top of the cheese, and sprinkle a few chopped dried apricots.
- Peel, core and chop one tart apple, and sauté in a bit of butter until the apples are fork-tender. Sprinkle the apples on top of the cheese, sprinkle lightly with cinnamon and about 1 teaspoon of light brown sugar.
Gluten Free Baked Brie
Ingredients
- 1 recipe gluten free pie crust
- 8- ounce round brie cheese, (about 4-inches in diameter)
- Egg wash, (1 egg beaten with 1 tablespoon water)
Instructions
- Preheat your oven to 375°F. Line a small rimmed baking sheet with unbleached parchment paper and set it aside.
- Prepare the pie crust according to the recipe instructions through the second step of smoothing out the dough.
- Divide the pie crust into two equal portions, and roll each into approximately an 8-inch round about 3/8-inch thick, trimming any rough edges with a pizza wheel, pastry wheel or sharp knife. The round doesn’t have to be perfect, as you’re going to trim the edges once more.
- Place one of the two pastry rounds on the prepared baking sheet. With a sharp knife, trim the top rind off the cheese wheel and place it, cut side up, in the center of the pastry round that is on the baking sheet.
- Using a pastry brush, brush the exposed pastry with the egg wash, leaving a 1-inch border clean around the edge. Place the second pastry round loosely on top of the cheese.
- Using a light touch so as not to tear the pastry, press the top pastry round securely over the cheese wheel on the top and then around the sides, gently pressing out any air.
- Press the edges of the two pastry rounds together to seal securely. Trim excess pastry all around the perimeter, leaving about a 1-inch border of pastry all around.
- Brush the entire exposed surface of the pastry, on the top and sides, generously with the egg wash.
- Cut out a few decorative shapes from the excess pastry that you trimmed, place them on top of the pastry, and press gently to adhere.
- Brush the shapes with the egg wash.
- Place the baking sheet in the freezer for about 10 minutes or until the pastry is firm. (See Recipe Notes for make-ahead option)
- Place the baking sheet in the center of the preheated oven and bake until golden brown all over, about 30 minutes.
- Remove from the oven and allow to sit for about 45 minutes so the cheese can firm back up a bit before serving warm with fruit and crackers.
Notes
Nutrition information is automatically calculated, so should only be used as an approximation.


I made this and it was super delicious. Used raspberry jam. I served it about 35/40 minutes after removing from oven and while it was still warm and melty in the center, I probably would serve it a little sooner next time as the cheese at the edges were just slightly warmer than room temp. My family LOVES hot melted cheese I guess.
I used the extra dough and made small round “cookies” brushed them with melted butter and brown sugar, and sprinkled it with cinnamon sugar. Delish.
That sounds delicious all around, Liz! Thanks so much for letting us know how well it turned out. ?