
This post may contain affiliate links. Please read our disclosure policy.
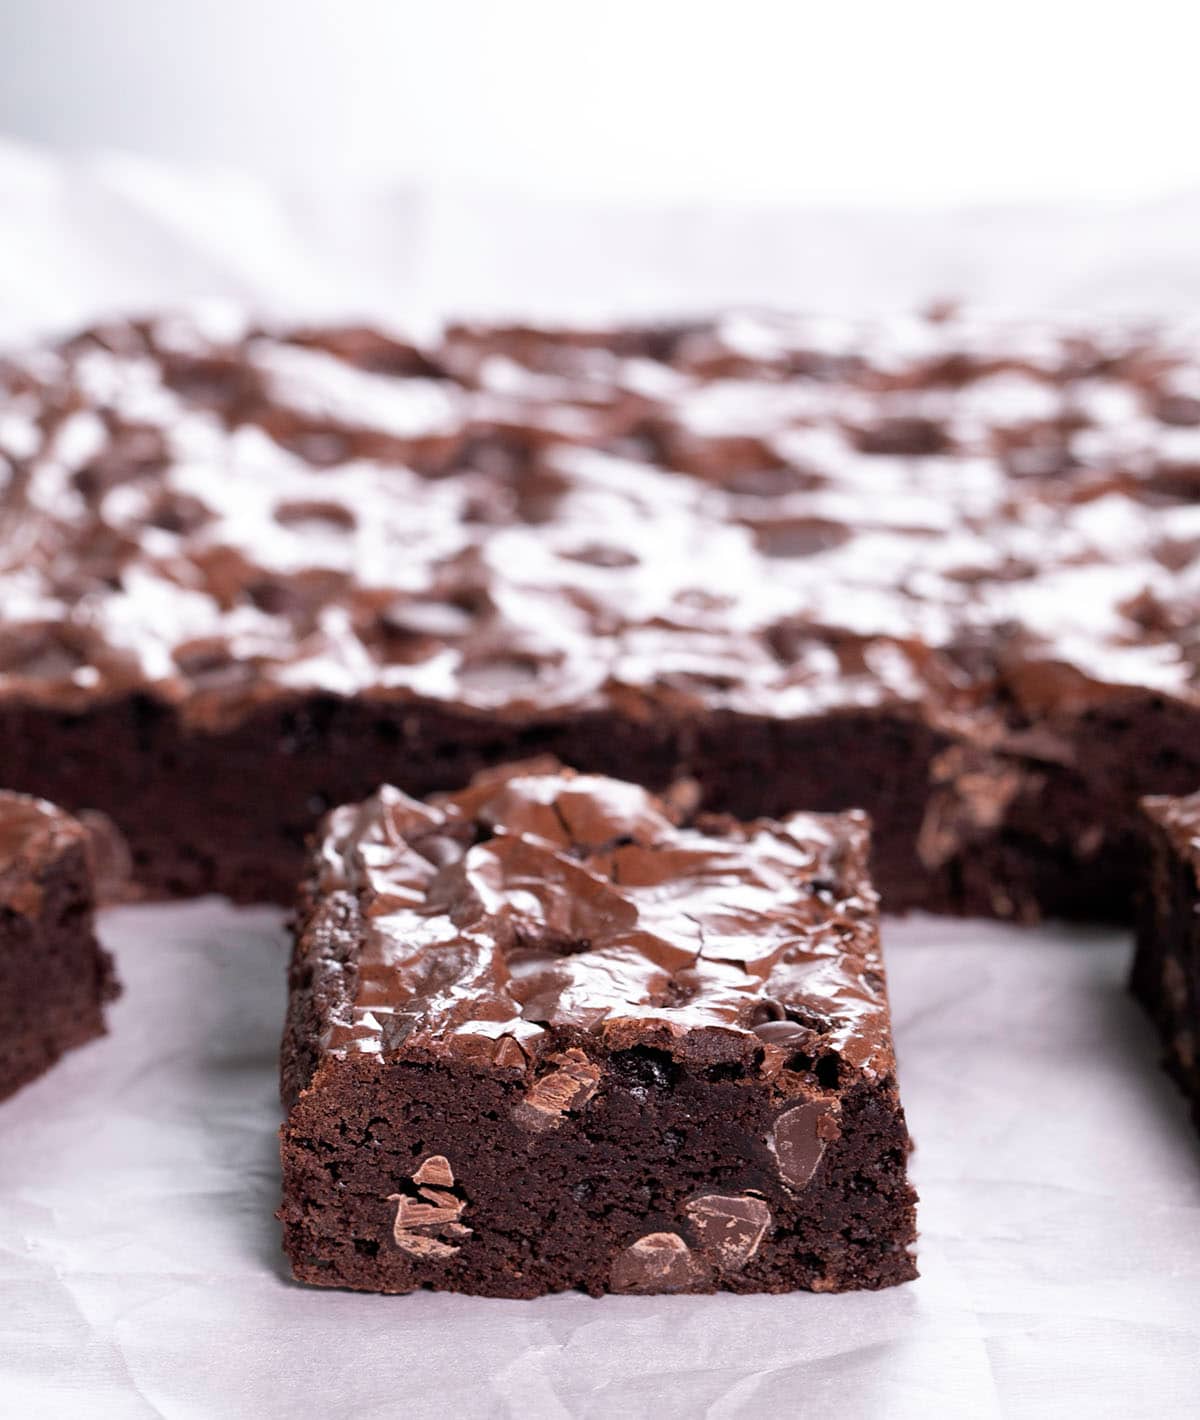
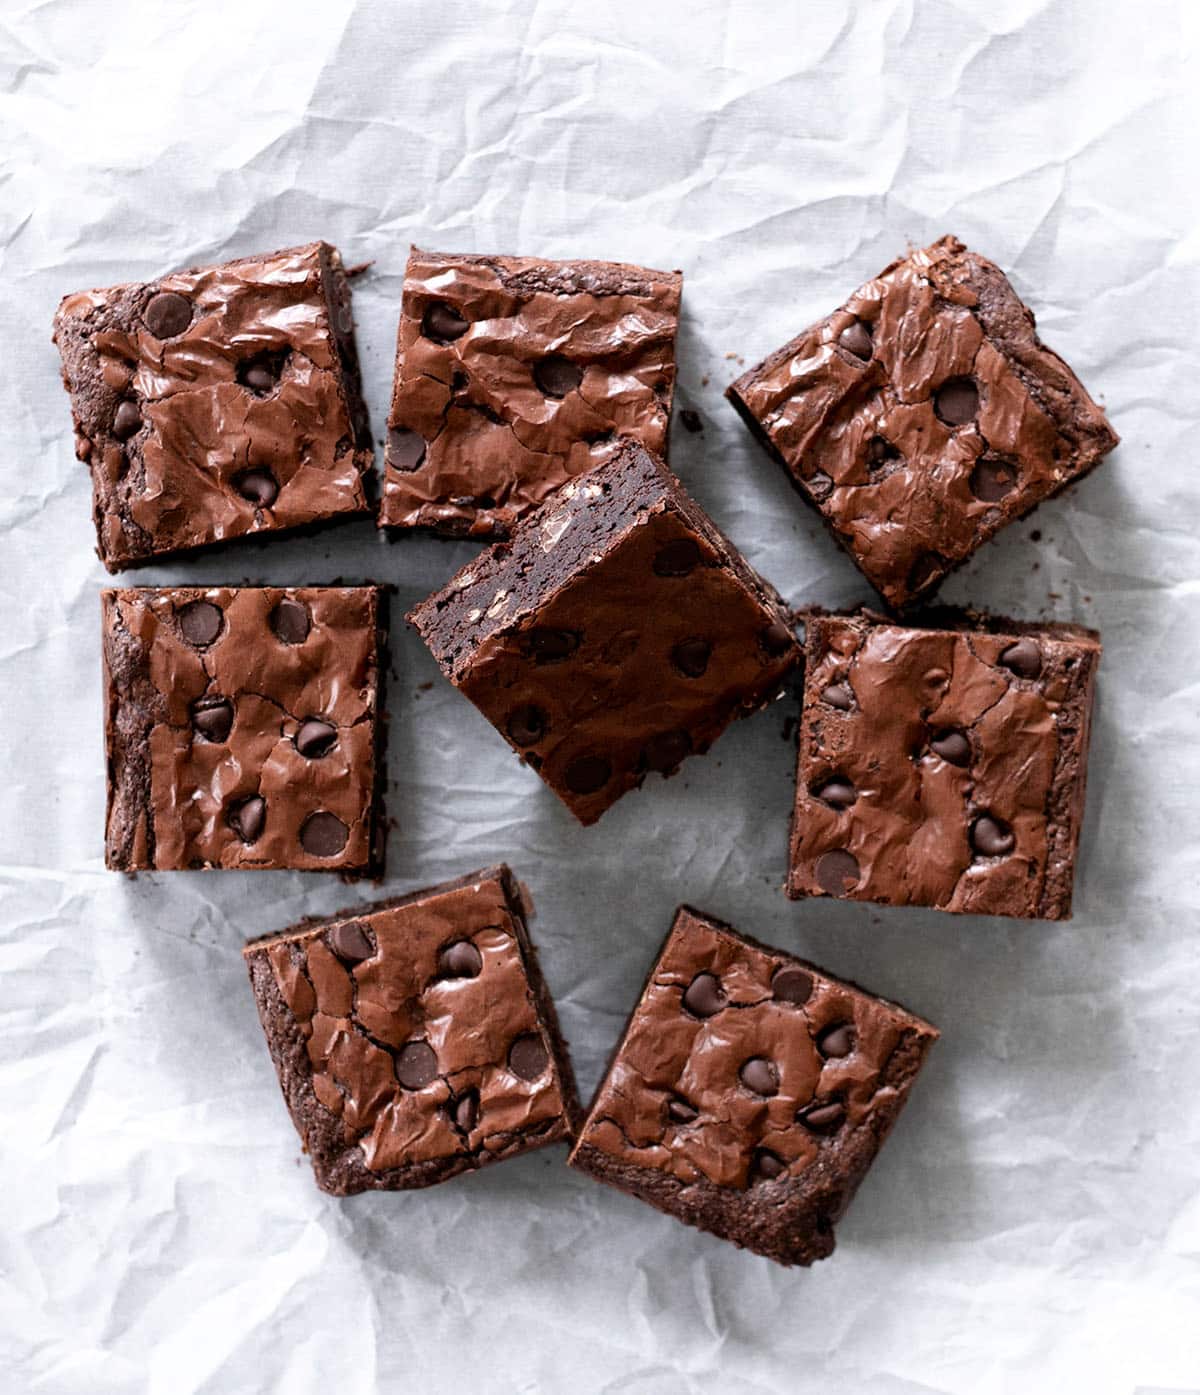
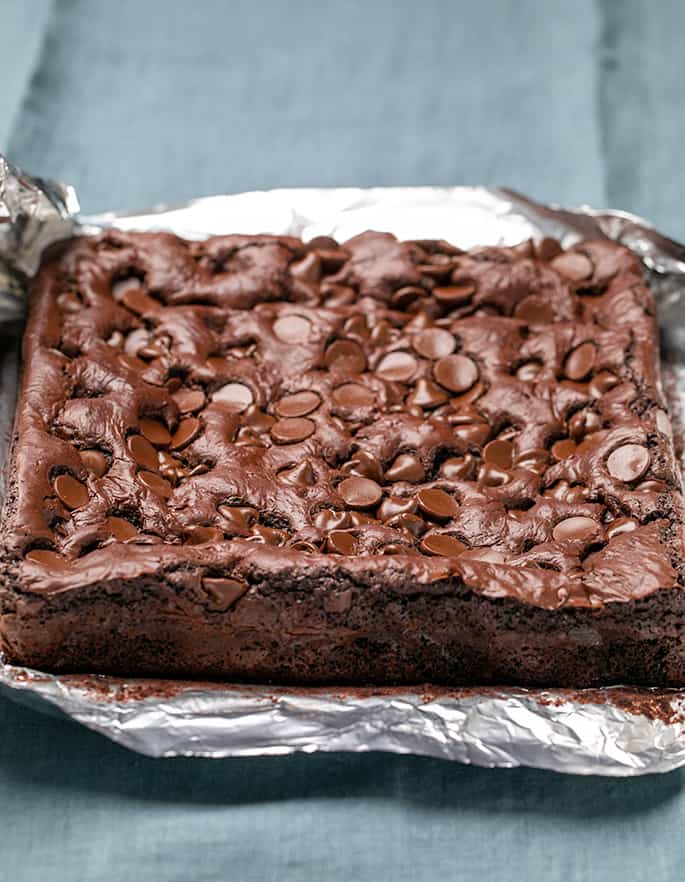
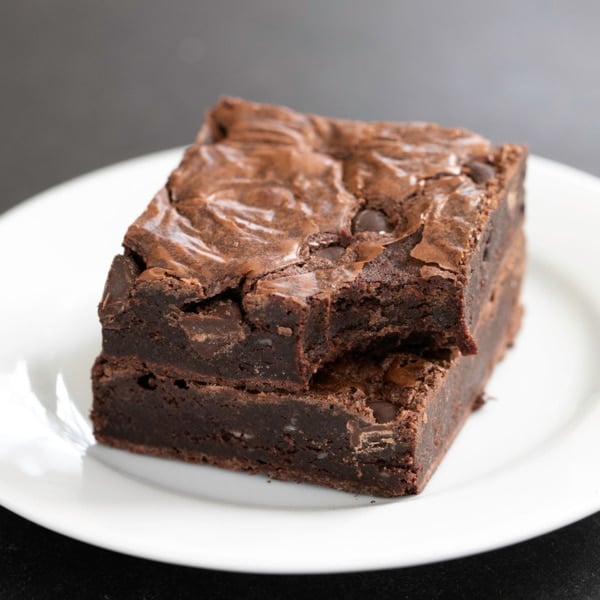
These fudgy gluten free brownies have deep chocolate flavor, a chewy center, and the shiny crinkly top you usually only get from a box.
With a full cup of cocoa powder and plenty of chocolate chips, these brownies strike the perfect balance between rich and sweet, and you'll never miss the mix.
“These are AMAZING! I was diagnosed celiac 5 years ago and have usually just used gluten free boxed brownies… never again!”
Why this recipe works
The signature shiny, crackly top on these brownies comes from melting the sugar into the butter, then beating in the eggs. Melting in the butter rather than creaming it into the sugar also makes a brownie with a fudgy, chewy center that's dense without being gooey or cakey.
A full cup of cocoa powder helps the brownies hold their shape and gives them deep, intense chocolate flavor even without any melted chocolate.
This recipe is also easy to make your own. Add nuts, swap in flavored chips for chocolate chips, or swirl in marshmallow or nut butter before baking. It's a reliable base that handles mix-ins well.
How to make gluten free brownies (step by step photos)
These photos illustrate the process of making the brownies. For full ingredient amounts, see the full recipe card below.
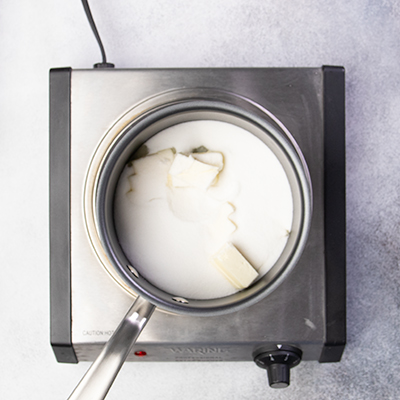
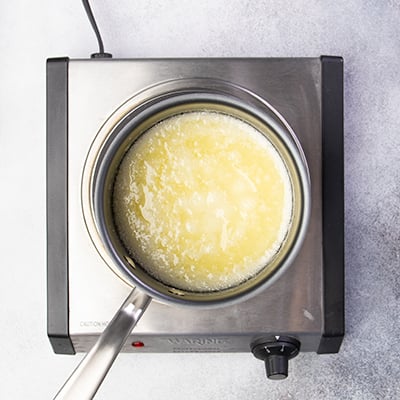
Melt butter and sugar
Melt these first 2 ingredients in a small saucepan until the mixture is bubbling and the sugar is dissolved. The liquid sugar will migrates to the top during baking and form the crackly crust. Fully combining these ingredients without creaming them means a fudgy brownie rather than cakey brownie with a more open crumb.
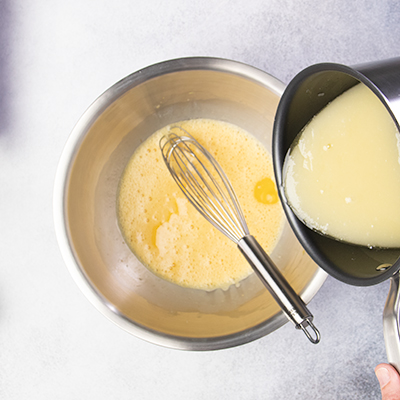
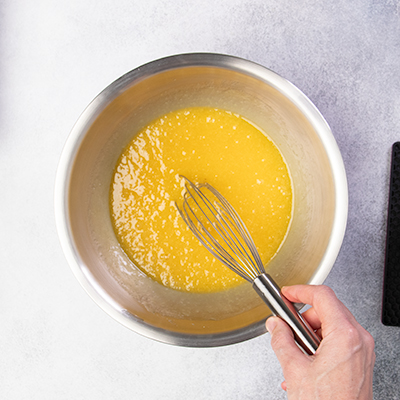
Whisk eggs and vanilla
In a large mixing bowl, whisk the eggs and vanilla until well-combined, but without incorporating too much air to keep the brownies fudgy. Slowly drizzle in the warm butter-sugar mixture while whisking constantly so the eggs don’t scramble.
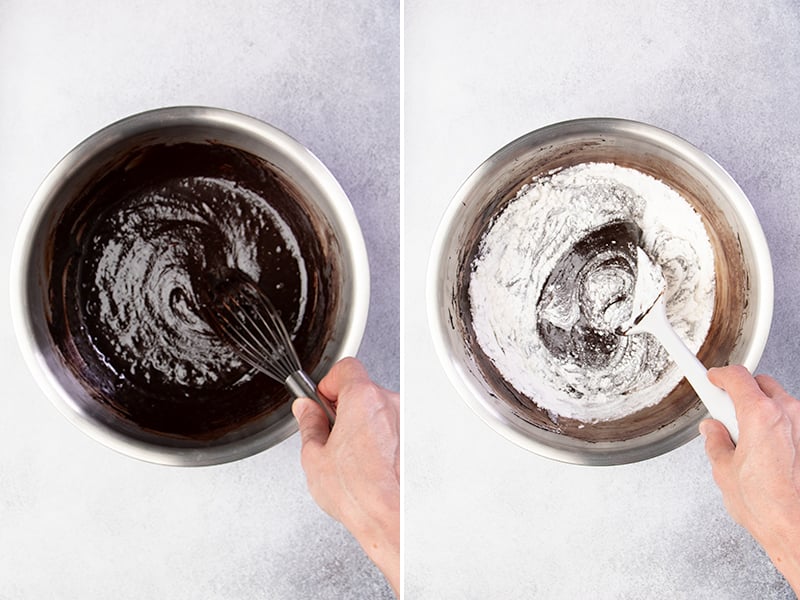
Add dry ingredients
Whisk in the cocoa powder until smooth first. It will resist combining with any liquid, so we whisk it in first slowly to avoid a cloud of cocoa powder. Switch to a spatula and stir in the flour, xanthan gum (if needed), cornstarch, baking soda, and salt. There are few enough additional dry ingredients that it's not necessary to whisk them separately first.
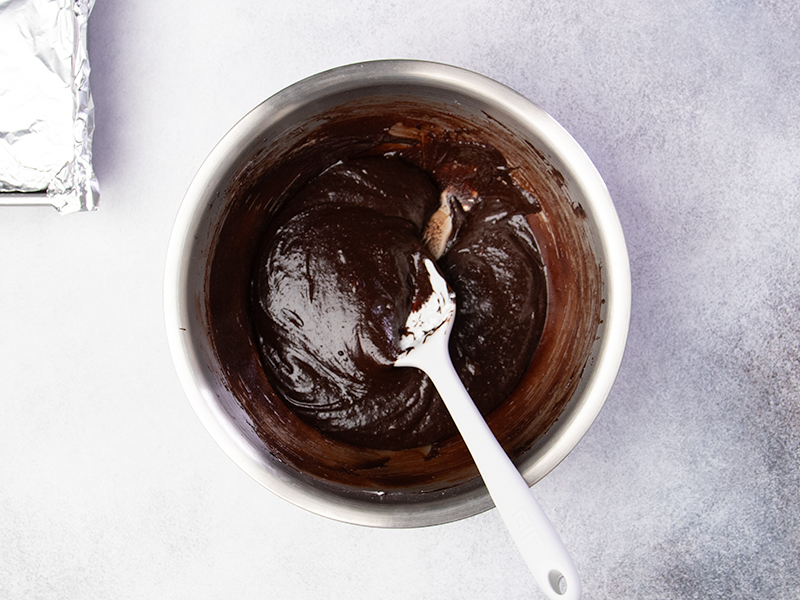
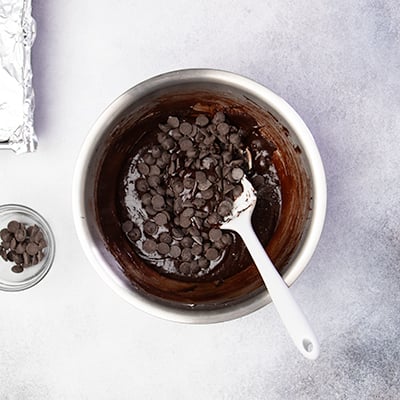
Add the chips
Fold in most of the chocolate chips, reserving a few to scatter on top to ensure that each bite has some chips.
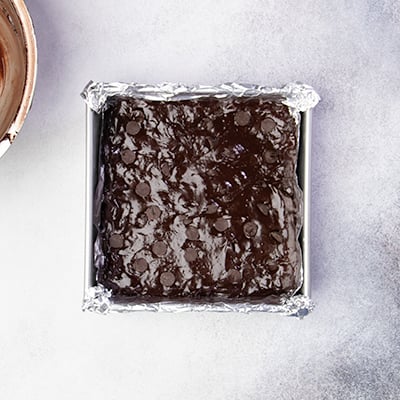
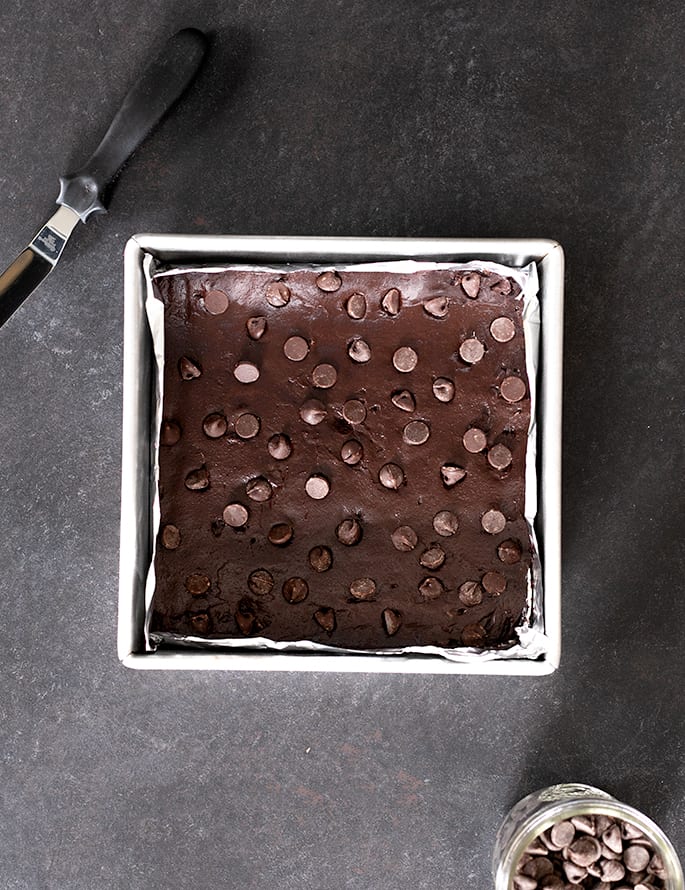
Transfer to the pan
Spread the thick batter into a lined and greased 8-inch metal pan. Since the batter is sticky, it can be easiest to spread evenly with a lightly moistened spatula. Top with the remaining chips.
Bake
Bake at the relatively low temperature of 325°F to give the brownies time to bake fully without burning, about 30 minutes. They're done baking when the center is no longer shiny and wet. The last step in baking will be for the thin crackly top to appear.
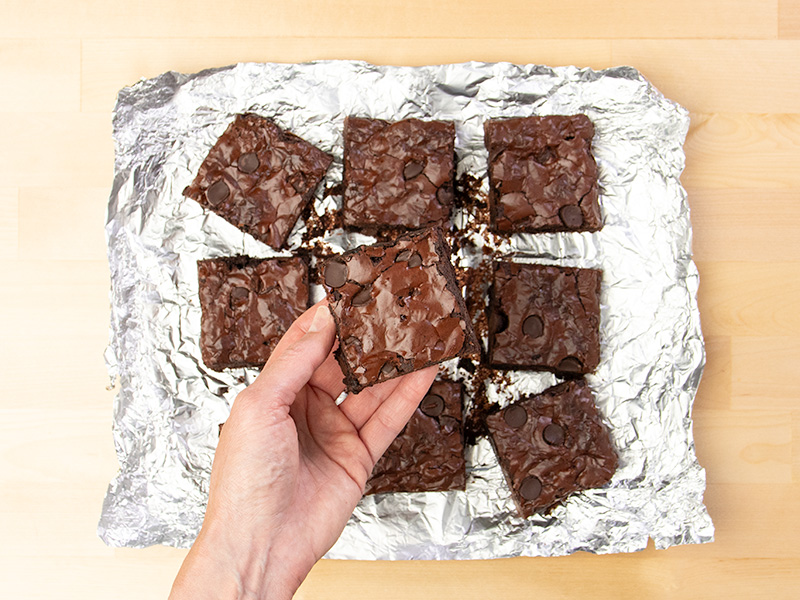
Cool, then chill
Cool in the pan until the pan is no longer very warm to the touch. If you try to transfer the brownies too soon, they won't be stable enough and will crumble.
To get clean slices when you cut the brownies, keep the brownies in the pan and place it in the refrigerator for an hour. Then, lift out of the pan and slice with a sharp knife into 9 equal squares.
Expert Tips
Melt the butter and sugar first
Don’t skip this step! Heating the sugar with the butter helps dissolve the sugar crystals and gives you that signature crinkly top.
Beat the eggs properly
The texture of your brownies depends on it. Beat the eggs well enough that they're fully combined, but not so much that you incorporate unnecessary air into the batter. It will help create structure and chew.
Use a light-colored metal pan
A light cast aluminum or anodized metal pan bakes evenly and won’t overheat. Avoid glass or ceramic, which retain heat and can lead to burned edges.
Line your pan, even if it’s nonstick
Use parchment or foil to make cleanup easy and ensure nothing sticks, even the corners.
Don’t overbake
The center should look just set, not fully dry. The brownies will finish setting as they cool. Since they’re dark in color, visual cues matter more than a toothpick test.

Ingredient Substitutions
Dairy free
Use a vegan butter in bar form, like Melt or Miyoko’s. For best results, avoid soft tub-style spreads. If needed, try half Earth Balance sticks and half shortening (like Spectrum or Crisco). Don’t forget to use dairy-free chocolate chips.
Egg free
Replace the eggs with two chia eggs or flax eggs. The texture will be slightly different, and flax may add some flavor, but the chocolate usually covers it well.
Corn-free
Swap the cornstarch for an equal amount of arrowroot or potato starch. Both work well in this recipe.
Storage instructions
At room temperature: Brownies will stay fresh for a few hours uncovered, or up to 2 days if wrapped tightly.
In the refrigerator: Store in an airtight container for up to 1 week.
In the freezer: Wrap tightly in freezer-safe wrap and freeze for up to 2 months. Defrost at room temperature before serving.
Gluten Free Brownie Recipe
Equipment
- Handheld or stand mixer (or whisk with stamina!)
Ingredients
- 9 tablespoons (126 g) unsalted butter, chopped
- 1 ¼ cups (250 g) granulated sugar
- 2 (100 g out of shell) eggs, at room temperature
- 1 teaspoon pure vanilla extract
- 1 cup (80 g) unsweetened cocoa powder, natural or Dutch-processed
- ⅓ cup (47 g) all purpose gluten free flour blend, (See Recipe Notes)
- ⅛ teaspoon xanthan gum, omit if your blend already contains it
- 2 tablespoons (18 g) cornstarch
- ⅛ teaspoon baking soda
- ¼ teaspoon kosher salt
- 5 ounces semi-sweet chocolate chips
Instructions
- Preheat your oven to 325°F. Line an 8-inch square light-colored metal pan with parchment or nonstick foil. Set aside.
- In a small saucepan, melt the butter and sugar over medium heat, stirring occasionally, until the mixture begins to bubble. Remove from the heat and let cool slightly.
- In a large bowl, whisk the eggs and vanilla until well combined. Slowly drizzle in the warm butter-sugar mixture, whisking constantly.
- Whisk in the cocoa powder until smooth.
- Switch to a spatula and stir in the flour blend, xanthan gum (if using), cornstarch, baking soda, and salt.
- Fold in about 4 oz of the chocolate chips. The batter will be thick and sticky.
- Spread the batter evenly in the prepared pan and smooth the top. Sprinkle the remaining chocolate chips over the top.
- Bake for about 30 minutes, or until the center no longer looks wet.
- Cool the brownies in the pan at room temperature. For clean slices, chill the pan in the refrigerator for at least 1 hour.
- Lift out the brownies, slice into 9 squares, and serve—or wrap and freeze for later.
Video
Notes
Nutrition
Nutrition information is automatically calculated, so should only be used as an approximation.


FAQs
No, a handheld mixer makes it easier, but you can whisk by hand vigorously, especially when beating in the eggs and cocoa powder.
Yes, but bake for about 5 minutes less. The brownies will be a bit thinner.
Yes, but bake in two 8- or 9-inch square pans. A 9×13 pan will make them too thick to bake evenly.
Use nonstick foil or parchment. If you’re using parchment, clip it to the sides of the pan with heat-safe clips so it doesn’t shift.
Not in this recipe, but I have separate recipes for almond flour brownies and oat flour brownies that are designed for those flours.


I made this recipe today. They literally melt in your mouth. Excellent! I used Nicole Best multi use flour. The recipe is well written and easy to follow. Thanks!
You’re so welcome, Cathleen, I’m so glad you love the brownies! Thank you for sharing your experience, and for buying Nicole’s Best! I really appreciate your support.
Another amazing recipe that shows why you’re my go-to for anything GF! These brownies were easy to make and a huge hit with my (non-GF) friends. I’m usually a box-mix warrior when it comes to brownies, so I was a little intimidated by this, but they turned out so well–super fudgy and moist, with a decently crackly top. I will never go back to the box!
Being diagnosed with Celiac as a teenager was hard, but over the ten years since, your recipes have really helped me feel like a normal person again, who gets to bake stuff for her friends and family that they’ll actually like. Your recipes are always so yummy and thoughtfully presented with lots of tips that make it easy to avoid mistakes. Whenever I want to bake something, I always start by checking to see if you have a recipe for it. Thank you for what you do!
Hi, Anna, wow that’s so great to hear. It’s a shame you felt intimidated by the recipe at first, but if you’re used to the box, I definitely understand it. I’m so glad you pushed through and really loved the brownies. I’m honored to have been on this journey with you for the past 10 years, and feeling “normal” is so terribly underrated! I consider it the highest compliment. Thank you so much for sharing all of that with me. And cheers to the next 10 years together!
I followed the recipe carefully and these turned out fantastic. Honestly one of the best batches of brownies I’ve ever made – with or without wheat flour. Thank you Nicole! These will be a go-to here from now on.
Thank you so much for sharing your experience, Heather! I’m really glad you followed the recipe carefully, which is often a stumbling block since my recipes tend to be quite specific and you have to trust me. ? So, thank you for trusting me!
Can I leave out chocolate chips?
Hi, Julie, the chips reduce the moisture content, so you’d need to replace them with another dry mix-in, like a different flavor chip or chopped nuts. I hope that’s helpful!
These are great! I used Ghiradelli cocoa and they were very chocolaty WITHOUT adding the chocolate chips. They would have made them too rich IMO. My 7 year old grandson says these are the best brownies he’s ever had. He has no idea they are GF. ? I sprinkled pecans on the top instead of chocolate chips. Perfect!