

This post may contain affiliate links. Please read our disclosure policy.
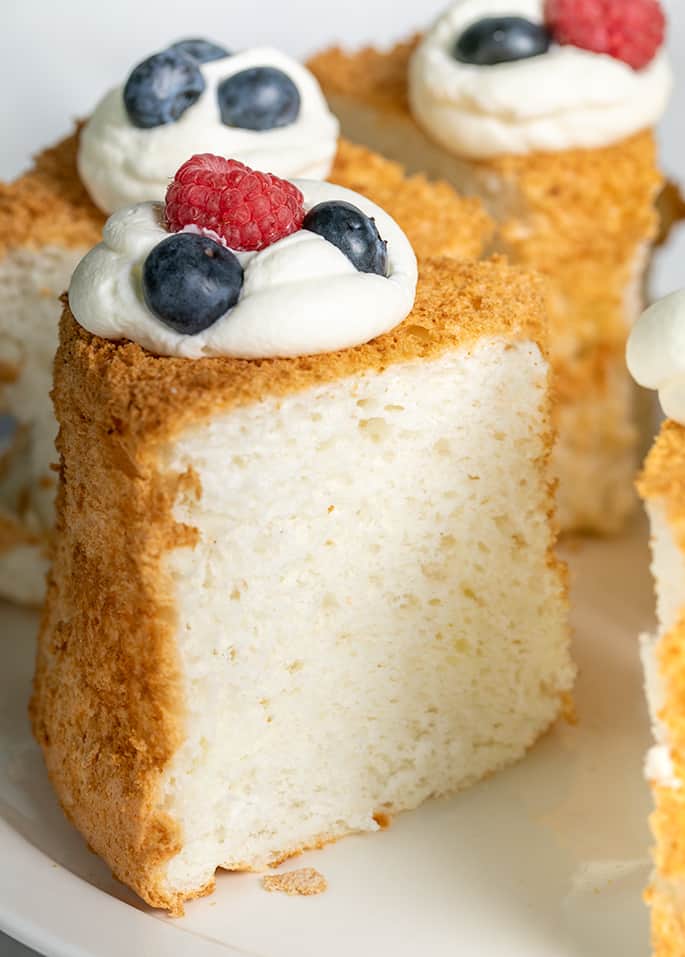
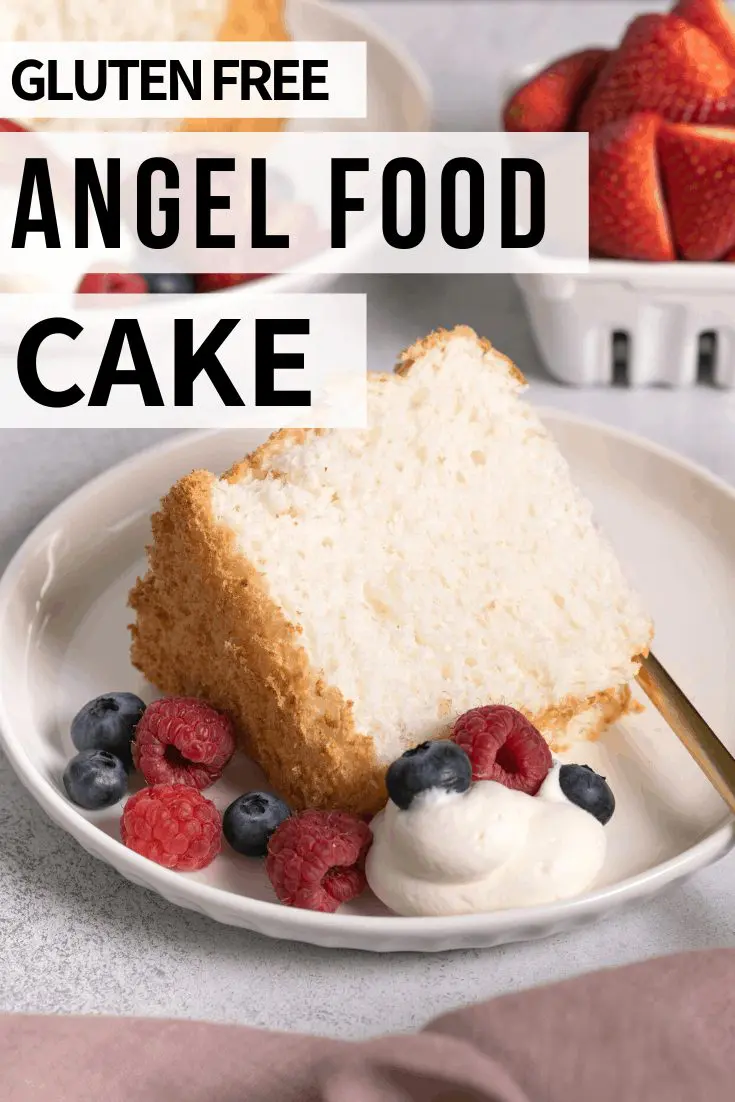
This gluten free angel food cake is light, airy, and soft, with a delicate vanilla flavor and cloud-like crumb. Made with just four basic ingredients, it depends on the right method to rise tall and stay tender.
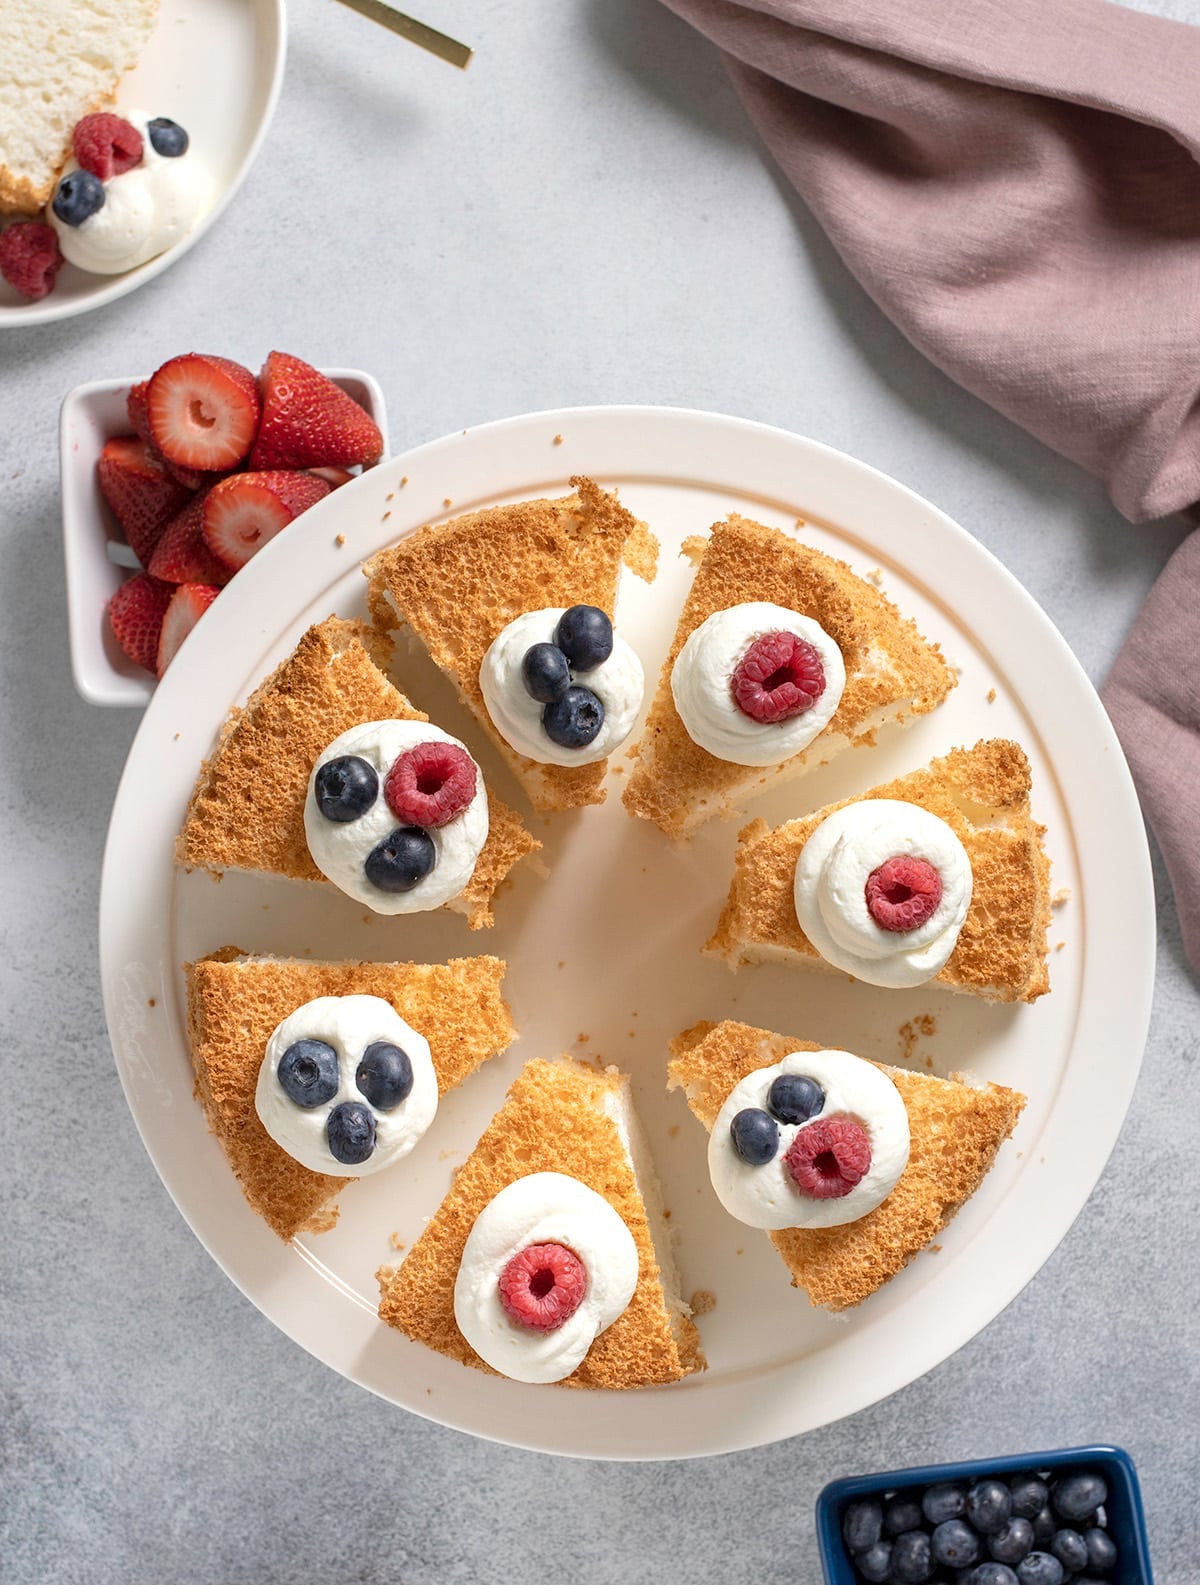
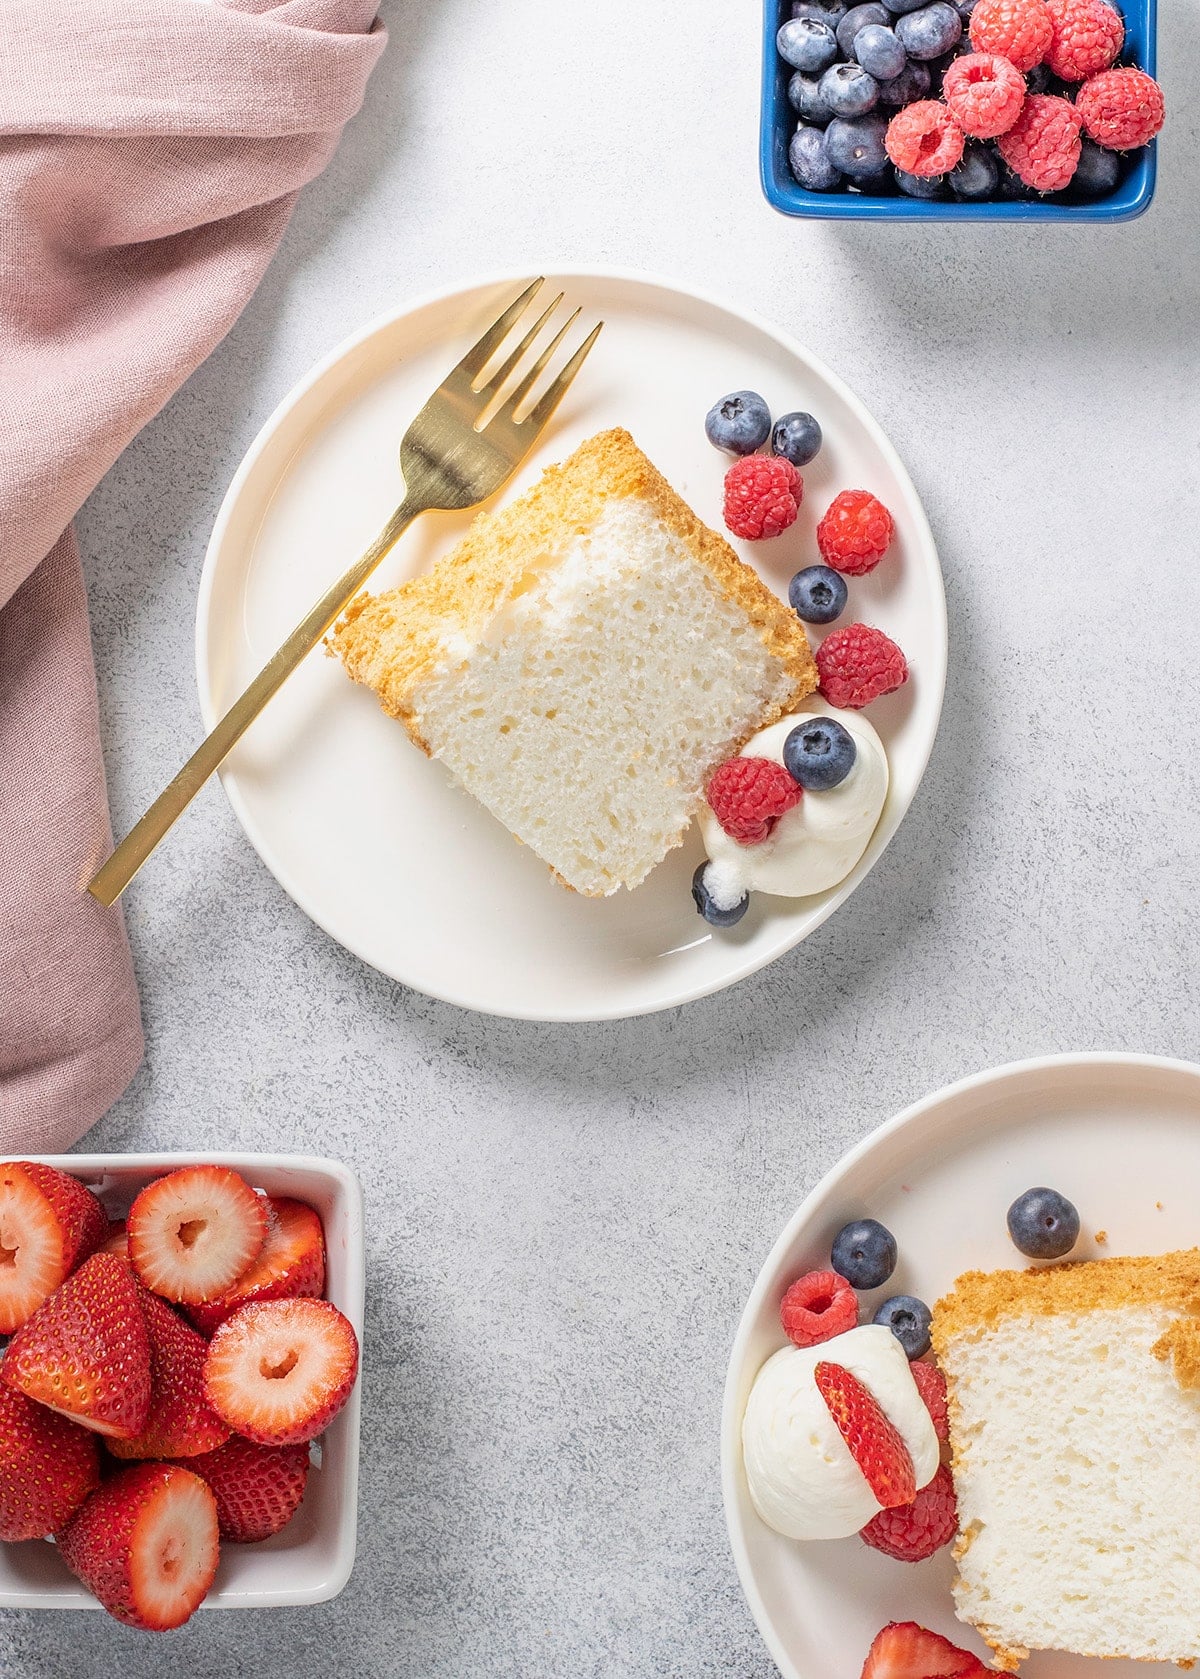
Serve thick slices with fresh berries and cream, or cut it into cubes for trifles and parfaits. It stays light even under plenty of toppings!
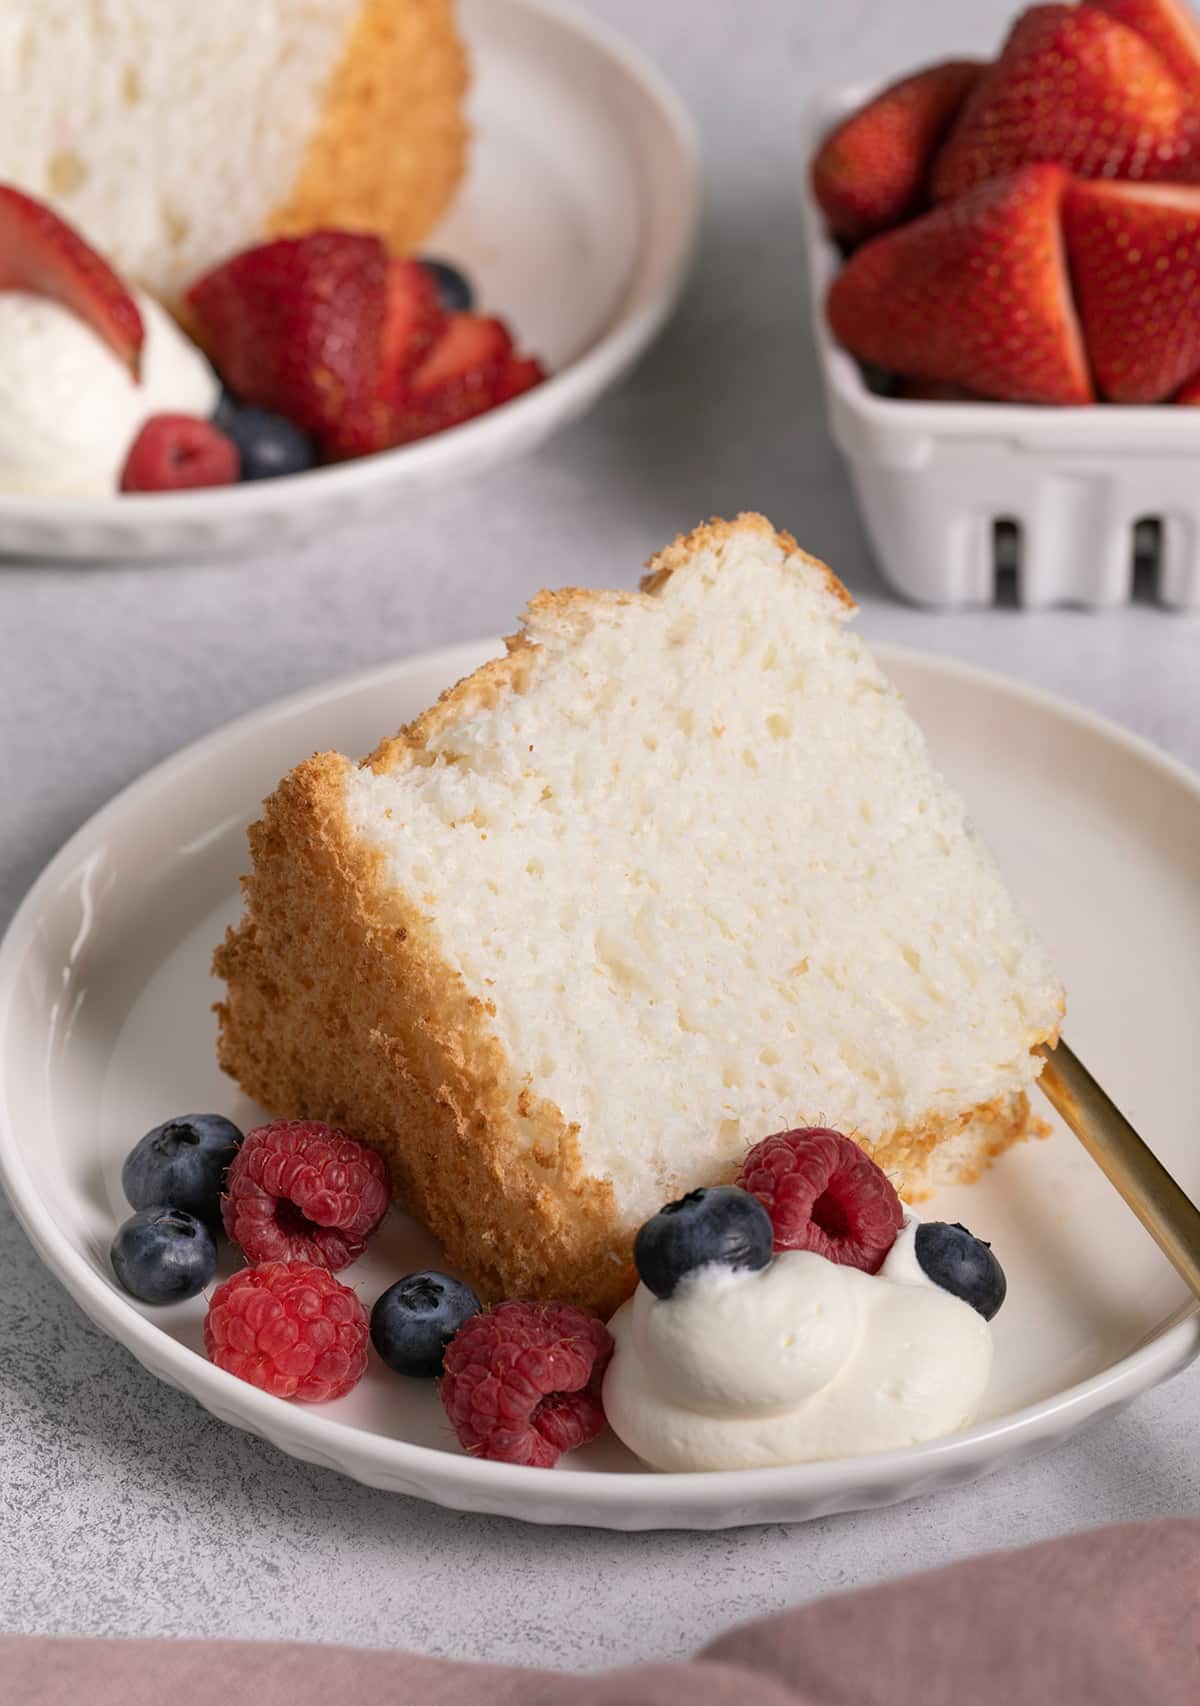
“Angel food cake is my all time favorite cake/dessert. And the one thing I’ve missed most since my celiac diagnosis. I’m not a good cook and was a little nervous to try this recipe. Let me tell you, it turned out PERFECT! The cake was gorgeous and even better tasting than gluten cakes!”
Why this recipe works
The right finely ground gluten free flour blend keeps the cake soft instead of gritty, and sifting it four times makes it light enough to fold into the whipped egg whites without deflating them.
An ungreased tube pan gives the batter something to cling to as it rises. Cooling the cake upside down and releasing it carefully helps it hold its height without tearing or collapsing.
Running a thin tool gently through the batter before baking breaks up large air pockets without knocking out all the lift. That gives you an even, delicate crumb instead of big tunnels through the cake.
Recipe Ingredients
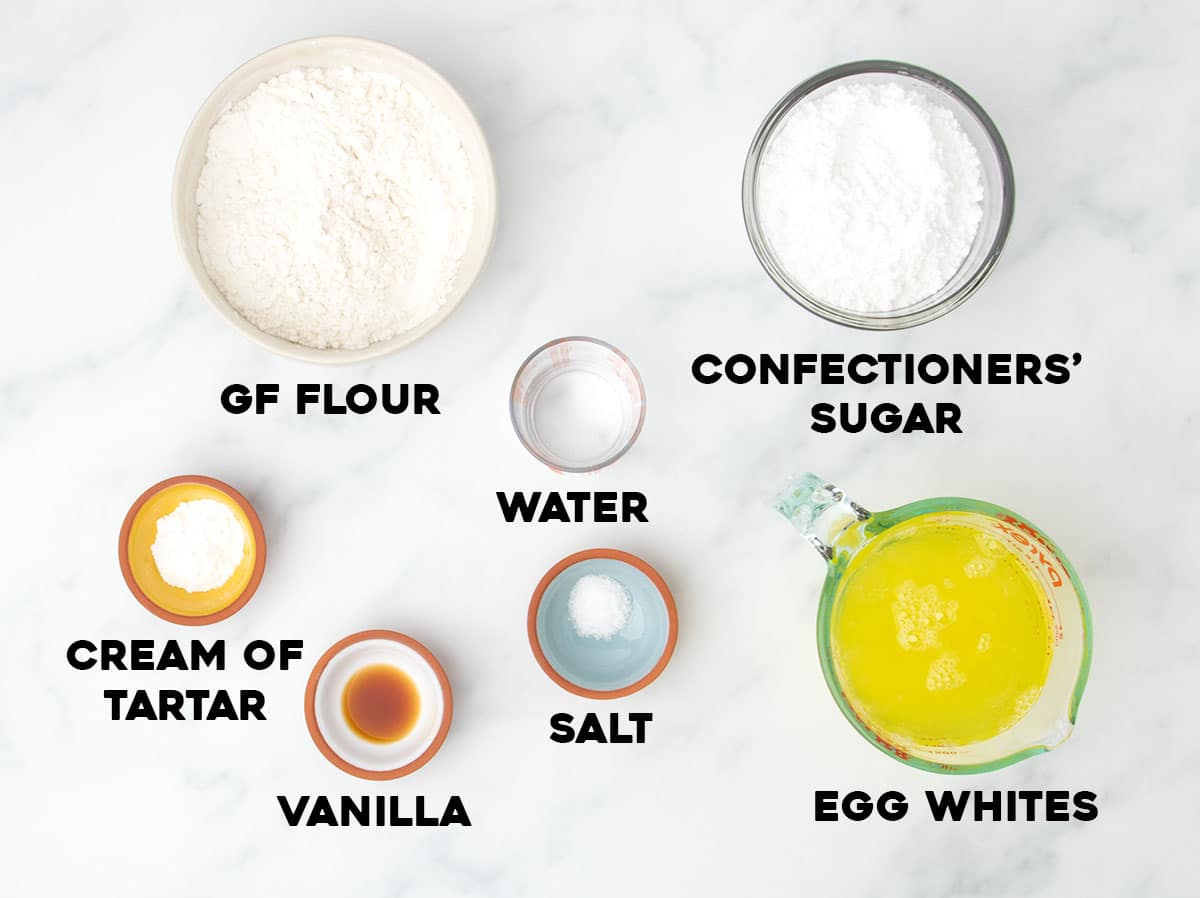
This recipe has only a few main ingredients, unlike a classic gluten free vanilla cake. Here's what you'll need to make it:
- Gluten free flour blend: Any well-balanced gluten free flour blend with finely ground rice flours should work to make a proper cake. Be sure you add xanthan gum if your blend doesn't already contain it. I recommend Better Batter's original blend, Nicole's Best Multipurpose with added xanthan gum as directed in the recipe, and Bob's Red Mill 1-to-1 with 1/4 teaspoon extra xanthan gum (the blend has some, but not enough).
- Cornstarch: Add to the flour to soften the crumb of the cake.
- Confectioners' sugar: Sweetens the cake, makes the crumb tender, and helps support the whipped egg whites.
- Salt: Balances sweetness and brightens the other flavors.
- Egg whites: Whipped pure egg whites form into a stable foam that provides much of the cake's structure that lasts as it cools. Make sure there's no yolk in the whites, or they won't whip.
- Warm water: Loosens the egg whites during whipping.
- Cream of tartar: Helps stabilize the whipped egg whites so they don't collapse during baking.
- Vanilla or almond extract: Adds depth of flavor.
How to make gluten free angel food cake (step by step images)
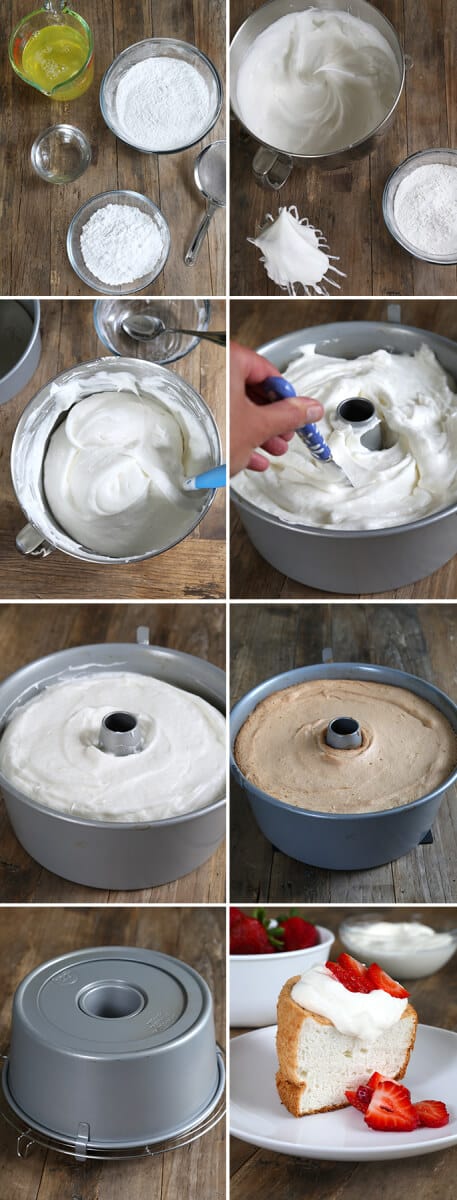
Angel food cake batter has 2 parts, the flour blend part, and the egg white part. Half of the confectioners' sugar gets paired with the flour blend part, and the other half with the egg whites. See the recipe card below for full instructions and ingredient amounts, along with a how-to video.
Sift the dry ingredients
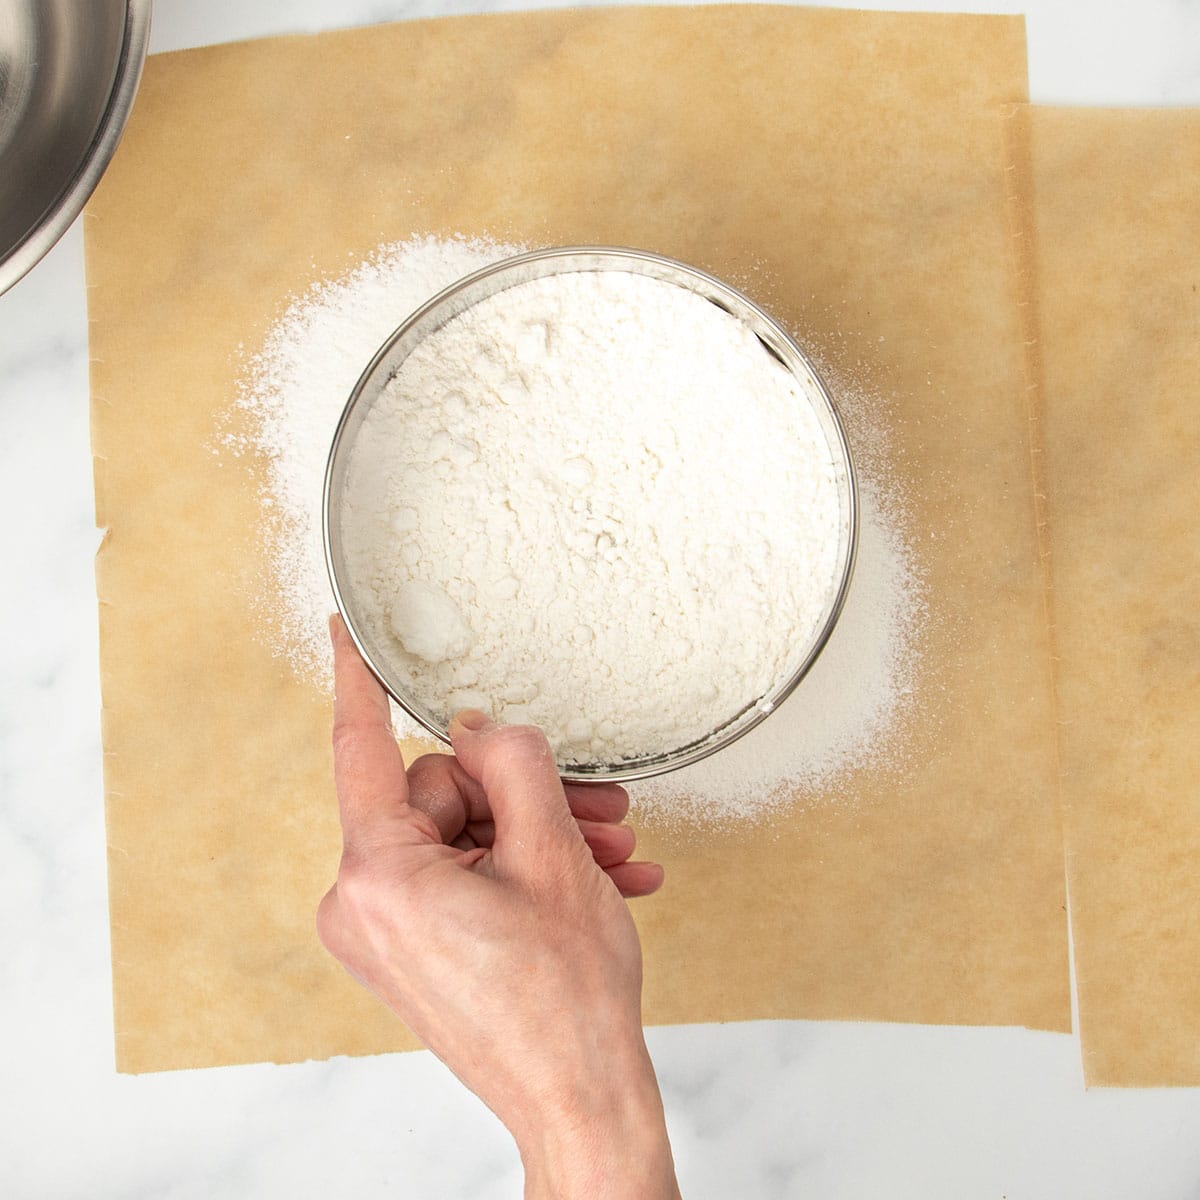
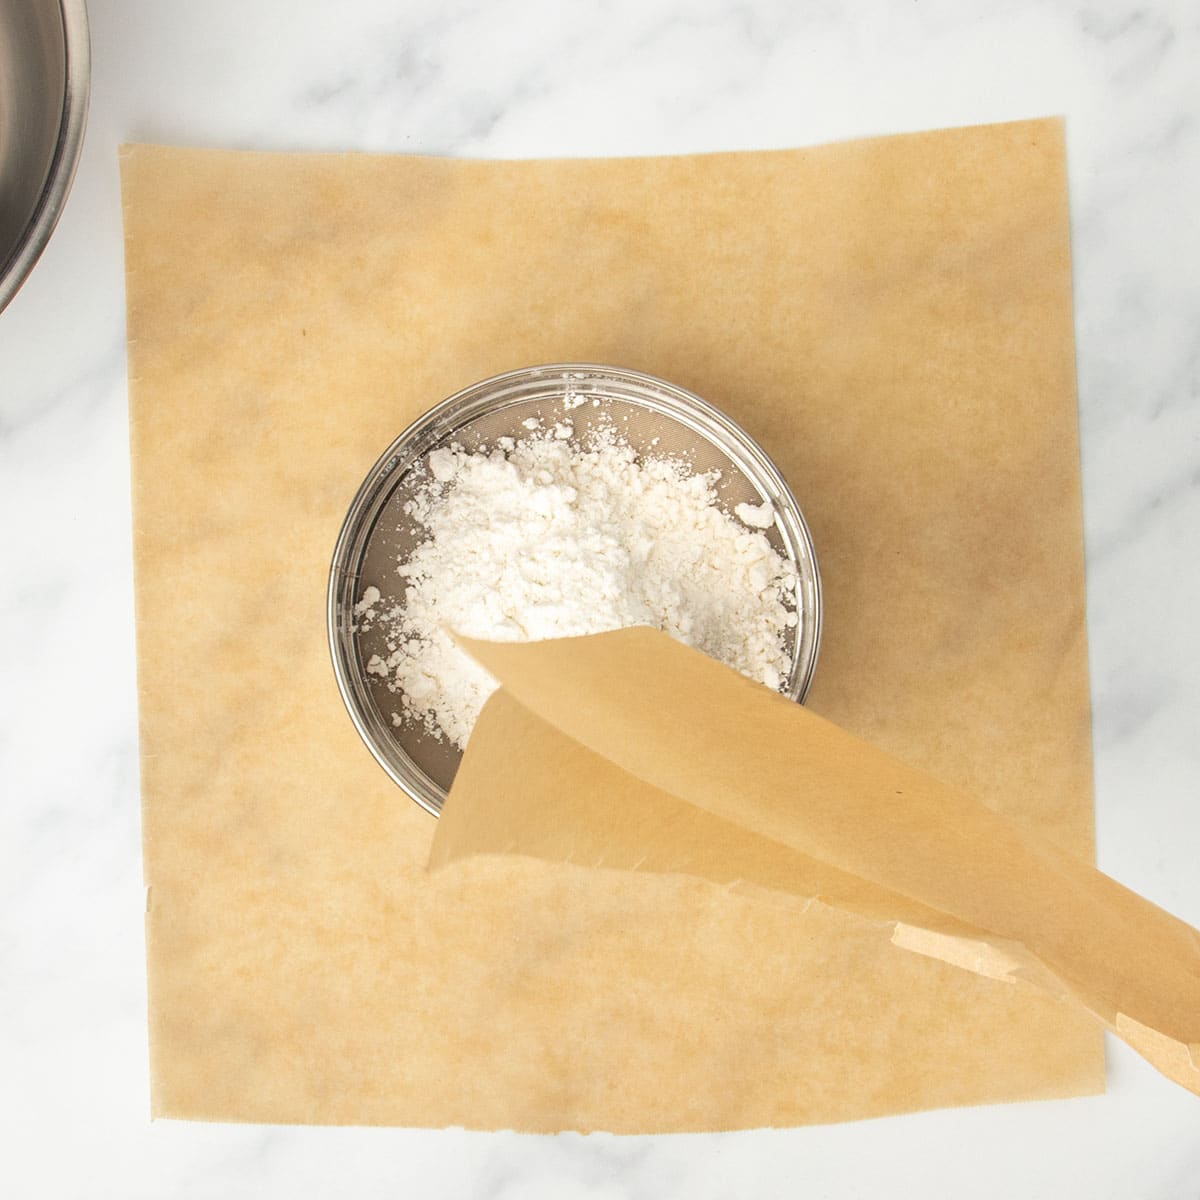
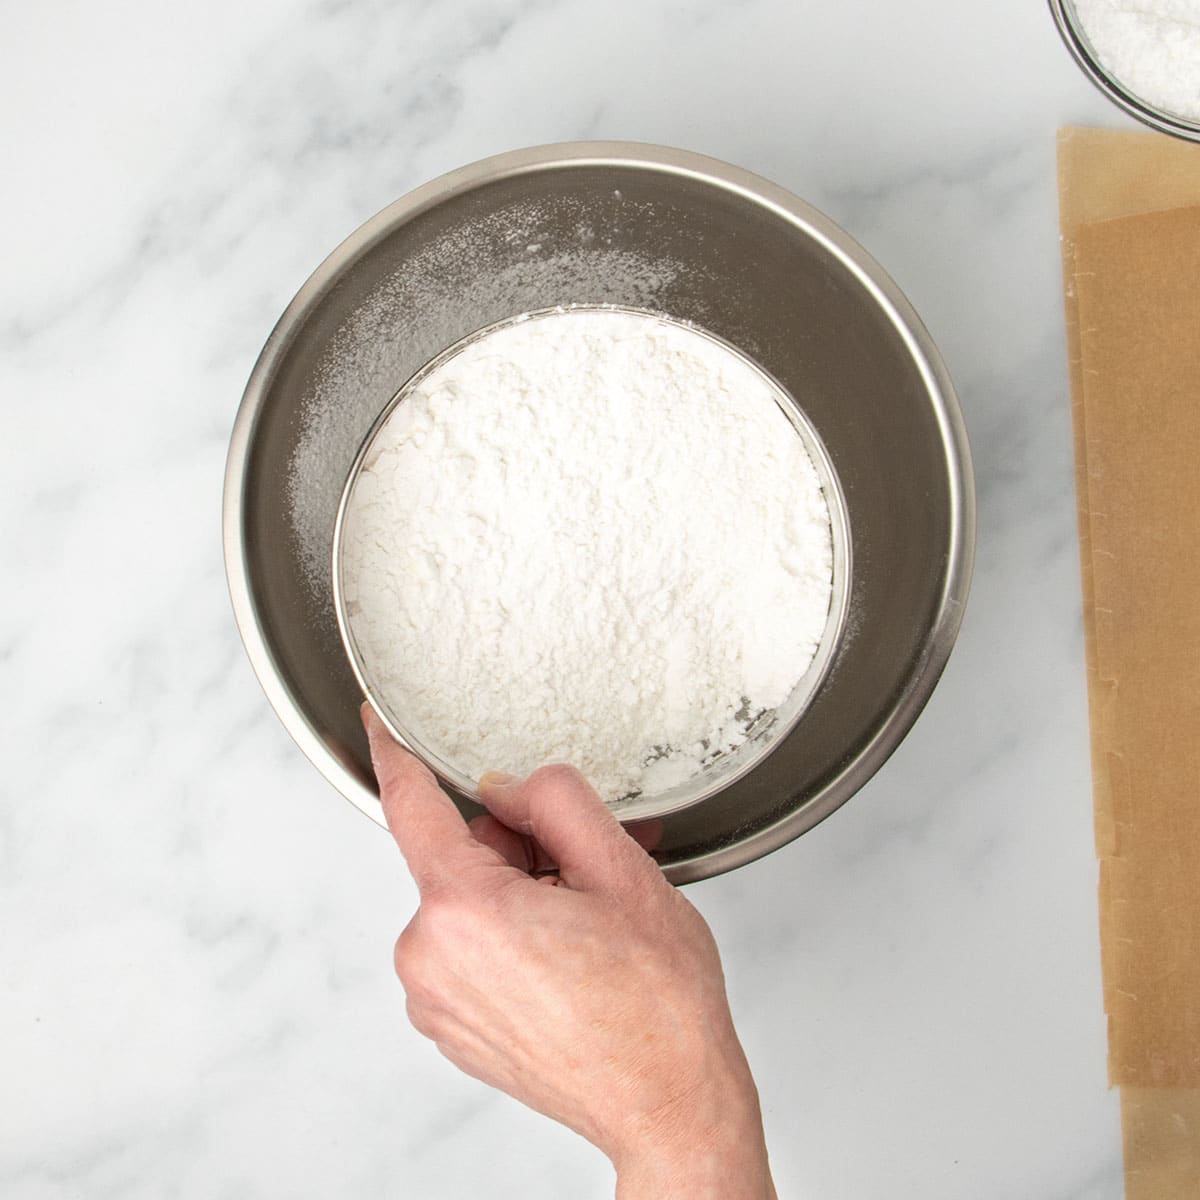
Sift the gluten free flour blend and cornstarch twice, add half the confectioners' sugar and sift everything 2 times more for a total of 4 siftings. This breaks any clumps, removes any gritty pieces of rice flour, and adds air to the batter for light cake.
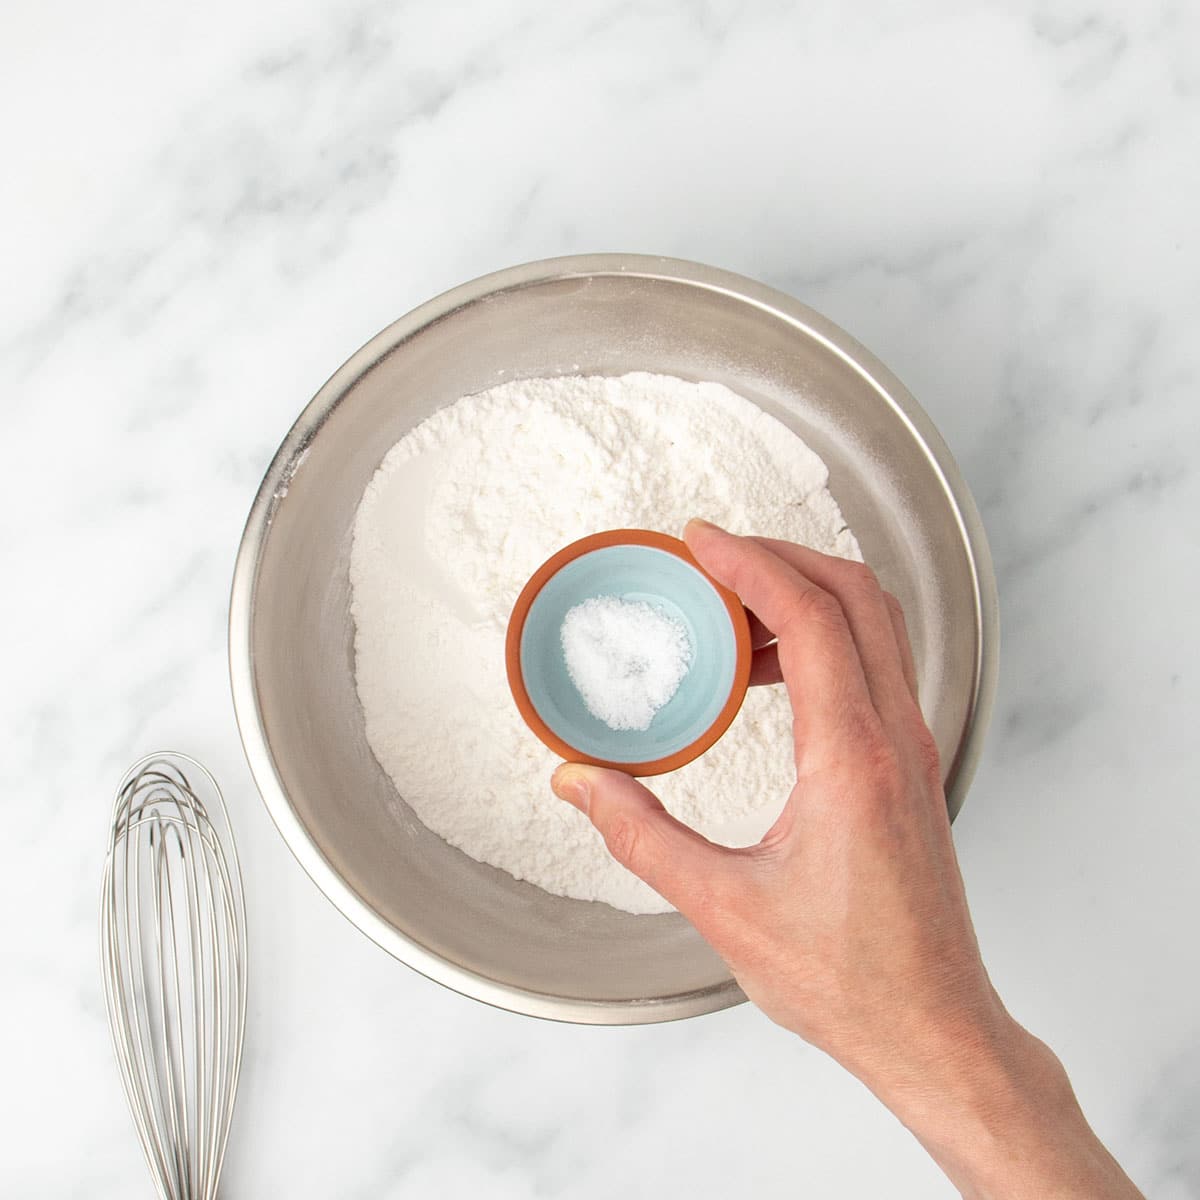
To make it easier to sift multiple times, first sift onto parchment paper, then use the paper to transfer the mixture back and forth to the sifter, before finally sifting into a bowl. Whisk in the salt, but don't sift it since it has a coarse grind but will dissolve during baking.
Whip the egg whites
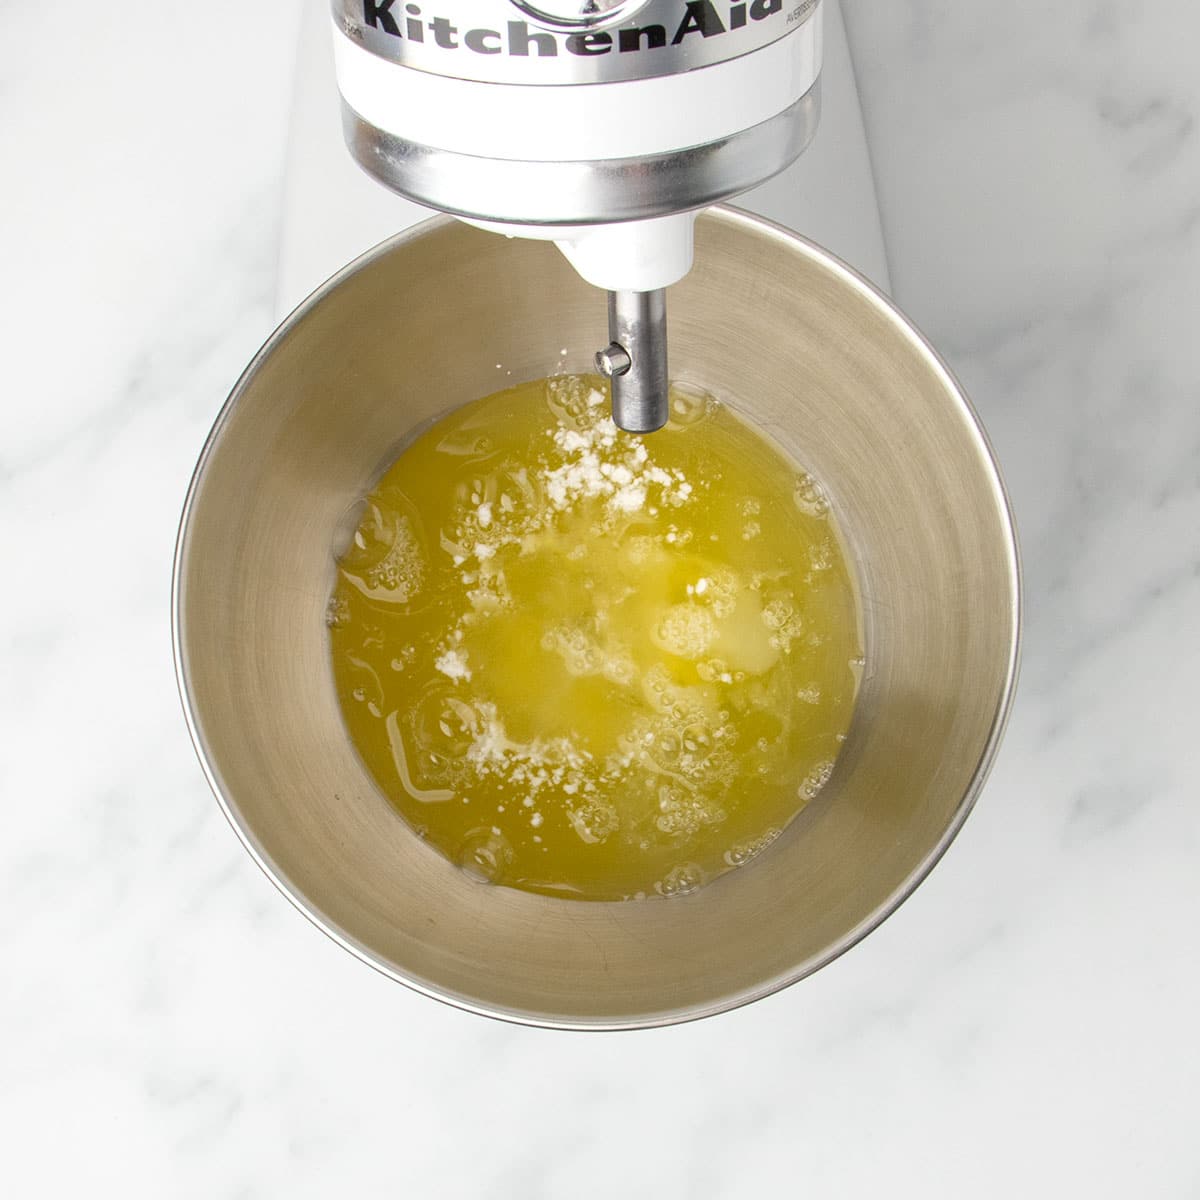
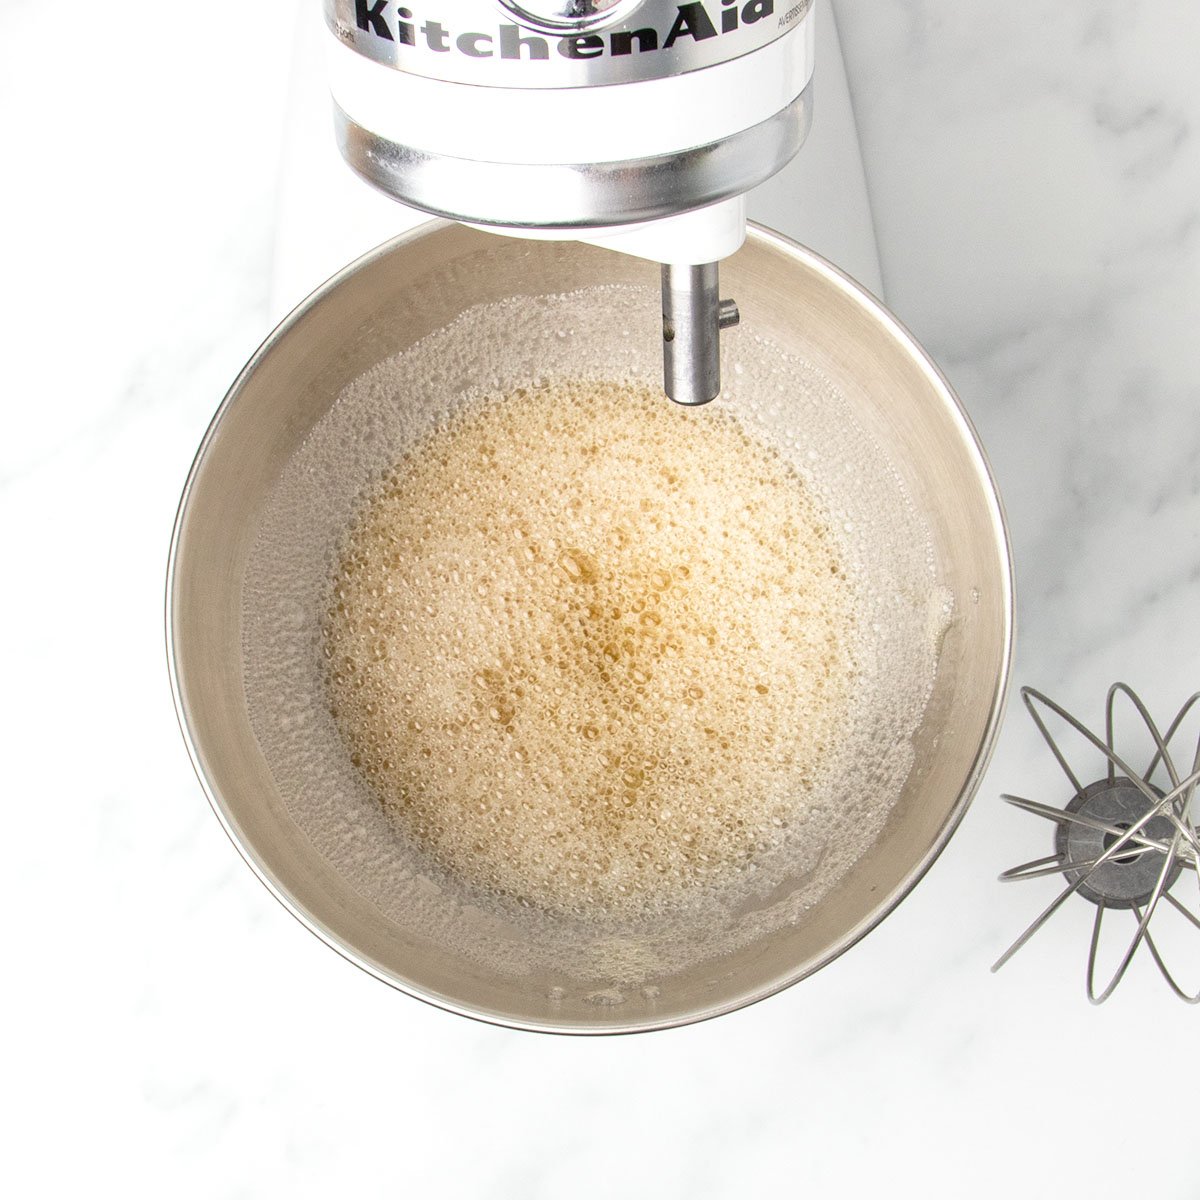
Use your mixer's whisk attachment or a handheld mixer to beat the egg whites with some water, cream of tartar and vanilla or almond extract until the whites begin to bubble.
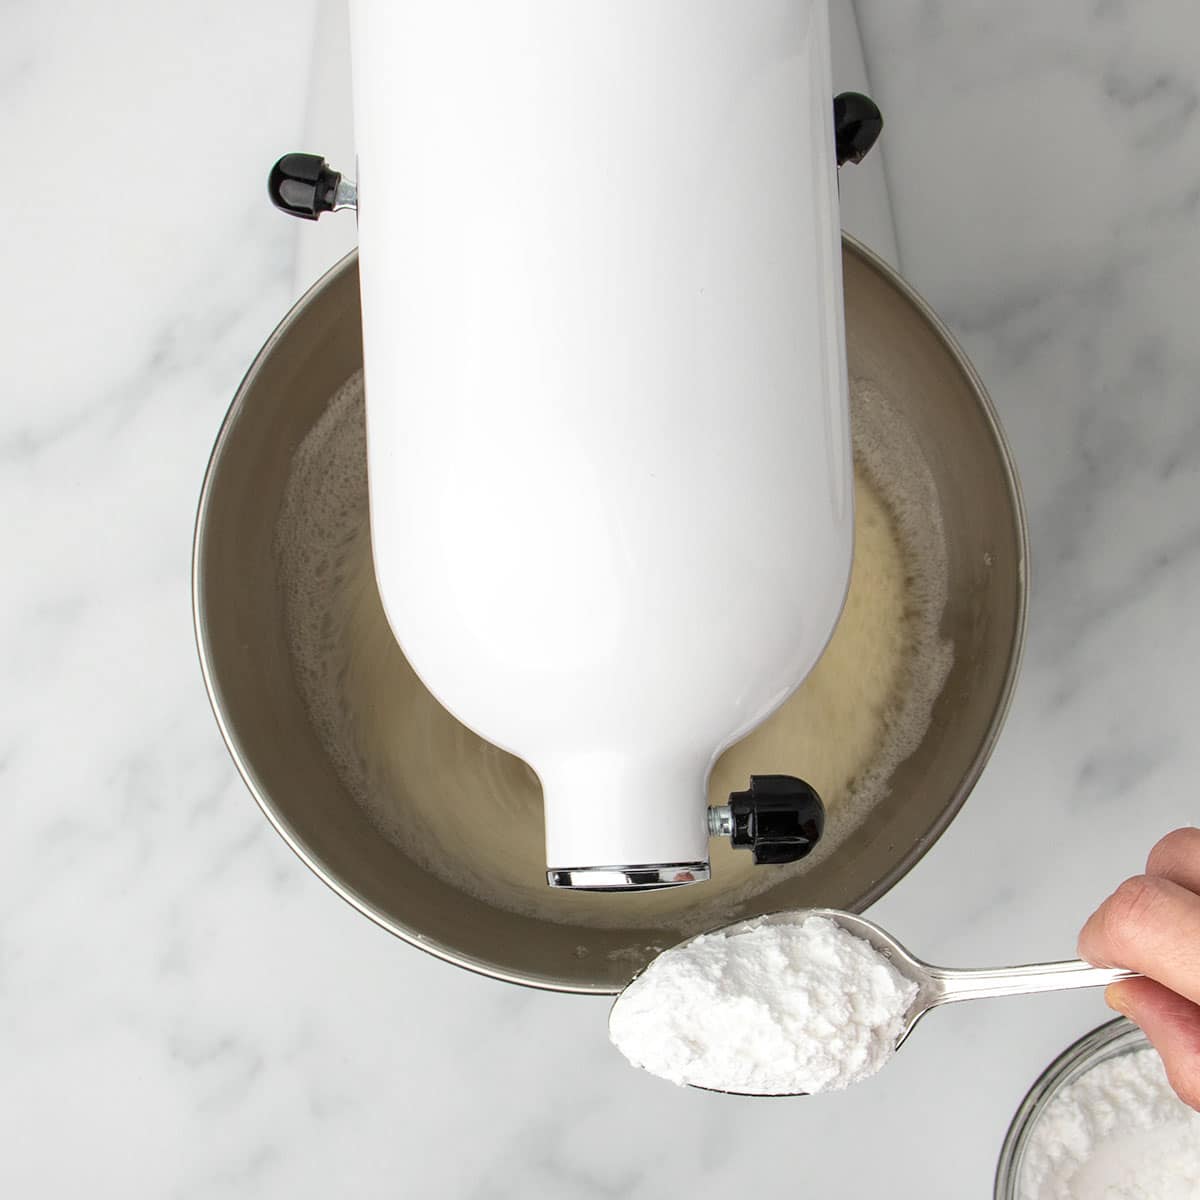
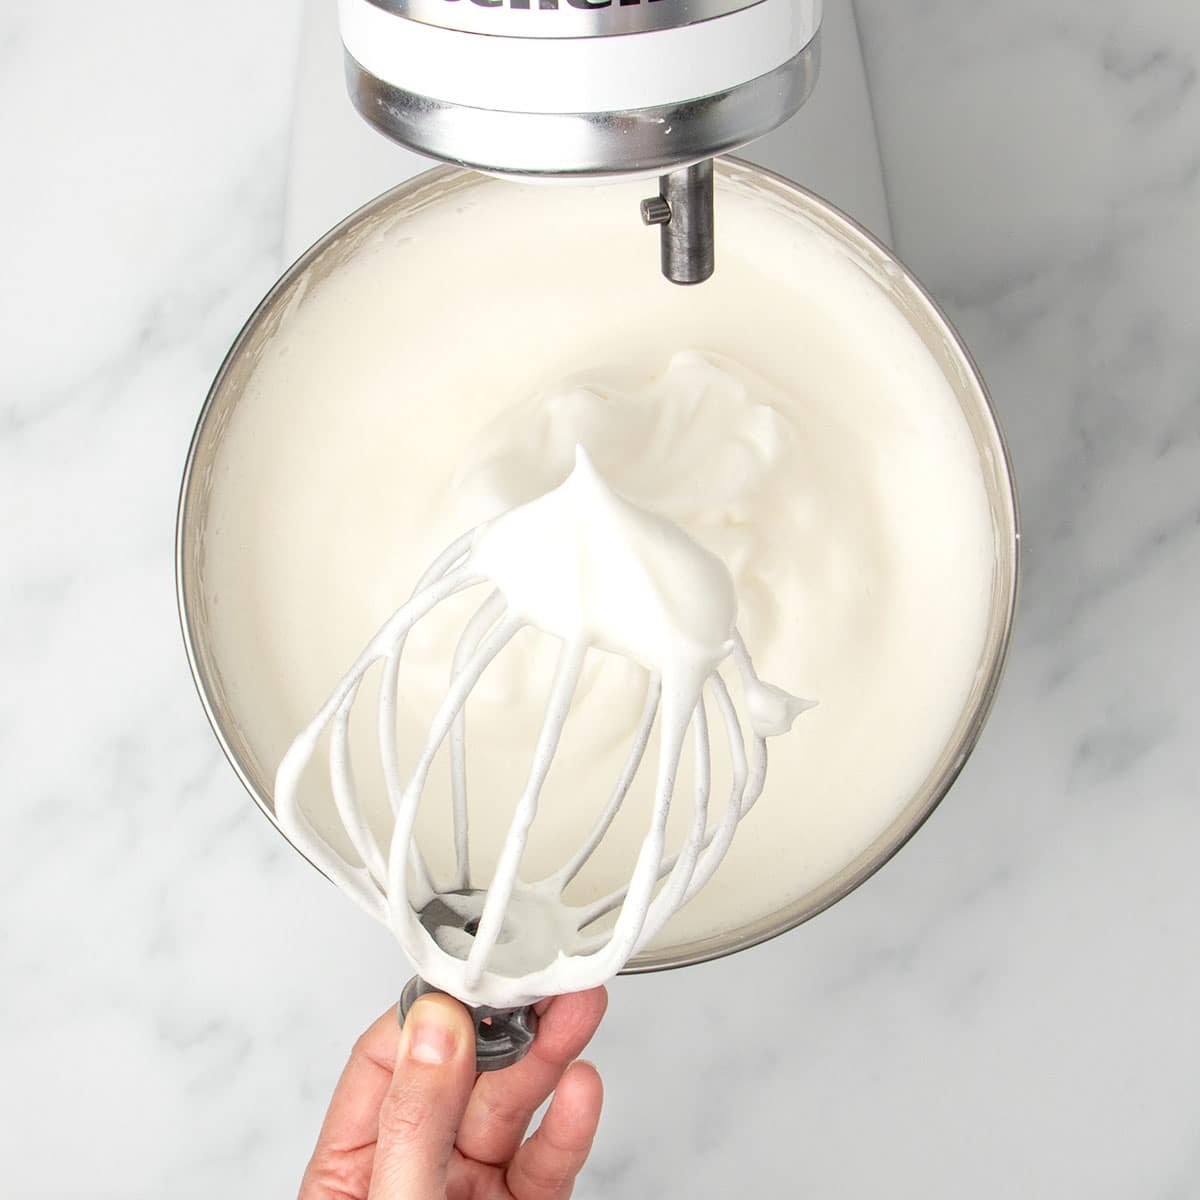
Add the other half of the confectioners' sugar and whip until the whites hold stiff peaks, about 3 minutes. The confectioners' sugar coats the egg proteins to prevent them from overwhipping, and stabilize the air bubbles.
Fold in the flour mixture
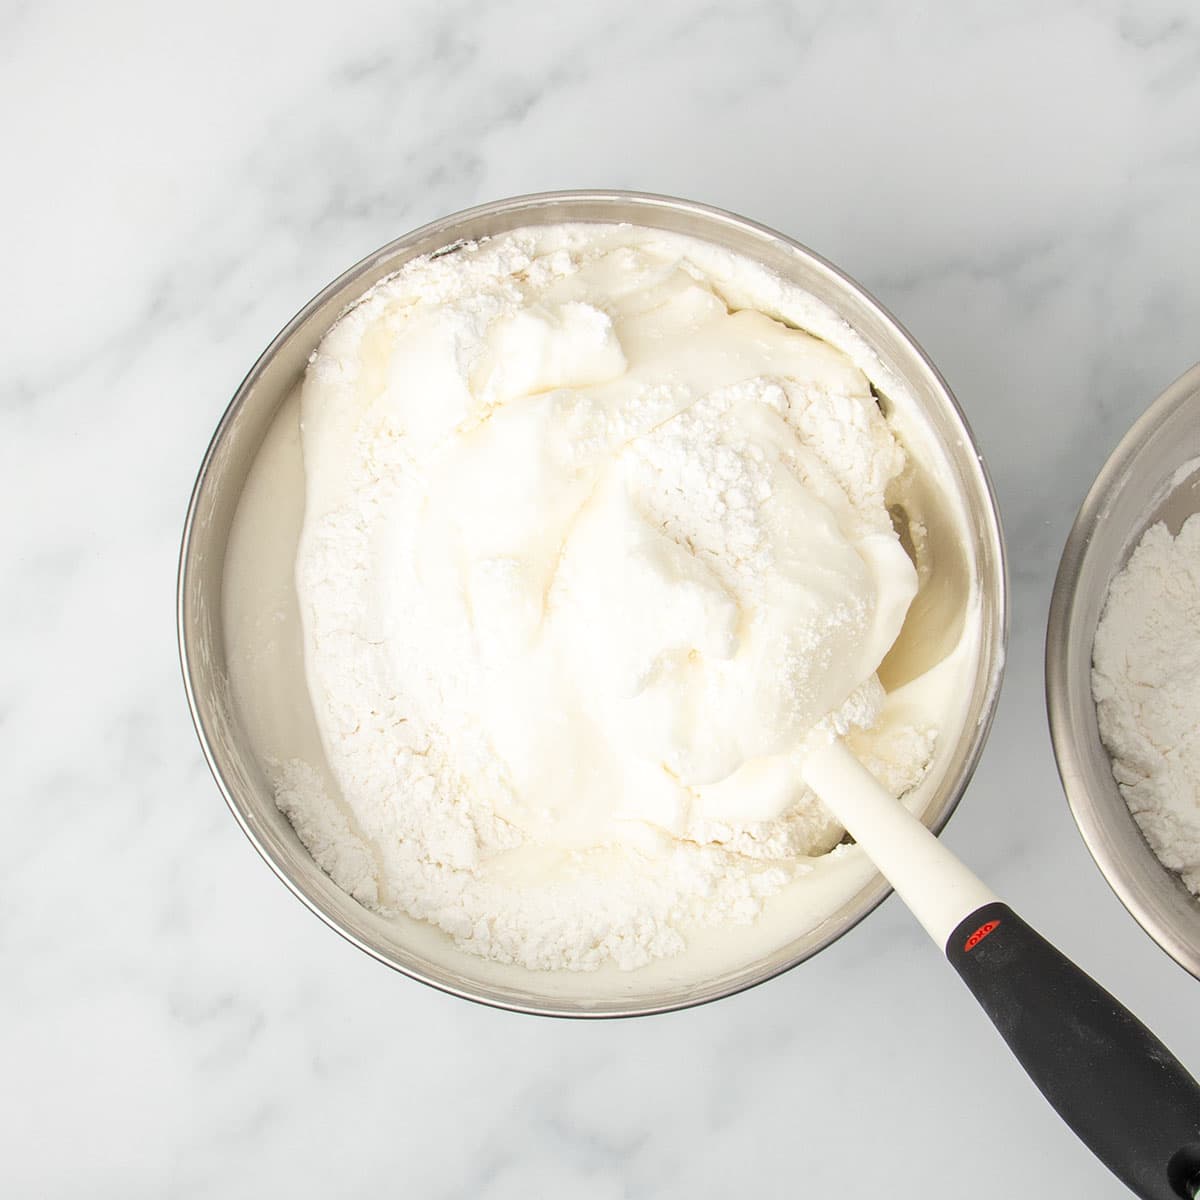
Carefully fold the sifted dry ingredients about 1 cup at a time into the whipped egg whites by hand with a spatula. This careful mixing ensures that the egg white mixture doesn't collapse.
Transfer to the tube pan
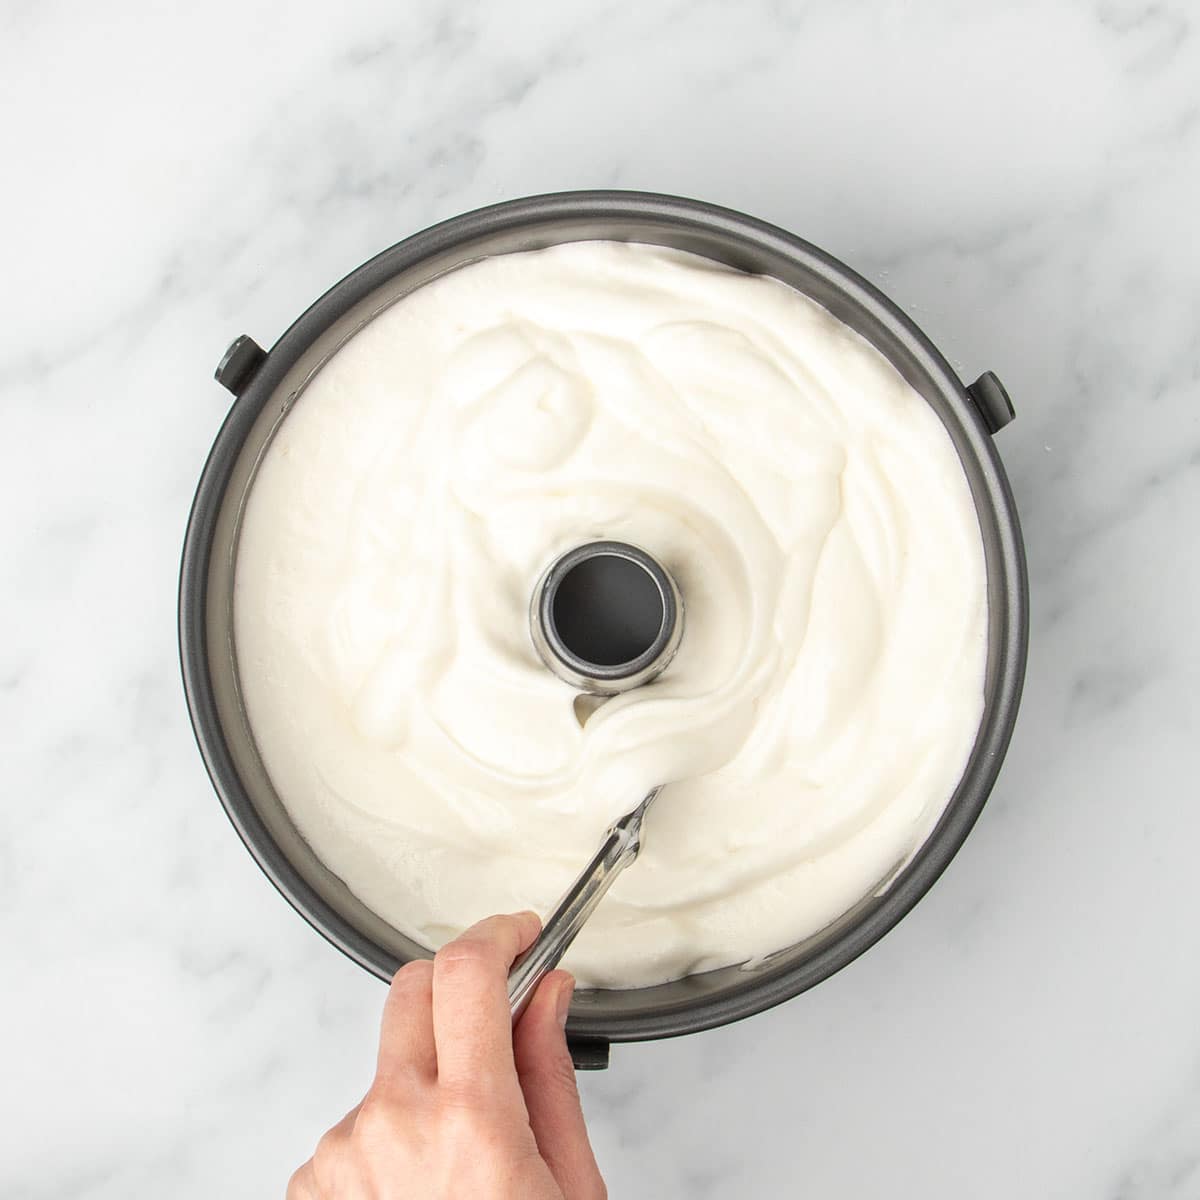
Scrape the mixture carefully into a dry nonstick tube pan, which will allow the batter to cling to the sides of the pan and the center column without sliding but not stick so you can't release the cake. The pan will be nearly full. Run a butter knife carefully through the batter to break any too-large air bubbles that would cause tunnels in the cake.
Bake
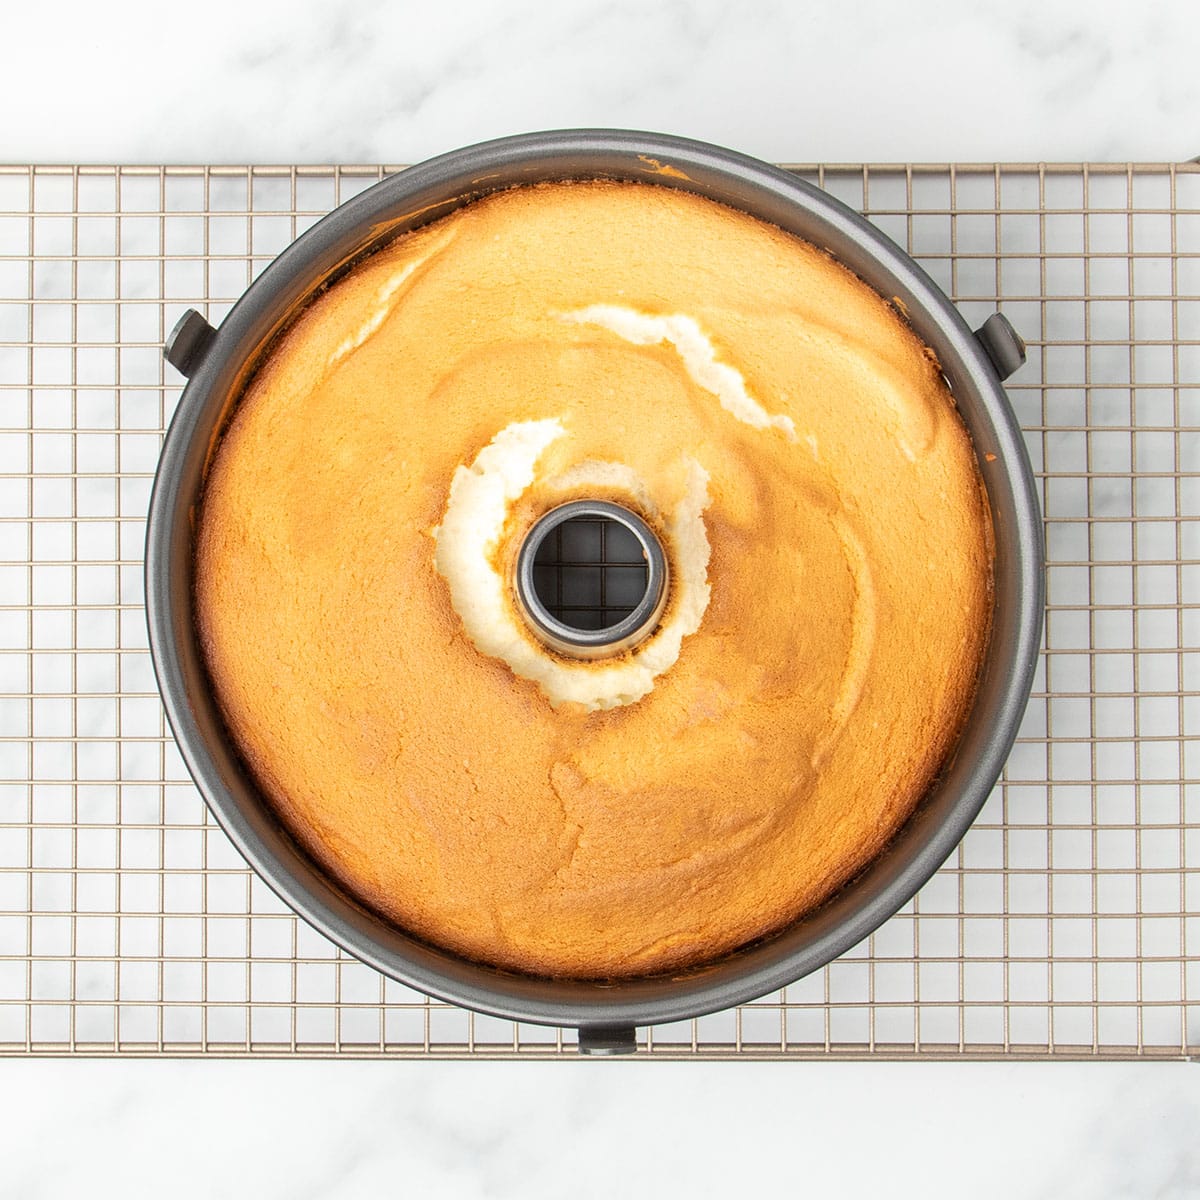
Place the pan in the center of a 350°F oven, and bake for about 35 minutes or until the top is firm and a tester comes out with no more than a few crumbs.
Cool
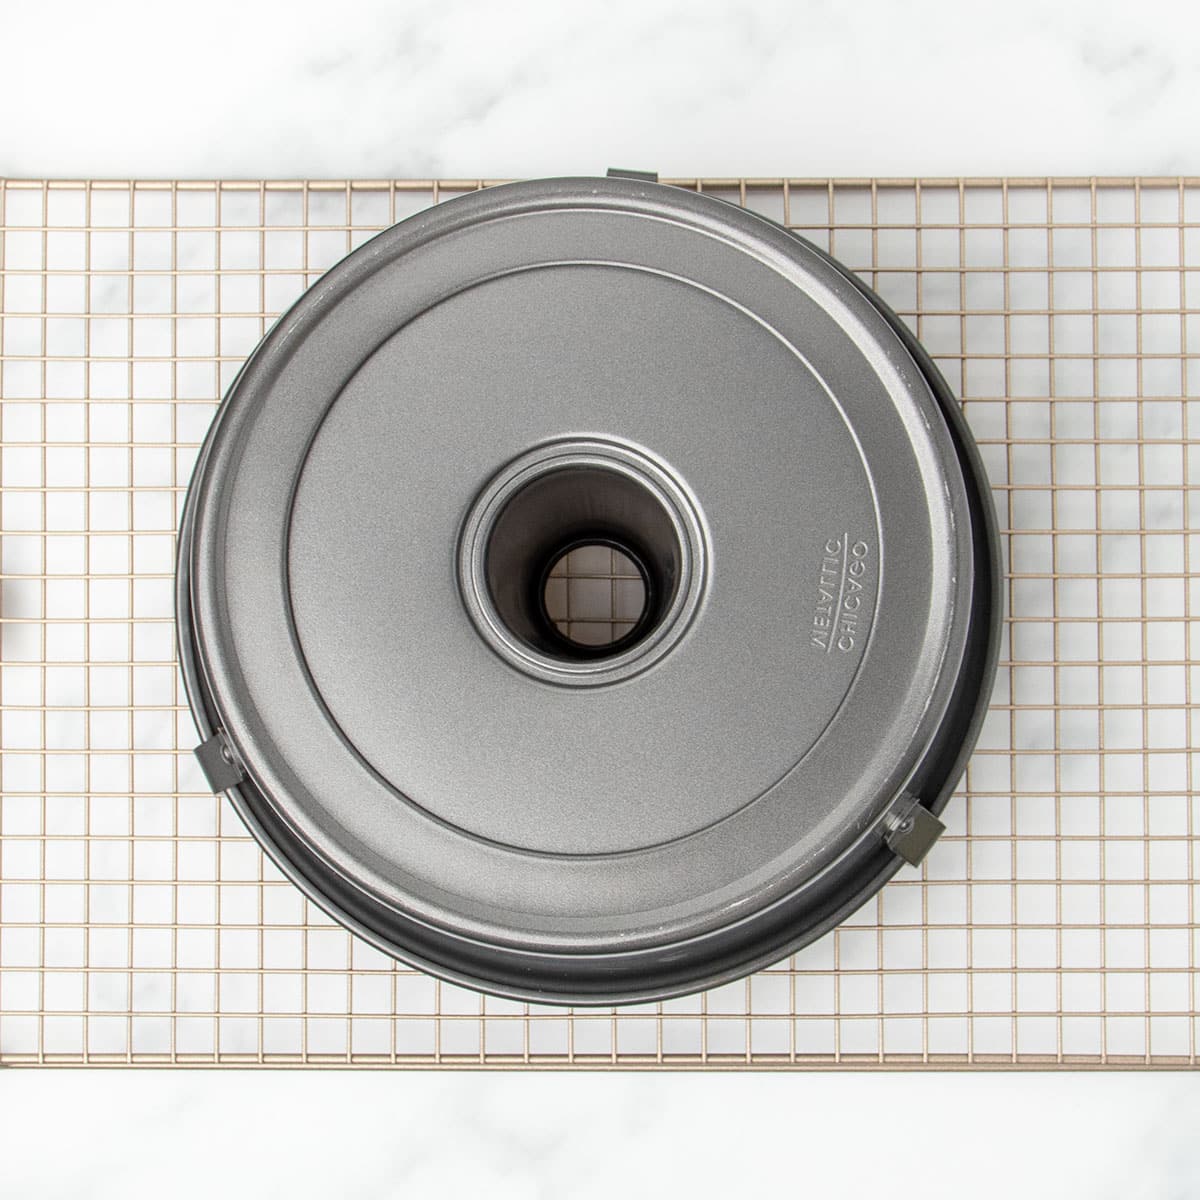
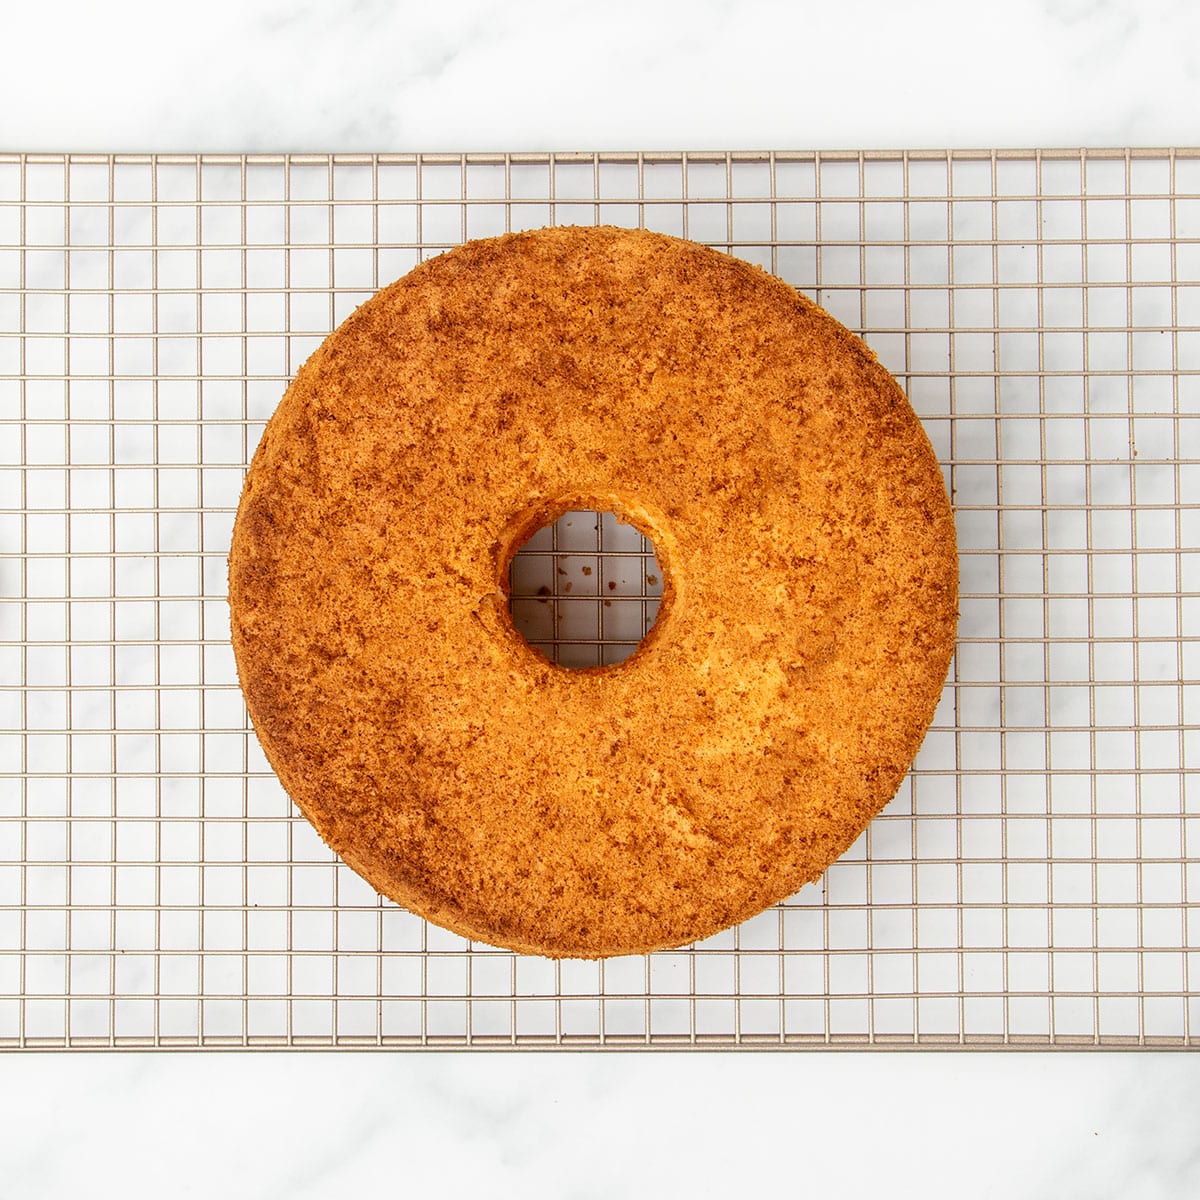
Invert the cake pan onto the feet of your tube pan (on or off a wire rack for more air circulation). Allow the cake to cool completely this way, since the feet on the bottom of the pan are designed to elevate it off the counter so the air in the room will cool the cake.
Unmold the cake
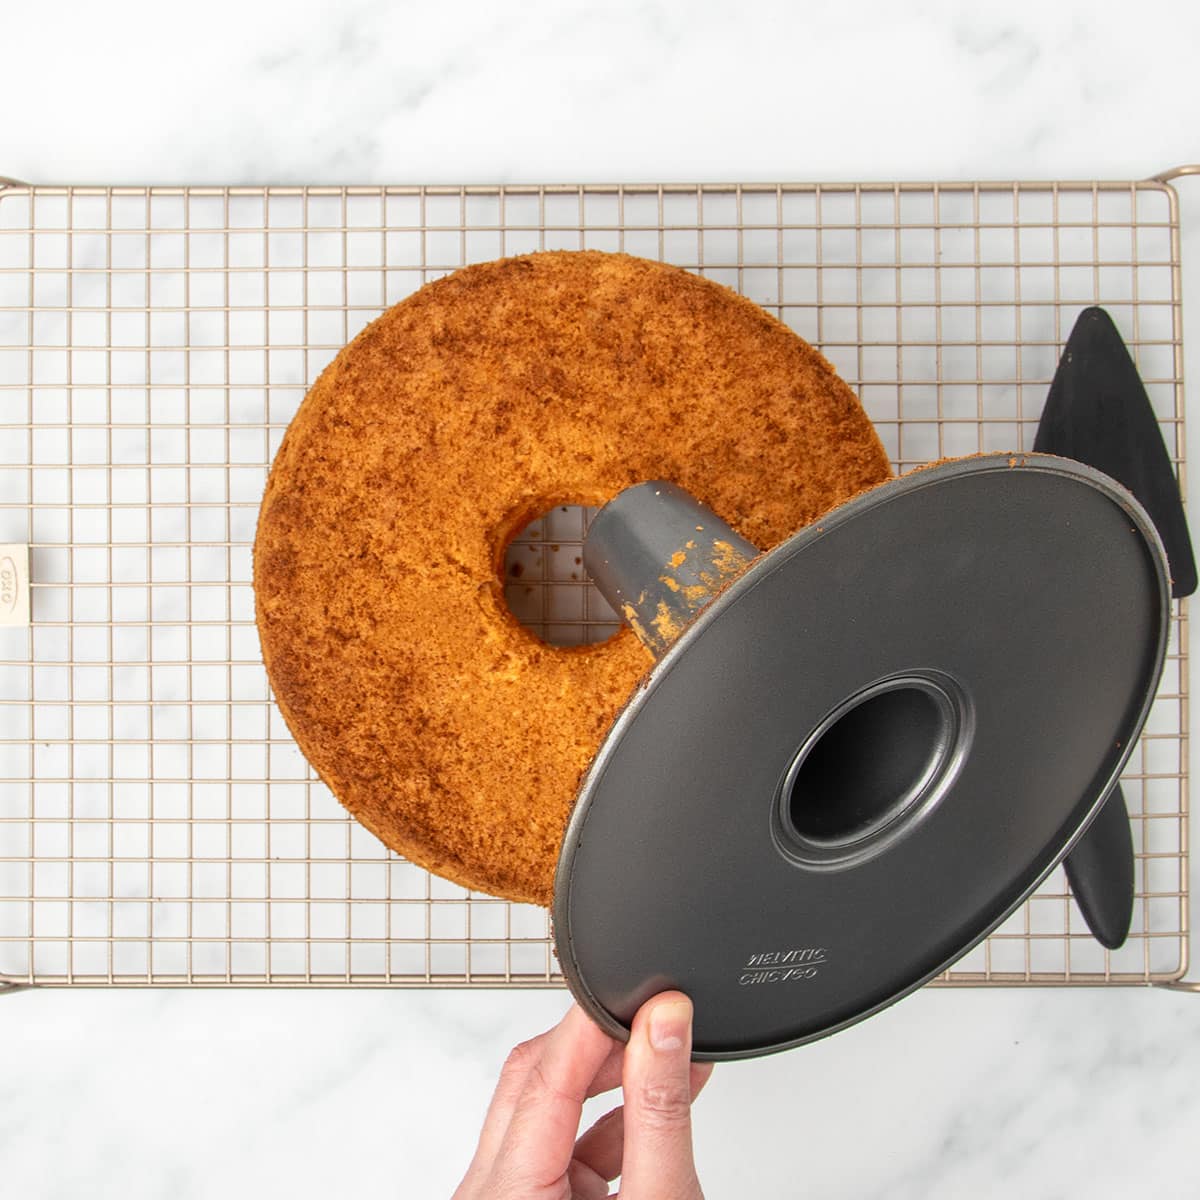
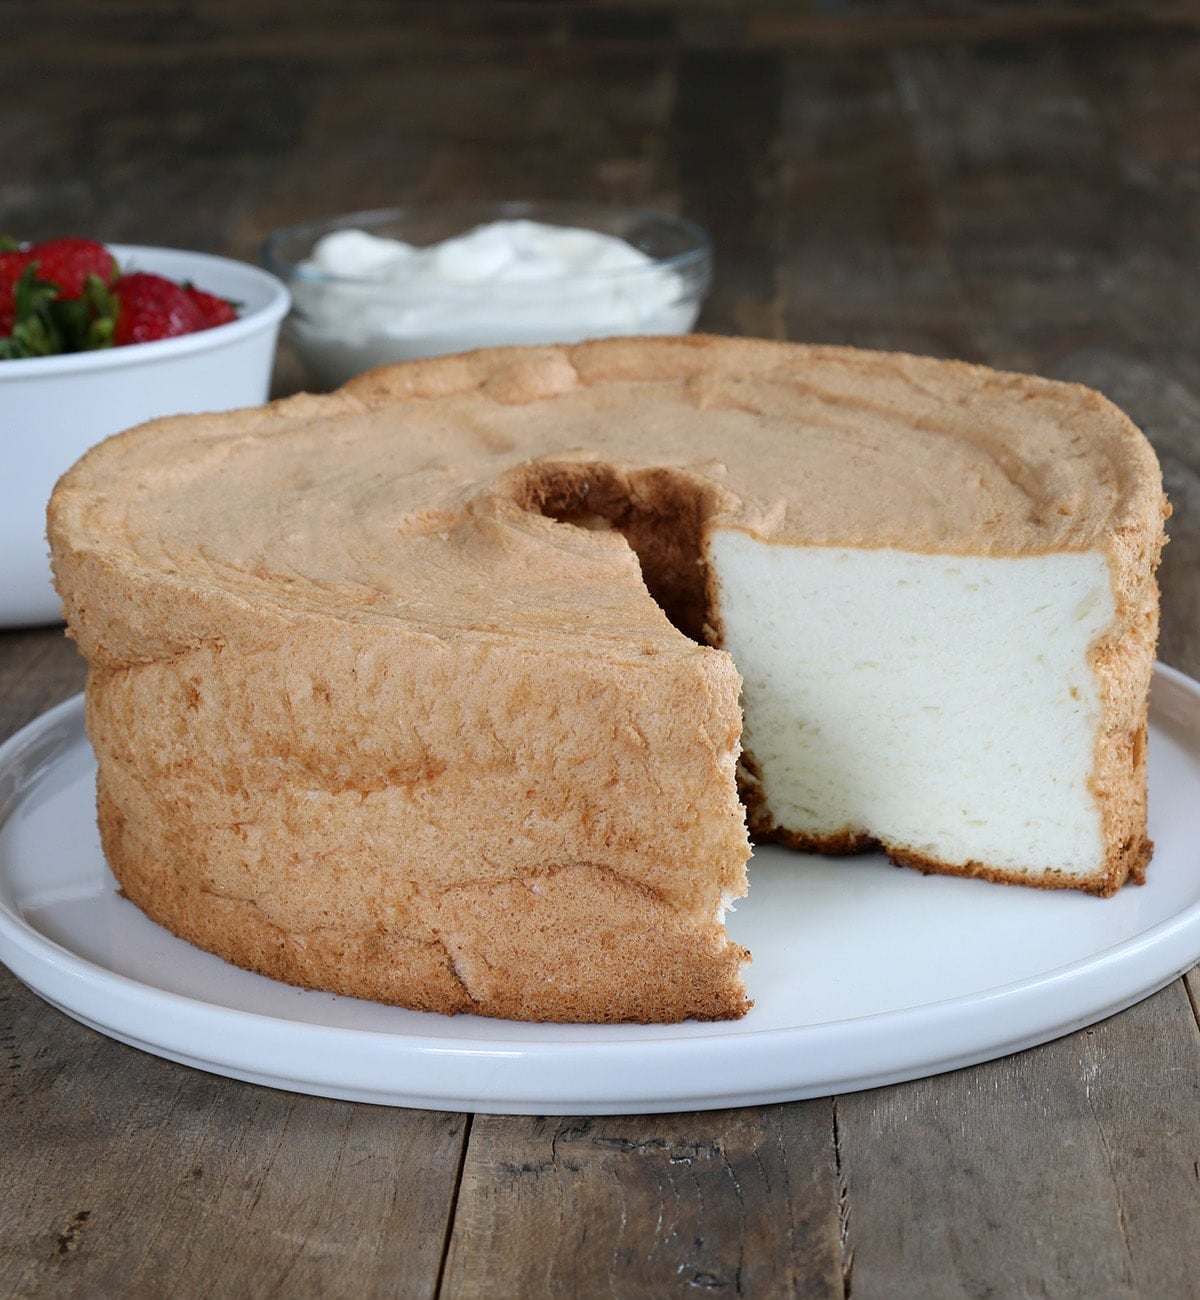
Reinvert the cake pan, and run a straight edge along the perimeter of the pan and around the neck of the center column to release the cake from the ungreased pan. Remove the sides of the pan and turn the cake back over onto a wire rack or cake stand. Run a straight edge between the bottom of the pan and the cake, and remove the rest of the pan.
Expert tips
Separate eggs individually
If you separate each egg into a bowl of collected egg whites and any yolk gets added, all of the whites are contaminated and will not whip. Instead, separate each egg into a small bowl individually, then pour the white into a bowl with the other pure egg whites. If you break a yolk during separating, use that egg for another purpose, and use another clean small bowl to separate the next one.
Sift 4 times
I know it seems like a lot to sift the dry ingredients 4 separate times, but without sifting these dry ingredients, they won't be airy enough and will almost certainly have unpleasant clumps that may cause the cake to collapse.
Don't grease the pan
The cake batter needs to be able to “grip” the nonstick pan a bit as it cooks, or it will fall during and after baking. That's why every angel food cake is made in an ungreased nonstick pan, but has a slightly uneven crust where it was forced to separate from the pan.
Cool elevated and upside down
Angel food cake must be cooled in the pan, upside down in a way that allows air to circulate both above and below. If your tube pan has 3 or 4 little feet that extend just beyond the lip of the pan, they will keep the pan elevated off the surface. If your pan doesn't have feet, invert the pan over the neck of a long neck bottle fitted into the hole in the tube pan.
Release the cooled cake
Once the cake has cooled, run a plastic knife or spatula between the pan and the cake, then separate it from the sides and the neck of the pan. If you skip this step, your cake may stick to the edges of the pan and tear.
Use a 2-part tube pan
The best tube pan comes in two nonstick parts that fit together loosely: one part is the sides, with a hole in the bottom. The other part is the center column and bottom of the pan. The tall, nonstick but ungreased sides support the cake batter as it bakes. Since the coating on nonstick pans doesn't last and you can't grease this pan, I buy an inexpensive 2-piece nonstick tube pan and replace it often.
If you don't have a tube pan
You can make this cake even without the “perfect” pan. A bundt pan won't work, but you can divide the batter between two high-sided nonstick loaf pans. Start checking for doneness after 20 minutes.
You'll need to cool your angel food cake upside down on top of a wire rack, which won't elevate the cake as much as it should. You may have a harder time getting the cake out of the pan, but it shouldn't be impossible.
Ingredient substitutions
Egg-free
You may be able to use aquafaba in place of egg whites here. Aquafaba is the brine in a can of unsalted garbanzo beans or chickpeas, and it can be whipped to soft peaks much like egg whites can. I recommend adding some cream of tartar and/or fresh lemon juice to the mixture to help stabilize the mixture.
Cornstarch
In place of cornstarch, you can use arrowroot or potato starch. If you can't have corn, be sure to use a confectioners' sugar that is corn-free.
Cream of tartar
If you don't have cream of tartar, it's a really useful ingredient and it's available in most grocery stores. You can replace it with freshly squeezed lemon juice or white vinegar, both of which will add some flavor. Reduce the water you use in the egg whites by the amount of additional liquid you add.
Storage Instructions
You can wrap the cooled cake or leftover slices tightly in plastic wrap and store them at room temperature in a cool, dry place for up to 2 days.
Avoid storing the cake with toppings like whipped cream or fruit, as these will affect texture over time.
For longer storage, wrap the whole cake or individual slices tightly in freezer-safe wrap and freeze for up to 3 months. Defrost at room temperature before serving.
Gluten Free Angel Food Cake Recipe
Equipment
- 10-inch cast aluminum nonstick tube pan
- Fine mesh sieve for sifting
- Stand mixer with whisk attachment or handheld mixer
Ingredients
- ¾ cup (105 g) all purpose gluten free flour blend, (See Recipe Notes)
- ¼ cup (36) cornstarch
- ¼ teaspoon xanthan gum, omit if your flour blend already contains it; otherwise, use a heaping 1/4 teaspoon
- 1½ cups (173 g) confectioner’s sugar, (divided into two equal parts)
- ½ teaspoon kosher salt
- 1 ¾ cups (430 g) egg whites, (whites of about 12 eggs), at room temperature
- ⅓ cup (2 ⅔ fluid ounces) warm water
- 1½ teaspoons cream of tartar
- ¼ teaspoon vanilla or almond extract
- Berries and whipped cream, for serving (optional)
Instructions
Preheat and prepare the panf
- Preheat your oven to 350°F (175°C). Set a 10-inch nonstick tube pan aside — preferably a two-piece pan with a removable bottom and center column. Do not grease or line the pan.
Sift the dry ingredients
- Sifting is essential to ensure a light, airy cake. You will sift the flour blend, xanthan gum, and cornstarch twice, then add half the confectioners’ sugar and sift twice more — a total of four siftings.
- Place the flour, xanthan gum, and cornstarch in a fine mesh sieve. Sift onto a piece of parchment paper.
- Shake the sifted mixture off the parchment back into the sieve, then sift onto a second piece of parchment.
- Add half the confectioners’ sugar (¾ cup) to the sieve and sift the mixture onto parchment again.
- Transfer the mixture from the parchment back into the sieve and sift one last time into a bowl.
- Whisk in the salt to combine. Sift the flour blend, xanthan gum, and cornstarch twice.
Make the egg white meringue
- In the bowl of a stand mixer fitted with a whisk attachment (or a large bowl if using a handheld mixer), beat the egg whites, warm water, cream of tartar, and vanilla or almond extract until foamy (about 30 seconds).
- With the mixer on low speed, gradually add the remaining half of the confectioners’ sugar (¾ cup) in 3–4 batches. Once all the sugar is added, increase the speed to medium-high and beat until the mixture becomes fluffy and foamy (about 3 minutes).
- Increase the mixer speed to high and beat until stiff, glossy peaks form, about 3 more minutes. Avoid overbeating, which can dry out the meringue. If that happens, add a drop more egg white to restore smoothness.
- The beaters should leave clear trails in the meringue, which now holds its shape firmly.
Assemble the cake batter
- Add the sifted flour mixture to the meringue in 4 batches, gently folding with a silicone spatula after each addition. Be careful not to deflate the meringue — the batter should remain light and fluffy but stable.
- Transfer the batter carefully to the ungreased tube pan. Run a butter knife or offset spatula through the batter in a figure-8 motion to release any trapped air pockets. Lightly smooth the surface with a spatula. The pan will be nearly full.
Bake the cake
- Place the pan in the center of the preheated oven. Bake until a cake tester inserted near the center comes out clean, the top is lightly browned, and the cake springs back when gently pressed, about 35 minutes. Avoid overbaking.
Cool the cake
- Invert the pan over a long-neck bottle or the pan’s legs (if it has them) and let it cool for at least 1 hour or until completely cool to the touch. This prevents the cake from collapsing.
- Once cooled, run a plastic butter knife or offset spatula around the edges to loosen the cake. If your pan has removable sides, gently lift the cake out by pressing up on the bottom piece. Use a non-metal straight edge to separate the cake from the bottom if needed.
- Place a wire rack on top of the cake and invert both rack and cake together. Remove the pan bottom, and allow the cake to cool to room temperature.
- Slice the cake with a large serrated knife using a single-direction motion (don’t saw back and forth). Serve with berries and whipped cream if desired.
Video
Tell Google you trust GFOAS!
Notes
Nutrition
Nutrition information is automatically calculated, so should only be used as an approximation.
FAQs
Yes! Although sifting can be tedious, it’s crucial here. Sifting aerates the flour mixture and removes clumps, helping it incorporate seamlessly into the whipped egg whites, which is key for a light, fluffy cake.
Carton egg whites are pasteurized, which changes their protein structure and reduces their ability to whip into stable peaks. You can try substituting up to one-third of the egg whites with carton whites, but fresh egg whites yield the best rise and texture.
This usually happens when the cake is underbaked and doesn’t have enough internal structure to support itself as steam escapes. It can also be caused by an oven that’s too hot, which cooks the outside too quickly before the inside sets. Use an oven thermometer and test doneness with a cake tester as described.
Since this recipe requires about 12 egg whites, you’ll have plenty of yolks left over! Here are some delicious ways to use them:
– Gluten free egg noodles (uses 4 egg yolks)
– Gluten free Swedish meatballs (uses 3 egg yolks)
– Custard in a gluten free trifle (uses 8 egg yolks; you can use leftover angel food cake instead of gluten free pound cake)
– Creamy gluten free key lime pie (uses 6 egg yolks)










This was OUTSTANDING! My husband said I truly out did myself with this recipe! It was fluffy, and moist. I recommend WEIGHING IT! I tried it a couple times and weighing made the BIGGEST difference! 10/10 Highly Recommend!
So glad you enjoyed the cake, Chalina, and yes, the only way to get the promised results is to weigh (and sift!) your ingredients!
This sounds wonderful. However, can this be made in an old fashioned aluminum angel food cake pan? I have all my mothers cake pans and really don’t need any more cake pans!!
Thanks.
Sarajane
I’m not sure what you mean about an old fashioned pan, Sarajane, but if you’re discussing a pan that isn’t nonstick, my concern is that it wouldn’t come out in one piece.
The old fashioned aluminum pan is great. I have the original and just used it
Wonderful recipe! I followed all the steps and made exactly as written (definitely sift 4 x) and it turned out absolutely perfectly and had wonderful spring and texture. I served the cake with sweetened whipped cream, fresh raspberries and a drizzle of warm chocolate sauce for Easter dessert. it was a huge hit with the gluten free and gluten eaters alike. Thank you so much for sharing this excellent recipe!
You’re so welcome, Rose. I’m so glad you enjoyed the cake, and that you got the gluten-eaters on board, too. That’s the best! Thank you for sharing your experience.
Nicole, I love your recipes. I have a corn allergy, as well as wheat. Is there a substitute for the corn starch in this recipe? Thank you.
Please see the text of the post under the heading “Ingredient substitutions” and the subheading “Cornstarch”
Amazing! Agree that is tastes better than the gluten ones I have made in the past. Thanks for your website- the things I make from it are always amazing!
You’re so welcome, Tonya. I’m so glad you enjoyed the angel food cake. Gluten only gets in the way of a tender cake!
I used this as the base for a Japanese strawberry roll cake – it was wonderful, flexible and rolled better than any wheat-based recipe I’ve tried. My stubborn “I hate anything GF” family didn’t know the difference, as with most of Nicole’s recipes.