
This post may contain affiliate links. Please read our disclosure policy.
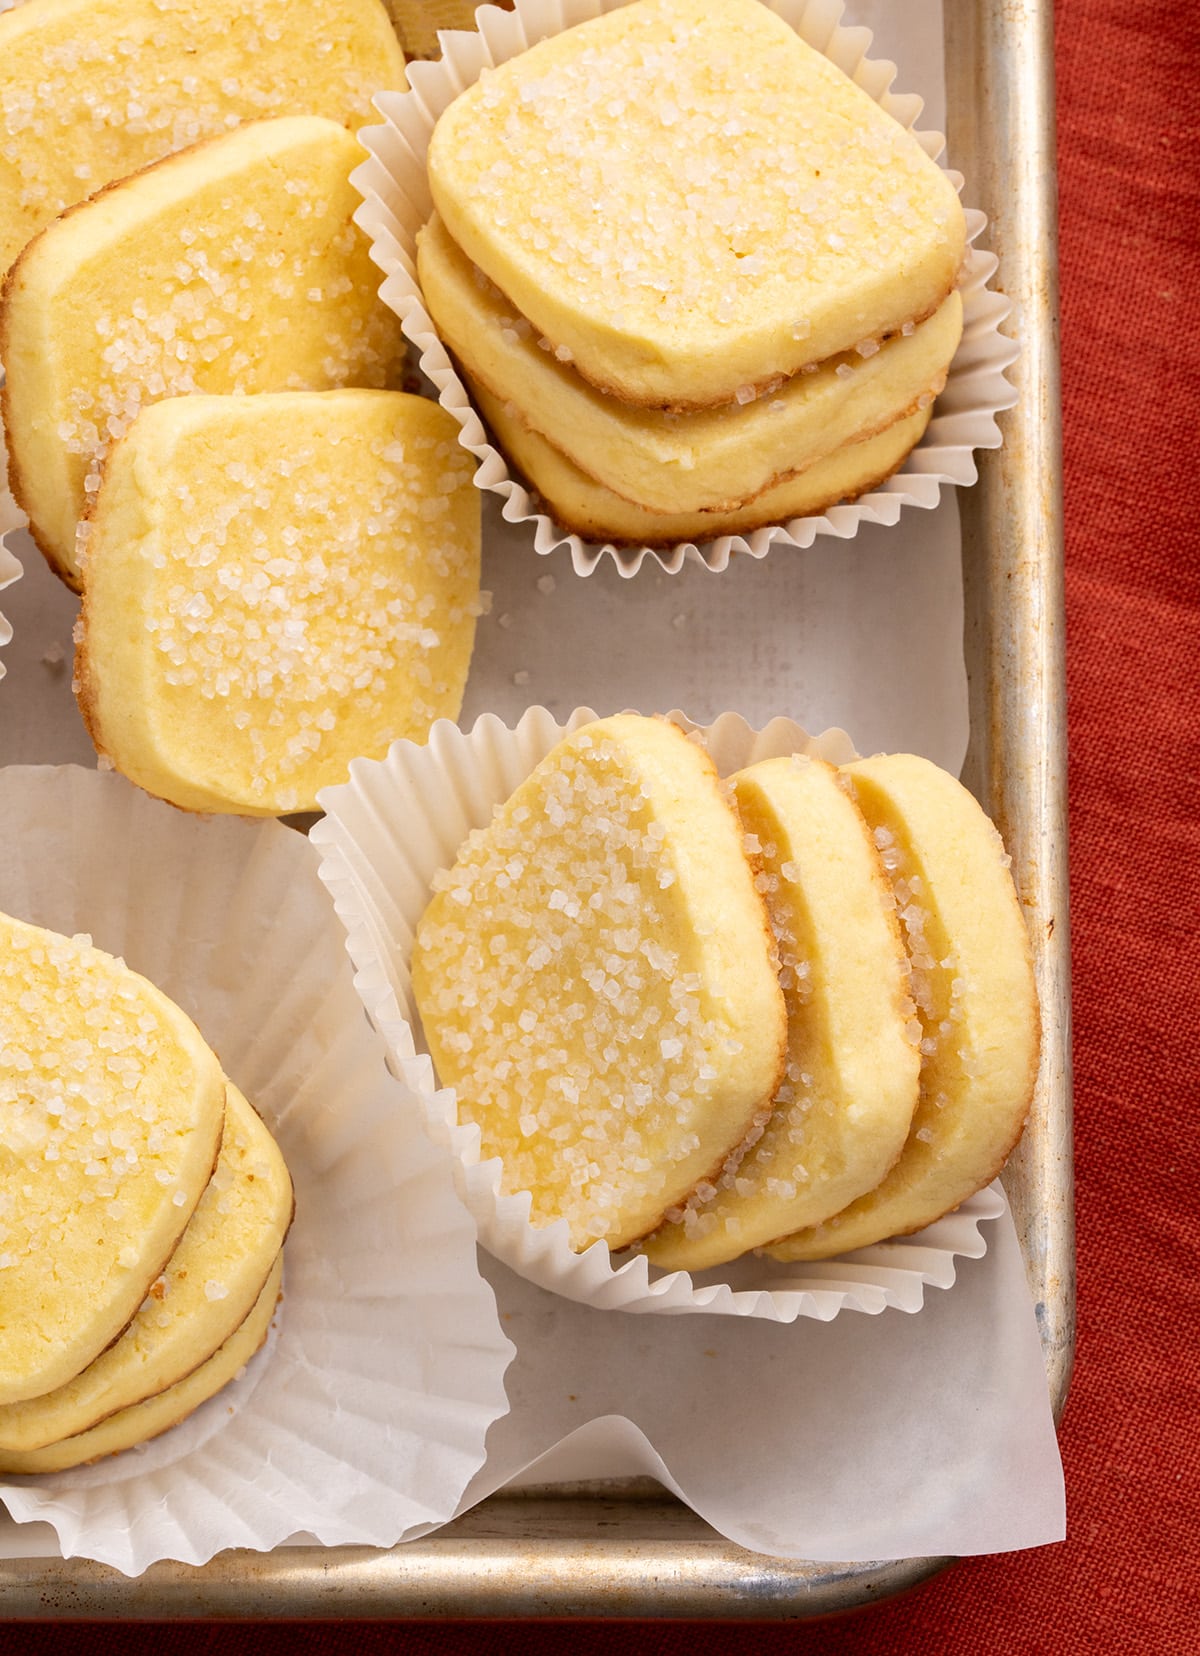
These lightly sweet, rich gluten free butter cookies hold their shape and we make the dough quickly and easily in a food processor. You basically only need gluten free flour, confectioners' sugar, butter, and egg yolks to carry on this classic holiday cookie tradition.
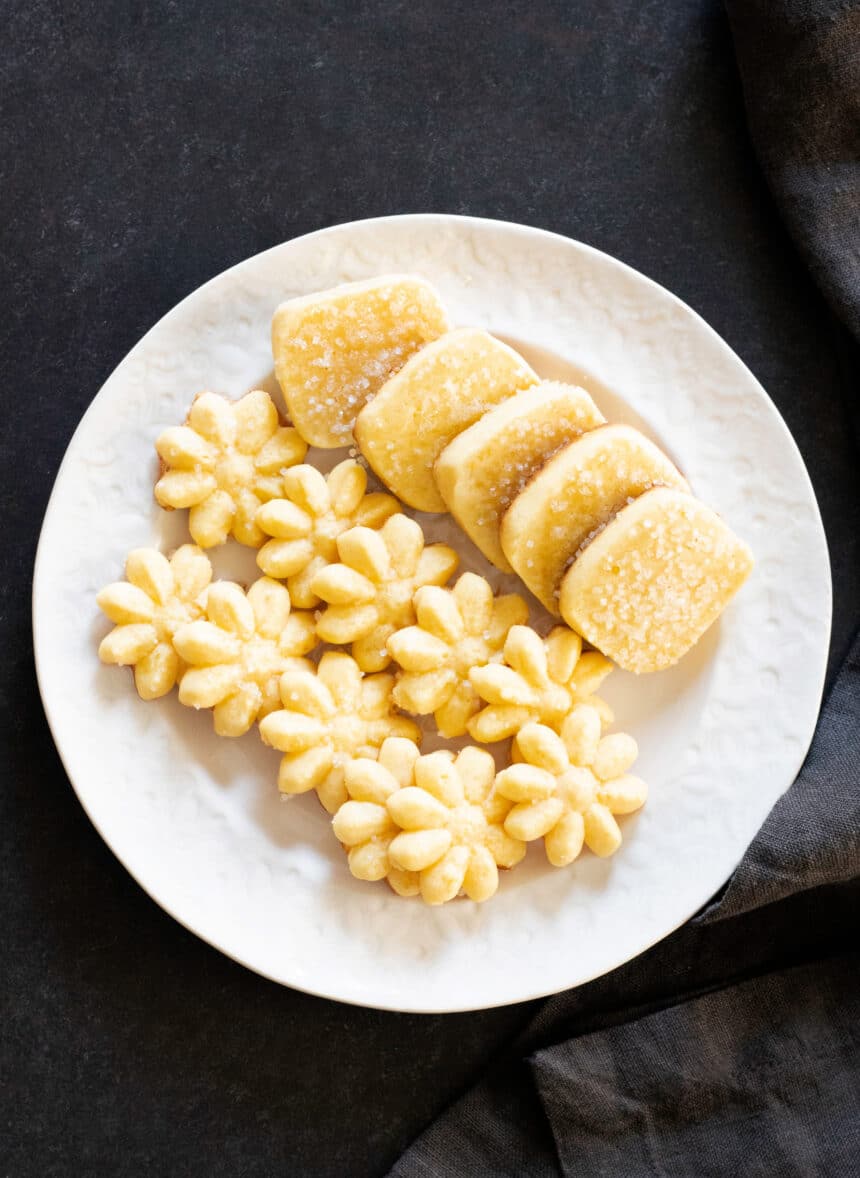
Let me show you how to use the same recipe to make slice-and-bake icebox cookies or spritz cookies with a cookie press!
Why this recipe works
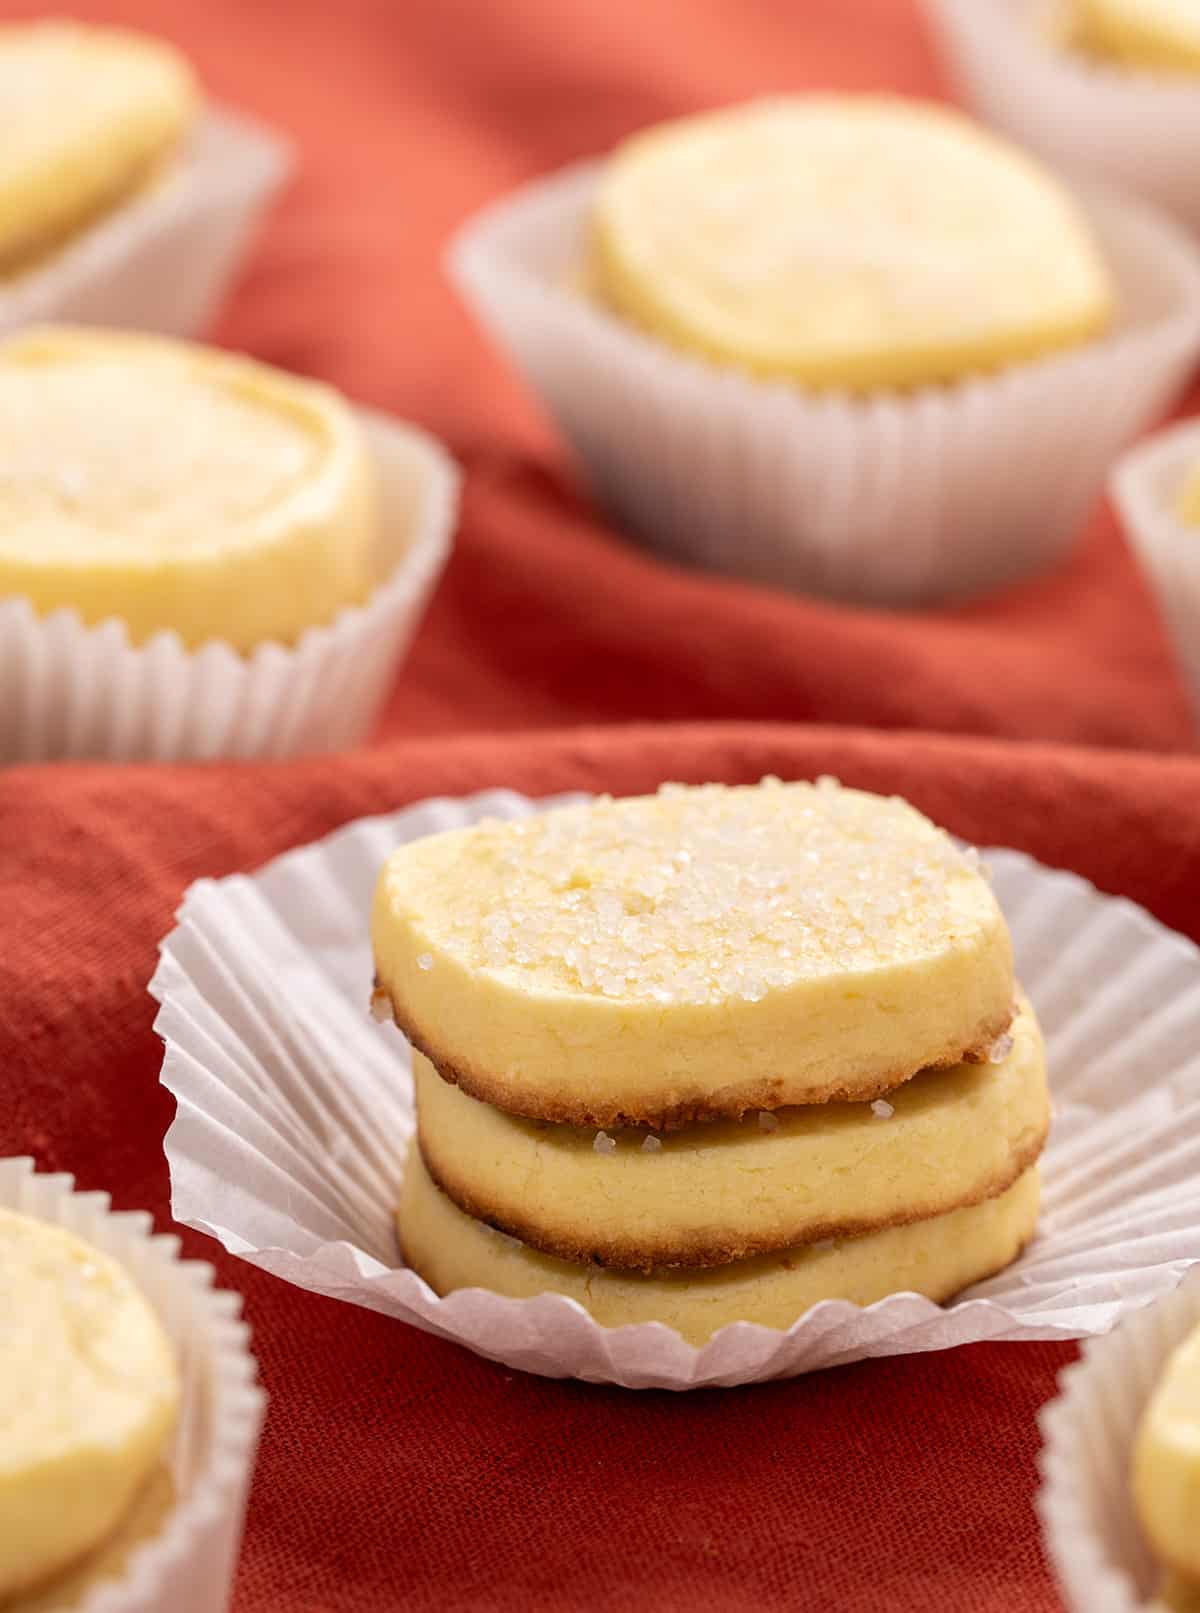
These cookies' high ratio of butter and egg yolks to flour creates that classic melt-in-your-mouth feeling, and confectioners’ sugar keeps the sweetness gentle and the texture ultra-smooth. The result is a cookie that tastes rich and buttery, but still light and airy.
Mixing everything thoroughly in the food processor creates a uniform dough without any streaks or dry spots. You get clean slices and evenly shaped cookies with crisp, defined edges, too.
The method is streamlined and flexible, which lets you shape the dough in different ways with equally great results. It is a simple, dependable formula that produces polished, bakery-style cookies with minimal fuss.
We love our cookies around here so if you do too be sure to try out my gluten free sugar cookies and my gluten free shortbread and almond flour sugar cookies.
Recipe ingredients
Here are the ingredients you'll need to make these cookies plus an explanation of the purpose of each:
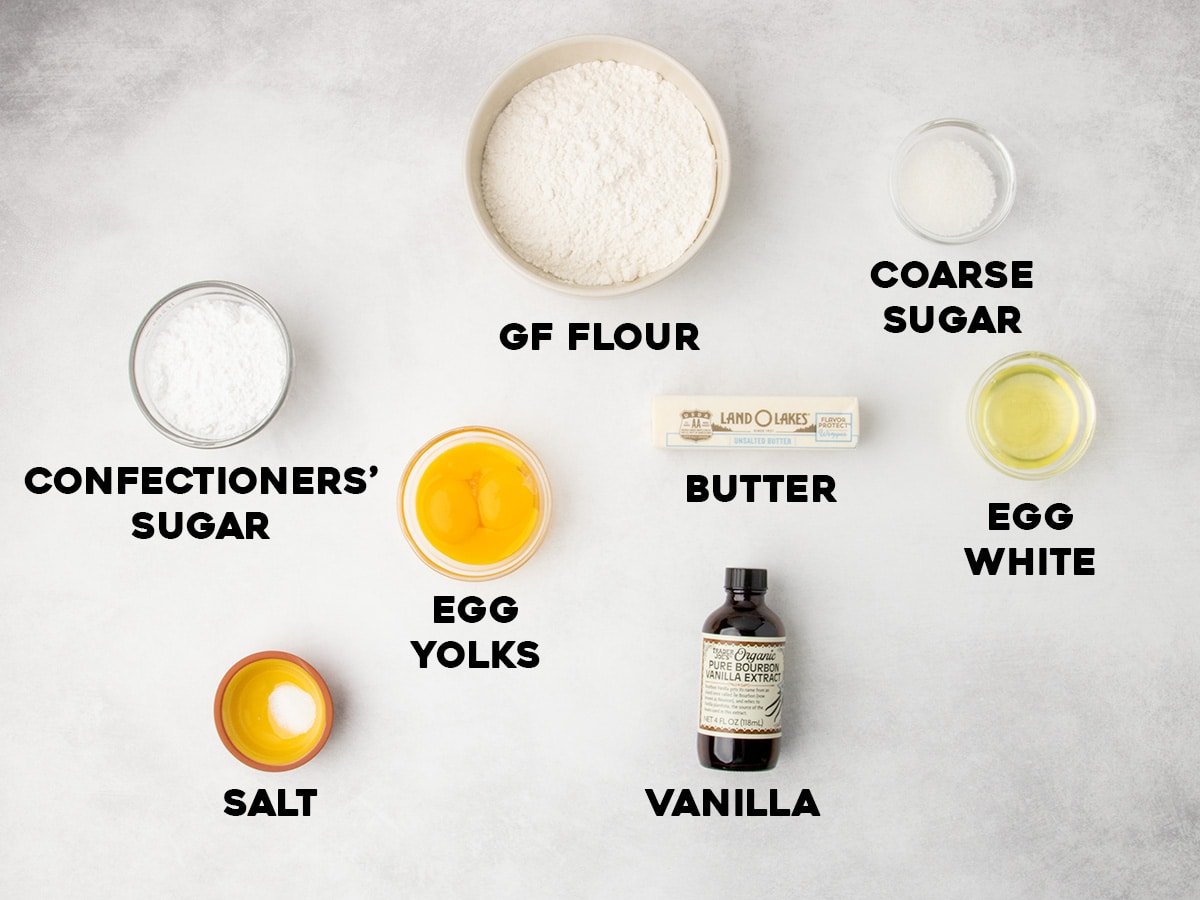
- Gluten free flour blend: Provides most of the structure for the cookies. In such simple cookies, it's especially important to use something well-balanced and smooth based on a finely ground and sifted rice flour without any grit. My favorite blends are Better Batter's classic blend and Nicole's Best multipurpose with added xanthan gum. Bob's Red Mill 1-to-1 should also work with an added 1/4 teaspoon xanthan gum, since the blend contains some, but not enough.
- Confectioners' sugar: Adds gentle sweetness, and absorbs fully into the butter for a smooth texture and a very light, tender cookie.
- Salt: Brightens other flavors and offsets sweetness slightly.
- Butter: Adds richness, flavor, creaminess, and moisture to bring the cookie dough mixture together. Be sure yours is at room temperature, and isn't at all greasy, or the cookies will spread more than intended.
- Egg yolks: Add richness, contribute to that melt-in-your-mouth texture, and lock in moisture for cookies that stay fresh-tasting longer. They also add that golden yellow color to the cookies.
- Vanilla: Adds depth of flavor and some complexity to these simple cookies. You could replace vanilla with 3/4 teaspoon almond extract or a flavoring oil for a different taste.
- Egg white: Brushing the raw shaped cookies with egg white helps make them shine on top and sticks to the cookies and the sparkling sugar.
- Coarse sugar: A sprinkling of white or clear coarse sugar crystals on top of the egg wash on the cookies makes them festive. I usually use Chef's Select or Cake Mate brands, which are often available on Amazon (but not always). Sugar in the Raw is also a coarse sugar, but it's light tan in color, not clear or white.
How to make slice-and-bake gluten free butter cookies (step by step photos)
Whether you're making slice and bake icebox cookies or cookie press “spritz” cookies, the raw dough is prepared the same way.
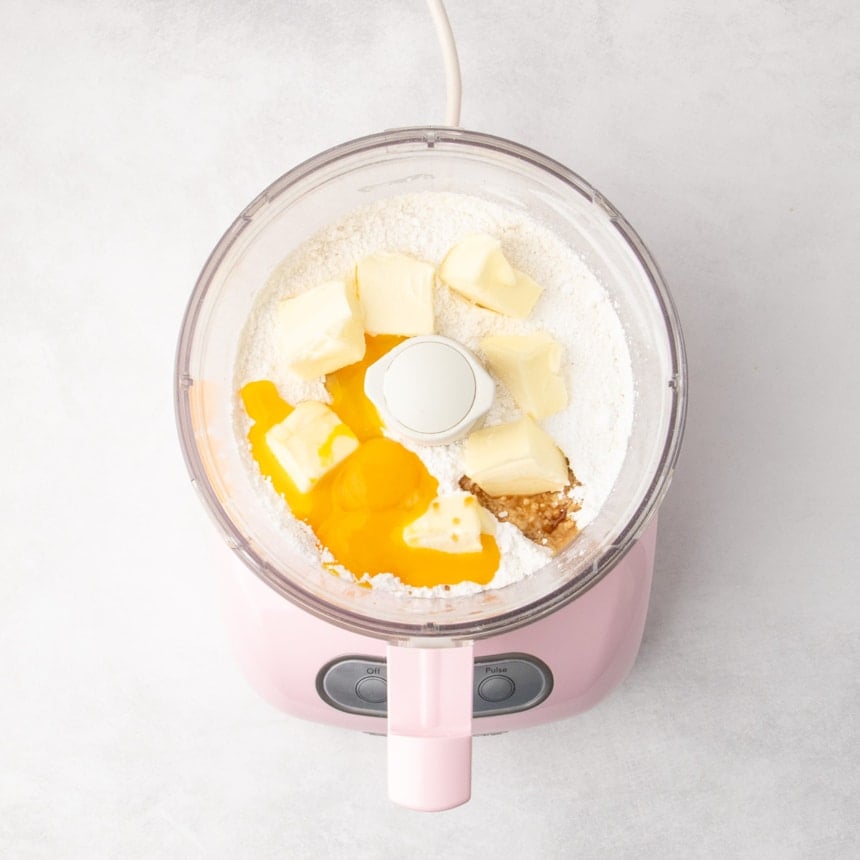
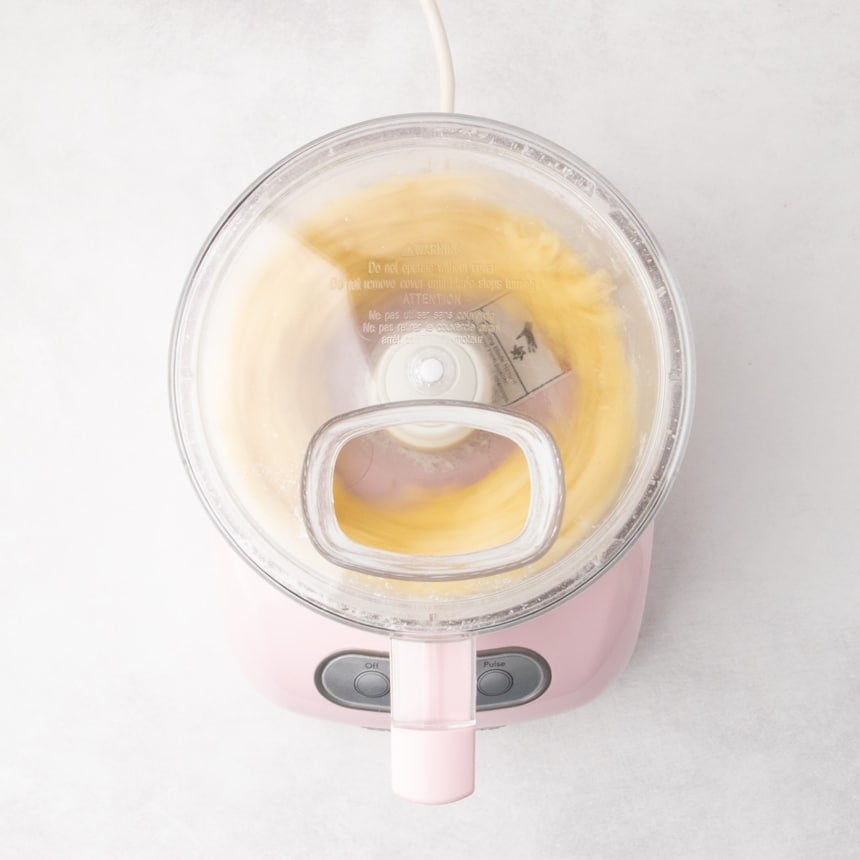
Place the ingredients in a food processor
Place the dry ingredients (gluten free flour blend with xanthan gum, confectioners' sugar and salt) in the bowl of a food processor fitted with the steel blade. Chop the butter so it doesn't clump all in one part of the dough. Place the butter, egg yolks and vanilla on top.
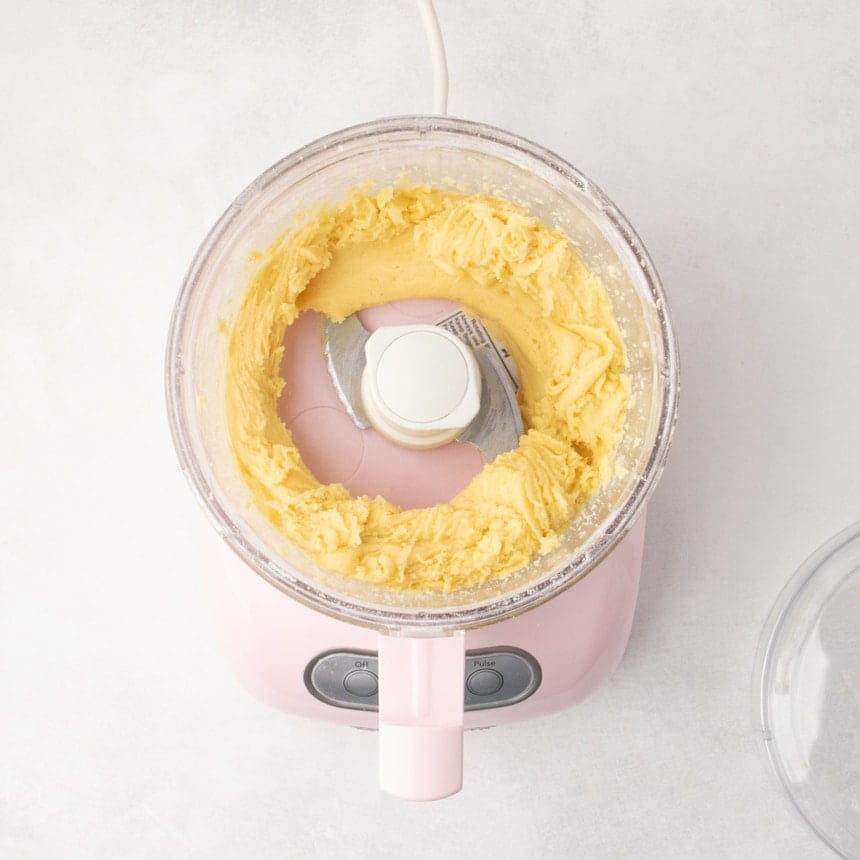
Process fully
Process the dough until it's smooth. Using a food processor ensures that the dough is completely uniform in color and texture. If you don't have a food processor, make the dough in a bowl, then place it in a sealed zip-top bag and knead it with your hands just until fully uniform.
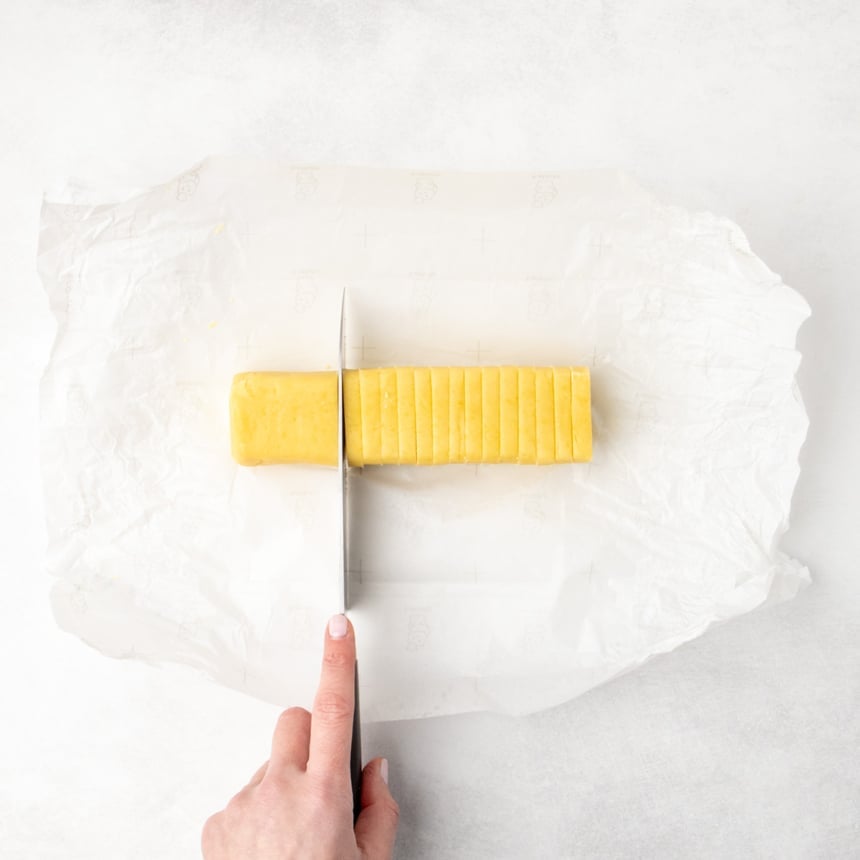
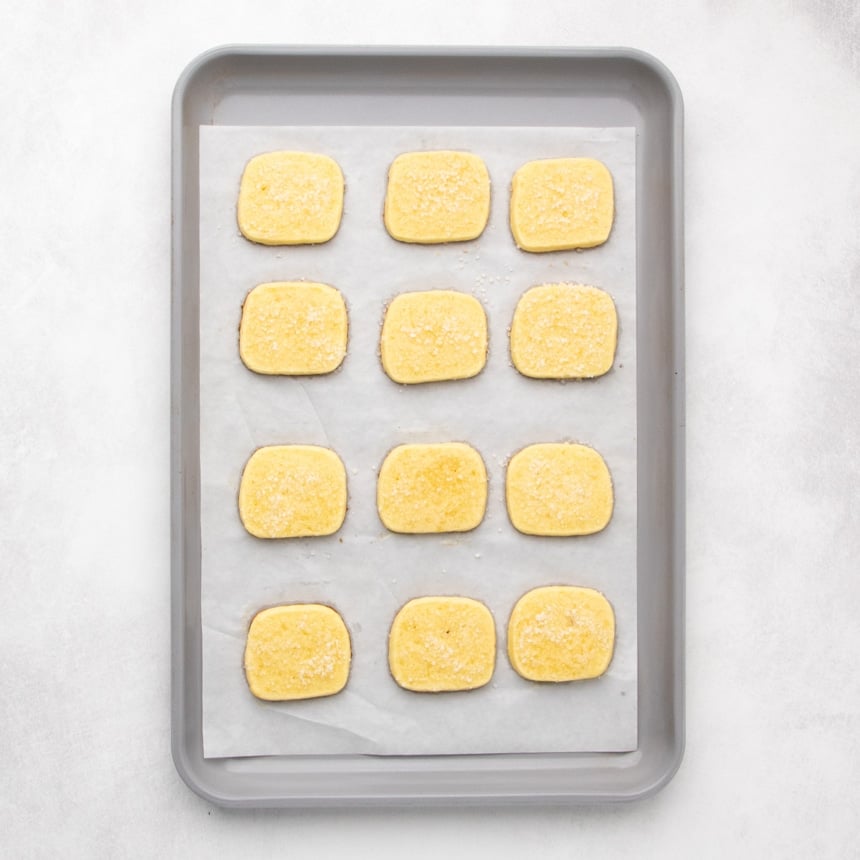
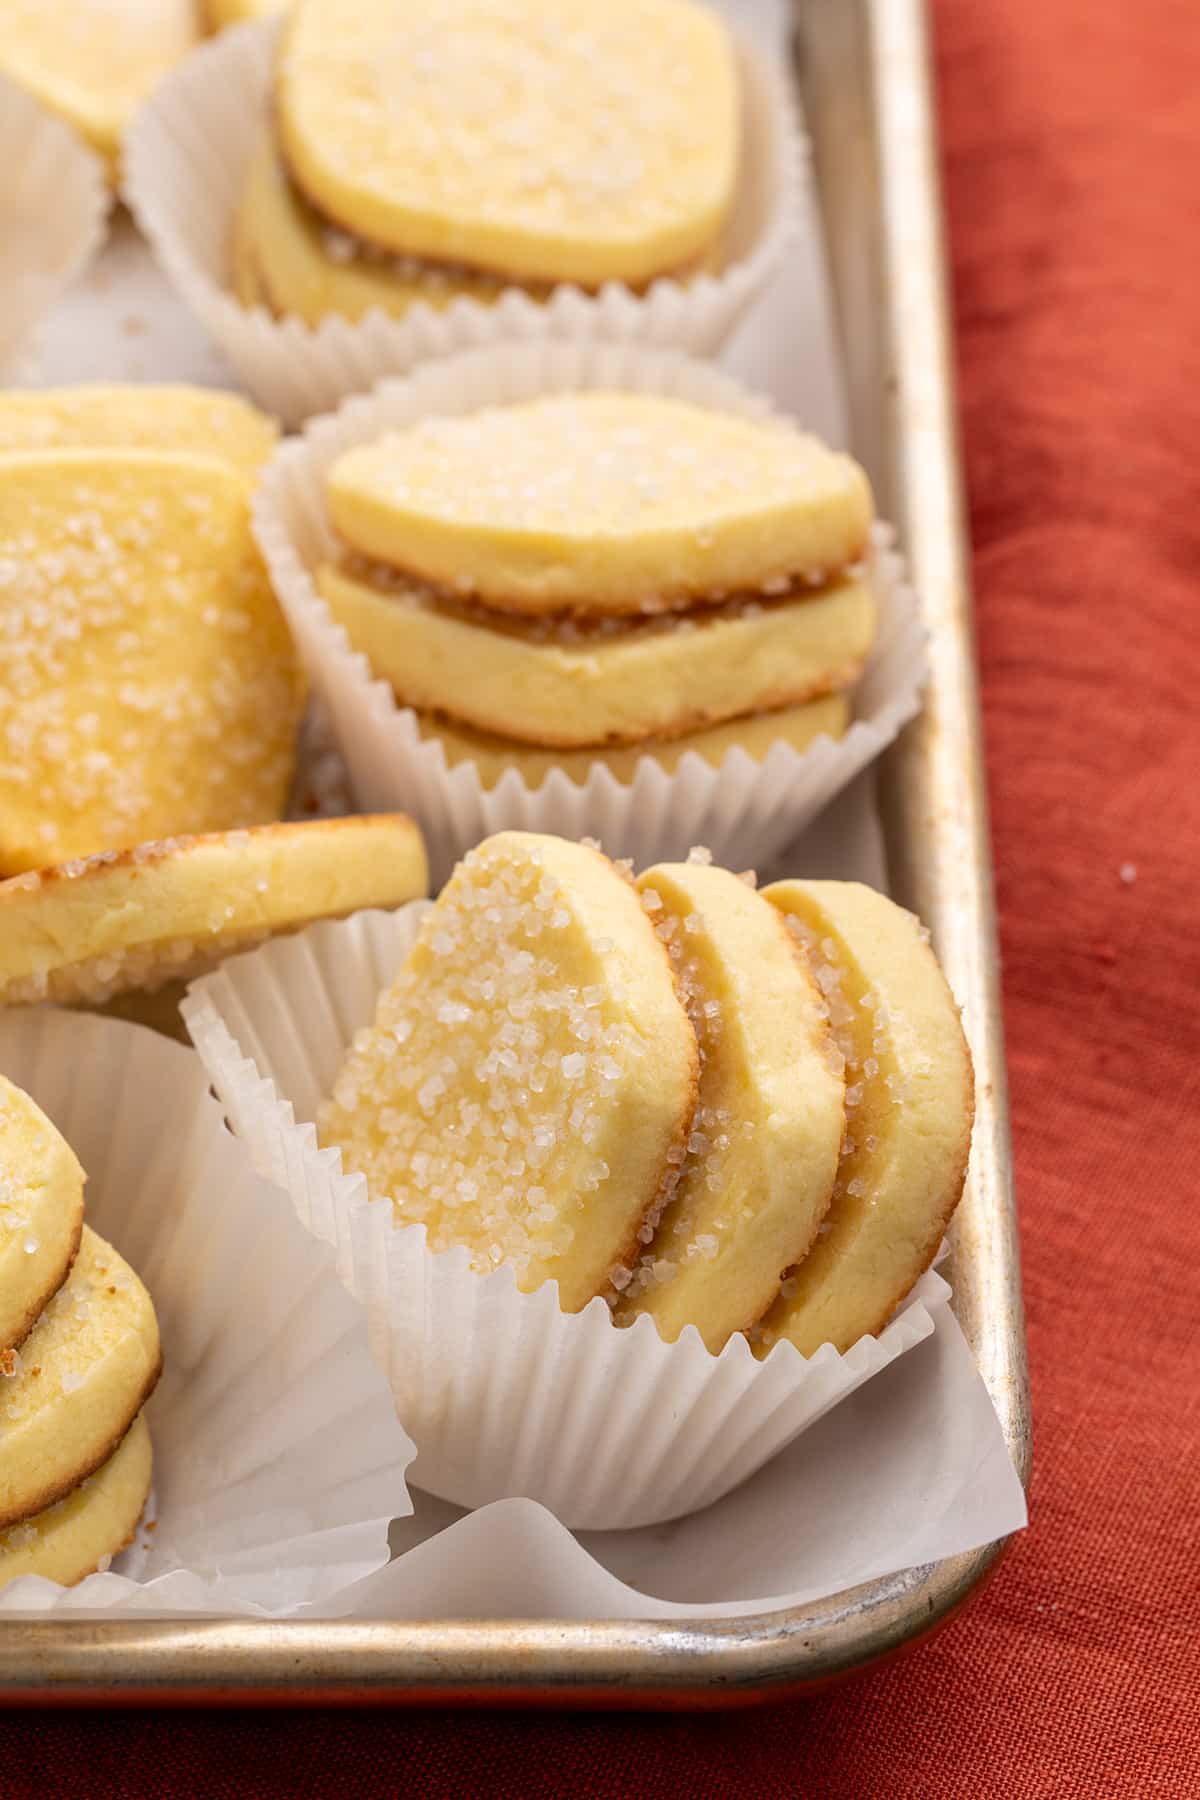
Make the dough, place it on a piece of unbleached parchment paper, shape it into a cylinder, square the edges, and chill the dough thoroughly. Then simply slice into 1/4-inch thick cross-sections and bake.
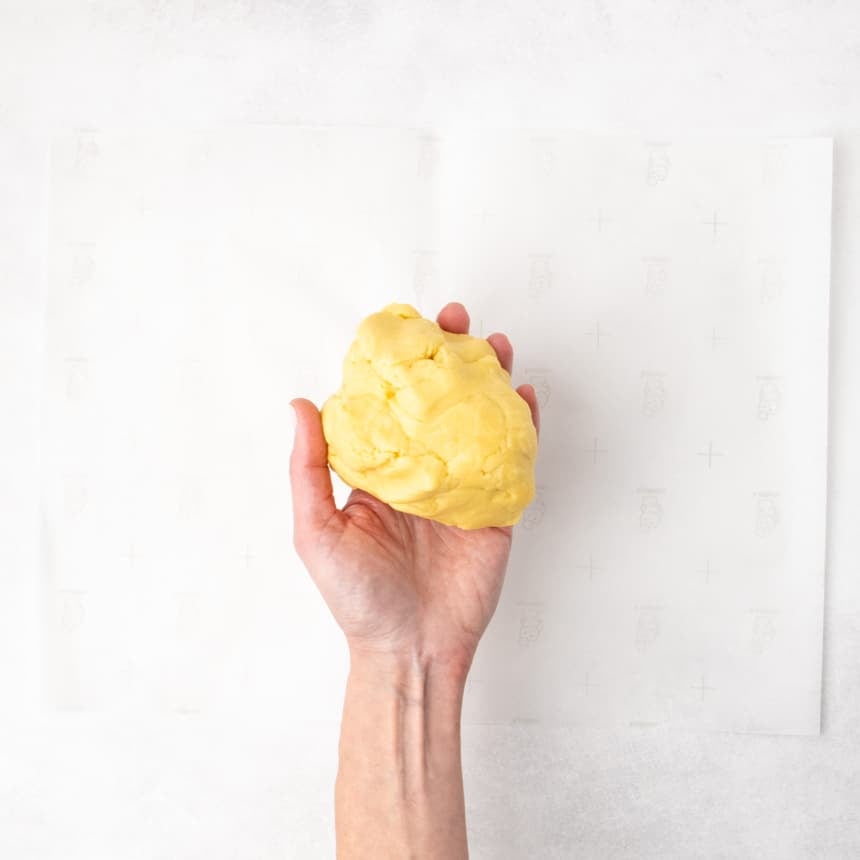
Shape the dough
Shape the dough in clean hands roughly into a log about 8-inches long x 2-inches wide. Place the dough on a large piece of parchment paper and roll to enclose it.
Use a large straight edge like a bench scraper to flatten all sides and square the edges, or roll it back and forth into a round. You'll slice your log by cross-section, so pick the shape you'd prefer your cookies to be.
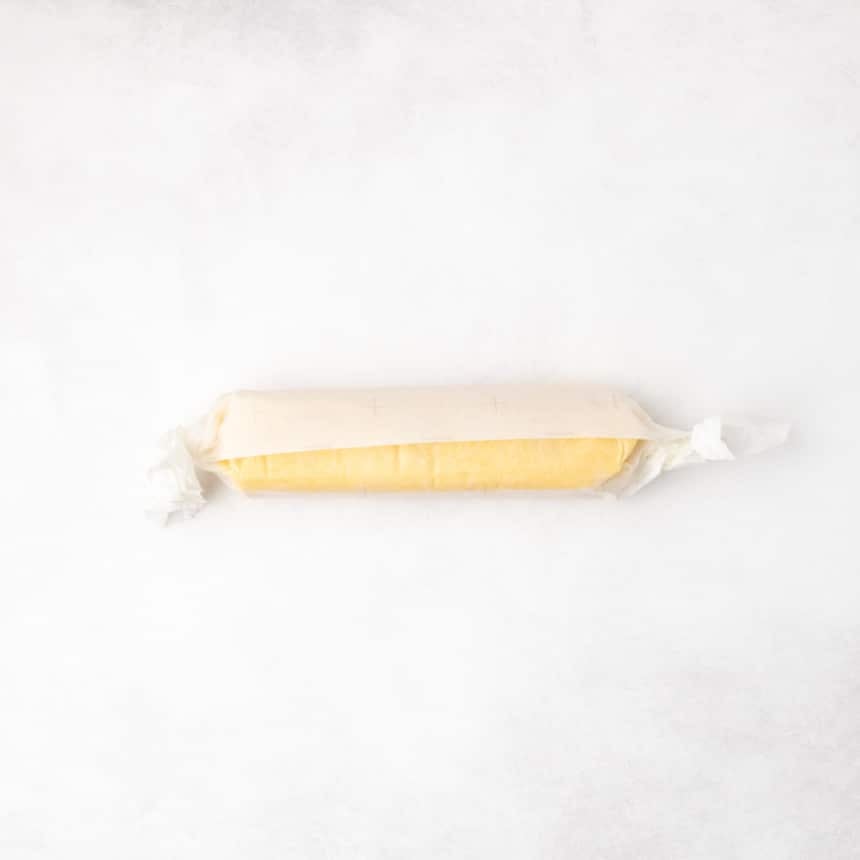
Chill until firm
Cinch the ends of the wrapped dough so they don't dry out, and chill until just firm enough to slice. That should take about 15 minutes in the freezer or 30 minutes in the refrigerator.

Slice the cold dough
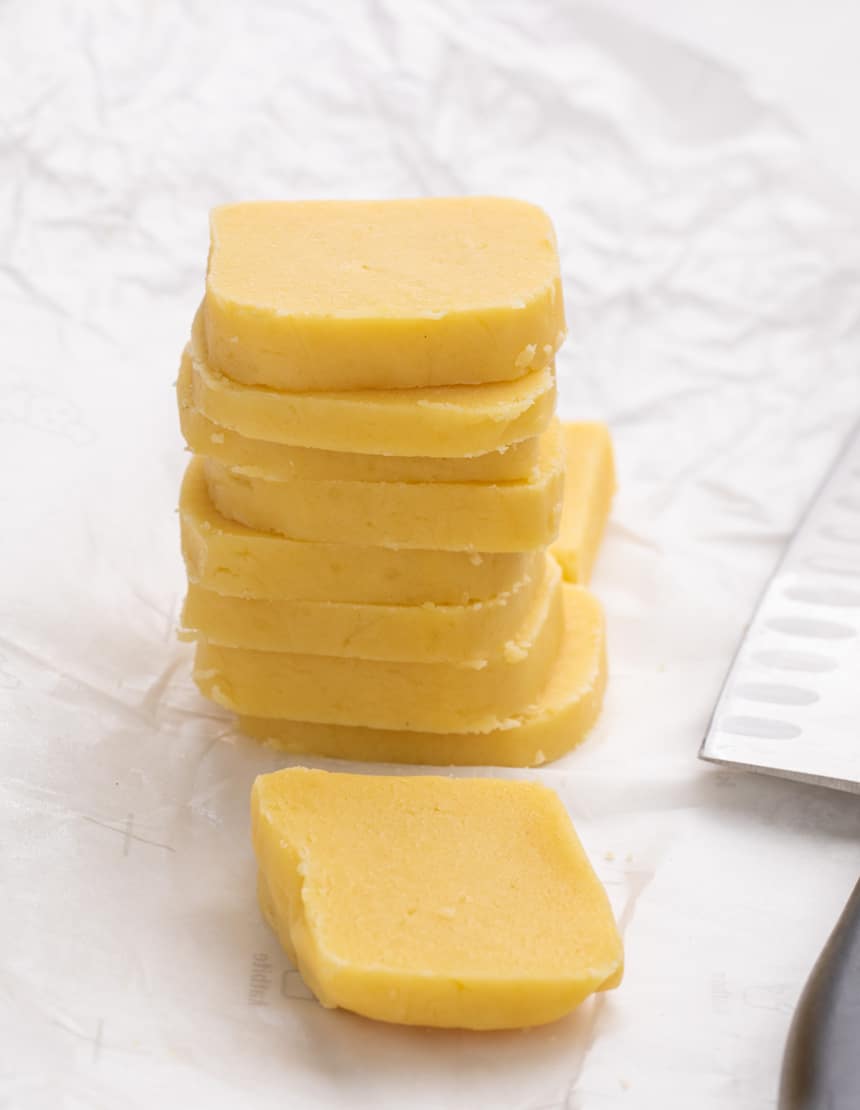
Remove the dough from the refrigerator or freezer before it's fully solid. Refine its shape by smoothing squared edges or rocking it back and forth to round. If it's too hard to shape further, let it sit at room temperature for a bit first. Use a sharp knife to slice the dough by cross-section every 1/4-inch.
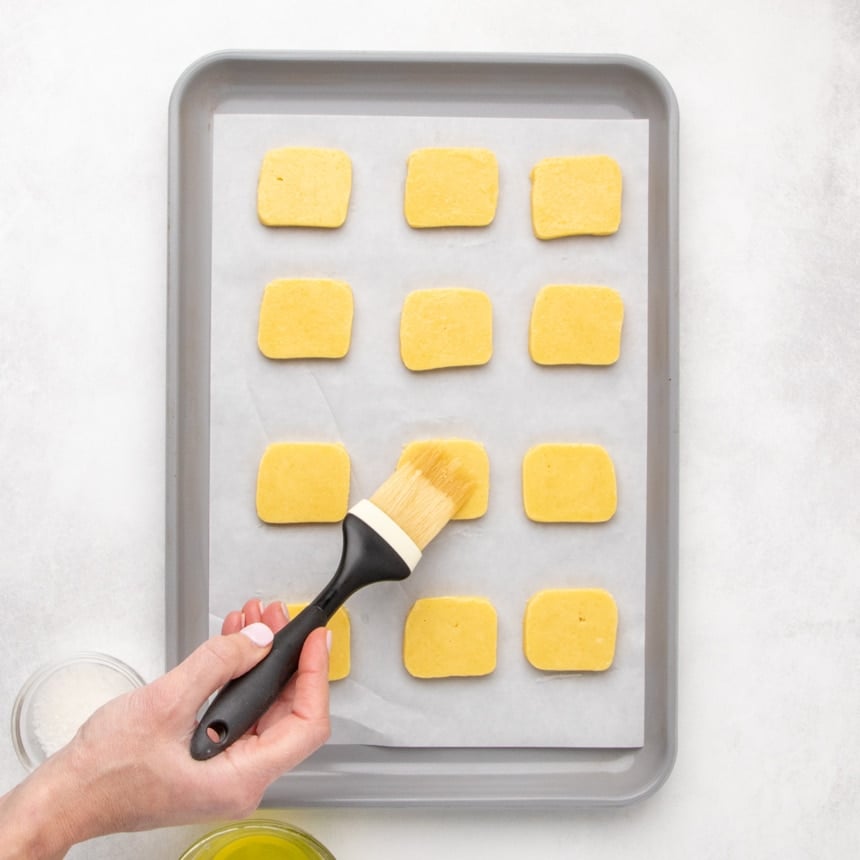
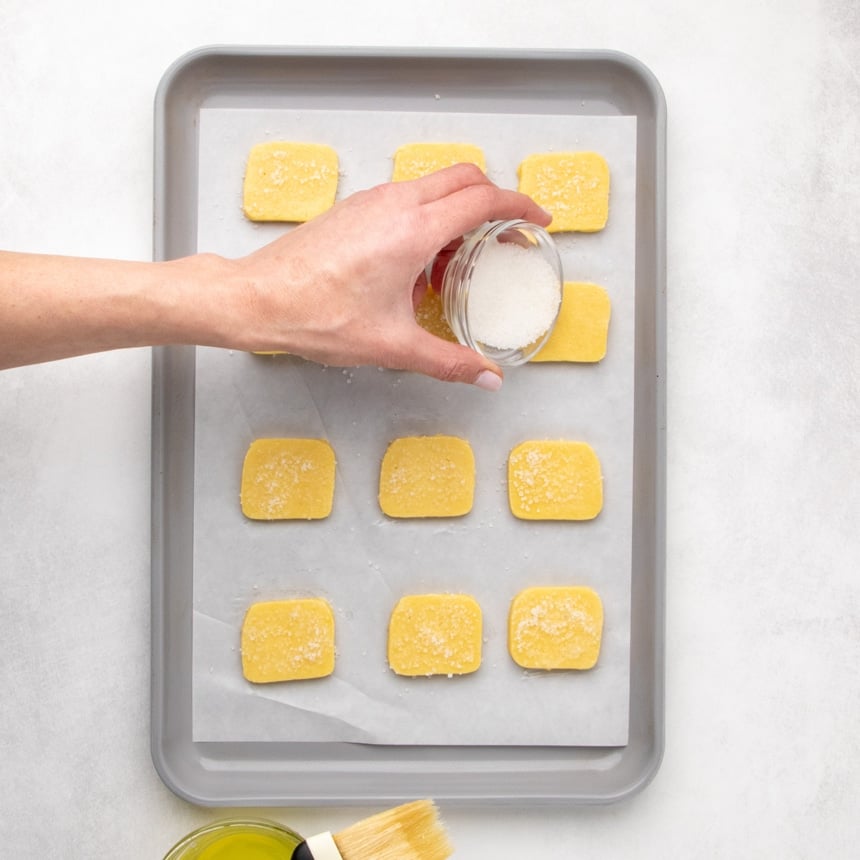
Add (optional) sugar topping
Place the raw cookie slices about 1-inch apart on a lined baking sheet. Use a pastry brush to coat the tops with egg white and sprinkle lightly with coarse sugar (or even just granulated sugar). This gives the cookies a sparkle, and sweetens them a bit more. Without the egg white, the sugar topping won't stick.
Bake the icebox cookies
Place the baking sheet in the center of a preheated 350°F oven. Bake for about 8 minutes, or just until the cookies have puffed up a bit, no longer glisten wet in the center, and are golden brown on the bottoms as visible from the sides.

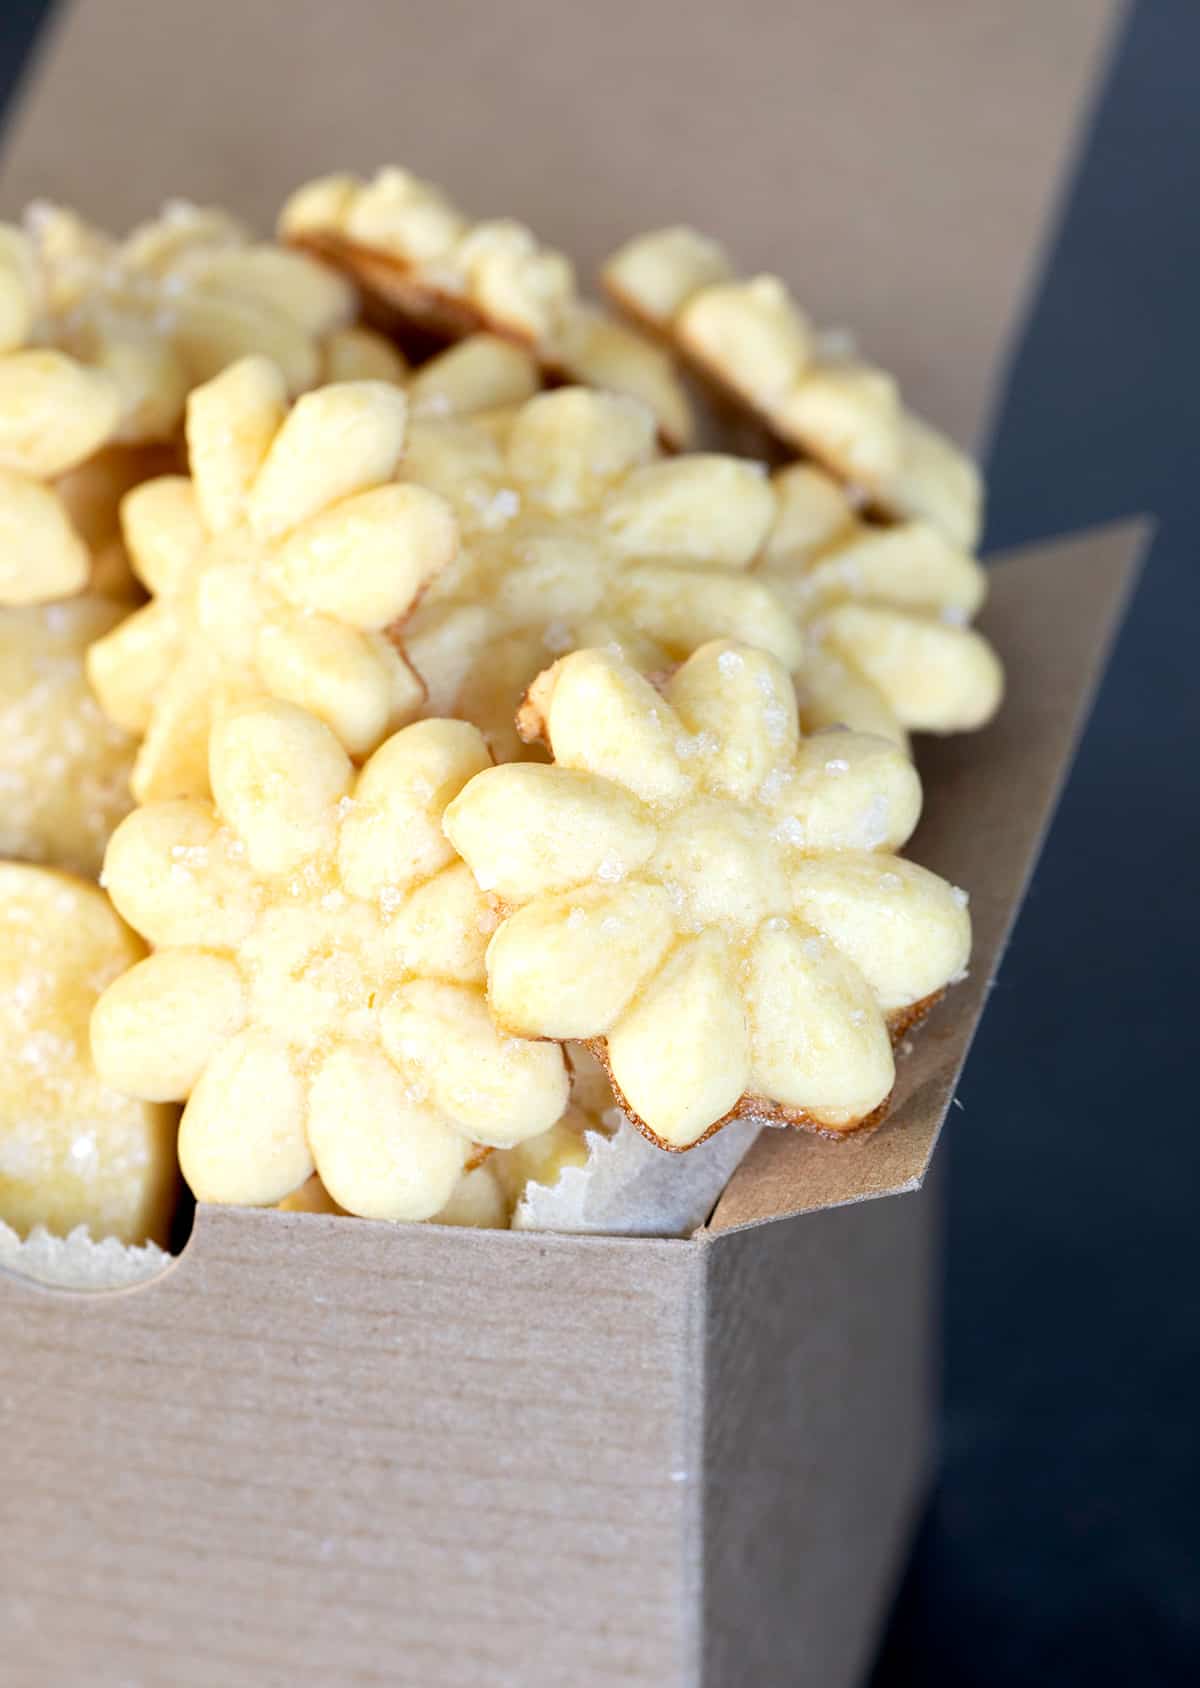
To make spritz gluten free butter cookies
For a full demonstration of how to use a cookie press, watch the video in the recipe card below.
Make the dough
Make the cookie dough in exactly the same way as you would for icebox cookies. Do not chill the dough at all or the dough will crumble as you try to move it through the cookie press.
Insert the dough into the press
Lift the plunger of the press to expose the empty chamber of the press. Unscrew the opposite end to reveal the inside of the press. Shape the raw cookie dough loosely into a log the size and shape of your press, and insert the dough. Choose a disk (I used the simple flower shape), place it inside the screw top, and screw the top and disk on the end of the press to enclose the dough.
Press the lever down until you're certain that the dough is all the way at the end of the chamber, right by the extrusion disk. It needs to press right up against the disk to be passed through it once we apply pressure.
Position the press
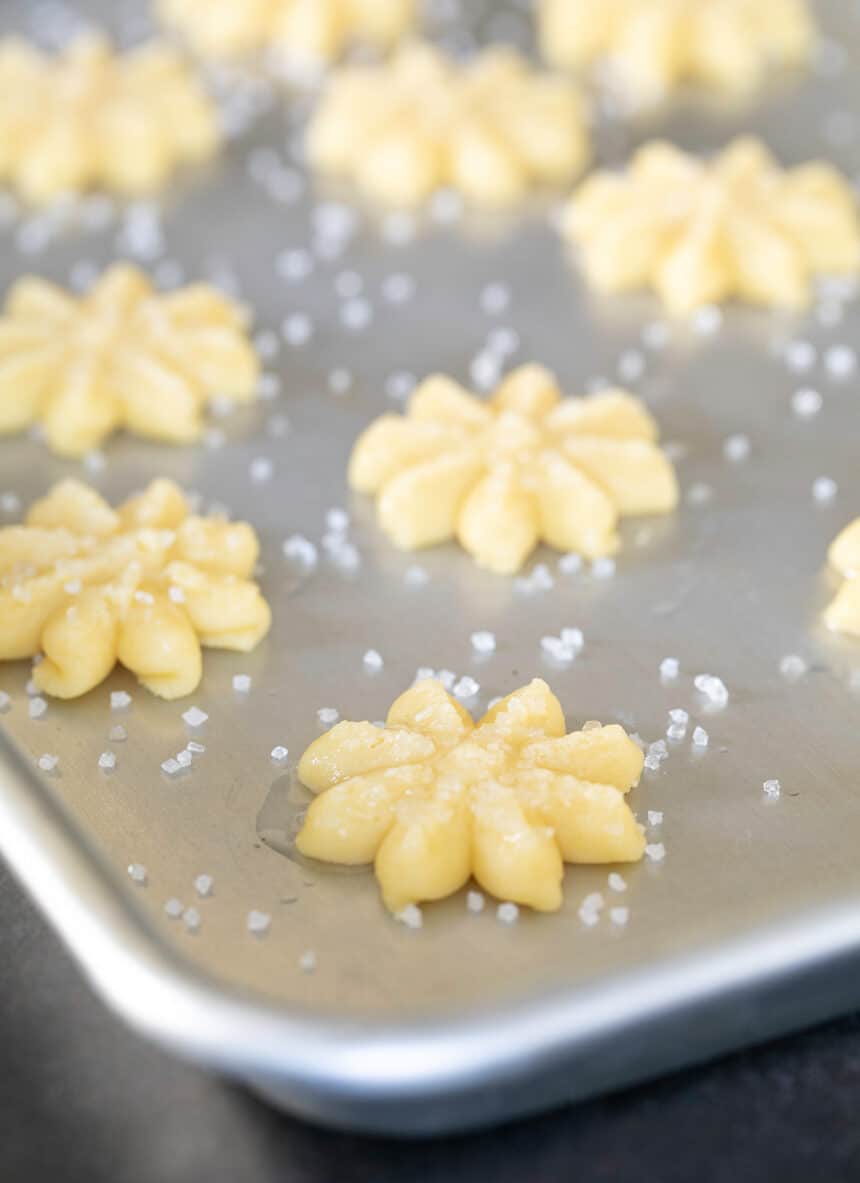
Position the bottom end of the press upright on a clean, ungreased, not-nonstick aluminum cookie sheet. You need the dough that comes out of the press to stick to the sheet so it adheres and separates from the press.
Extrude the dough
Click just once on the lever per cookie, wait a moment to ensure that the shaped dough is sticking to the baking sheet, and lift the press straight up into the air. The dough will stick to the baking sheet, not fall from it like it would if you were using a piping bag.
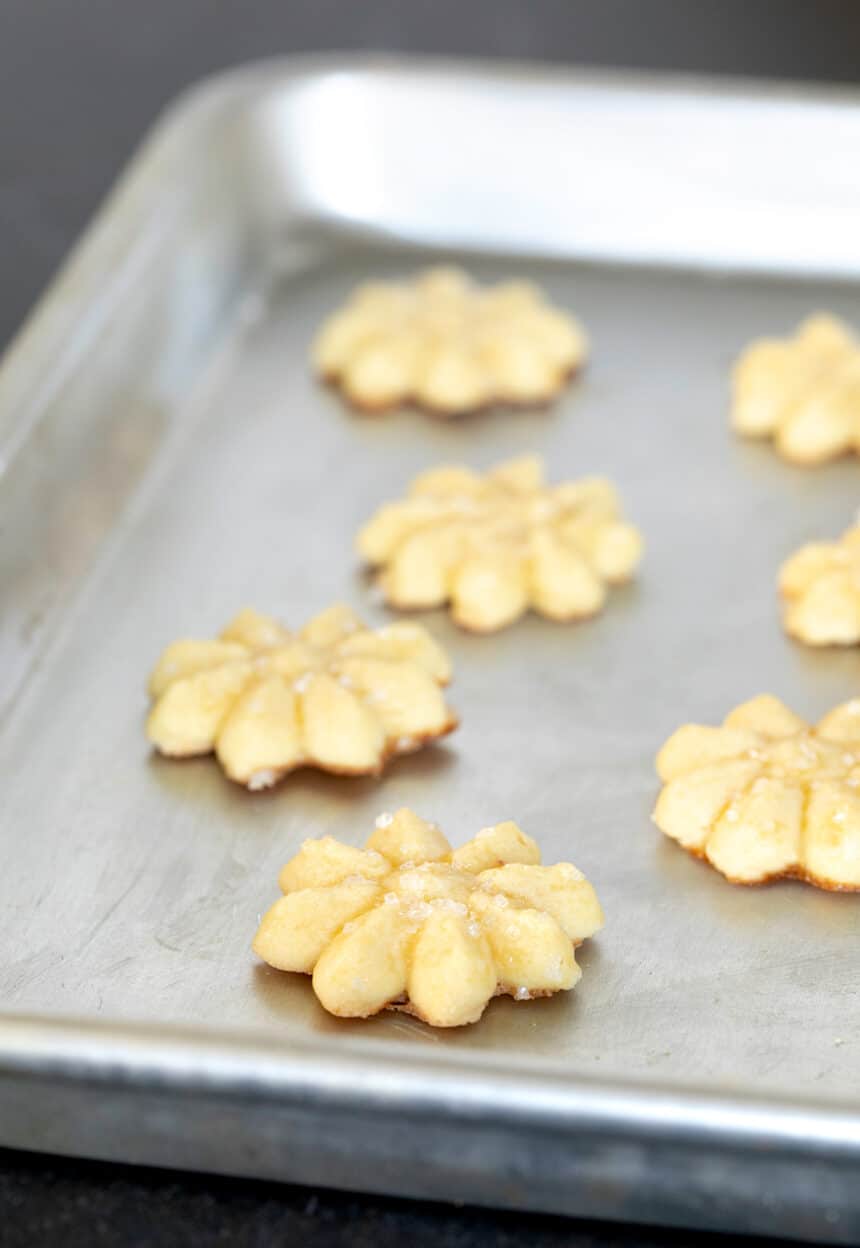
Top and bake
Brush with egg white, sprinkle with coarse sugar, and chill briefly until firm to the touch since the dough may be quite warm by now. Bake as directed for icebox cookies.
Pry the cookies loose
If you use the egg white wash with spritz cookies, allow the cookies to cool for no more than 5 minutes, then and run the edge of a small offset spatula or knife under the cookies to pry them from the baking sheet or they'll adhere too strongly and they'll break when you try to remove them.
Expert tips
Shape the dough at the right temperature
For spritz cookies
You must use the dough immediately after making it, without chilling. To use a cookie press, only dough at room temperature will travel through the press and out of the disk at the end without crumbling. Chilled dough also will not stick to even a clean, bare aluminum baking sheet.
For icebox cookies
Shape the dough into a log, wrap tightly in parchment or plastic wrap and square the edges to shape into a rectangle that's about 2-inches x 8-inches or into a cylinder of similar dimensions. Chill the dough until firm enough to slice, but still soft enough to refine the shape.
If you don't have a food processor
To make the cookie dough by hand, place the ingredients in a bowl in the same order (dry first, then wet) and mix as well as possible. Then, place everything in a large zip-top bag, squeeze out the air and close securely. Knead the dough with your hands until it's smooth and uniform.
Use a bare baking sheet (spritz cookies)
For spritz cookies, each extrusion of cookie dough must stick to the baking sheet. If the baking sheet is lined, nonstick, or greasy at all, the dough will not stick to the sheet. If it doesn't stick, you won't be able to separate the press from the dough after it passes through the disk, which is what creates the shape.
Ingredient substitutions
Dairy free
Since these are butter cookies, it's tough to make them without butter, but I think it's worth a try. My favorite butter replacements, in general, are Melt brand or Miyoko's Kitchen brand vegan butter. A combination of half (56 g) Earth Balance buttery sticks and half (56 g) Spectrum brand non-hydrogenated vegetable shortening should also approximate the flavor and moisture balance of real butter.
Egg free
In place of the 3 egg yolks, you can try 4 1/2 tablespoons neutral oil and 1/2 teaspoon extra xanthan gum. I've never tried that particular egg yolk replacement with this many yolks, so you'll have to experiment.
Just leave off the egg white wash and coarse sugar coating, or try using water to help the sugar crystals stick.
Gluten Free Butter Cookies Recipe

Equipment
- food processor (See Recipe Notes)
Ingredients
- 1 ½ cups (210 g) all purpose gluten free flour blend, (See Recipe Notes)
- ¾ teaspoon xanthan gum, (omit if your blend already contains it)
- ⅝ cup (72 g) confectioners' sugar
- ¼ teaspoon kosher salt
- 8 tablespoons (112 g) unsalted butter, at soft room temperature
- 3 (75 g) egg yolks, at room temperature
- 1 teaspoon pure vanilla extract
- 1 egg white, for brushing (optional for topping)
- Coarse sugar crystals, for sprinkling (optional for topping)
Instructions
- If you're making cookie press/spritz cookies, preheat your oven to 350°F and set out large, very clean rimmed baking sheets and leave them unlined.
- In the bowl of a food processor fitted with the steel blade, place the flour, xanthan gum, sugar, and salt.
- Chop the butter into 6 to 8 large pieces and scatter on top of the dry ingredients, then add the egg yolks, and vanilla.
- Process until the dough until it's very smooth. It will first clump into a ball, and then stick to the sides of the machine's bowl. Don't overprocess which can heat up and begin to melt the dough (it should take 3 minutes or less).
- It should be smooth and a bit wet, but you should be able to handle it lightly with your hands without its sticking.
For spritz cookies
- Do not chill the dough. Fill your cookie press according to the manufacturer’s directions.
- Place the disk you like on the end of the chamber, and screw the end on securely.
- On a bare, ungreased baking sheet that is not nonstick, dispense the cookie dough, spacing it evenly. Place the press perpendicular to the baking sheet firmly, and press down the level for one “click” of the press per cookie. Hold the press steady on the surface for a moment to let the dough to adhere, then release quickly in a swift upward motion.
- If the cookies seem at all greasy, chill the shapes in the refrigerator just until they're mostly firm to the touch (about 10 minutes).
For icebox cookies
- Set out rimmed baking sheets and line them with parchment paper.
- Shape the cookie dough into a cylinder about 8-inches long, and place on a sheet of parchment paper. Roll the dough up in the paper, then square each of the sides with a straight edge like a bench scraper to form a rectangle that's about 8-inches long x 2-inches wide. Place the log in the refrigerator until just firm enough to slice (about 30 minutes).
- While the cookie dough is chilling, preheat your oven to 350°F.
- Remove the log from the freezer, unwrap it, smooth and square the edges again if necessary, then use a large, sharp knife to slice it by cross-section into pieces about 1/4 inch wide. Place the cookies about 1-inch apart on the prepared baking sheets, evenly spaced.
For both types of cookies
- With a pastry brush, brush the tops of all of the raw shaped cookies on the baking sheet with the (optional) egg white, and sprinkle with the (optional) coarse sugar.
- Place the baking sheets, one at a time, in the center of the preheated oven and bake until they’re lightly brown around the edges (8 to 10 minutes).
- For slightly crispier cookies, allow them to brown a bit longer (up to 12 minutes total).
- Remove the baking sheet from the oven and allow your icebox cookies to cool completely on the baking sheet.
For spritz cookies (special cooling instructions)
- If your spritz cookies have been coated with egg white before baking, allow them to cool for 5 minutes only. Run the edge of a small offset spatula or knife under the cookies to pry them from the baking sheet.
- Then, allow the cookies to finish cooling completely on the baking sheet.
Video
Notes
Nutrition
Nutrition information is automatically calculated, so should only be used as an approximation.


Do you really need the confectioners sugar? I am sugar free due to psoriasis ?
Yes, you do, Sylvia. You need all of the ingredients for the recipe to turn out.
Excellent recipe. Used Better Batter GF Flour. I was able to use my cookie press and the cookies came out beautifully. It’s really important to read the recipe because you have to use a traditional aluminum or steel pan and not a nonstick as I found out because I didn’t read the recipe notes all the way, LOL. Good thing I had an aluminum baking sheet to use when we started over with pressing. My granddaughter and I had a great time making these cookies.
I’m so glad you enjoyed the cookies, Theresa, and that you had success making spritz cookies with your granddaughter. I especially appreciate that you mentioned that you realized you hadn’t read the recipe text and post closely enough at first, went back to the recipe to figure out what might have gone wrong, and were able to correct it. That way, you were able to have a great time making cookies! Thanks you for sharing that. I hope it helps others!
These were a bit dry (used King Arthur gf flour) and required having milk or some sort of drink alongside. We made spritz cookies, candy canes, and thumbprint. We took 1/3 of the batter and dyed 1/2 red, and added peppermint flavor to the white half, then twisted and shaped into candy canes. Once we realized how dry they were we turned the rest of the batter into thumbprint cookies to help with the dryness.
Cami, I responded to your other comment about gluten free cookies all being dry. It’s your flour blend, which you mentioned here is KAF. I recommend specifically against their blend for just that reason. Please see the all purpose gluten free flour blends page for full information and I hope you make a better choice of blends in the future!
Melt in your mouth delicious!
So glad you loved them, Cherie!
So ready to make these! I plan to Spritz them, but was wondering about making ahead. If I were to press them onto a bare cookie sheet flash freeze them, would I be able to them store them in a bag and bake off later, on parchment? Being that the shape would be held well, I’m wondering if the parchment would be acceptable or if the dough would spread too much, or maybe I just shouldn’t freeze this dough!? I’d love input!
Hi, Bambi, that’s an interesting question, and honestly one I hadn’t considered. It does generally sound like you have a solid plan of action, but with one remaining concern. You definitely cannot move the shapes before they’re either baked or frozen or they’ll fall apart. Remember, they pass through a disk that has gaps in its holes, so they come out separated and then sort of rejoin on the baking sheet. But they’re also sticking to the baking sheet or the process doesn’t work. So I’m concerned that you may not be able to get them off the baking sheet intact after they’re frozen. Maybe if you slide a fish spatula or something else of similar thickness underneath each shape to remove them from the baking sheet in one piece? I hope that’s helpful in thinking it through the rest of the way!
Can I use a Kitchenaid mixer instead of food processor?
Hi, Michelle, I haven’t tried the mixer, to be honest. I think that would work, but just be careful not to mix for too long so the butter doesn’t begin to melt which will make the cookies greasy. I hope that helps!