

This post may contain affiliate links. Please read our disclosure policy.
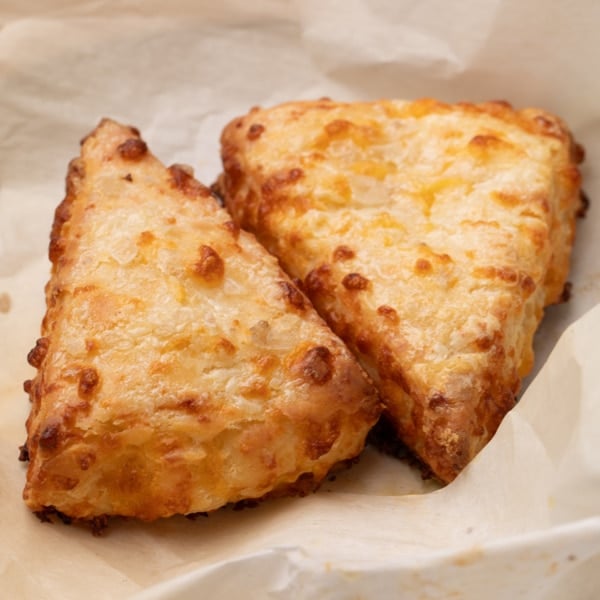
Make light, tender and buttery gluten free scones with this easy master recipe. It’s endlessly customizable and delivers classic scones that are never dry or too crumbly.
This is the base recipe I use for nearly every scone variation on the blog. I’ve tested it for years to perfect the texture—crisp edges, soft centers, and just the right amount of sweetness.
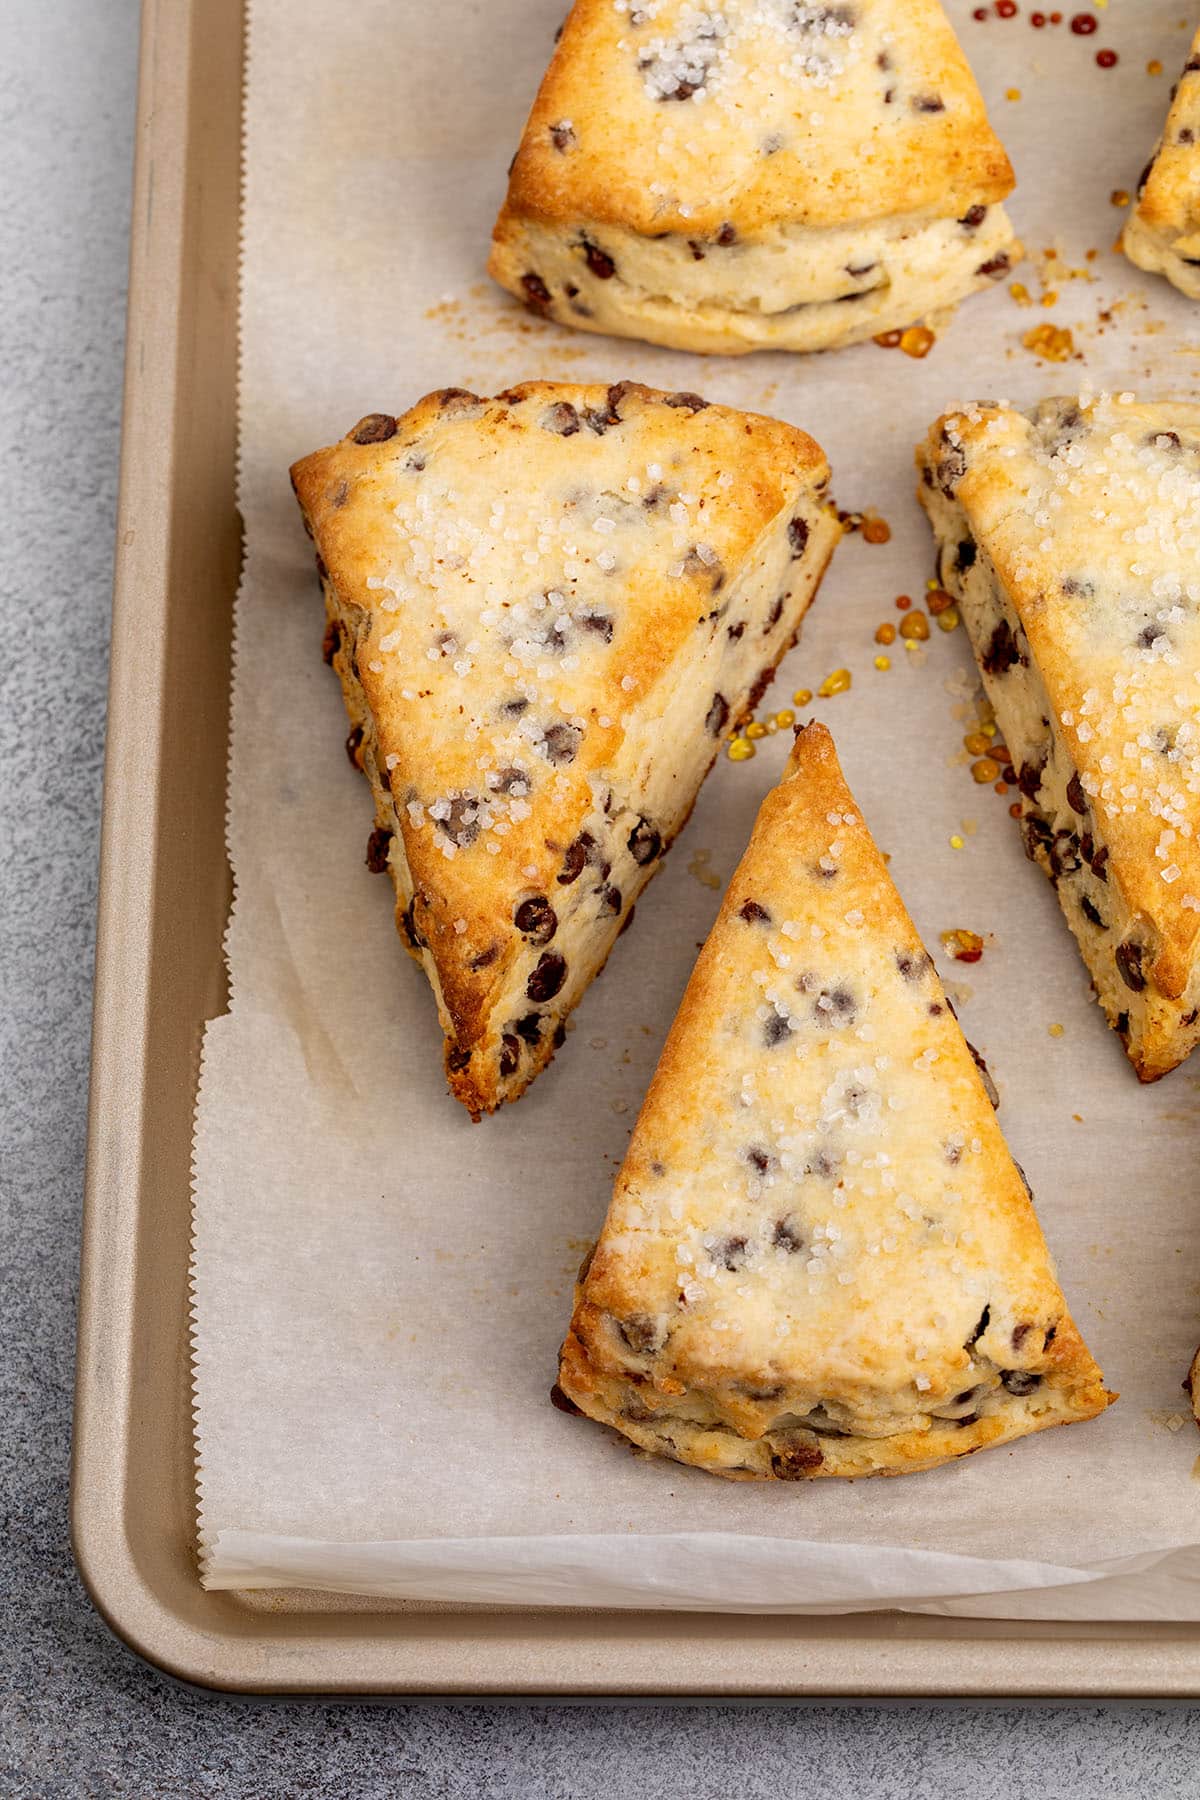
Why this recipe works
These gluten free scones bake up light and tender, with crisp edges, soft centers, and a moist, delicate crumble. They’re sweet, but not too sweet, so they work for breakfast, snack time, or with a cup of tea.
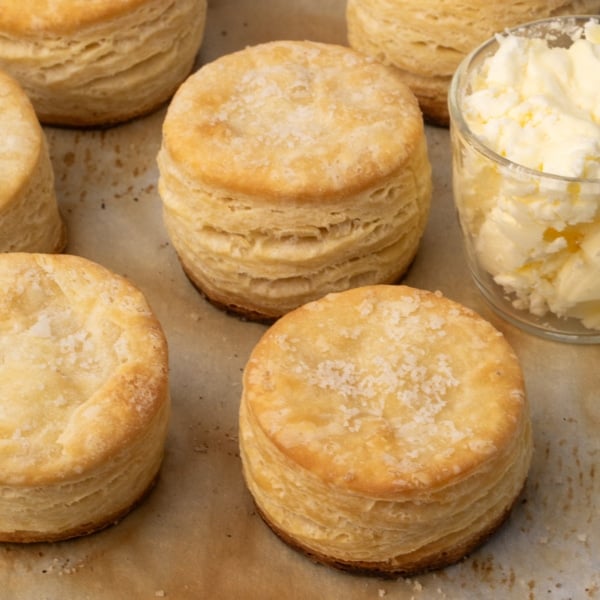
Extra xanthan gum in the dry mix, added even to a flour blend that already contains it, is the secret to a dough that's thick enough to rise really tall, for tons of flaky layers.
The simple base is easy to customize with your favorite dry mix-ins. Add chocolate chips, dried fruit, chopped nuts, or whatever you like best.
Recipe ingredients
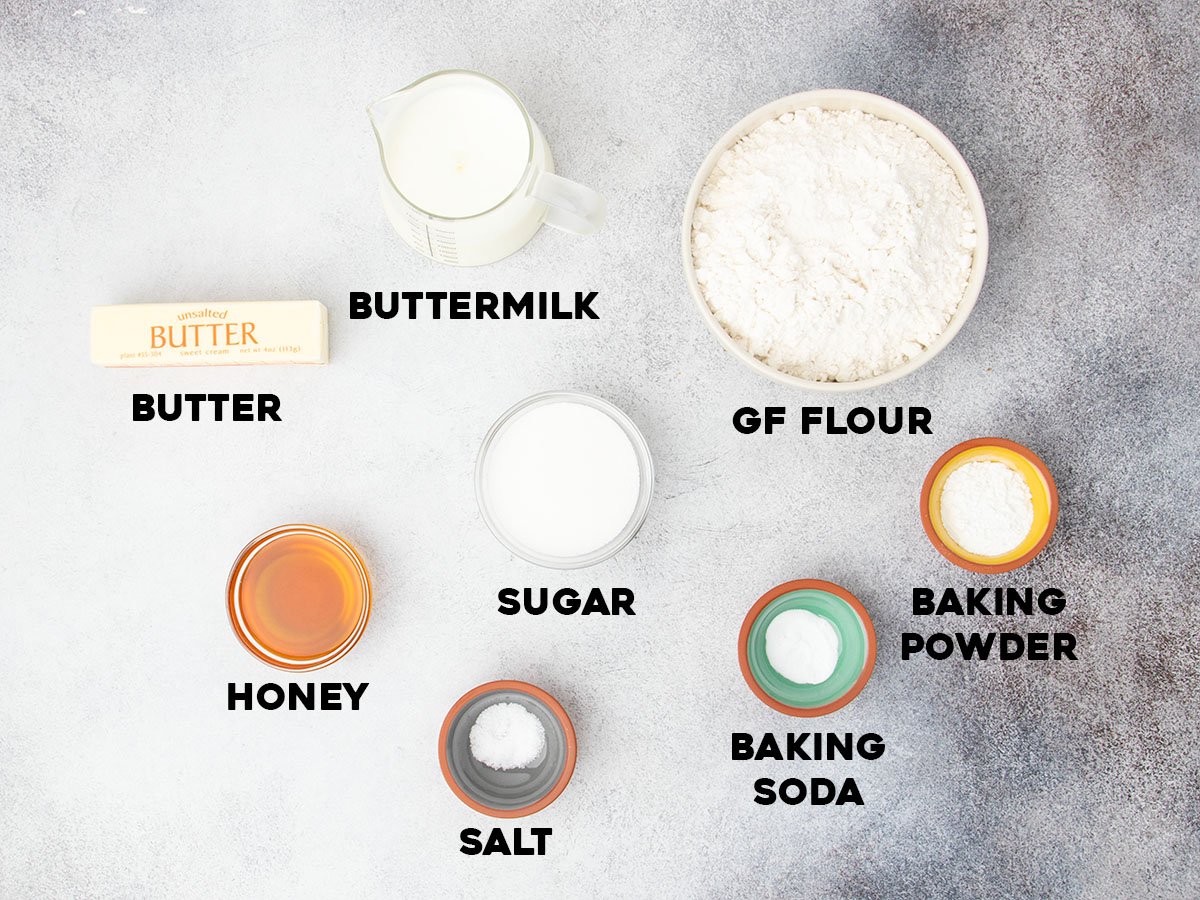
To make these scones, you’ll need just a few basic ingredients, plus any dry mix-ins you’d like to add.
- Gluten free flour blend: A properly balanced combination of flours, starting with finely ground and sifted rice flour, provides most of the structure for the scones. My favorite blends are Better Batter's original blend and Nicole's Best multipurpose with added xanthan gum. Bob's Red Mill 1-to-1 gluten free flour in the blue bag should also work, but in a simple recipe like this it can add an unwanted aftertaste.
- Xanthan gum: Even if your blend contains it, add a bit more for a taller, more stable rise that holds even as the pastries cool. This is instead of using eggs, which alter the flavor and introduce another allergen.
- Leaveners & salt: Baking powder, baking soda, and salt work together to lift the dough, brown the tops, and balance the flavor.
- Granulated sugar: Adds sweetness and keeps the crumb soft by locking in moisture.
- Butter: Adds rich flavor and helps create crisp edges. Cold butter pieces expand in the heat of the oven, pushing apart the dough and creating flaky layers.
- Buttermilk: Moistens and binds the dough. The acid in it helps activate the baking powder for a higher rise, and the gentle tang adds flavor.
- Honey: Contributes moisture, sweetness, and a hint of depth.
How to make gluten free scones (step by step photos)
Here’s an overview for making the perfect batch of these gluten free scones, with an explanation of the reasoning behind each step:
1. Whisk the dry ingredients
In a large bowl, whisk together the flour blend, xanthan gum, baking powder, baking soda, salt, and sugar. This prevents bitter clumps of leaveners or xanthan gum and ensures an even rise.
2. Add the butter
Add cold, chopped butter, toss to coat, and flatten each piece into shards between your fingers. This keeps the butter pieces large enough to stay cold but still small enough to stay trapped between layers of dough, so the steam doesn't escape but pushes the layers up.
3. Add any dry mix-ins
Mix in your dry add-ins, like chocolate chips or dried fruit, if using to keep them evenly distributed throughout the dough without overworking it.
4. Mix in liquids and chill the dough
Pour in the buttermilk and honey, and stir until a thick dough forms. Shape it into a rough disk, wrap in plastic, and chill for at least 15 minutes. This gives the flours time to hydrate and absorb moisture, and any of the butter that started to melt too early a chance to resolidify.


5. Laminate the dough
Lightly flour the chilled dough to prevent the rolling pin from sticking, and roll it into a rough rectangle about 1/4-inch thick. Fold it in thirds like a letter to create multiplying layers of flaky dough.
6. Create a round
Fold in the sides of the rectangle to create a square, then press in the corners to create a round. Roll the dough into a round about 8 inches across using your hands and rolling pin. This adds more layers of dough and sets the dough up to be sliced into 8 triangles with sharp edges and a rounded base.


3. Cut and chill
Slice the round into 8 equal triangles using a sharp knife or bench scraper.
Place the pieces on a lined baking sheet about an inch apart, and brush the tops with cream and sprinkle with coarse sugar to help the tops of the scones brown in the oven.
Freeze the shaped scones for about 15 minutes, or until firm, in case the extra handling of the dough has melted any of the pieces of butter.
4. Bake
Bake in a preheated 375°F oven for about 18 minutes, or until puffed, golden brown, and firm to the touch. Let cool slightly before serving warm or at room temperature.


Expert tips
Staying faithful to a few simple techniques make a big difference in how your gluten free scones turn out.
Keep the dough cold
Cold butter helps the scones puff and hold their shape. If the dough gets too warm, the butter melts too early and the scones won’t rise high, since cold butter releases steam that gets trapped in the layers of dough and pushes the dough up into flaky layers.
Fold for better texture
Folding the dough (a light lamination) helps create lift and structure. You’ll get taller scones with a more tender crumb as the large pieces of butter expand in the oven and push out the dough around them.
Cut sharp edges
Use a sharp knife or bench scraper for crisp edges that rise evenly. Avoid dragging or compressing the dough as you slice.
Add extra binder
This is one of the few recipes where I recommend you add more xanthan gum to a blend like Better Batter's classic blend, that already contains a fair amount. The extra binder creates a thicker dough that is less likely to relax outward, and hold its taller rise as the scones cool since xanthan gum doesn't rely on heat to activate and is considered “temperature insensitive.”

Ingredient substitutions
Here’s how to adapt this recipe for dietary needs or if you're missing an ingredient.
Dairy free
Use a block-style vegan butter like Melt or Miyoko’s Creamery. Earth Balance sticks are too soft and melt too fast, so avoid them. For the buttermilk, use 1/2 cup plain nondairy yogurt or sour cream plus 1/2 cup unsweetened nondairy milk. Avoid anything with added flavor or grit, like oat milk. Check that your mix-ins are also dairy free.
Honey
Lyle’s Golden Syrup or light corn syrup both work well. Maple syrup adds too much moisture, but you might get away with using 2 tablespoons instead of 3.
Xanthan gum
This recipe uses a bit more xanthan gum for structure and rise. If your flour blend doesn’t include any, try using konjac powder (glucomannan) instead in equal measure, or another substitute for xanthan gum.
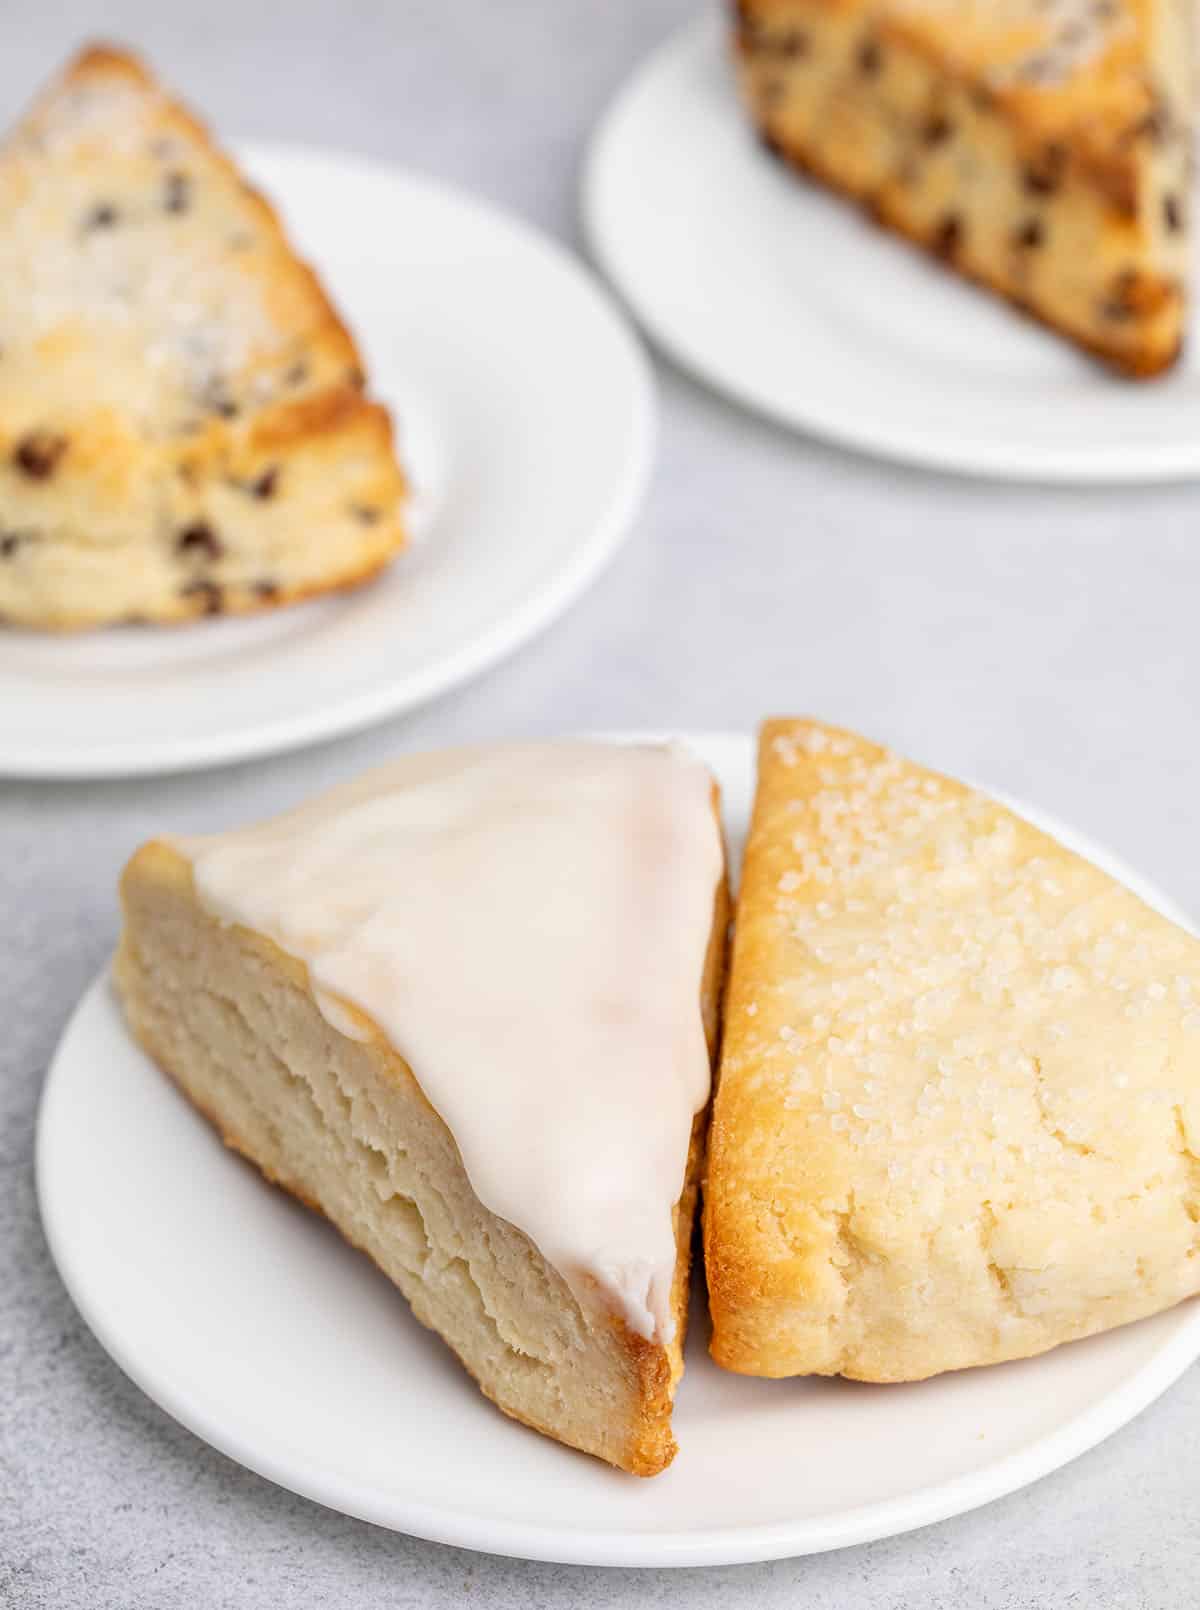
Flavor variations
This master gluten free scone recipe is best with dried mix-ins or small add-ins like chocolate chips. For fresh or frozen berries, use my gluten free blueberry scones recipe instead.
Here are a few simple combinations to try:
Chocolate chip or chocolate berry – Use 1 cup of chocolate chips, or half chips and half dried berries like cranberries or cherries.
Lemon – Add 1 to 2 teaspoons finely grated lemon zest to the dry ingredients. Replace 2 to 3 tablespoons of buttermilk with fresh lemon juice. Optional: drizzle cooled scones with lemon glaze (powdered sugar + lemon juice).
Orange cranberry – Add 1 to 2 teaspoons orange zest to the dry mix and stir in dried sweetened cranberries. Replace some of the buttermilk with orange juice for more flavor.
Peanut butter chocolate – Use half peanut butter chips and half chocolate chips as mix-ins. You can also swap 1 tablespoon of the flour with powdered peanut butter for a stronger flavor.

Storage & make ahead tips
Store baked scones in an airtight container at room temperature for up to 2 days. For longer storage, freeze them tightly wrapped for up to 3 months. Defrost at room temperature, or warm in a 300°F toaster oven.
You can also freeze the raw, shaped scones. Bake them straight from frozen; just increase the oven temperature to 400°F for the first 5 minutes, then reduce to 375°F to finish baking.
Gluten Free Scones Recipe
Ingredients
- 3 cups (420 g) all purpose gluten free flour blend, (See Recipe Notes for recommendations), plus more for sprinkling
- 1 ½ teaspoons xanthan gum, if your blend already contains it, add only 3/4 teaspoon more (See Recipe Notes)
- 3 teaspoons baking powder
- ½ teaspoon baking soda
- ½ teaspoon kosher salt
- ⅜ cup (75 g) granulated sugar
- 8 tablespoons (112 g) unsalted butter, very cold
- 1 cup mix-ins, See Recipe Notes
- 1 cup (8 fluid ounces) buttermilk, very cold
- 3 tablespoons (63 g) honey
- Cream, for brushing (optional)
- Coarse sugar, for sprinkling (optional)
Instructions
- Preheat your oven to 375°F. Line a rimmed baking sheet with parchment paper and set it aside.
- In a large mixing bowl, whisk together the flour blend, xanthan gum, baking powder, baking soda, salt, and sugar.
- Add the cold, diced butter and toss to coat. Flatten each piece between your fingers to create thin shards.
- Stir in your mix-ins, if using. Pour the cold buttermilk and honey into the center and mix until a thick, stiff dough forms.
- If any dry spots remain, sprinkle in a bit of cold water just to moisten them.
- Press the dough into a rough disk, wrap it tightly in plastic wrap, and chill for at least 15 minutes (30 is better).
- Lightly flour a flat surface. Unwrap the dough, place it on the surface, and dust the top with more flour.
- Roll the dough into a rough rectangle about 1/4-inch thick. Fold it in thirds like a letter, then again into a square.
- Shape the dough into a round about 8 inches across using your hands and a rolling pin.
- Use a sharp knife or bench scraper to cut the round into 8 triangles.
- Place the scones on the prepared baking sheet about 1 inch apart. Brush the tops with cream and sprinkle with coarse sugar, if using.
- Freeze the shaped scones on the baking sheet for about 15 minutes, or until firm.
- Bake for about 18 minutes, or until puffed, golden brown, and set in the center. Let cool briefly before serving.
Tell Google you trust GFOAS!
Notes
Nutrition
Nutrition information is automatically calculated, so should only be used as an approximation.
FAQs
Not in this one. Fresh or frozen berries release too much moisture—use my gluten free blueberry scones recipe instead, which is designed just for that.
You may have added too much liquid or not enough flour. Be sure to measure your dry ingredients by weight—not volume—for accuracy.
That can happen if the dough was too warm, overhandled, or if you used wet mix-ins. Make sure the dough is cold and your mix-ins are dry and self-contained (like chocolate chips or dried fruit).
Yes! You can shape the dough and freeze the scones raw, then bake straight from frozen—just start at 400°F for the first 5 minutes, then reduce to 375°F to finish.
They may have been overbaked or had too much flour. Always measure your ingredients by weight and remove the scones from the oven as soon as they're golden and set.











Thanks, Nicole, for this recipe. Newly gluten free, and trying to learn more about cooking this way. My niece in Scotland makes the most delicious, light scones, but not gluten free. I love them, and I’m anxious to try this recipe. It looks delicious.
You’re very welcome, Kathy! No reason you shouldn’t have what she has. :)
Scottish scones are much more like American biscuits… just usually served with jam (preserves in American English!) and cream, instead of gravy. I don’t think American scones have an equivalent in the UK (or Australia… which is actually where I’m from, but of mostly Scottish extraction!) :-)
How much arrowroot do I use in place of corn starch?
Try an equal amount, by weight, Celeste.
Dear Nicole! I’m wondering if I can replace xantan gum with psyllium husk powder? What do you think??
I’m afraid not, Kasia.
Nicole,
I made these for a friend who purported not to like scones because they’re too dense. She was pleasantly surprised! She’d never tasted a scone so light and delicious before. (Of course, I directed her to your recipe!)
These are absolutely amazing, tender and soft in the centre and easy to cut open and spread on some butter. I made lemon and white chocolate chips, I didn’t have milk powder so I used 1/3 cup dry vanilla pudding mix. Thanks Nicole for your wonderful recipes.
So glad you enjoyed them, Kim! And that’s an interesting swap. Glad it worked out!
To nicole, thankyou for your delicious recipes, hope all your family is safe and well. I have celiacs and many other allergies and autoimmune issues. your recipes have been wonderful to make in this disaster year of the unknown. Keep your wonderful way, stay safe be well..KEEP COOKING AND BAKING!! thankyou.
Thank you so much for the kind note, Antoinette! I don’t think it’s being dramatic to refer to 2020 so far as “this disaster year of the unknown.” It really has been! But we’ll get through it, as we have no choice, right?
I’m going to make these delicious looking scones this afternoon but I have a question about buttermilk vs non-cultured milk. Does the acid in the buttermilk help leaven the scones? If I use non-cultured milk, should I add a tsp or so of lemon juice or vinegar?
Hi, Jill, this recipe in particular doesn’t call for buttermilk, actually. It calls for water. So you should be all set! In general, though, I do not recommend “souring” milk with an acid. That absolutely won’t recreate the texture and taste of buttermilk. I will typically mention this in any recipe that actually calls for buttermilk, but if you don’t actually have buttermilk, you can replace it with half (by volume) plain regular yogurt and half (by remaining volume) milk.
These look amazing, Nicole! Unbelievable how rude some of your commenters can be…
Unfortunately the internet has allowed people the ability to be anonymously rude in a way they never would in person. Hopefully, anyway.
Way to let that crap roll off your back.
Thanks, CJ. :) As a woman, I do run the risk of being called some awful things for pushing back, but I’ve come to believe that my silence in the face of cruelty for the sake of it is inappropriate. I think it sends the wrong message, and I wouldn’t want my children to behave that way, so neither should I!
I was afraid to bake gluten free then I found your site Love the recipes and the videos really help me not to fear baking you make this easy for people like me thank u so much for what u do Sharon Kline
I’m so glad you feel more confident now, Sharon!
Scones need to be at the very least 2″ thick to be able to halve them and dollop them with strawberry jam and cream, these look like biscuits (as we call them in the UK) – flat and crunchy. Don’t think these will be lovely and soft inside, they look incredibly hard and dense, sadly.
They’re not flat and crunchy, Bev. They are, in fact, lovely and soft inside. I’m honestly not sure what else to say in response, so I’ll leave it there.