
This post may contain affiliate links. Please read our disclosure policy.
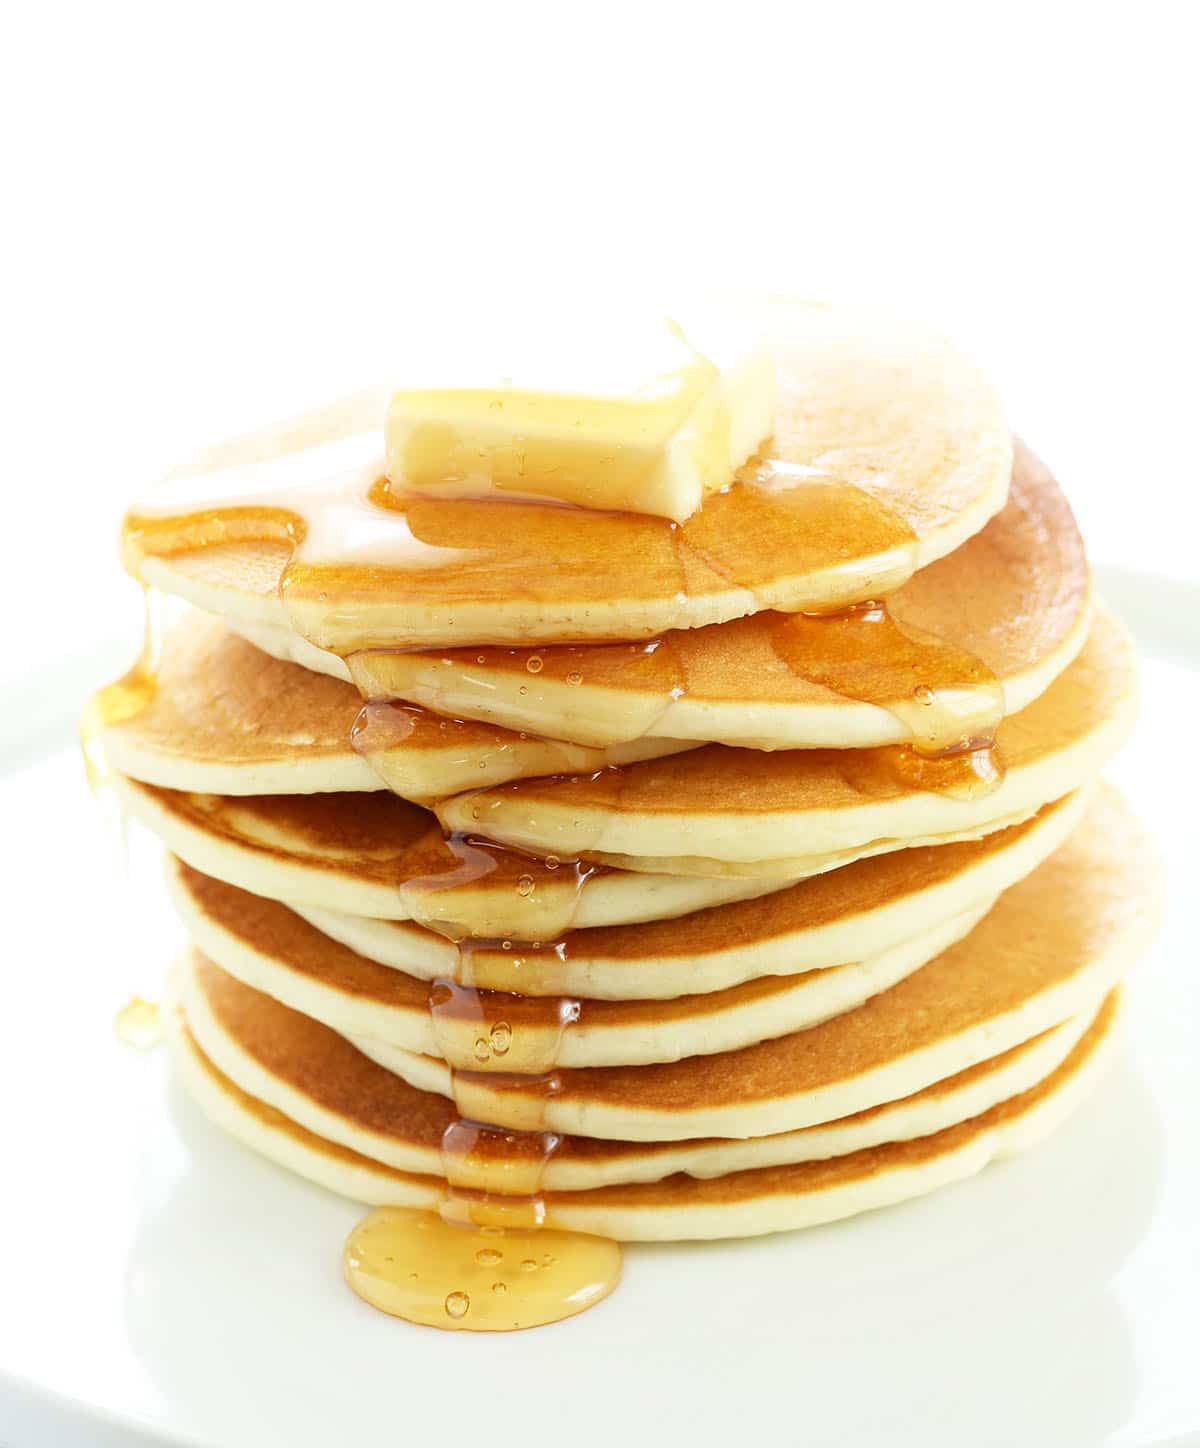
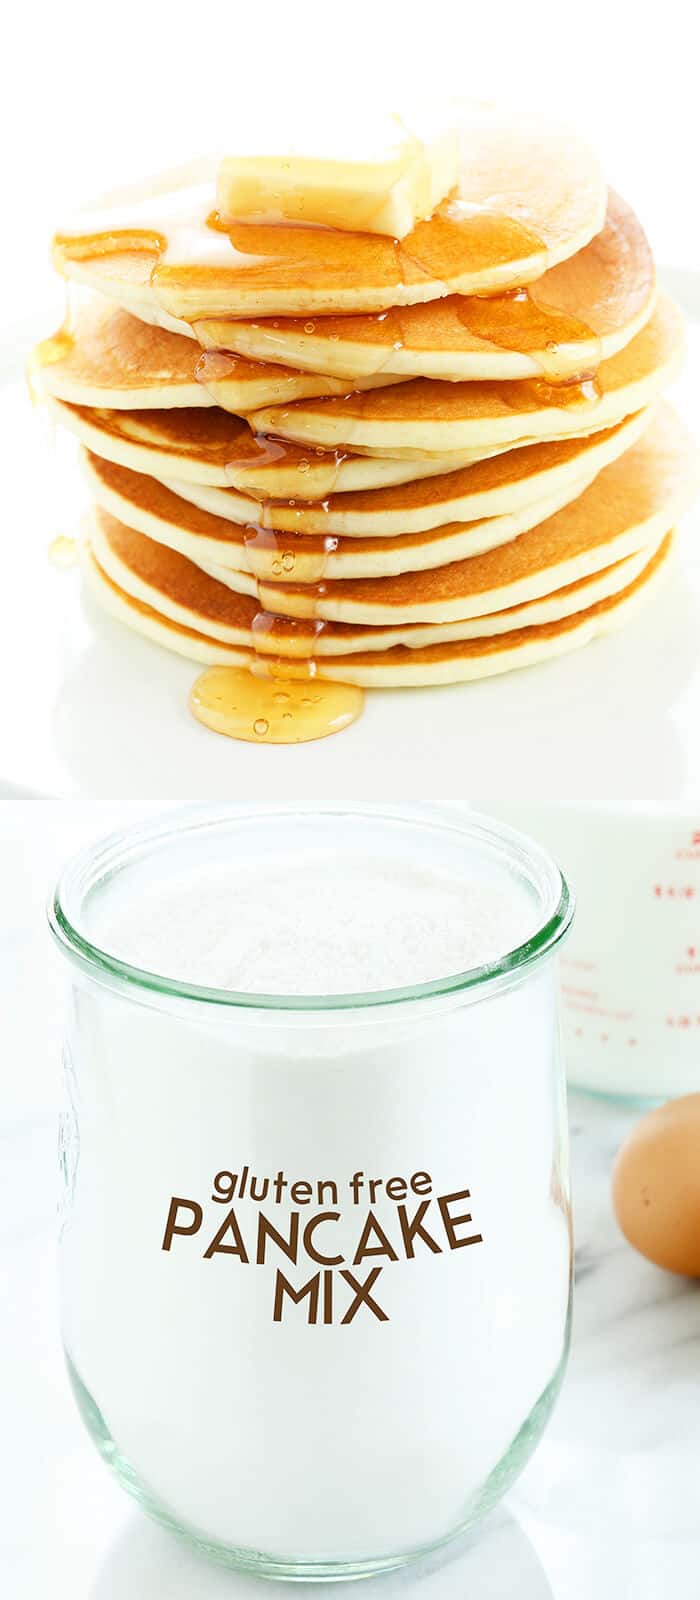
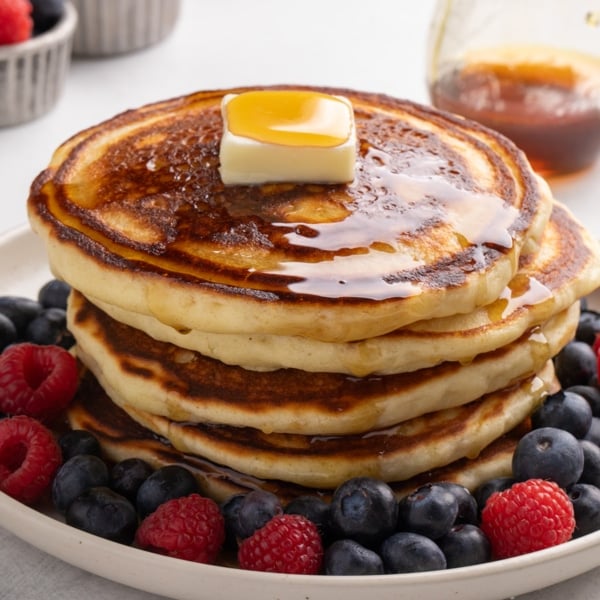
These gluten free pancakes are light, tender, and fluffy – just like the classic kind you remember. They cook up golden brown every time and make an easy, crowd-pleasing breakfast that’s ready in minutes.
We start with a simple, shelf-stable gluten free Bisquick-style mix that you can make ahead and keep on hand. From there, all you add is milk and an egg for classic pancakes any time!
“These turned out really nice, fluffy and tender. I haven’t had pancakes in over 10-years, now I can again, thank you!”
Why this recipe works
These gluten-free pancakes are fluffy and tender, with just the texture you expect from a perfect pancake stack. The batter stays easy to pour, thanks to minimal (or no) xanthan gum, so there’s no rush to cook once you've mixed it.
You can even prep the dry mix ahead of time and keep it on hand for a fast from-scratch breakfast—just add milk and eggs when you’re ready for pancakes. It's also ready to add to baked recipes anywhere you’d reach for Bisquick, like our gluten free breakfast casserole.
And if you’d like to experiment, you can make both these standard pancakes and thicker, diner-style gluten free buttermilk pancakes by doubling the dry mix and dividing it between two bowls (235 grams of dry mix each).
Key ingredients explained
Pancakes don't call for too many ingredients, which only makes each one more important. Here's a bit about the important role each one plays in a successful result:
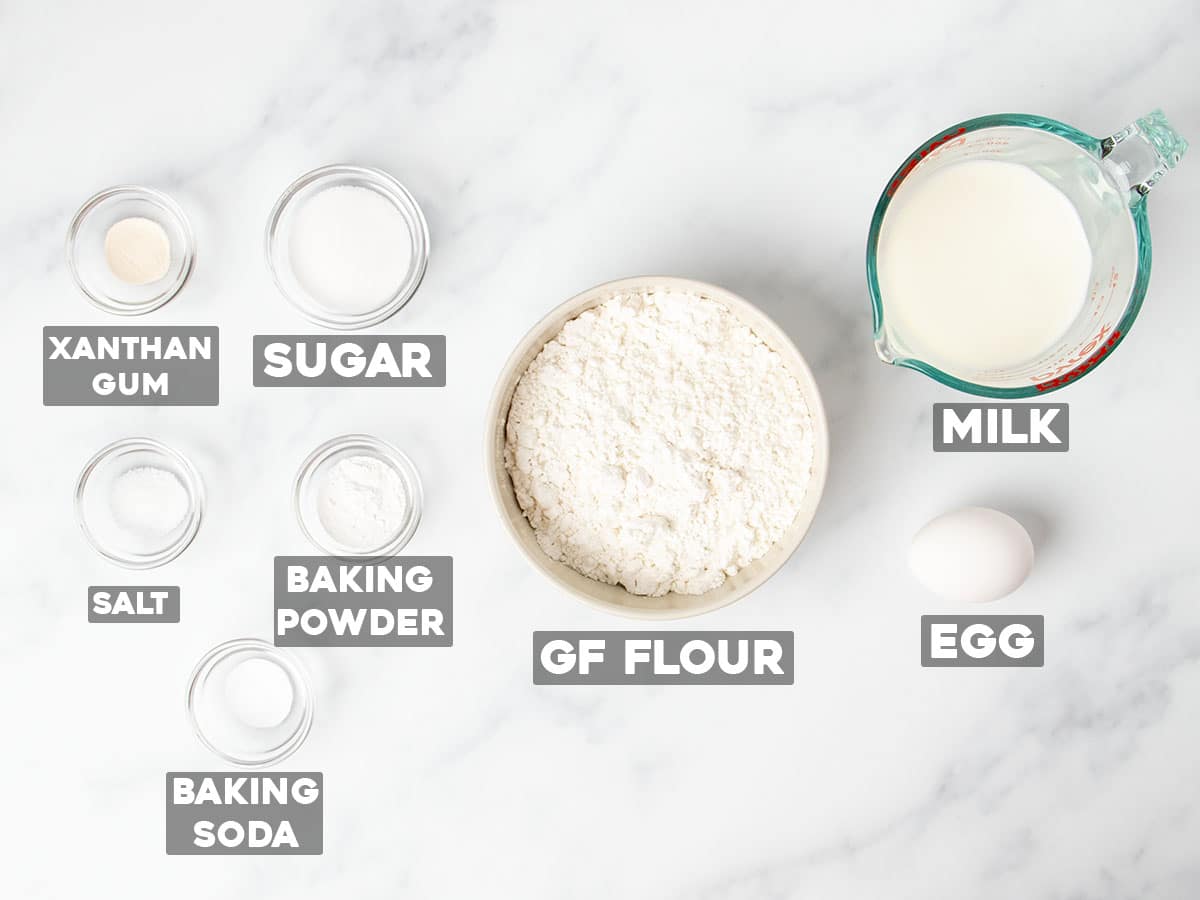
- Gluten free flour – Use a well-balanced gum-free blend for the best texture. You can make our gum-free gluten free blend from superfine rice flour, potato starch, and tapioca starch—or use Nicole's Best, which doesn't contain any gums. Bob's Red Mill 1-to-1 gluten free blend, which contains much less gum than most brands, also works reasonably well. Blends with too much xanthan gum, like Better Batter's classic blend, can make the batter difficult to pour and the pancakes gummy.
- Xanthan gum (optional) – A tiny amount helps prevent flat pancakes and frilly edges, but you can leave it out.
- Baking powder & baking soda – These leaveners give pancakes their lift and golden color.
- Salt – Brightens all the other flavors.
- Granulated sugar – Adds a touch of sweetness and keeps the crumb soft.
- Milk – Any kind works to bring the mixture together and add moisture, but skip nonfat milk—fat helps keep the pancakes tender.
- Egg – Provides structure to hold the pancakes together as they cool, and lightness to give them dimension.
Step by step visual directions
The full instructions are in the recipe card below, but these instructions explain the reason behind each step, with visuals to help you make them in your own kitchen:
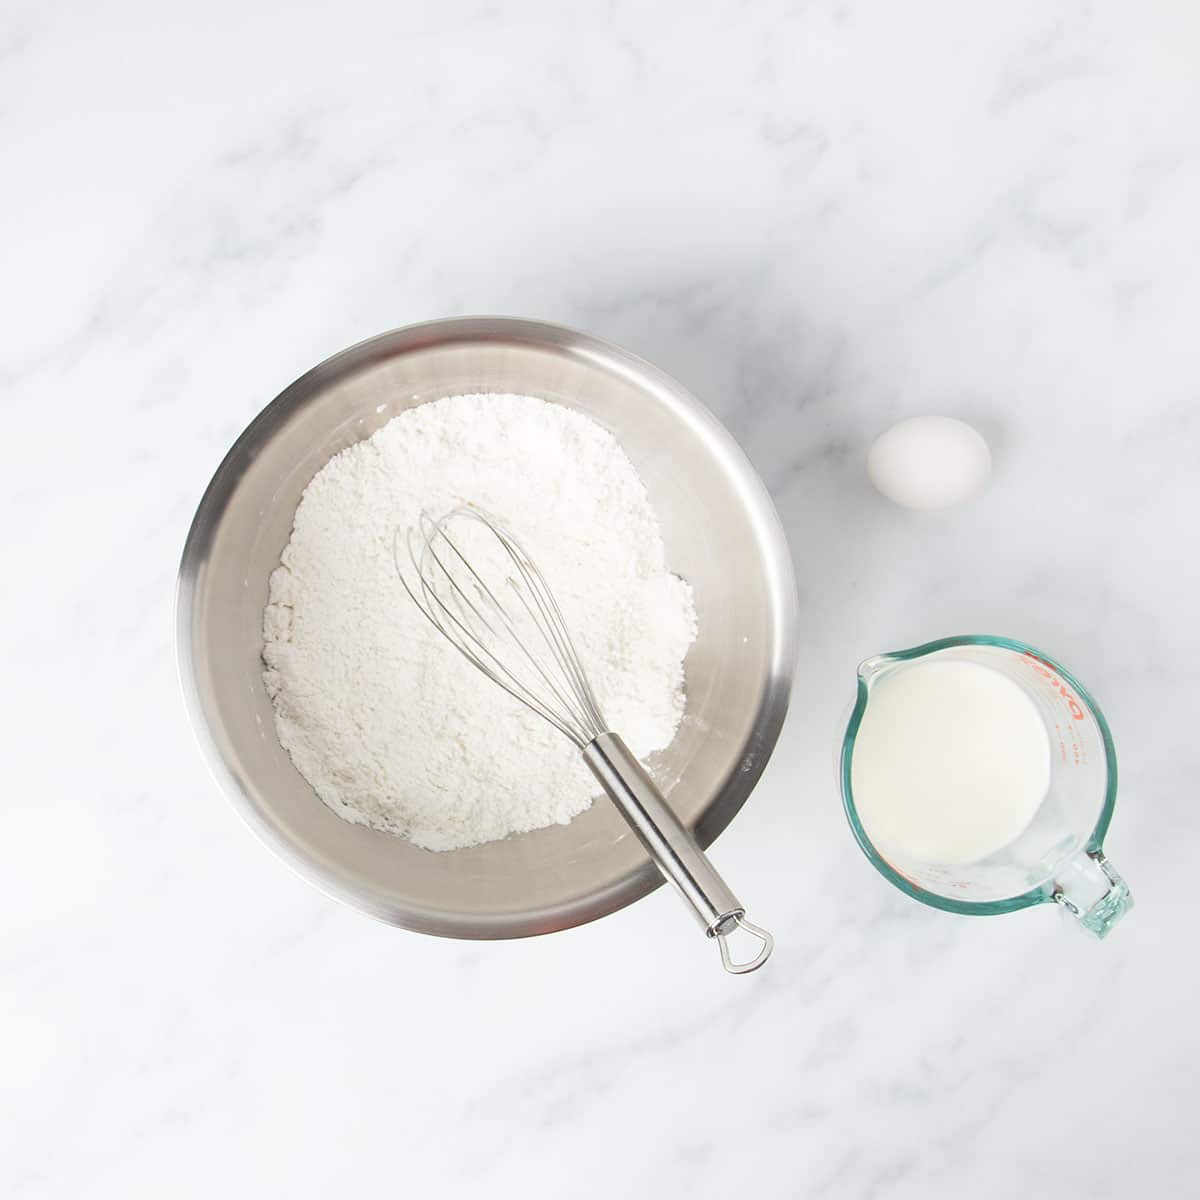
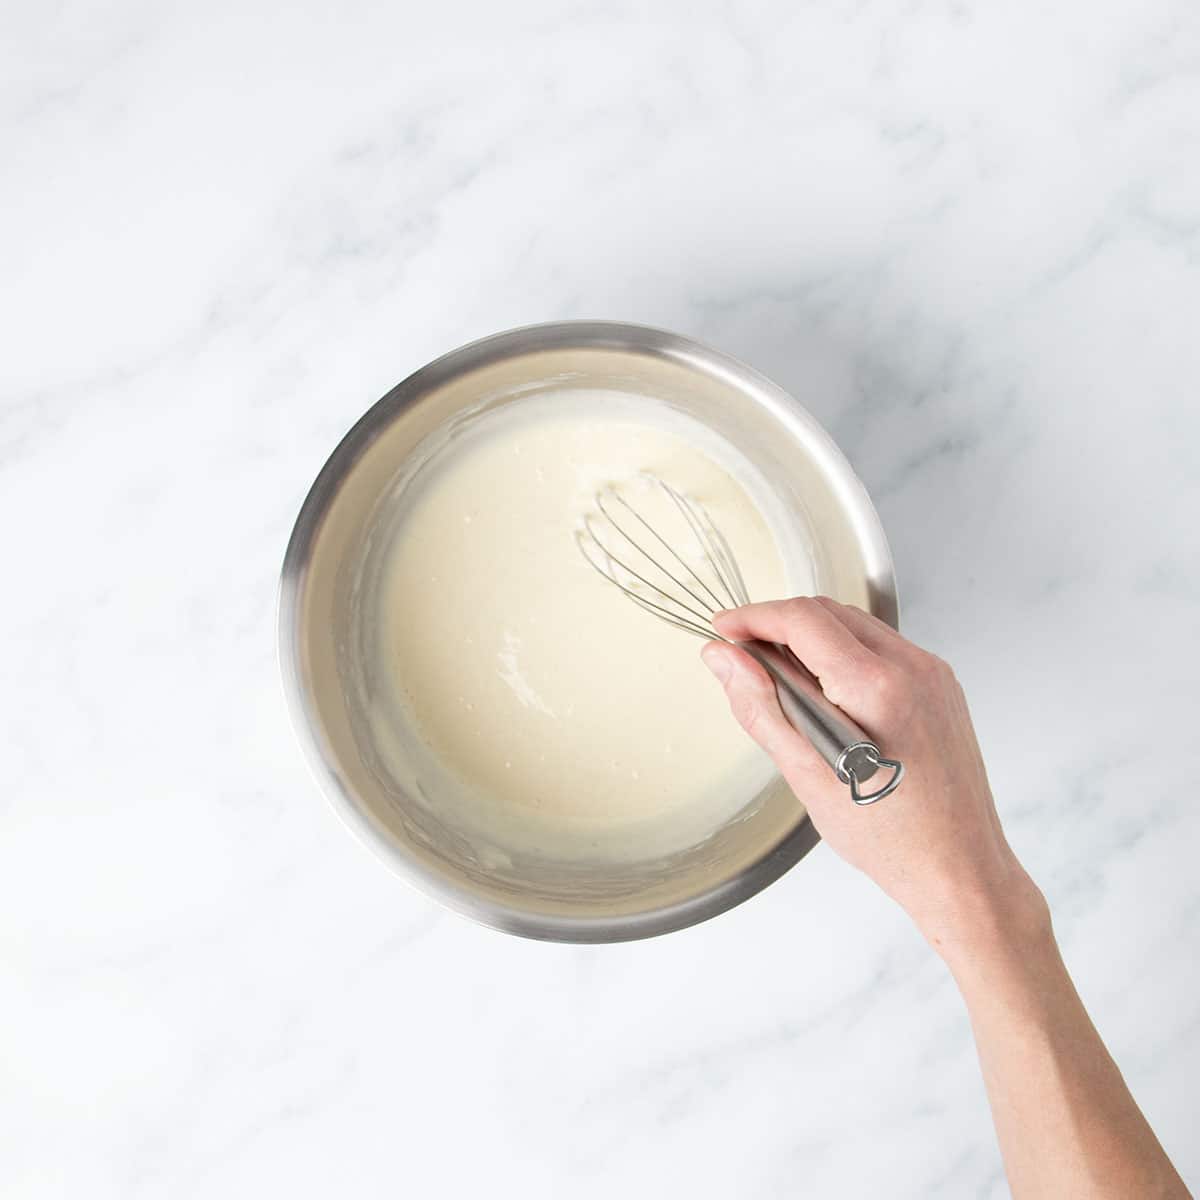
1. Whisk the dry ingredients – In a large bowl, whisk together the flour blend, baking powder, baking soda, salt, sugar, and xanthan gum (if using). Whisk well the make sure that each ingredient is evenly distributed throughout the batter, with no clumping of leaveners to create uneven pancakes.
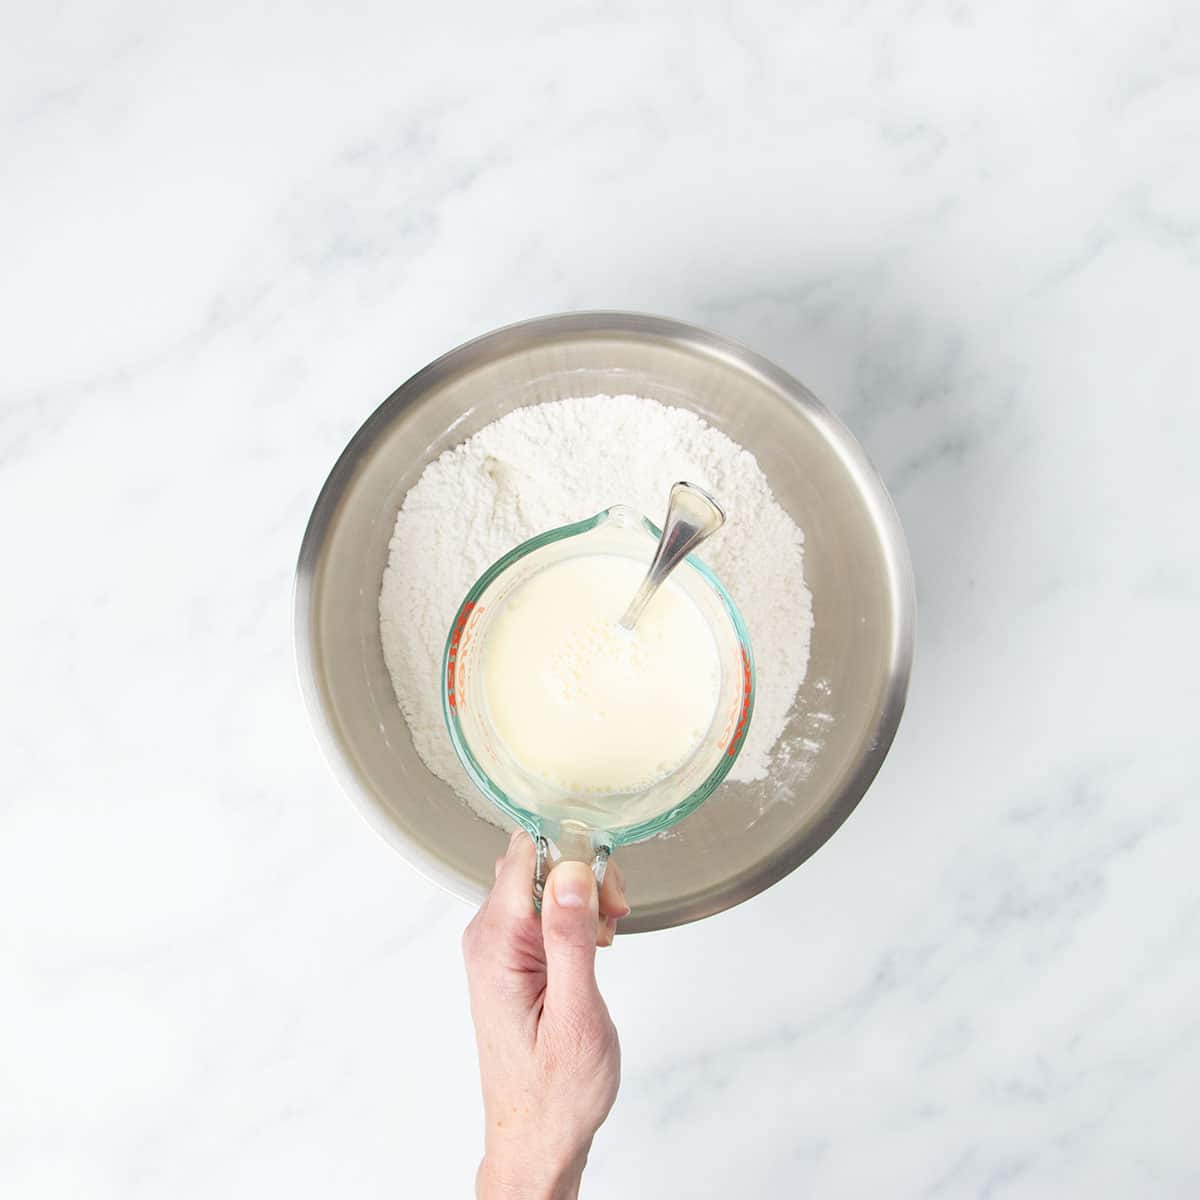
2. Mix the wet ingredients – In a separate bowl or measuring cup, whisk together the milk and egg to ensure that the egg is beaten thoroughly for a smooth batter.
3. Combine and mix – Pour the wet ingredients into the dry and whisk until smooth. The batter will thicken slightly as it rests, but it should settle and not continue to thicken as you pour, unlike if we had used a flour blend with too much xanthan gum.

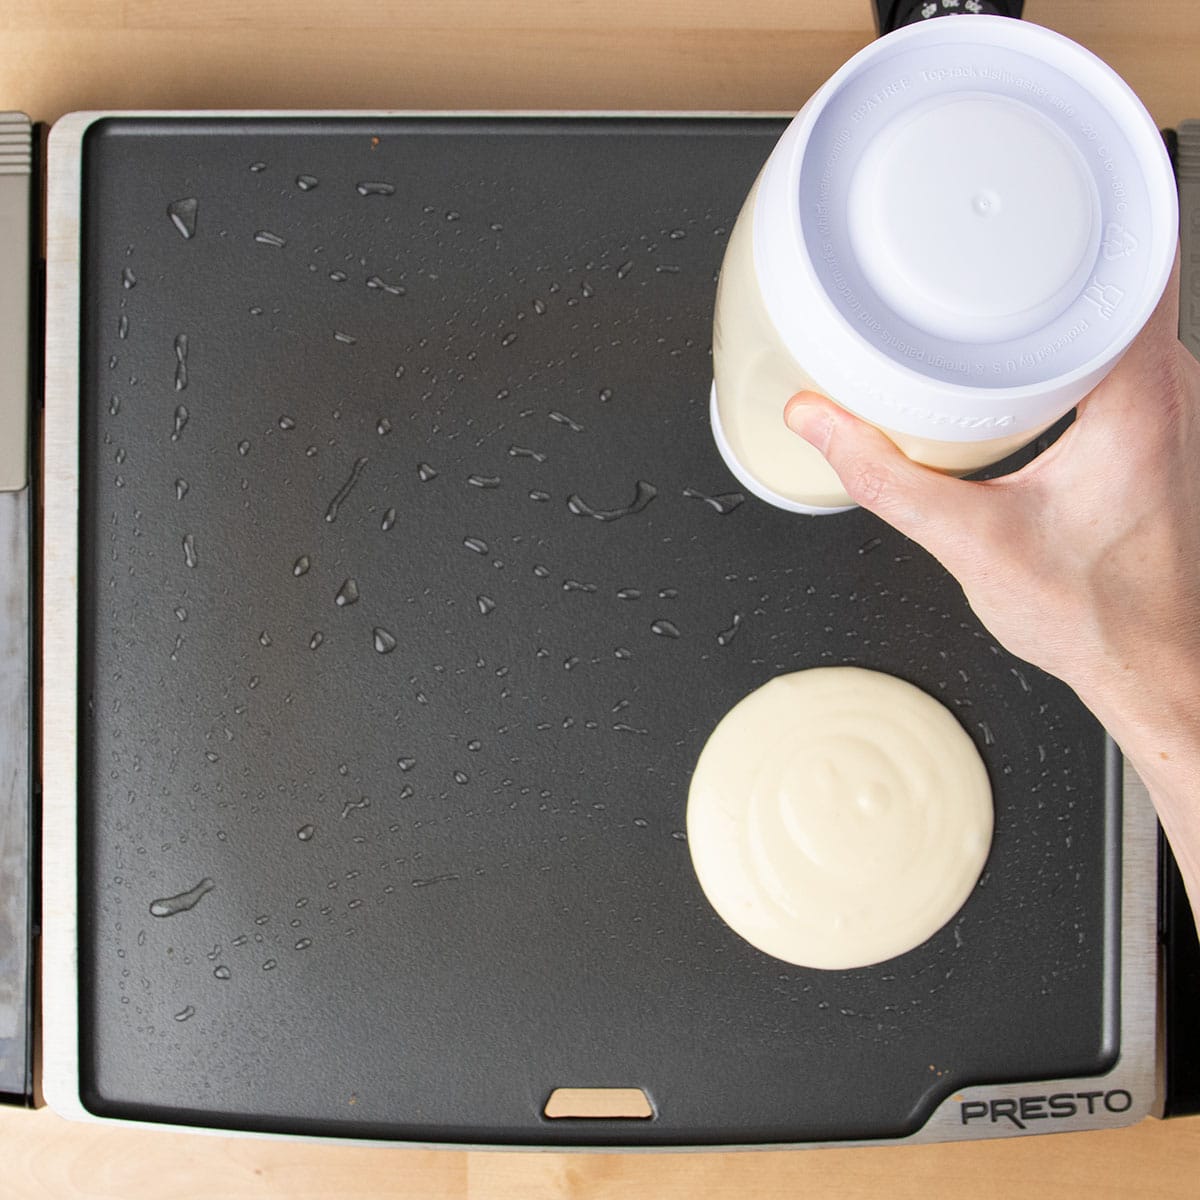
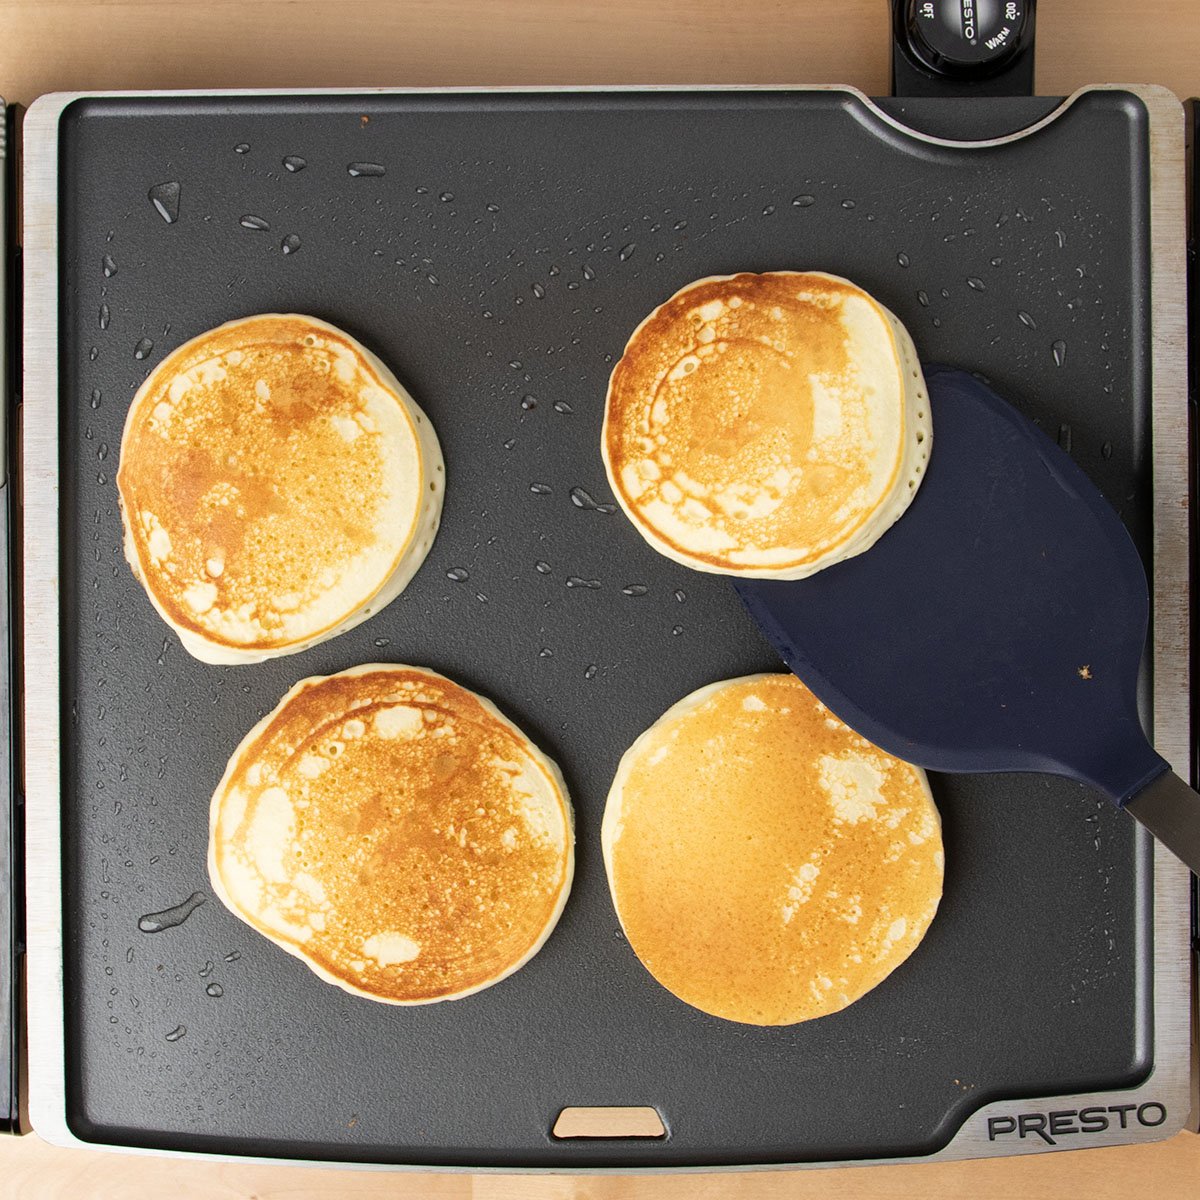
4. Preheat your pan – Heat a nonstick griddle or skillet over medium heat and lightly grease it. You want the pancake batter to begin to cook right away on a hot pan, or it will either soak up the grease or stick to the surface.
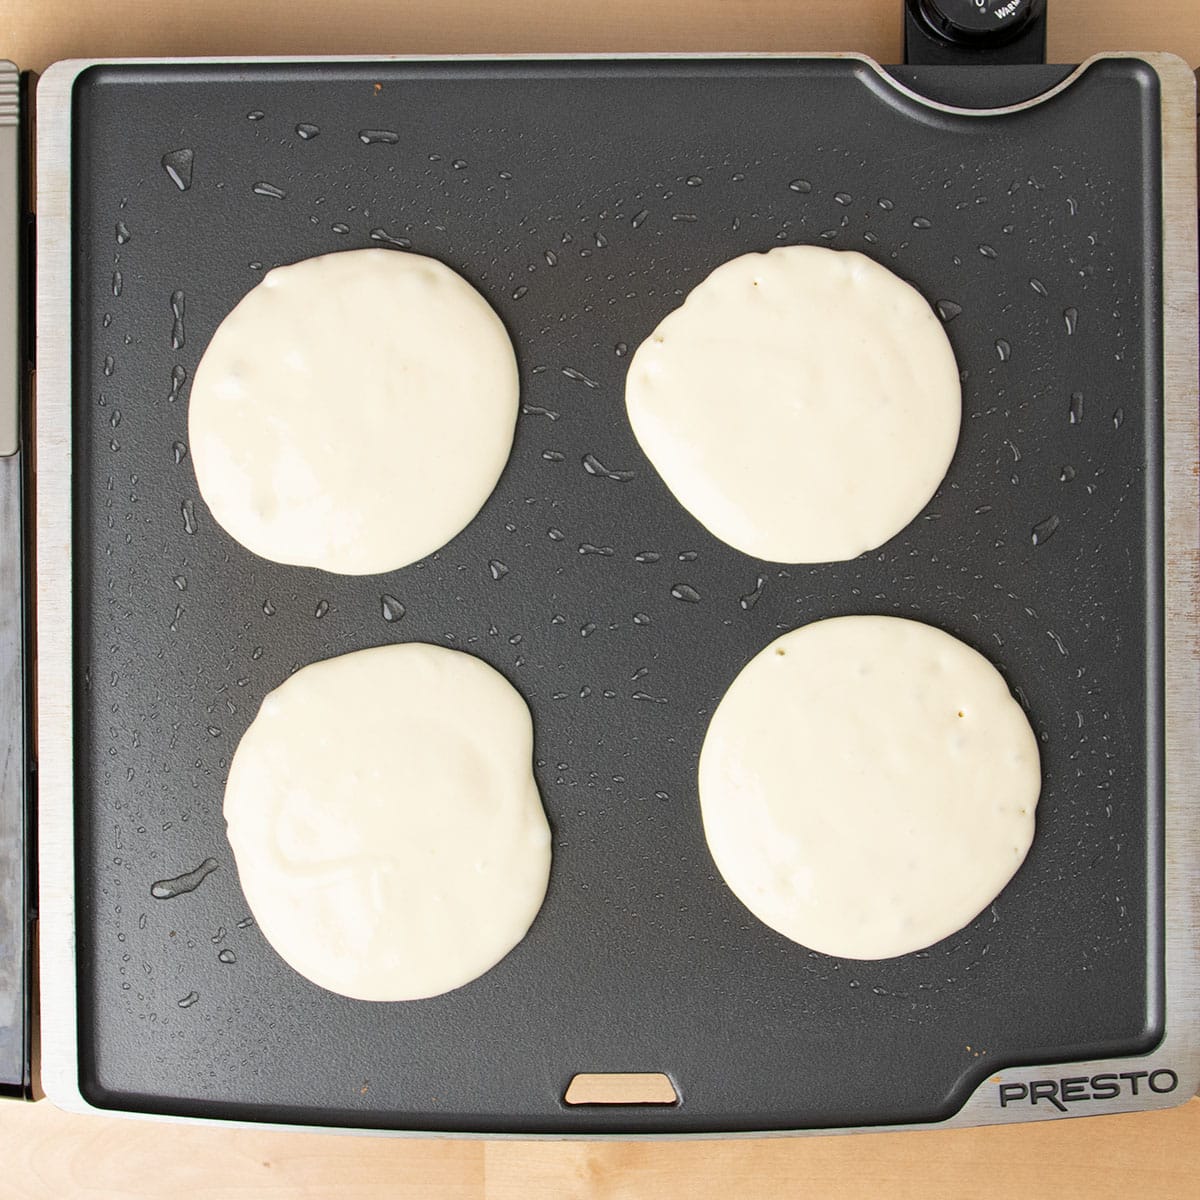
5. Portion and cook – Scoop about 1/4 cup of batter for each pancake to keep the pancakes uniform in size. Let cook until you see bubbles break through the top and the edges are cooked, or the batter will be too loose to flip.
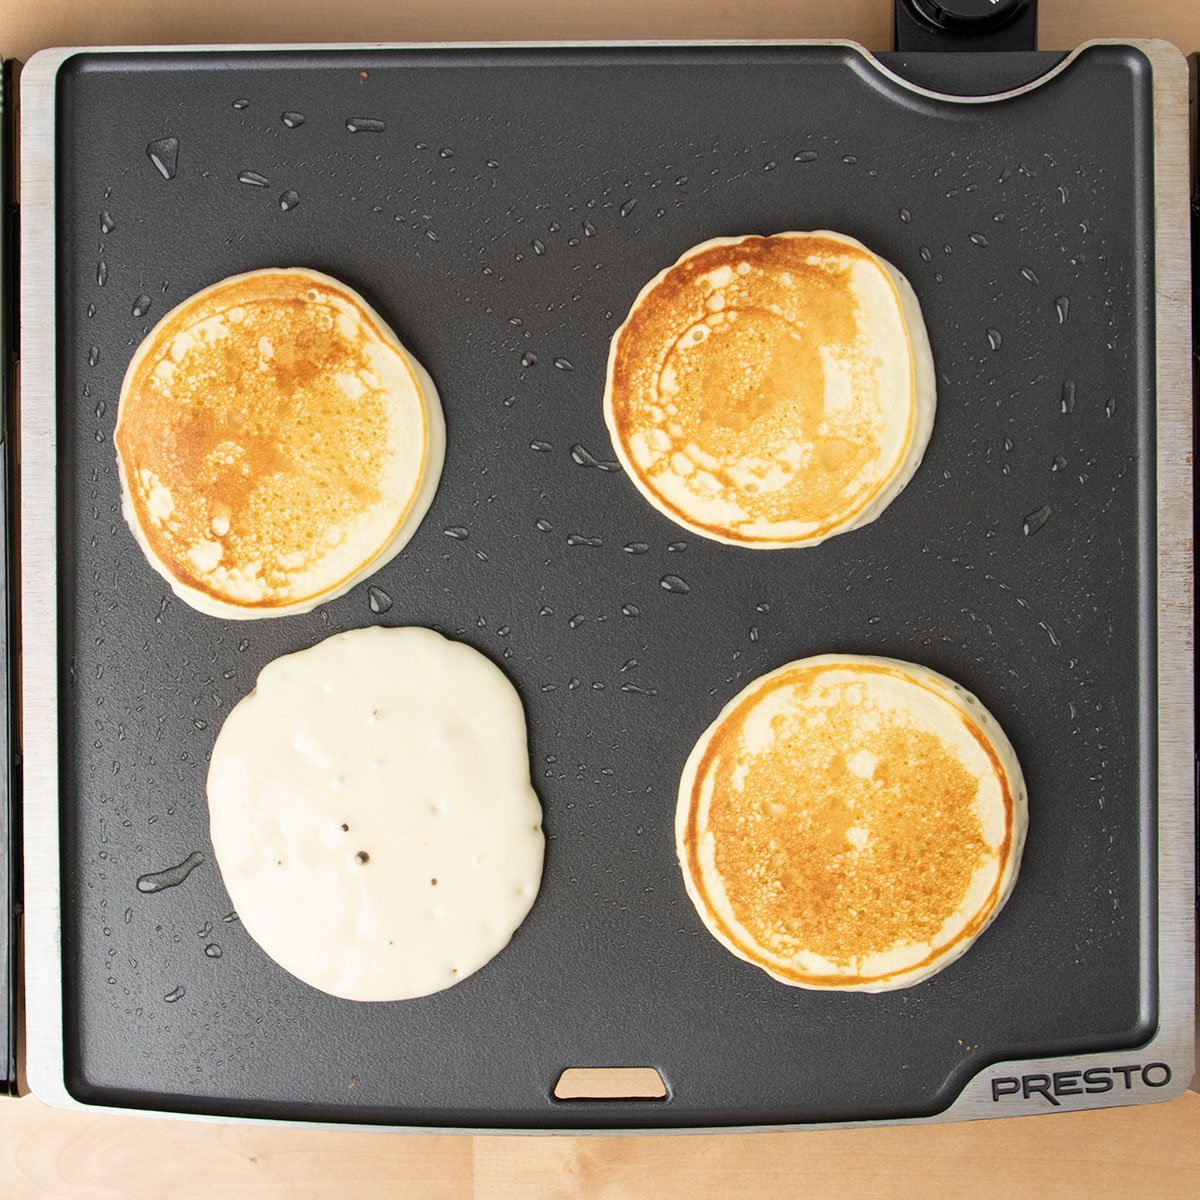
6. Flip and finish – Flip the pancakes only when they're ready, and cook the second side until golden brown. Flip back and forth a few times, as necessary to ensure the pancake has tons of flavor from proper browning. Serve warm.

Expert tips
Avoid blends with too much xanthan gum
Most pre-mixed gluten free flour blends like Better Batter can contain too much gum, which makes the batter overly thick and the pancakes gummy. Bob's Red Mill 1-to-1 has too little gum for most purposes, but here it's just right.
With higher concentrations of xanthan gum, the pancake batter would continue to thicken as it stands, and you'd have to work very quickly or continually whisk in more milk to the batter to keep it pourable.
Use just a touch of xanthan gum
Adding ¼ teaspoon to your gum-free blend creates a smooth, non-runny batter and pancakes that hold their shape without feathering at the edges. Xanthan gum absorbs a lot of moisture, so if you leave it out, reduce the milk to by 1/4 cup to 1 cup (8 fluid ounces).
Choose a nonstick surface
The ideal surface for creating evenly browned pancakes is a lightly greased nonstick pan or griddle. If your surface isn’t nonstick, you'll need more oil or butter, and the pancakes will fry instead of cooking evenly.
For taller pancakes
For extra-fluffy pancakes, use real buttermilk instead of milk, another egg, and some melted butter in the batter. For full ingredient amounts and instructions, please see our gluten free buttermilk pancakes recipe.
Ingredient substitutions
Dairy free – Replace cow’s milk with your favorite unsweetened, unflavored non-dairy milk, but be sure it has a similar consistency to cow's milk. Unsweetened coconut milk in the carton works especially well.
Egg free – Try a chia egg, “Just Egg” brand (refrigerated), or Bob’s Red Mill egg replacer.
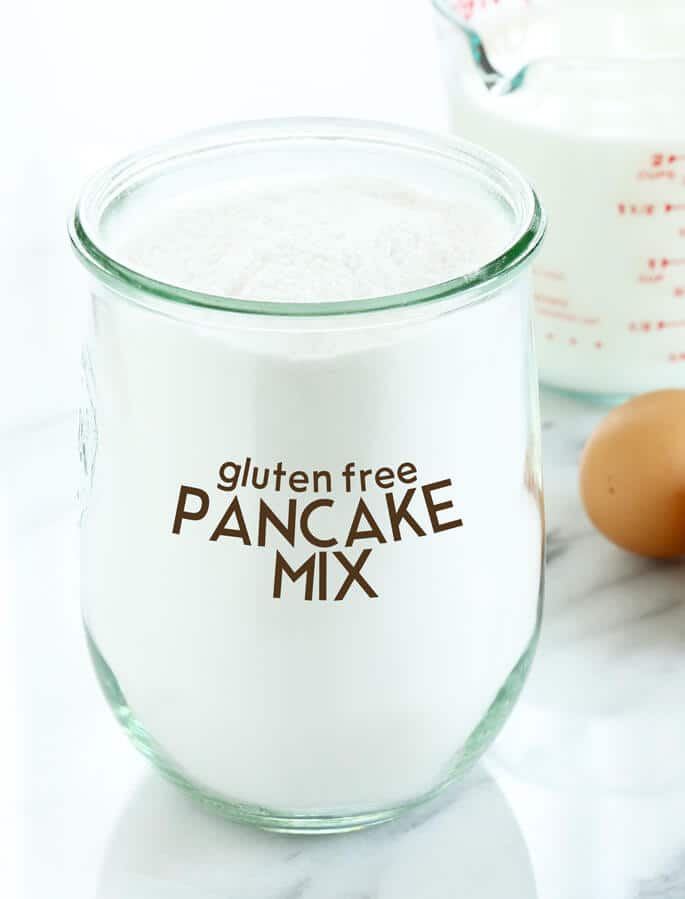
How to make a shelf-stable dry mix
The dry mix in this recipe makes 235 grams (about 1 ½ cups + 3 tablespoons by volume). Multiply it by 2, 3, or 4 to make a larger batch:
- Whisk all dry ingredients together thoroughly in a large bowl.
- Store in a sealed container in a cool, dry pantry for up to 3 months—or freeze for longer storage.
When you're ready to make pancakes, measure out 235 grams of the mix, add the wet ingredients, and cook as directed.
Gluten Free Pancakes Recipe

Ingredients
For the dry mix
- 1 ½ cups (210 g) gum-free gluten free flour blend, (140 grams superfine white rice flour + 45 grams potato starch + 25 grams tapioca starch/flour) (See Recipe Notes)
- ¼ teaspoon xanthan gum, optional (See Recipe Notes)
- 1 ½ teaspoons baking powder
- ¼ teaspoon baking soda
- ½ teaspoon kosher salt
- 2 tablespoons (24 g) granulated sugar, or up to 1/4 cup (50 g) for sweeter pancakes
For pancakes
- 1 (50 g out of shell) egg, at room temperature, beaten
- 1 ¼ cups (10 fluid ounces) milk, at room temperature (See Recipe Notes)
- 1 teaspoon pure vanilla extract, (optional)
- Neutral cooking oil, for greasing
Instructions
Make the dry mix
- In a large bowl, whisk together the flour blend, xanthan gum (if using), baking powder, baking soda, salt, and sugar.
- Use right away to make pancakes, or store in a sealed glass container in a cool, dry place for up to 3 months.
Make pancakes
- In a separate bowl or measuring cup, whisk together the egg, milk, and optional vanilla.
- If you've stored the dry mix separately, place it in a large mixing bowl and whisk to break up any clumps.
- Pour the wet ingredients into the dry, and whisk until smooth. Let the batter sit briefly to thicken slightly.
- Heat a griddle to medium-high or large nonstick omelet pan over medium heat, and grease it lightly.
- Pour or ladle as many pancakes onto the hot griddle or pan as you can fit without crowding, each about 1/4 cup of the batter.
- Allow to cook until bubbles break through the surface of the pancakes and the edges have begun to cook, about 2 minutes.
- Flip and continue to cook for another minute, or until the underside is browned.
- Remove from the griddle or pan and repeat with the remaining batter, greasing the surface lightly before adding each batch. Serve warm.
Video
Notes
Nutrition
Nutrition information is automatically calculated, so should only be used as an approximation.
How to store, freeze & reheat pancakes
Short term – Let pancakes cool completely, then wrap in stacks of 2 or 3. Store in an airtight container in the refrigerator for up to 2 days.
Freezer friendly – Freeze wrapped stacks for up to 3 months. Defrost at room temperature, in the fridge overnight, or briefly in the microwave.
Reheating – Refresh in the toaster or warm oven until heated through. A light sprinkle of water before toasting helps restore moisture.
Dry mix storage – Keep a sealed container of the dry pancake mix in a cool, dark pantry for up to 3 months, or in the freezer for up to 6. Let it come to room temp before using.
FAQs
Check your baking powder and baking soda—they may be expired. These leaveners are what give pancakes their rise.
Your pan is probably too hot. Try reducing the heat slightly and watch for smoking oil or butter as a sign it's overheating.
If your pan isn’t nonstick or isn’t hot enough, pancakes can stick. Use a well-heated nonstick skillet, and grease it lightly even if it’s nonstick.
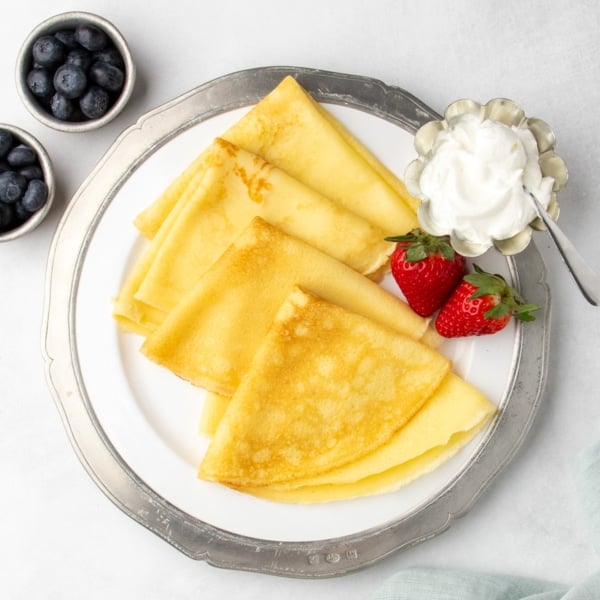
Not quite—waffles need a lighter, crispier batter. Try my gluten free waffles recipe instead.
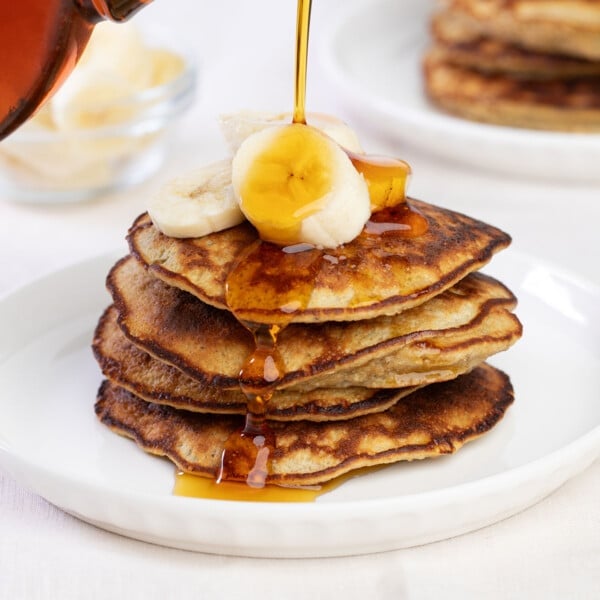


Added a mashed banana, turned out great. Fluffy and golden.
I used bob red mills 1:1 GF flour, no added xanthan gum and also added a sprinkle of cinnamon to the dry ingredients and 1 tsp of vanilla to the wet.
I used buttermilk and 2 eggs as per the recipe and the pancakes turned out so nice and fluffy.
I think a key component is to have all the ingredients at room temperature as stated and to only flip the pancakes once in the pan, without squishing them down.
Thanks for a recipe my kids will consistently ask me to make ?
You’re so welcome, Kendra! Thanks so much for sharing your experience. Yes, whenever a recipe specifies a temperature for ingredients, it’s essential to success!