This post may contain affiliate links. Please read our disclosure policy.
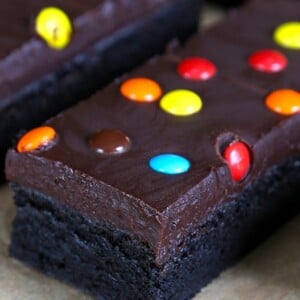
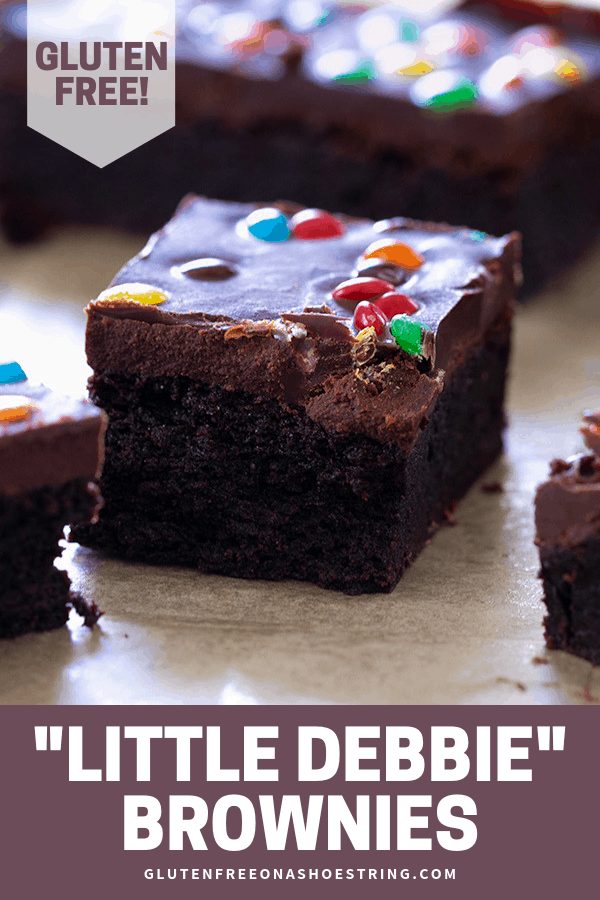
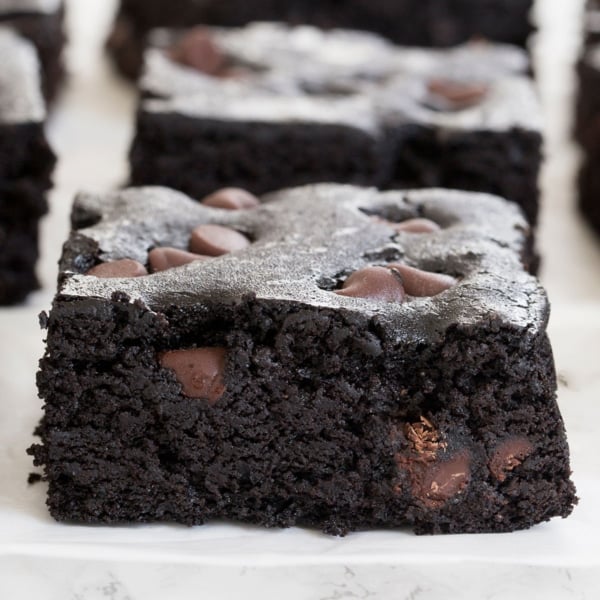
These gluten free “Little Debbie” brownies are just as fudgy and chewy as you remember, and they're made with regular gluten free pantry ingredients. You'll want to make them immediately!
Whether you prefer your brownies fudgy, or cakey, chewy or more tender, rich in chocolate or a bit lighter, Little Debbie brownies seem to hit that sweet spot for everyone.
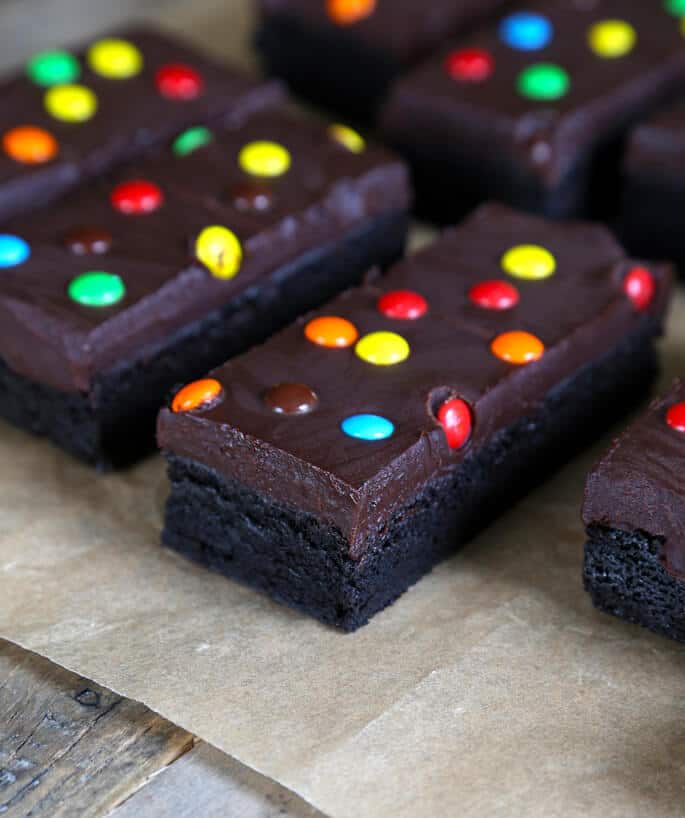
What makes these gluten free brownies special?
These are no ordinary gluten free brownies. Oh no no no. Rich and fudgy, without being overwhelmingly sweet, I think of them like a brownie's brownie. The kind of brownie a real brownie-eater reaches for. For sure, they could never be mistaken for chocolate cake!
Growing up, I didn't have a ton of experience with Little Debbies—except for cosmic brownies. Since I was flat out offended by walnuts in brownies, the cosmic brownies were the way to go. Of course, I wouldn't turn away a fudge brownie since I wasn't above picking off the walnuts.
These brownies are truly my go-to recipe for “regular” brownies whenever I need to make a batch and I'm not sure what sort of brownies the crowd might prefer. I do tend to leave off the chocolate ganache topping if I'm ever transporting them anywhere, since it's a chocolate ganache that tends to get melty at warm room temperature.
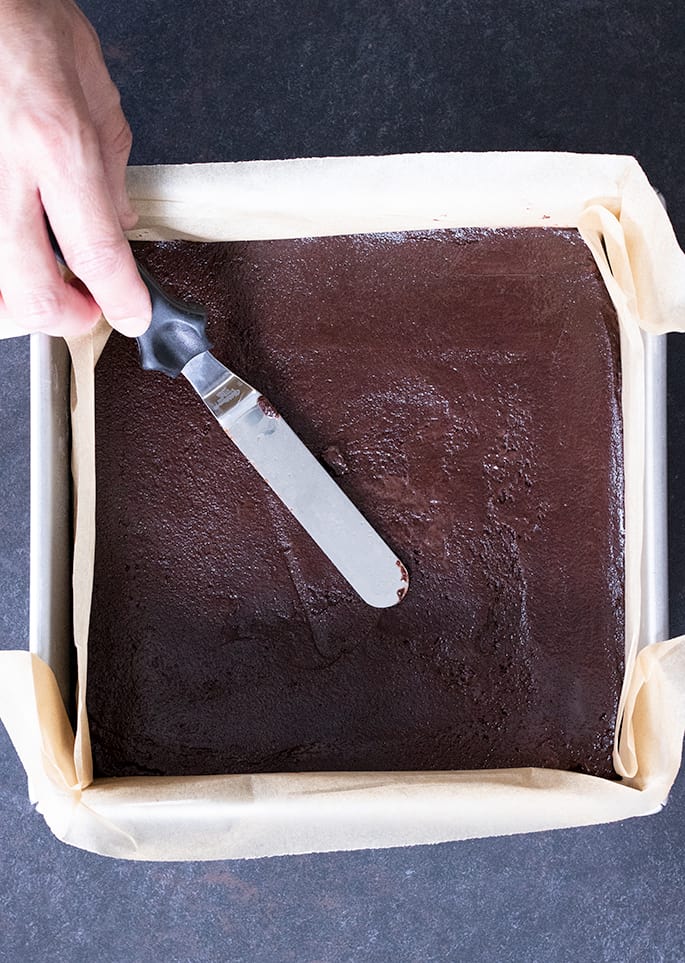
How to make these brownies
The brownie batter
This is a one-bowl recipe for brownies. Hooray for one-bowl recipes! Simply place the dry ingredients in a large bowl, and whisk them together. Then add the wet ingredients, and mix until completely combined.
There are more wet ingredients than dry ingredients. Sugar is technically a wet ingredient, but it's combined more like a dry one in a one-bowl recipe like this.
Just place the flour blend, cocoa powder, salt, and granulated sugar in a large bowl and whisk to combine well. Then, add the brown sugar and mix to combine and break up any lumps in the brown sugar. Create a well in the center of the dry ingredients, and add the butter, oil, vanilla, and corn syrup.
Mix to combine, but expect to use a bit of elbow grease. This brownie batter is
You do have to make sure your butter and eggs are at room temperature or the ingredients won't combine properly. In fact, if your butter is at room temperature and your eggs are not, when you add the eggs, to the bowl, they'll cause the butter to clump. Just keep mixing and press down on any clumps in the butter, and it should smooth out.
If you're at all concerned, you can use a handheld mixer. Or even pop the mixture in a stand mixer fitted with the paddle attachment. Don't overmix, but be sure to mix until everything is combined into an integrated batter.
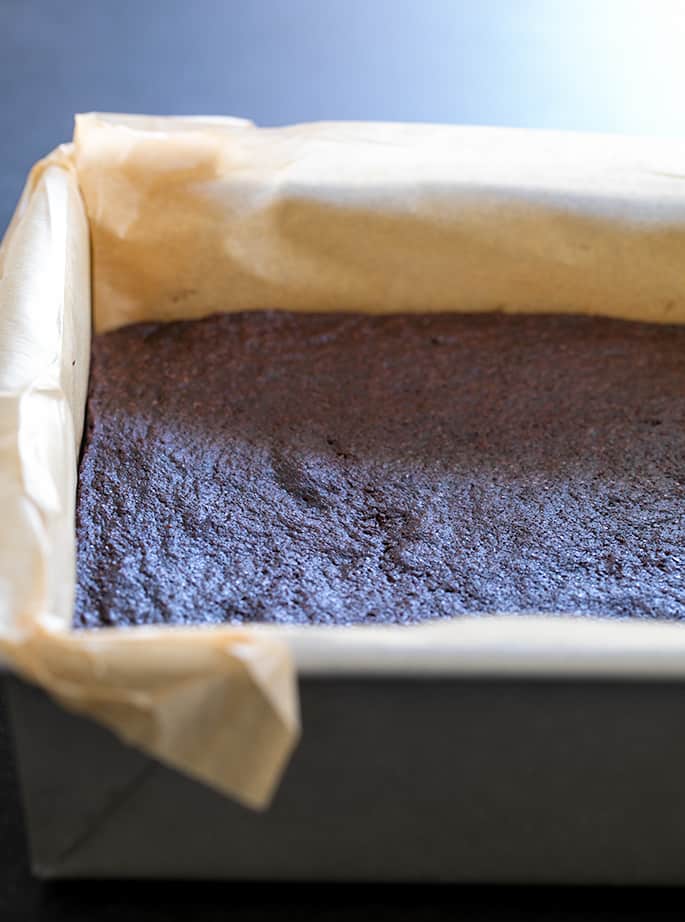
The ganache topping
The chocolate ganache topping is as easy as can be. Simply place the chocolate in a medium-sized, heat-safe bowl, and set it aside briefly. Then, heat the cream until just beginning to simmer. You can use a double boiler, place it directly in a small saucepan over low heat, or use the microwave.
Then, add the salt and pour the hot cream over the chocolate. Allow the mixture to sit until the chocolate begins to melt, then mix until very smooth. If you mix the hot cream into the chocolate immediately, you'll end up with some chunks of chocolate (which isn't the end of the world ?).
For some extra insurance that the topping is glossy and sets really well, try adding a generous tablespoon of light corn syrup after the chocolate is melted into the cream. It will pour and set that much more easily.
Can you double the recipe?
Once you see how great these brownies are, you are going to want to make twice as many brownies as the recipe calls for. This recipe can be doubled, and I frequently do that.
You can place the doubled recipe brownie batter right into a lined 9-inch x 12-inch baking pan. I recommend lowering the baking temperature to 325°F and increasing the baking time to about 45 minutes.
Do keep an eye on them because the bottom may burn. Be sure to bake them in a light-colored pan, and for extra insurance against burning, bake a double batch in 2 separate 8-inch square pans. Both pans should fit into even a small oven at the same time.
Ingredients and substitutions
Dairy-free: In place of butter, you can try using Earth Balance Buttery Sticks. That should work fine, although I've never tried it so I'm not entirely sure. The heavy cream in the ganache can be replaced with coconut cream.
Just be sure to use dairy-free chocolate in the topping! I really like Guittard bittersweet or semi-sweet chocolate baking wafers for melting. The candy topping can be omitted if you aren't able to find a dairy-free, gluten free alternative.
Egg-free: My favorite egg substitute is a “chia egg” (but use ground chia flour, not whole seeds), but I haven't tested it in this recipe.
Cocoa powder: I like to use Hershey's Special Dark unsweetened cocoa powder in this recipe. Hershey's Special Dark cocoa powder is a blend of natural and Dutch-processed cocoa powders, and is darker in color than any other cocoa powder (including my preferred Rodelle brand Dutch-processed).
You can make this recipe successfully using natural cocoa powder or Dutch-processed as well. If you use natural, add 1/8 teaspoon baking soda to the dry ingredients to balance the recipe properly.
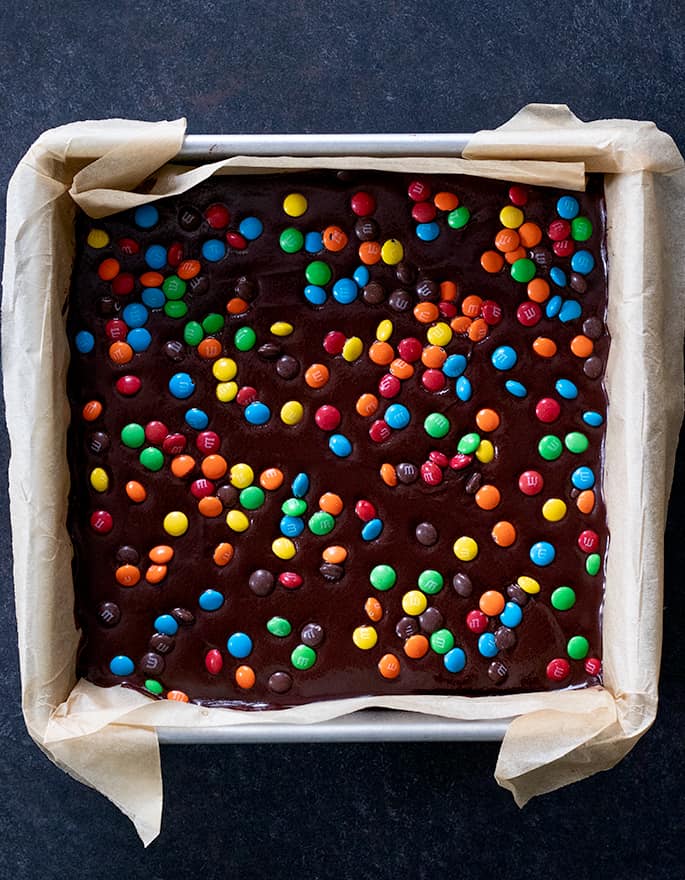
Candy topping: I think that the closest thing to the chocolate candies on top of cosmic brownies are those rainbow miniature chips (I think Wilton sells them), but no way those are going to be gluten free. I went with miniature M&Ms, but you could also use Sixlets or even (gasp) walnuts if the M&Ms aren't gluten free where you live (hello?? Aussie friends!).
Corn syrup: Light corn syrup is not at all the same as the much-hated high-fructose corn syrup. It is an “invert sugar,” which just means that it's a mixture of two sugars (glucose and fructose) and is less likely to crystallize. In this particular recipe, you can replace it with honey (which will impart a distinct taste) or a rich simple syrup (which has a neutral flavor).
“Little Debbie” Brownies
Ingredients
For the brownies
- 1 cup (140 g) all purpose gluten free flour, please click thru for info on appropriate blends
- ½ teaspoon xanthan gum, (omit if your blend already contains it)
- ¾ cup (60 g) unsweetened cocoa powder, (See Recipe Notes)
- ⅛ teaspoon kosher salt
- ¾ cup (150 g) granulated sugar
- ½ cup (109 g) packed light brown sugar
- 8 tablespoons (112 g) unsalted butter, at room temperature
- 2 tablespoons (28 g) neutral oil, (like vegetable, canola or peanut oil)
- 2 teaspoons pure vanilla extract
- 2 tablespoons (42 g) light corn syrup
- 2 (100 g (weighed out of shell)) eggs, at room temperature, beaten
For the topping
- 8 ounces semi-sweet chocolate, chopped
- ⅔ cup (5 ⅓ fluid ounces) heavy whipping cream
- ⅛ teaspoon kosher salt
- 3 ounces miniature M&Ms candies or multicolored Sixlets, for decorating (optional)
Instructions
Prepare the brownies.
- Preheat your oven to 350°F.
- Grease and line an 8-inch square pan with two sheets of unbleached parchment paper, crisscrossed in the pan with enough paper to overhang all the edges, and set it aside.
- In a large bowl, place the flour, xanthan gum, cocoa powder, salt, and granulated sugar, and whisk to combine well.
- Add the brown sugar and mix, working out any lumps.
- Create a well in the center of the dry ingredients and add the butter, oil, vanilla, corn syrup and eggs, and mix until completely combined. The batter should be thick and smooth.
- Scrape the brownie batter into the prepared baking pan and spread into an even layer with a moist spatula.
- Place in the center of the preheated oven and bake until just firm to the touch and a toothpick inserted into the center comes out mostly clean, 25 to 28 minutes.
- Allow to cool completely in the pan.
Prepare the topping.
- Place the chocolate in a medium-size, heatproof bowl, and set it aside.
- Place the cream in a small, heavy-bottomed saucepan and bring to a simmer over medium-low heat.
- Add the salt to the cream and stir to combine.
- Pour the warm cream over the chopped chocolate and allow to sit until the chocolate begins to melt. Stir until the chocolate is melted and smooth.
- Allow the mixture to cool for about 2 minutes before pouring over the cooled brownies, still in the pan, in an even layer.
- Scatter the miniature M&Ms (Ms side down, if you’re being fastidious) over the chocolate layer, and allow to set at room temperature for about 30 minutes before transferring to the refrigerator.
- Allow to chill in the refrigerator until firm, about another 30 minutes.
- Remove from the refrigerator and lift the brownies out of the pan, using the overhanging edges of the sheets of parchment paper in the pan.
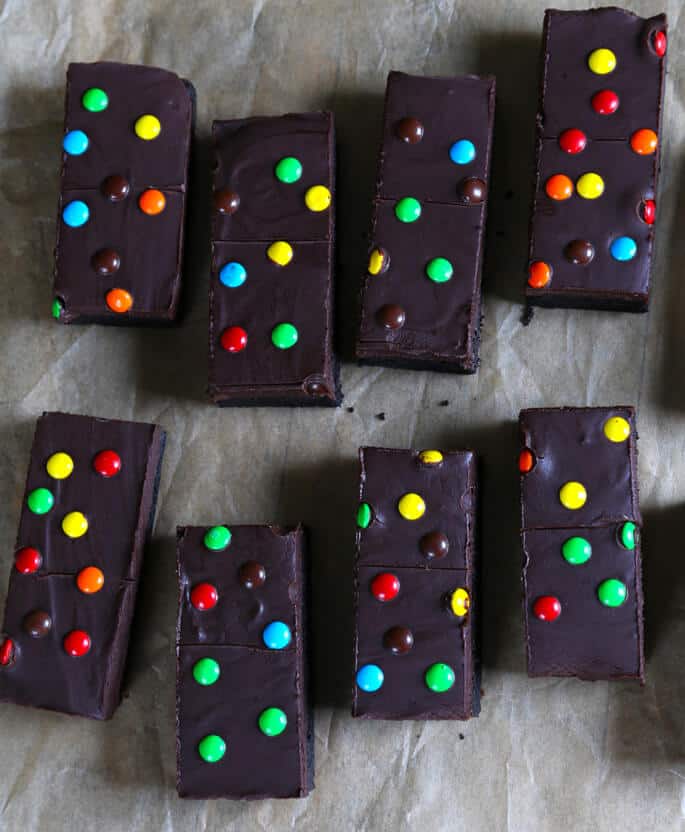
- Place on a cutting board and slice the brownies into twelve equal rectangles. With a butter knife, create a seam widthwise down the center of each brownie.
Storage
- These brownies can be covered and stored at room temperature for up to 3 days, but once the topping is added you’ll want to refrigerate them.
- For longer storage, seal tightly in a freezer-safe wrap or bag, and freeze for up to 2 months. Defrost at room temperature.
- The chocolate coating may bloom (get white streaks on it) a bit over time, but it won’t affect the taste at all.
Video
Notes
Nutrition information is automatically calculated, so should only be used as an approximation.



“These brownies can be covered and stored at room temperature for up to 3 days”
That’s the most hilarious thing I’ve ever heard. LoL. They won’t last 3 minutes around here!
Hahaha Dana, the only reason they might hang around for a few days in my house is because I hide them from time to time. ?
Nicole,
My teenager, with mouth full of this brownie, “Wow! That’s one good brownie!” High praise, indeed… ?
Hahaha it doesn’t get better than that!
These are the hubtastic’s absolute FAVORITE treats and while I have been GF for quite some time now, he is new to it, my twins and I will be making these tomorrow for him and my older kidlet as part of “mommy preschool” thank you so very much!
These are the hubtastic’s absolute FAVORITE treats and while I have been GF for quite some time now, he is new to it, my twins and I will be making these tomorrow for him and my older kidlet as part of “mommy preschool” thank you so very much!
I’m kinda new a GF baking, but I gave this a go, and the brownies were awesome! I look forward to trying some of the other recipes. :)
These look great – always looking for a new dessert to make the kids….going to have to try these.
I’m from the UK so have never tried the real thing but these are totally delicious and surprisingly simple to make. I managed to make them dairy free too with almond milk and a teaspoon of dairy free spread in place of cream. Set fine but I suppose not quite as rich (these are very rich anyway). Thank you so much for all these recipes!
Yum have yet to bake these, maybe soon :)
In my humble opinion, the Drakes coffee cakes and Devil Dogs are worth the price of the book, along with the Hostess cupcakes, and…really, I want to make every recipe in the book! :) :)
Hi Nicole! i just made the iced oatmeal cookies yesterday and they were a hit with everyone! next up thin mints!
*thin* mints. sorry typo.