

This post may contain affiliate links. Please read our disclosure policy.
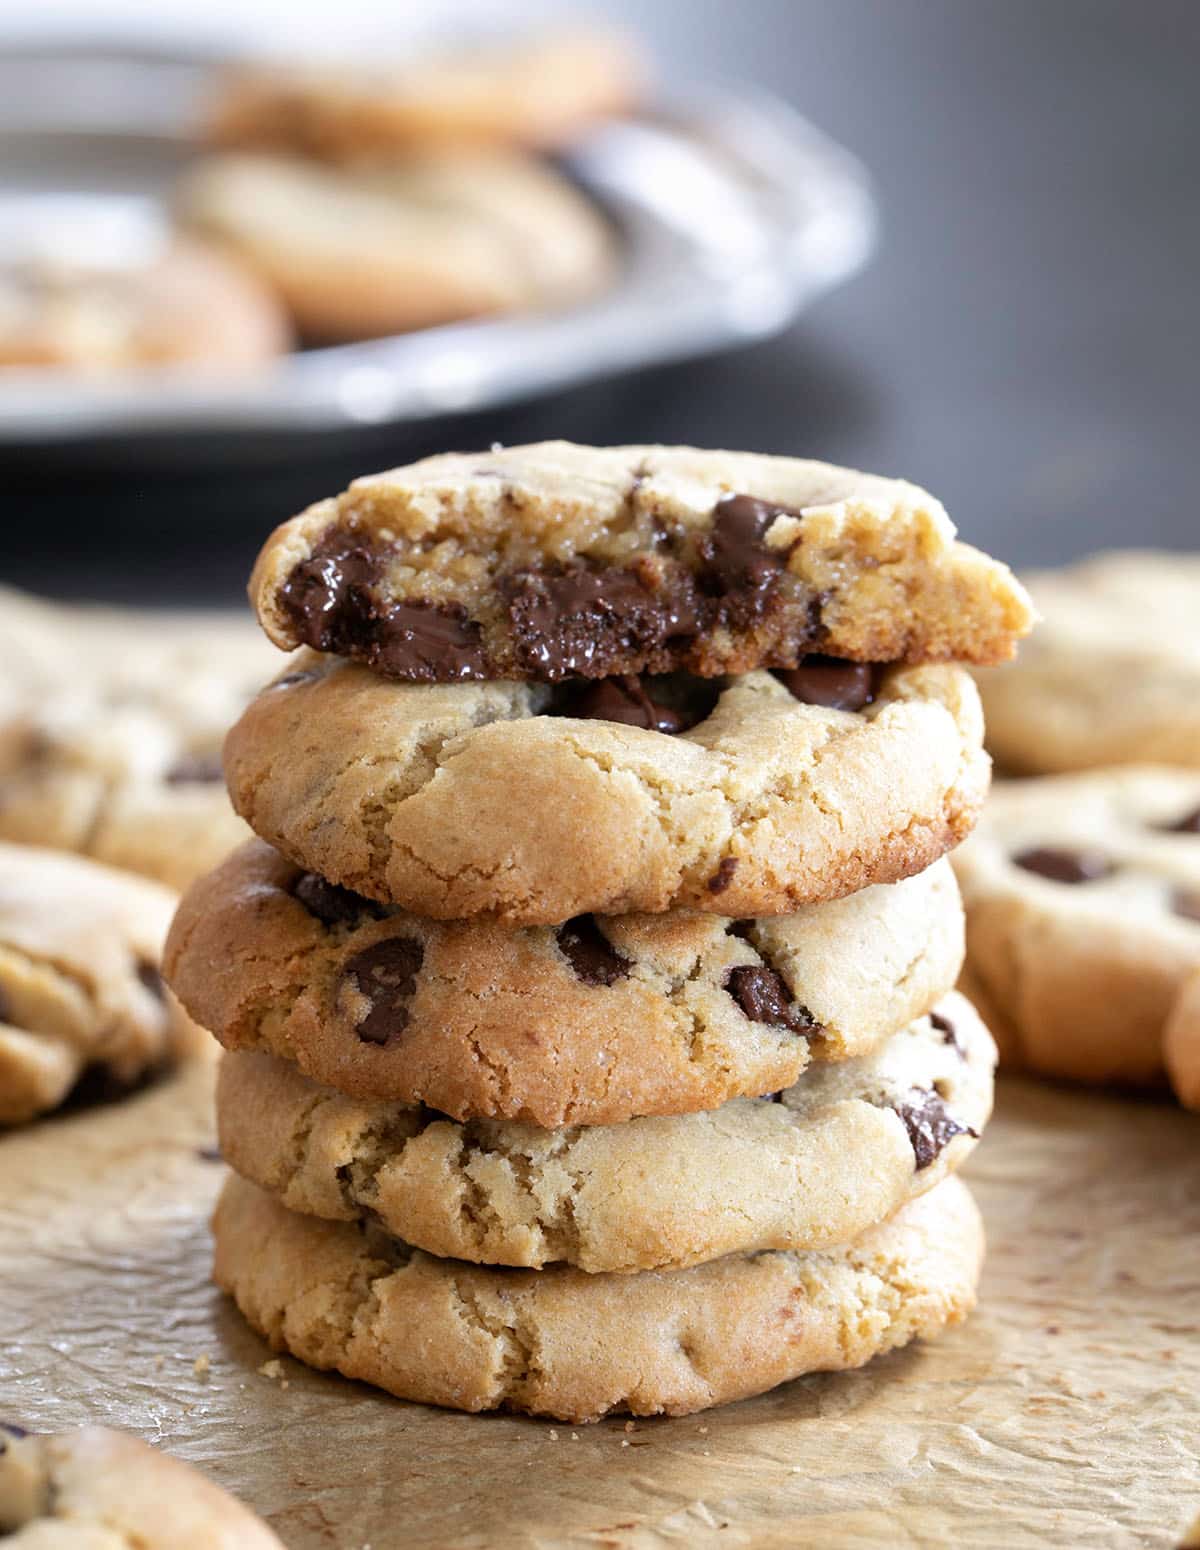
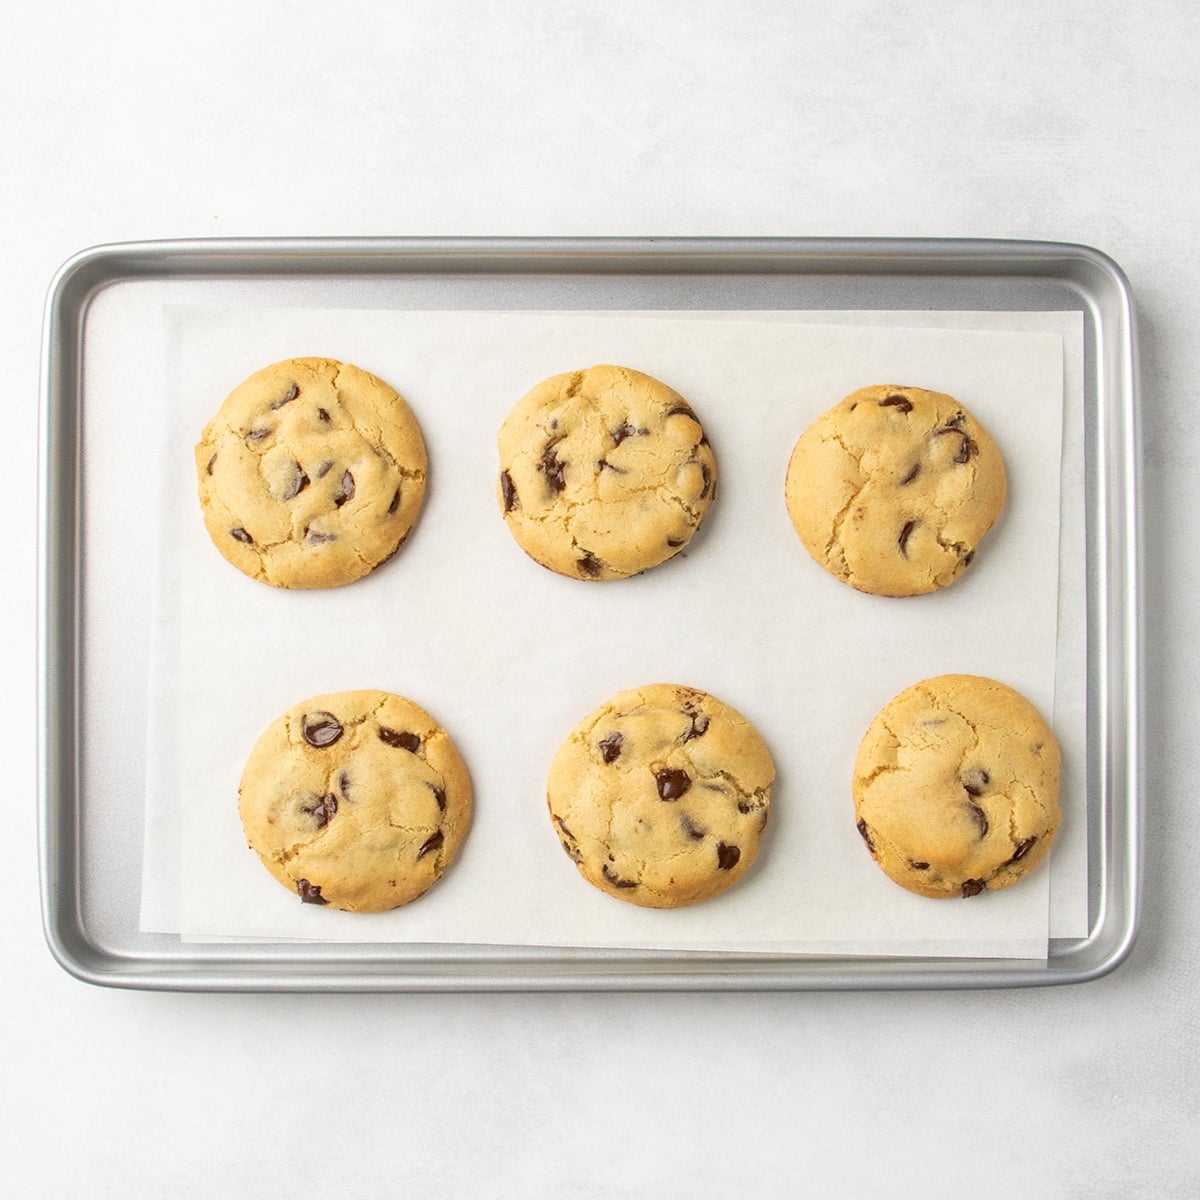
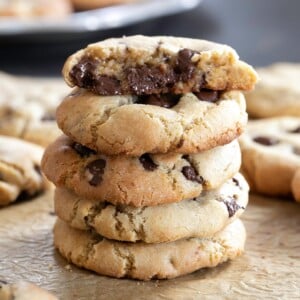
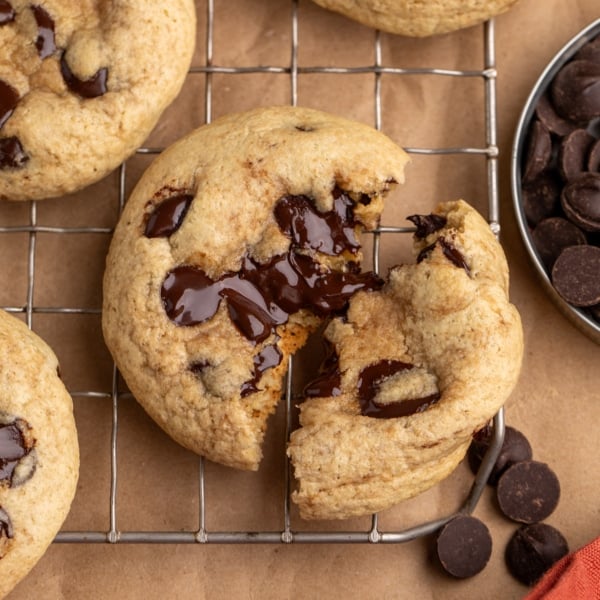
My recipe for classic gluten free chocolate chip cookies has crisp brown edges, soft centers, and deep, rich flavor in every bite. The secrets to their ideal texture and all that flavor are in the mixing-wet-into-dry method and resting the raw dough first, even just for 30 minutes.
I was known for these cookies long before I started baking gluten free in 2004, and there’s almost always a batch in my freezer, both baked and raw. With well over 400 five-star reviews, this is the ultimate recipe.
“This is an awesome cookie. We have had a family recipe that we all loved till we had to go gluten free and this was the first recipe that is better than that! Thank you so much, Nicole ❣️”
Why this recipe works
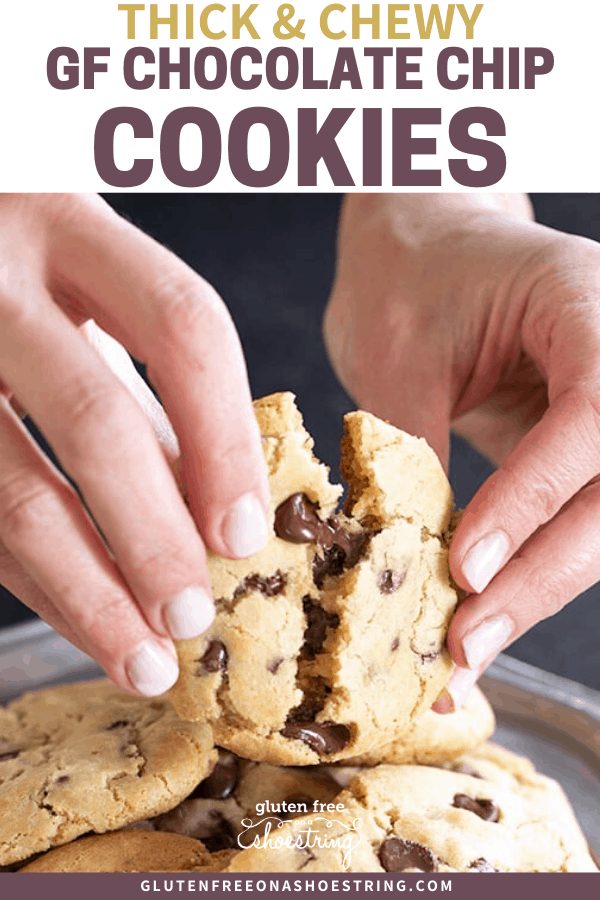
These cookies are thick and chewy in the center with just enough crispness around the edges, and they're packed with chocolate chips. The ideal butter to flour proportions reliably keep the cookies from spreading too thin during baking, whether you chill the dough first or not.
I recommend you rest the dough for at least a few hours before baking for the deepest caramel flavor and the best browning on the edges and sides. No brown butter needed! Unlike some other recipes, if you just can't wait, you can bake some cookies right away and they'll still hold their shape.
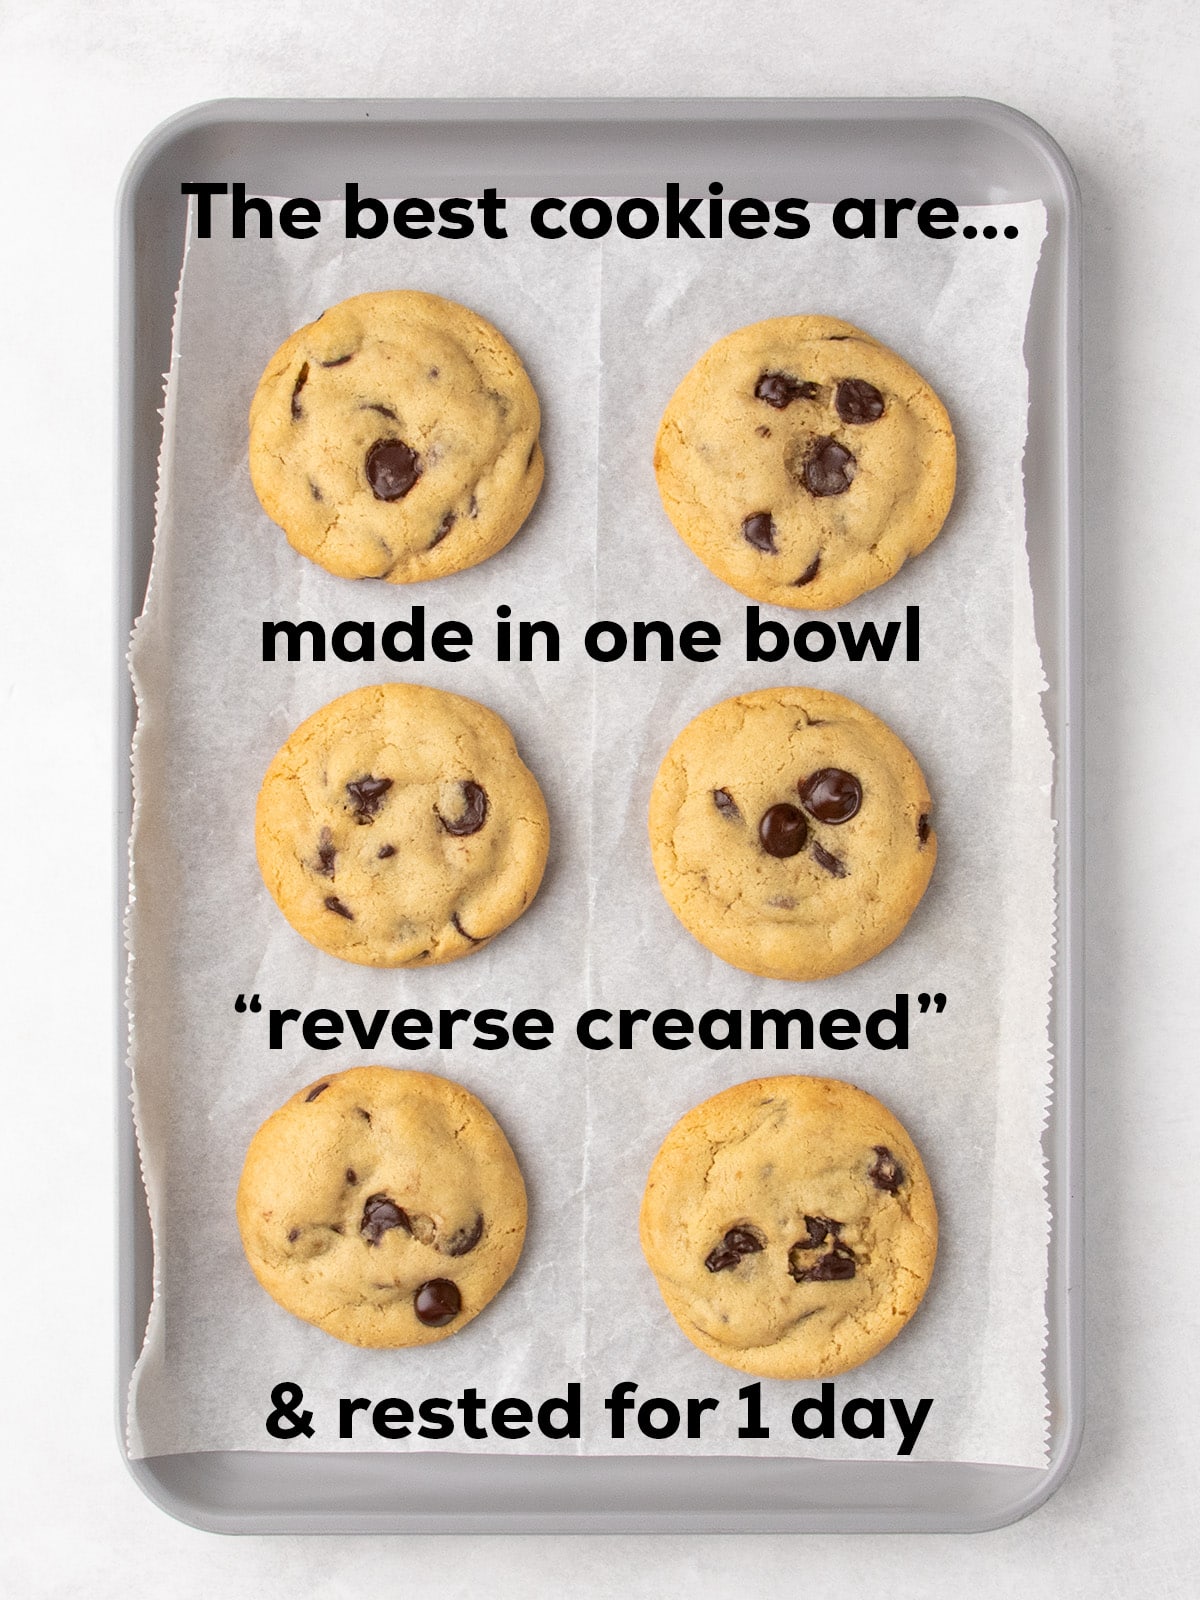
Plus, we make the cookie dough the quick and easy way in one mixing bowl by hand with the “reverse cream” method of working the butter into the flour. This way, the cookies spread naturally, and just the right amount.
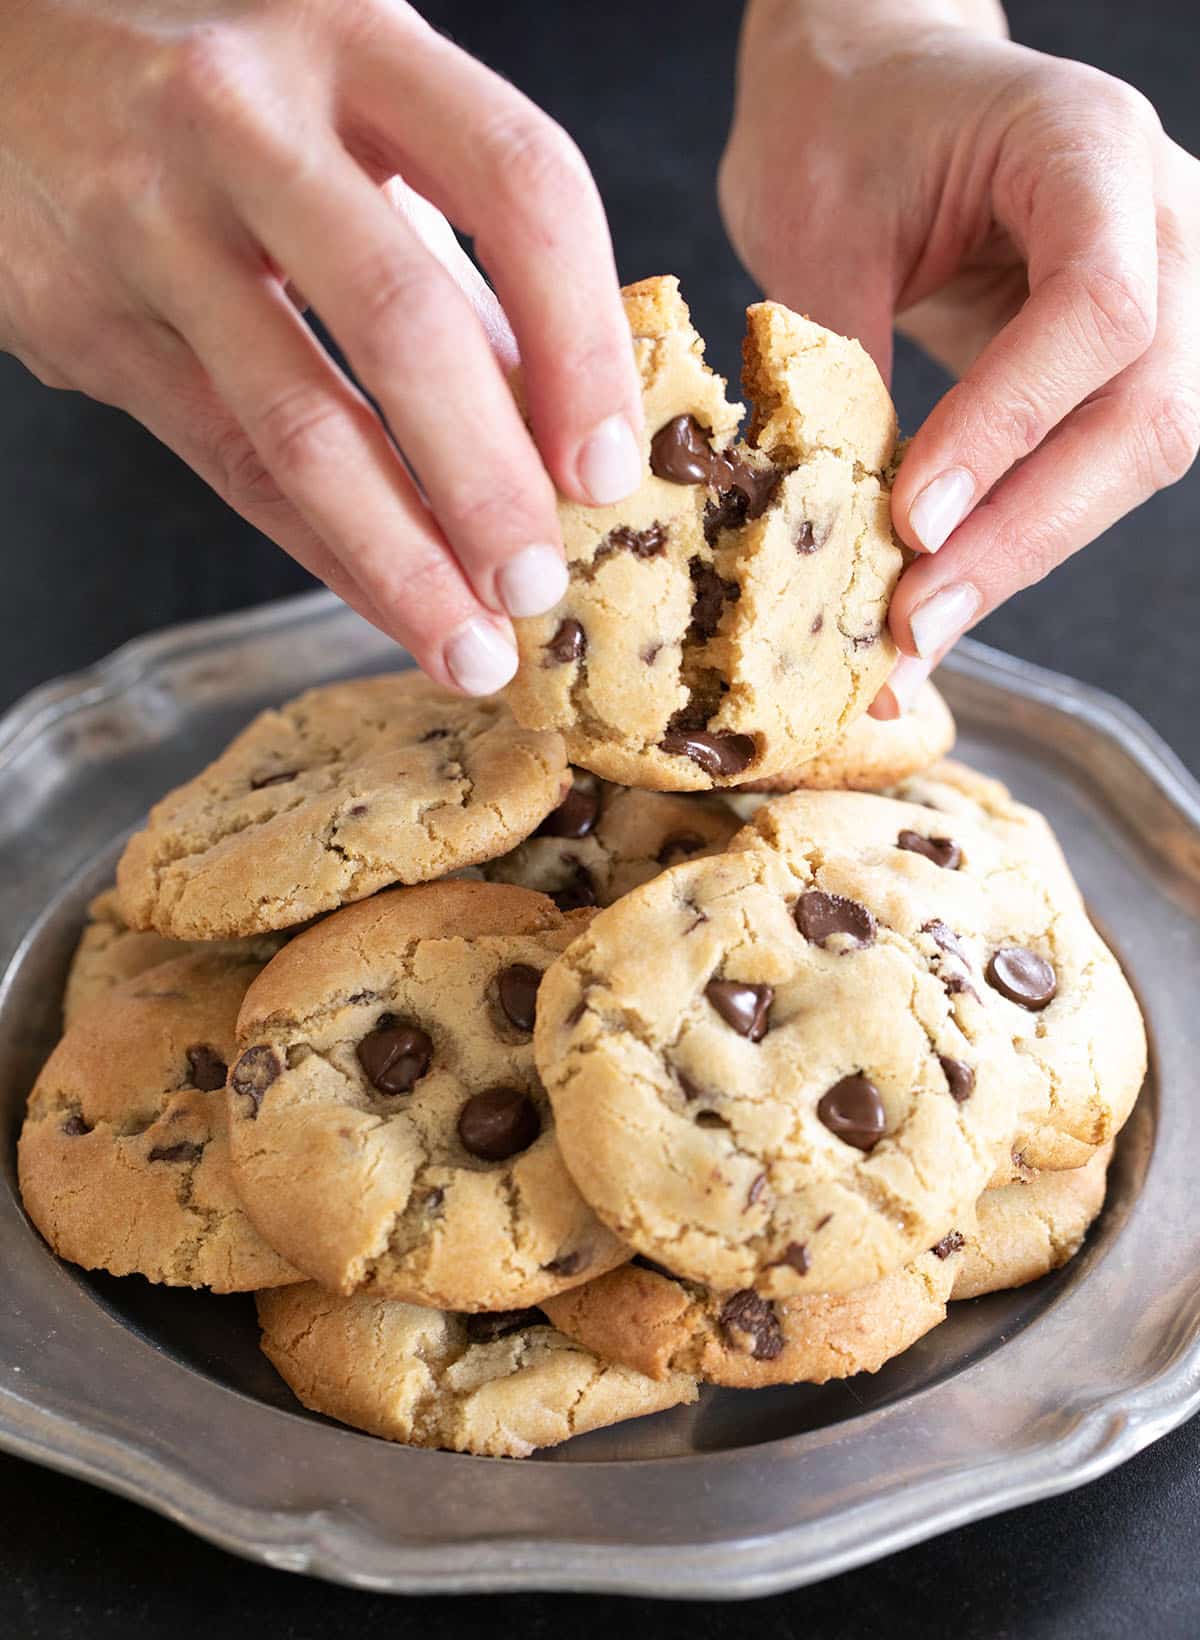
If you want more chocolate, try out my gluten free double chocolate cookies!
Ingredients explained
You only need a handful of classic ingredients to make these cookies, with a few key tips to get the texture and flavor just right:
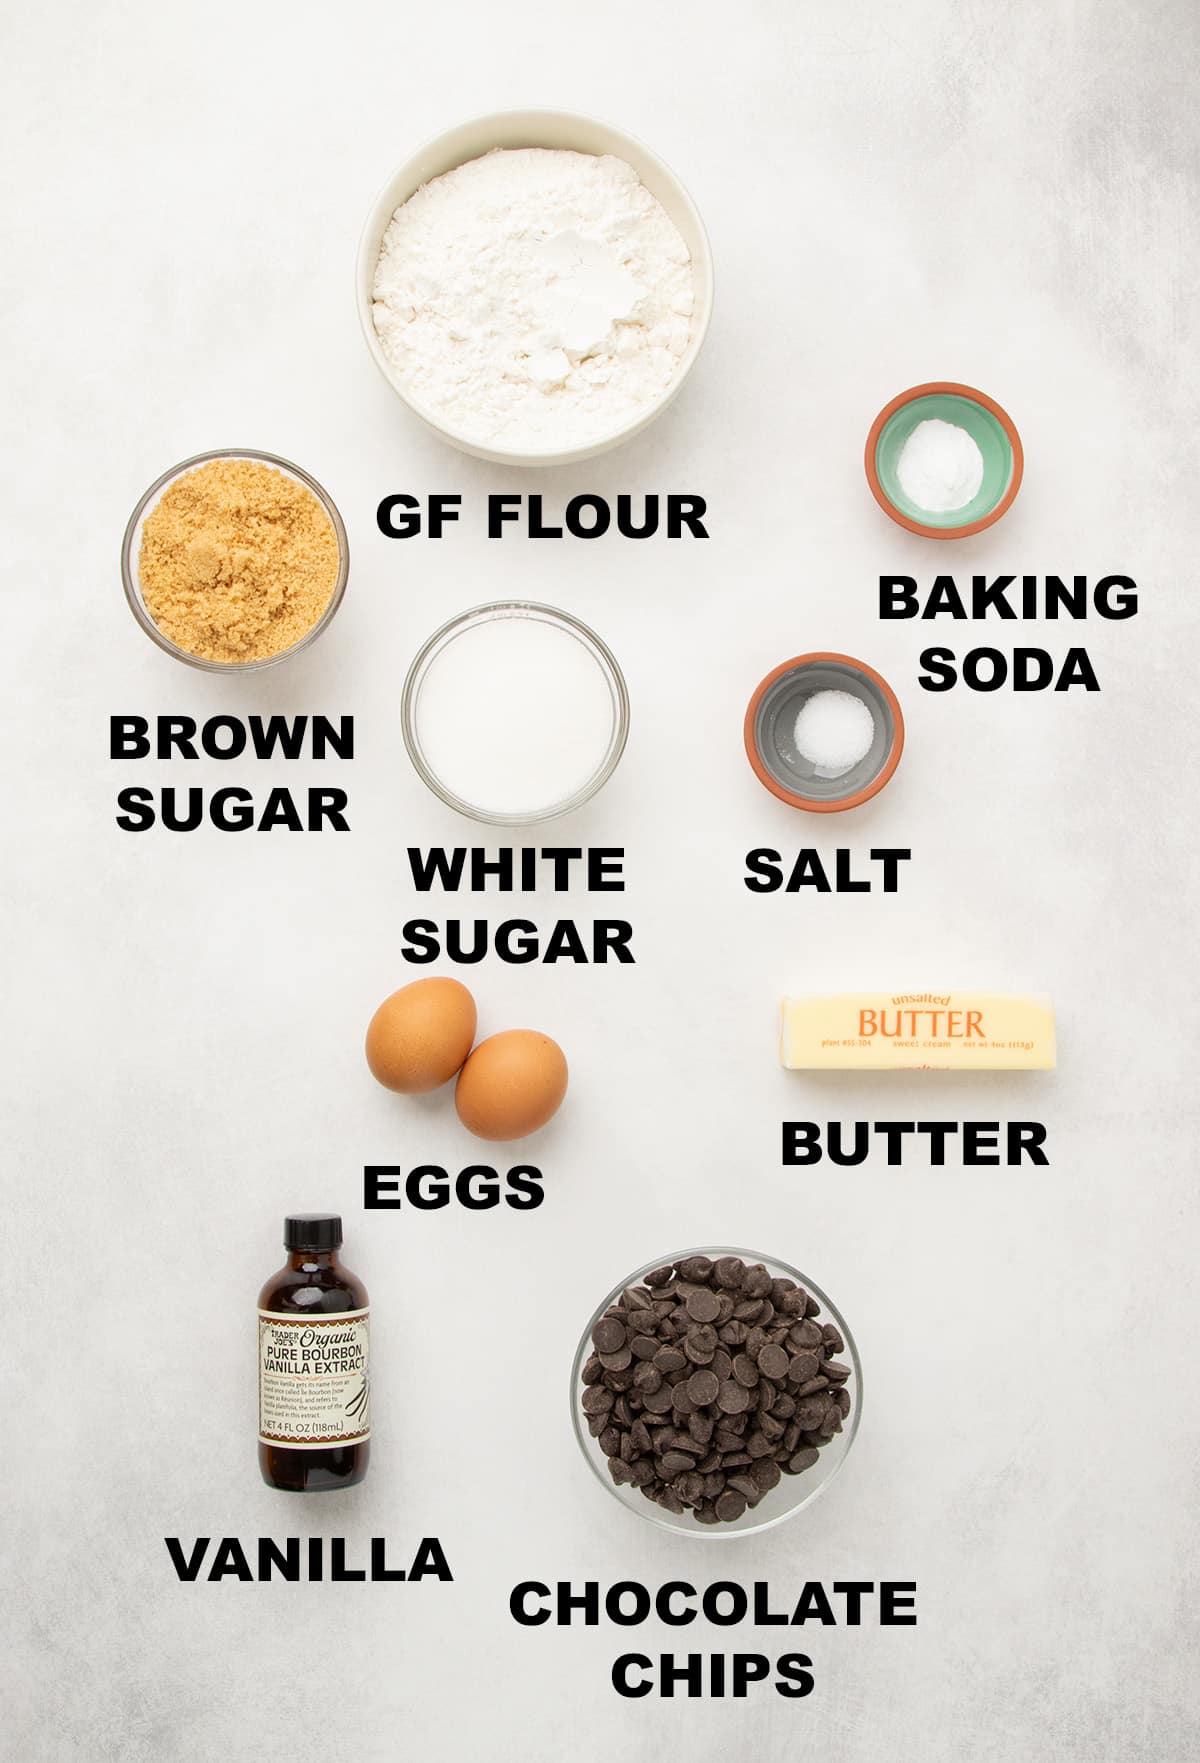
- Gluten free flour blend: Provides most of the structure for the cookies. I like Better Batter's original blend without any more xanthan gum or Nicole's Best multipurpose with a heaping (or rounded) 1/2 teaspoon xanthan gum. Bob's Red Mill 1-to-1 gluten free baking blend also works well, but it has less xanthan gum. If you chill the dough overnight, it will absorb enough moisture to control the cookies' spread in the oven, so you don't need to add more xanthan gum. If you aren't planning to chill the dough, I recommend adding an extra 1/4 teaspoon xanthan gum to Nicole's Best (for a total of 3/4 teaspoon), or 1/4 teaspoon xanthan gum to Bob's. Otherwise, the cookies may spread more than we want.
- Baking soda: Helps with browning in the oven without overbaking or burning.
- Salt: Balances the sweetness and sharpens the other flavors.
- Granulated sugar: Adds sweetness, tenderness and helps the cookies spread just enough, then brown and crisp.
- Light brown sugar: Provides extra moisture and a rich, caramel-like flavor. Without brown sugar, nothing tastes like a chocolate chip cookie!
- Butter: Adds buttery flavor and helps create crisp edges and chewy centers. Make sure it’s at room temperature so it blends evenly but doesn't melt outside the oven. If you're starting with cold butter, chop it roughly and let it sit on the counter for about 20 minutes first, since cool room temperature of 69°F is ideal.
- Eggs: Help the cookies rise and add structure to help hold their shape as they cool. The eggs work in combination with a binder like xanthan gum, even without gluten, to create thick, chewy cookies.
- Vanilla extract: Adds a deep, warm background note that boosts all the other flavors.
- Chocolate chips: Use your favorite gluten free chocolate variety, or a combination of flavors. I love Trader Joe’s 72% dark chocolate chips and Ghirardelli chips.
How to make gluten free chocolate chip cookies (step by step photos)
See the recipe card for ingredient amounts, and keep scrolling for a visual on how to make gluten free chocolate chip cookies in your own kitchen.
Mix the dry ingredients
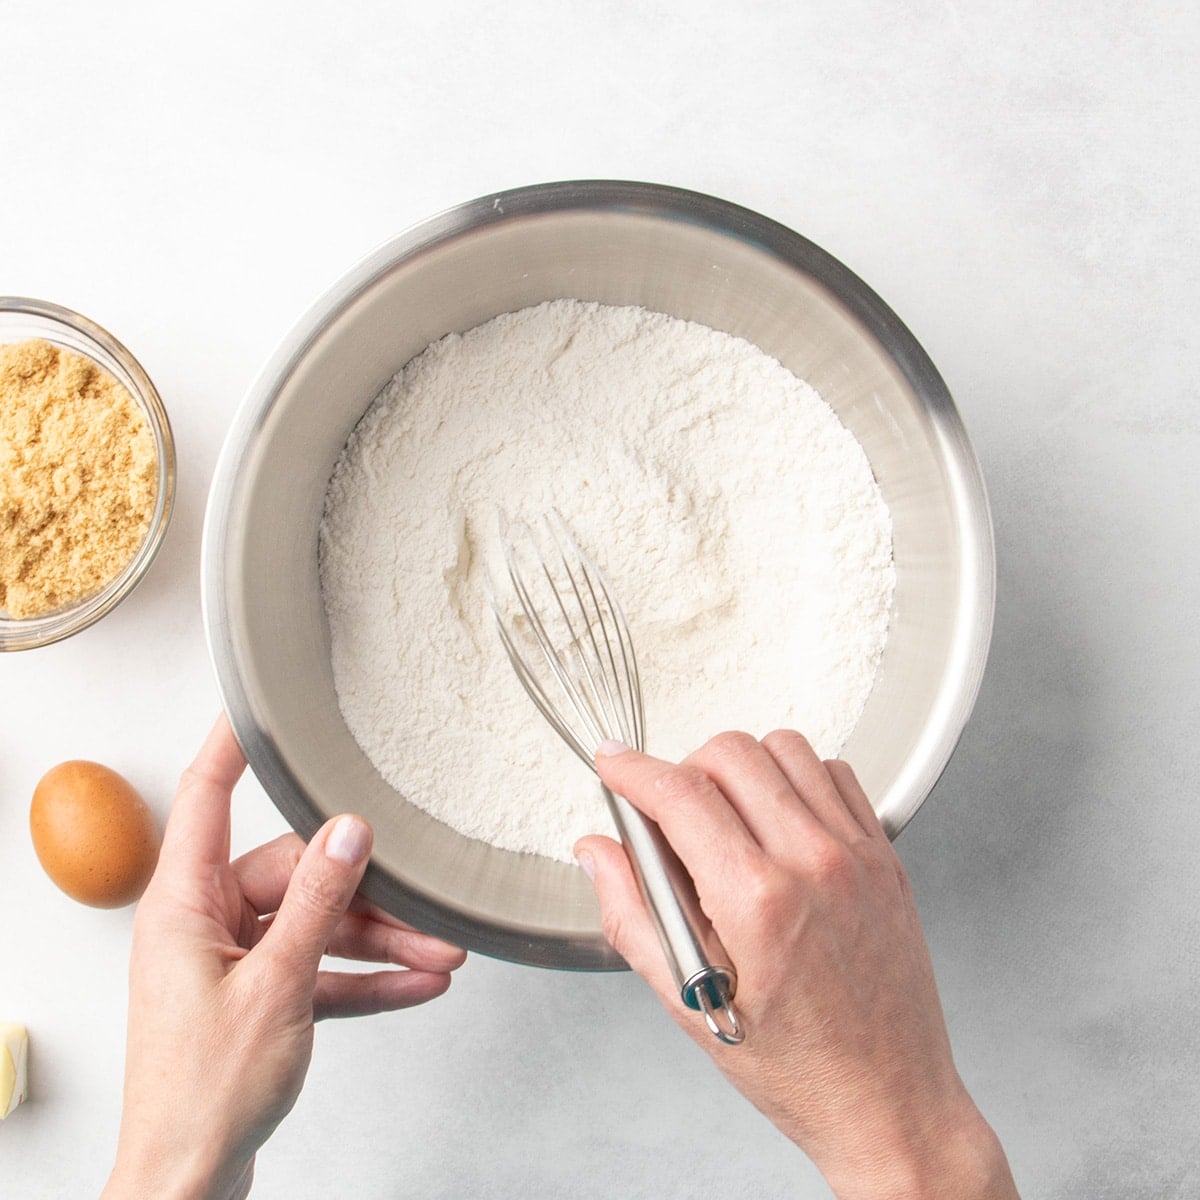
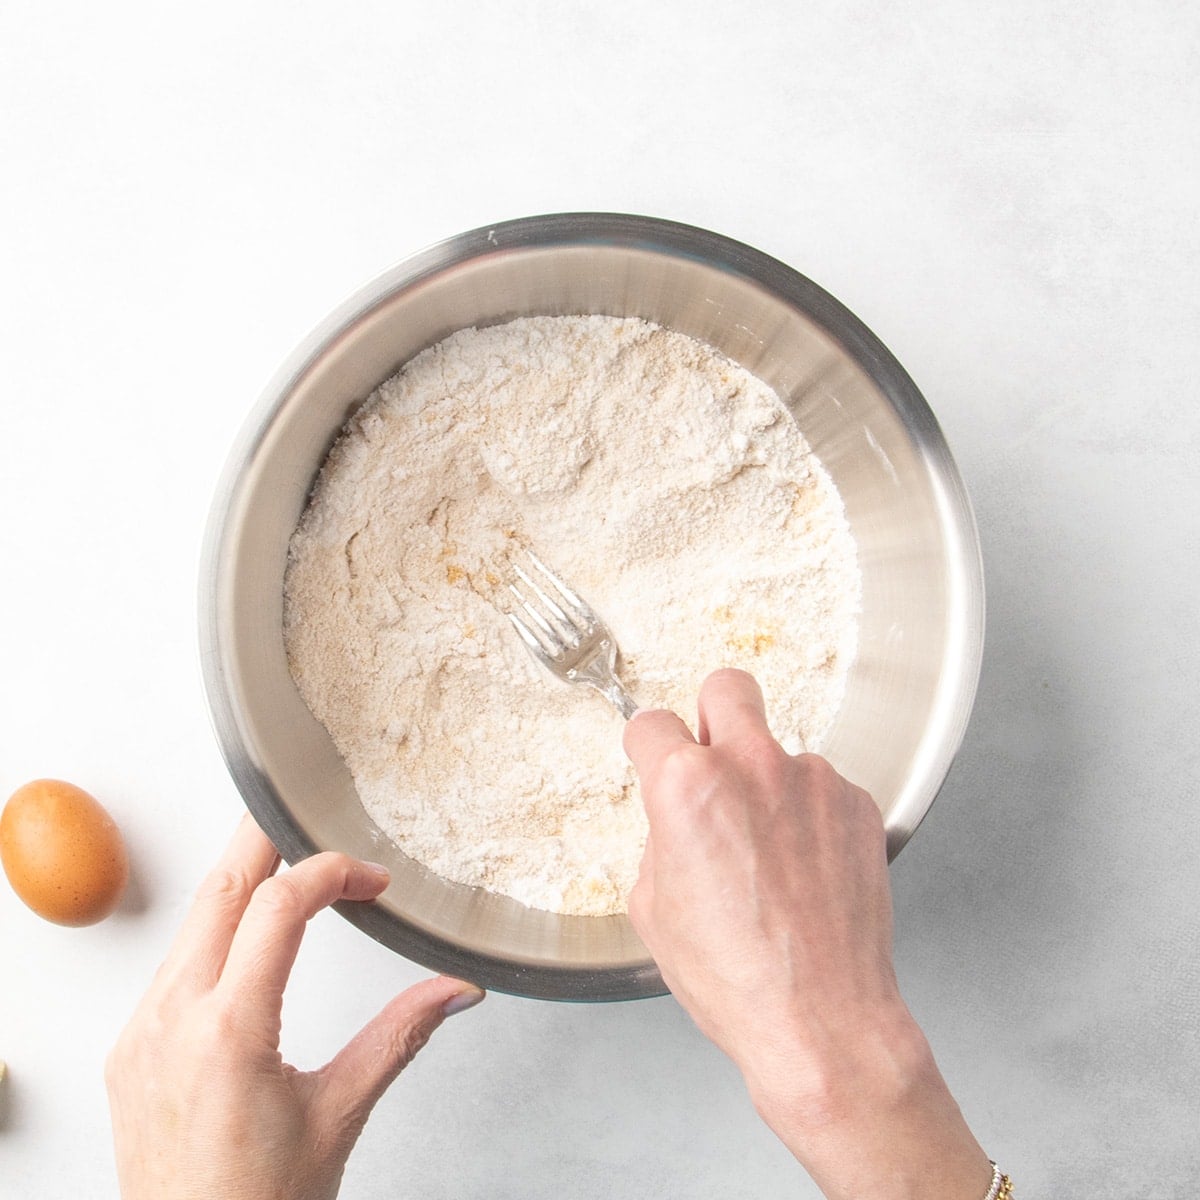
In a medium bowl, whisk together your gluten free flour blend, xanthan gum (if needed), baking soda, salt, and granulated sugar for evenly distributed ingredients that bake into uniform cookies.
Add the brown sugar last and use a fork to break up any lumps that don't combine with the rest of the batter and melt separately in the oven.
Add the wet ingredients
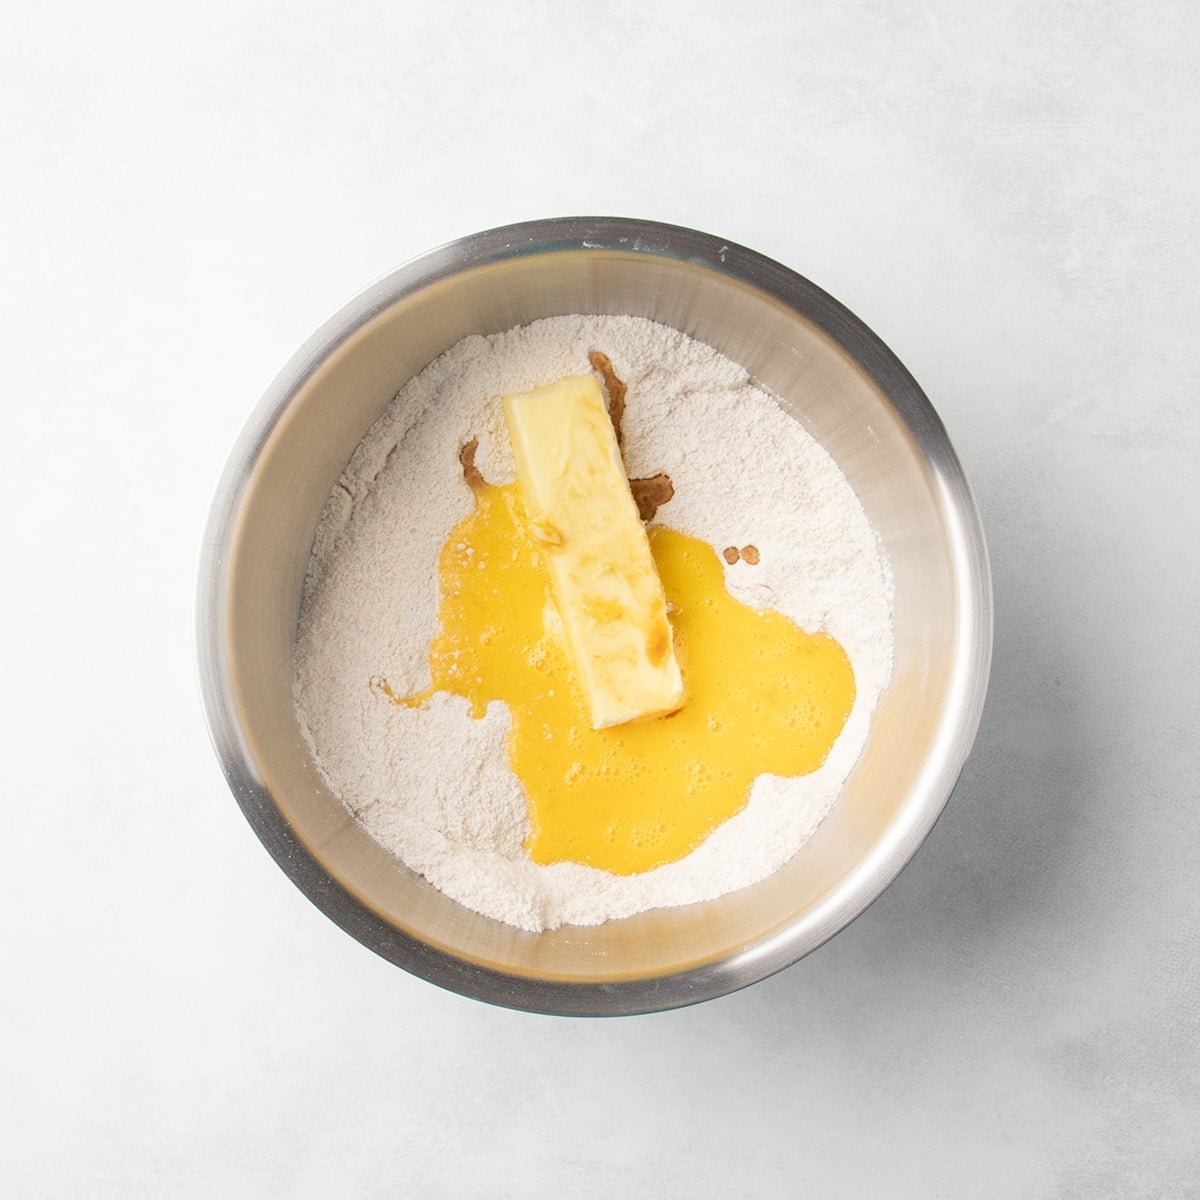
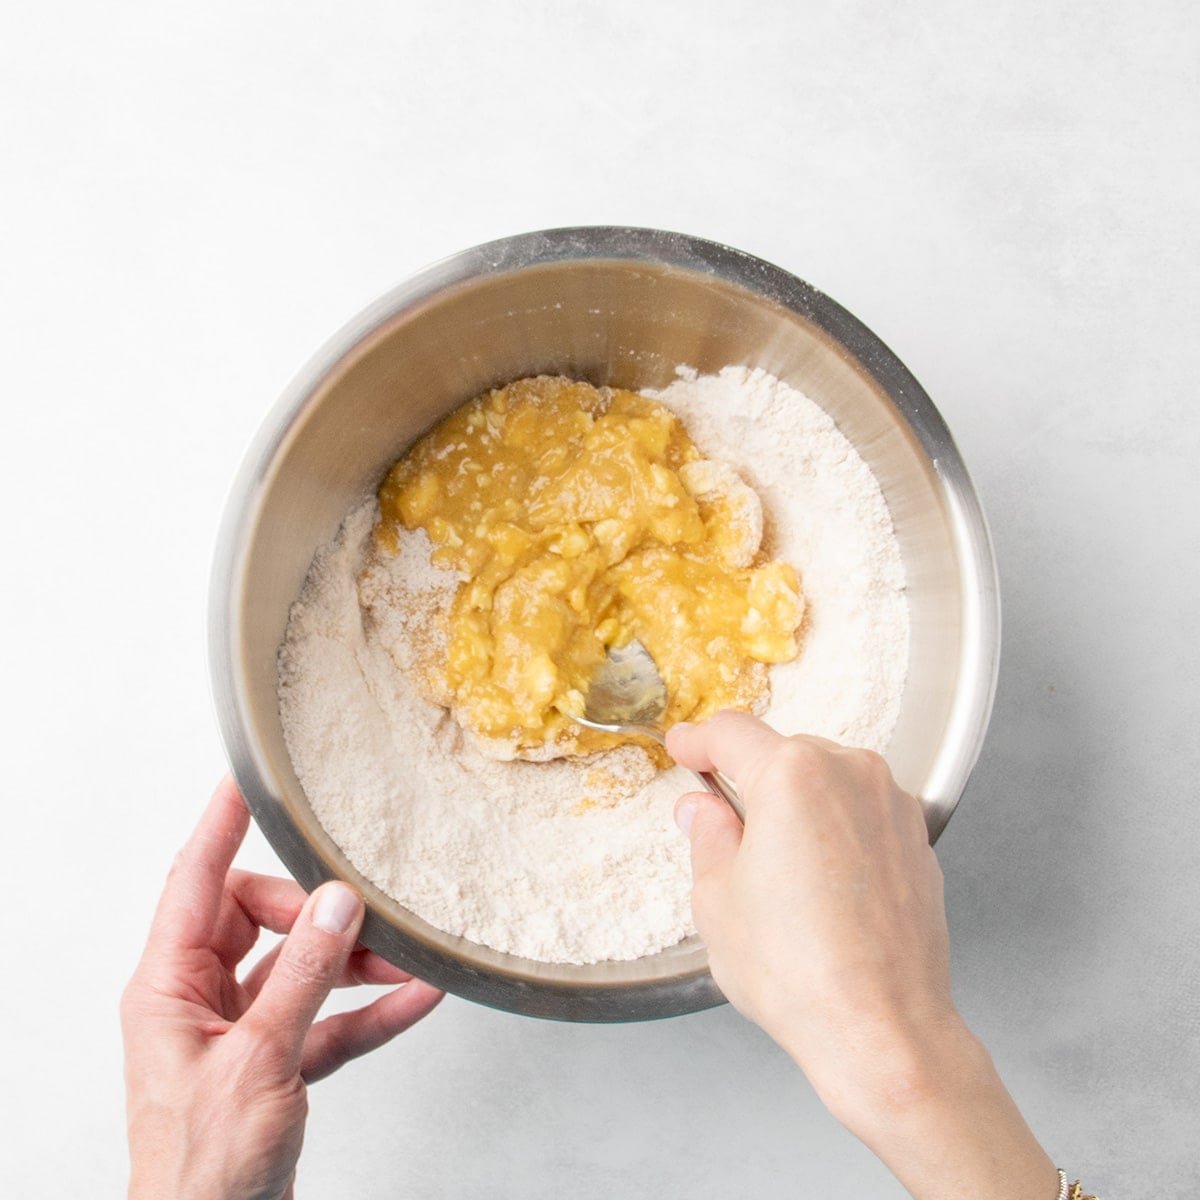
Create a well in the center of the dry ingredients, then add the butter, beaten eggs, and vanilla right into the center. Mix the wet ingredients together toward the center, then incorporate the dry ingredients little by little for uniformly mixed cookie dough, still made in one bowl.
Mixing the wet ingredients into the dry, instead of creaming the butter and sugars separately first, ensures a dense and chewy cookie with a crackled top.
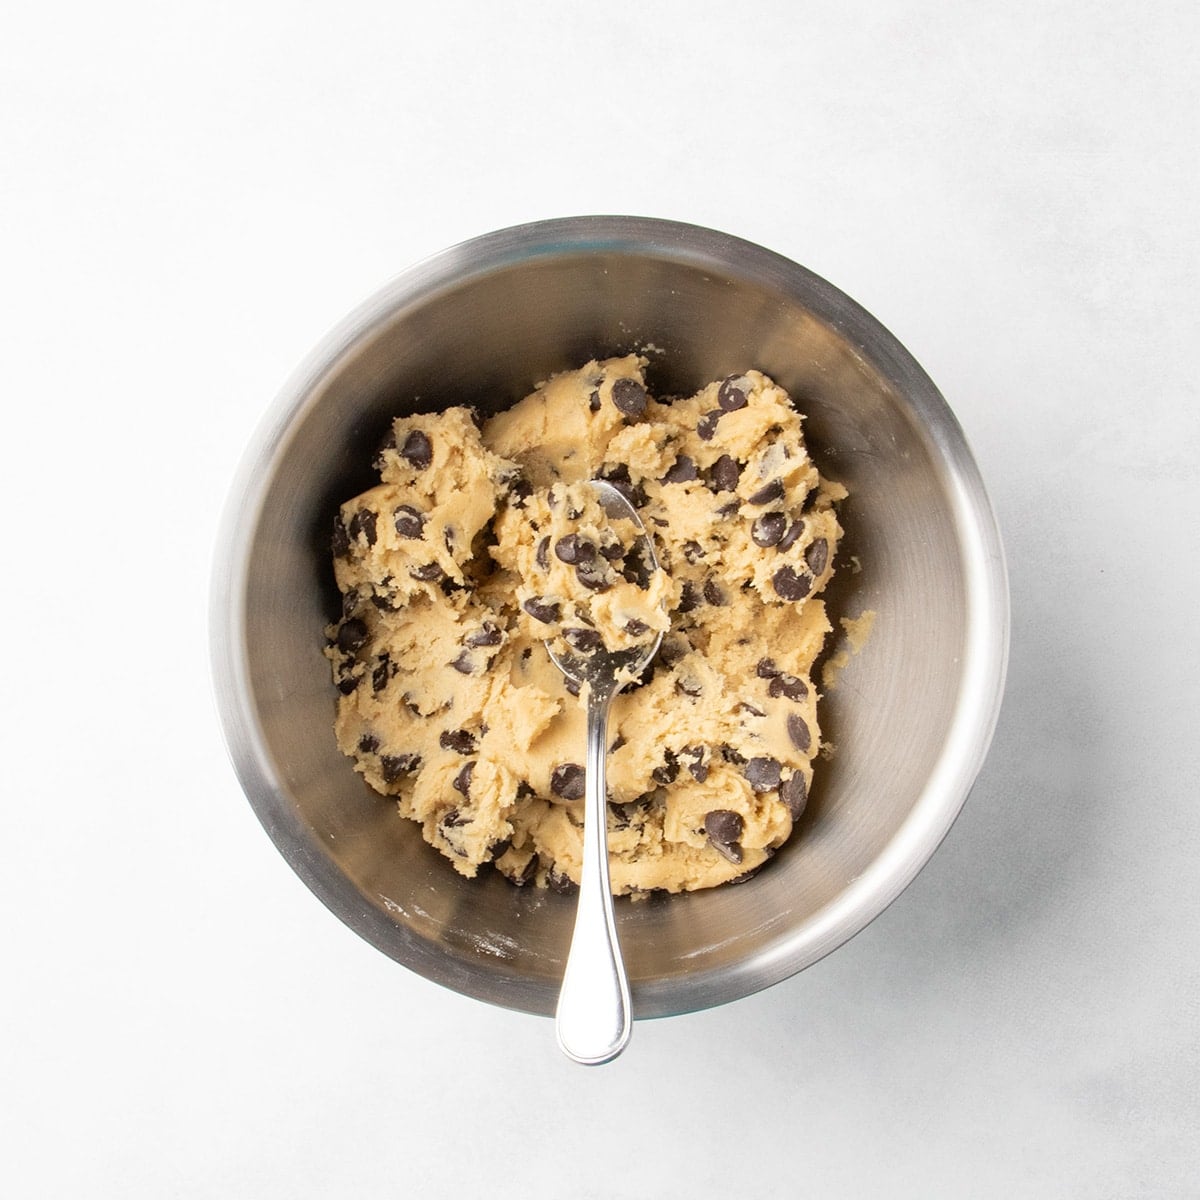
Stir in the chips
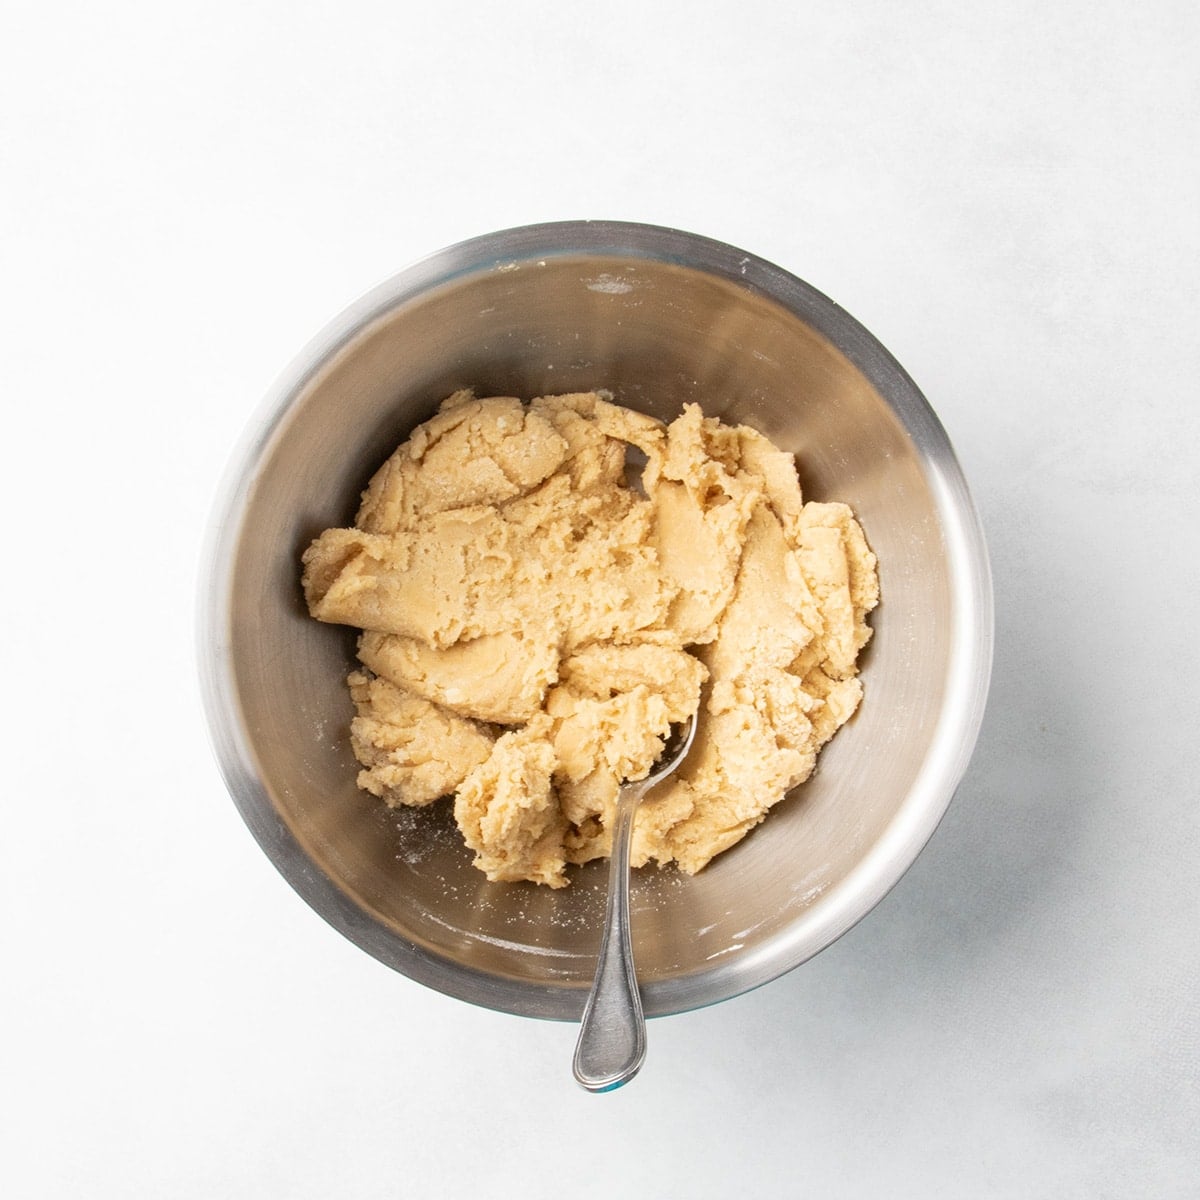
Fold in the chocolate chips until they’re evenly distributed throughout the dough. Adding them in last avoids getting the chips wet from the eggs, which can cause the chocolate to bleed into the rest of the cookie.
Portion the dough
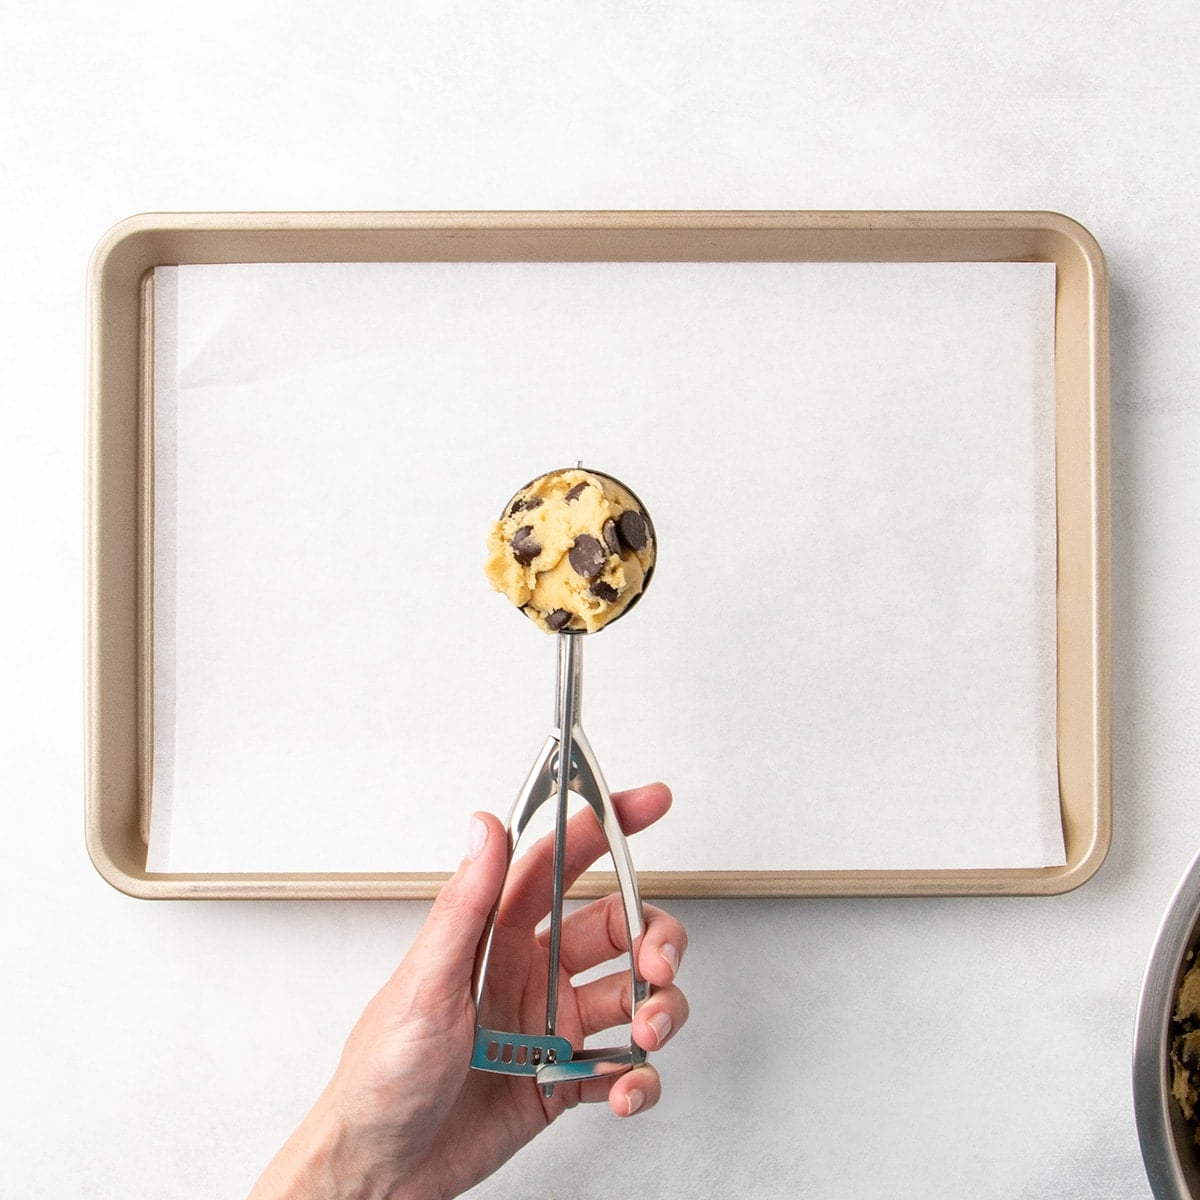
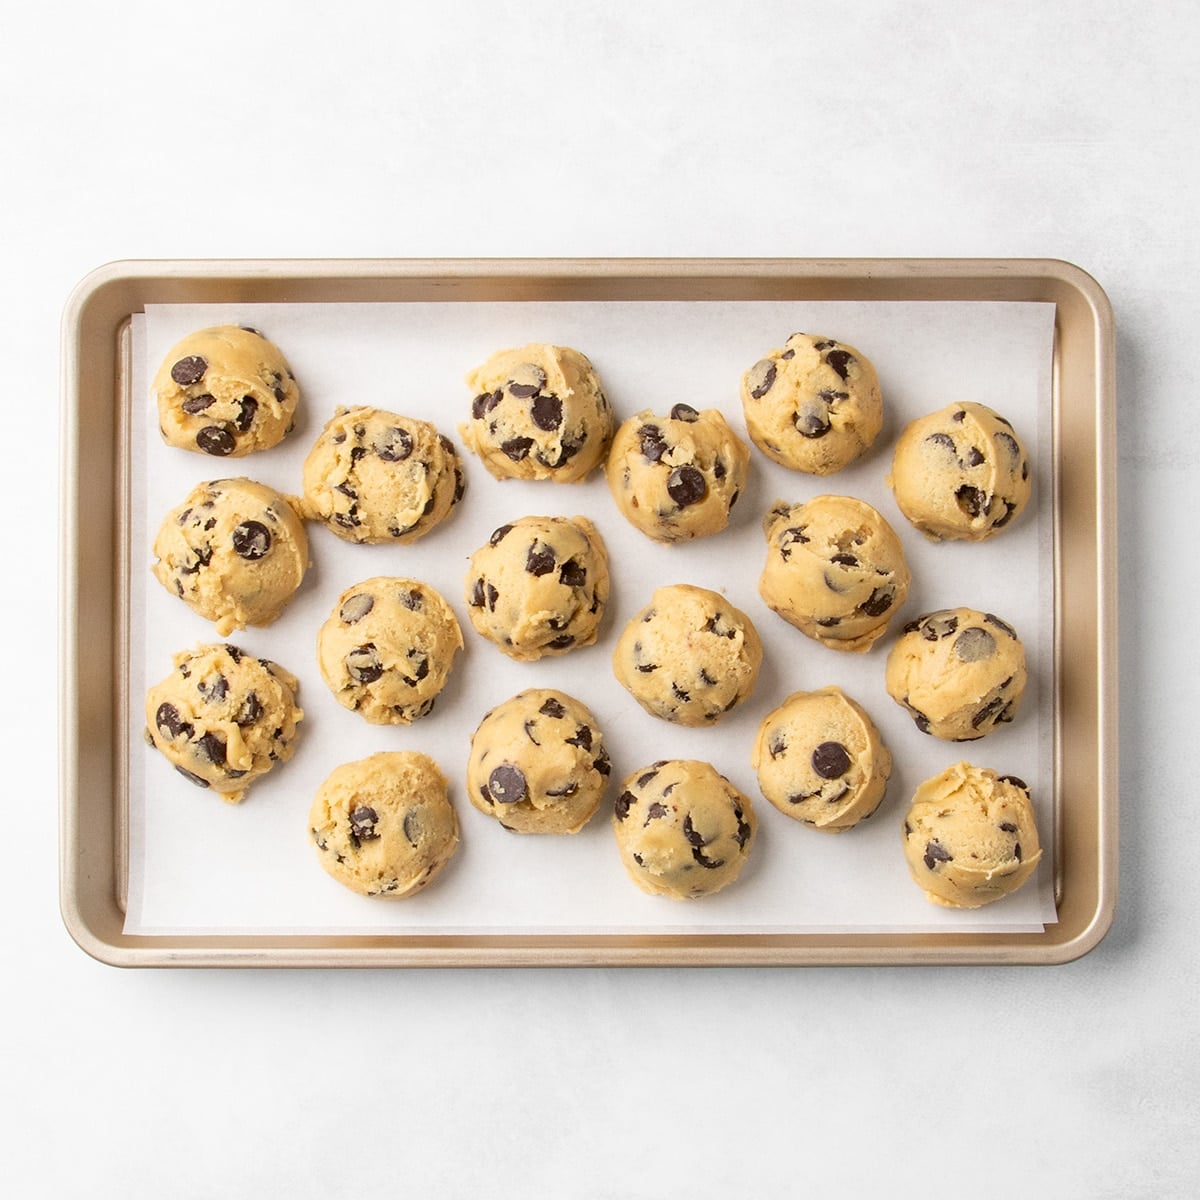
Scoop the dough with a spring-loaded scoop into even portions so they'll bake at the same rate in the oven. I like to use a medium cookie scoop (a #20 scoop or a medium OXO scoop) and fill it full. For perfectly uniform cookies, each should weigh about 50 grams.
Shape into balls
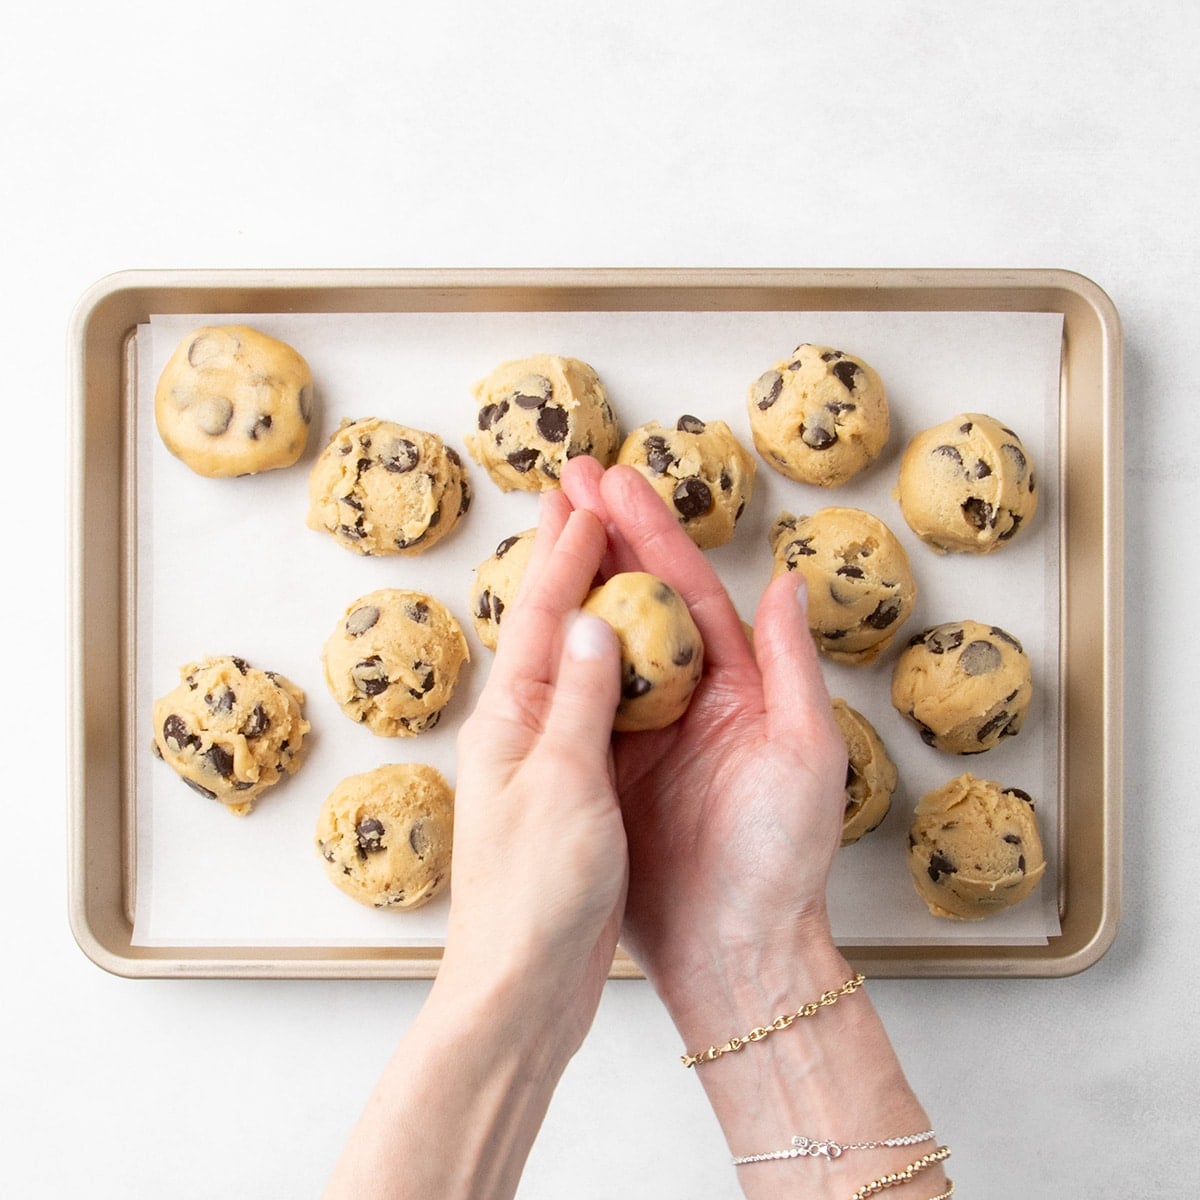
Roll each portion into a ball between your two palms, pressing it together so there are no gaps in the center that would cause misshapen cookies. The dough will be thick but workable, and should easily hold its shape when rolled and pressed.
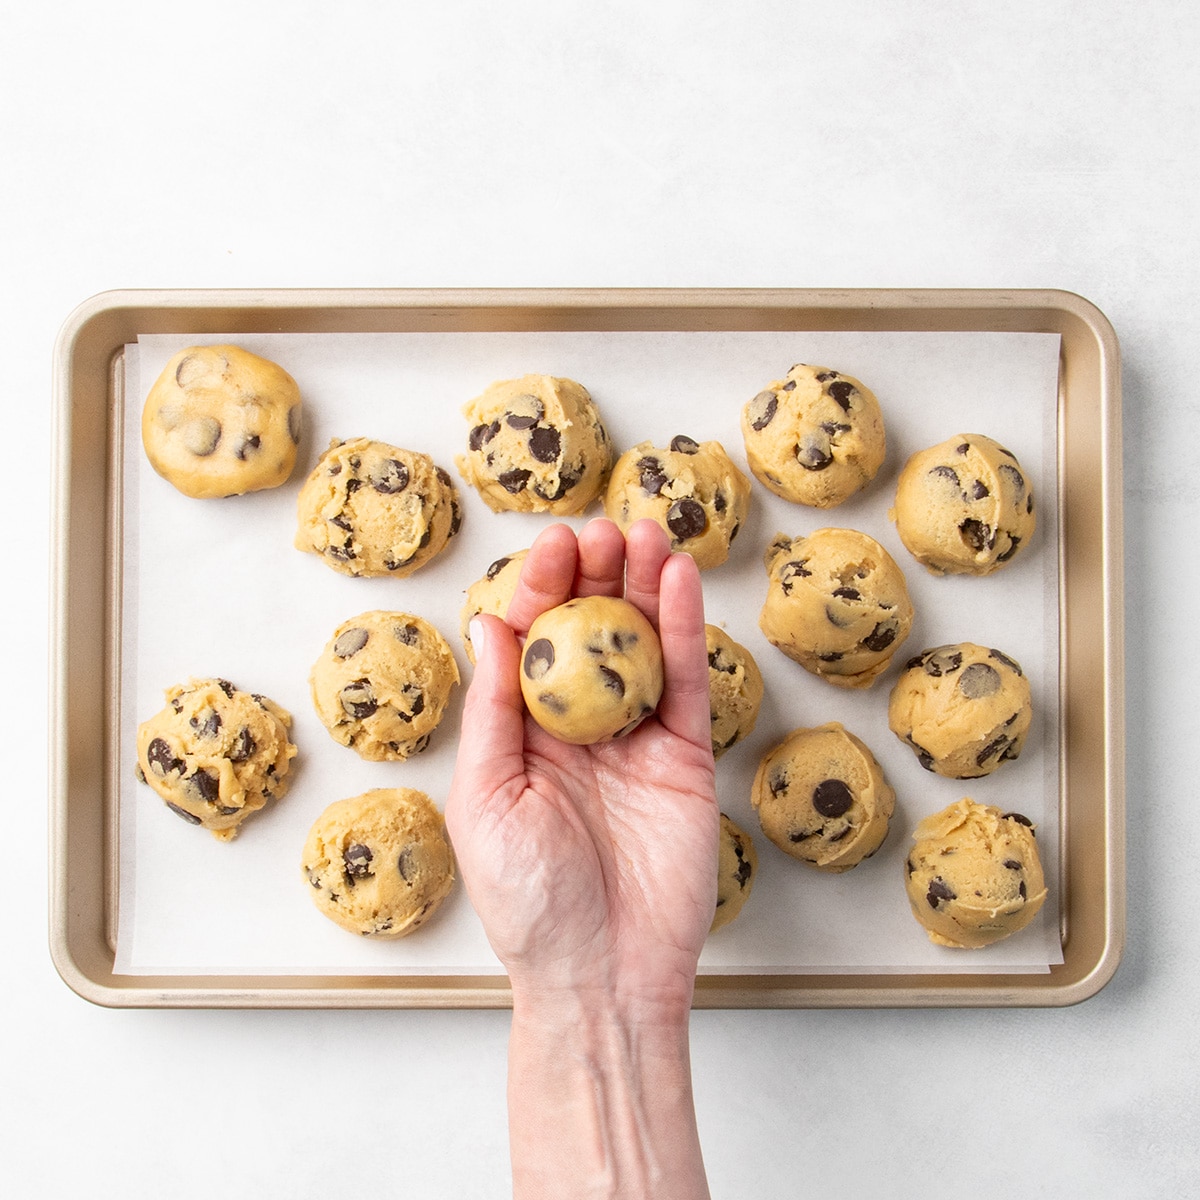
Flatten
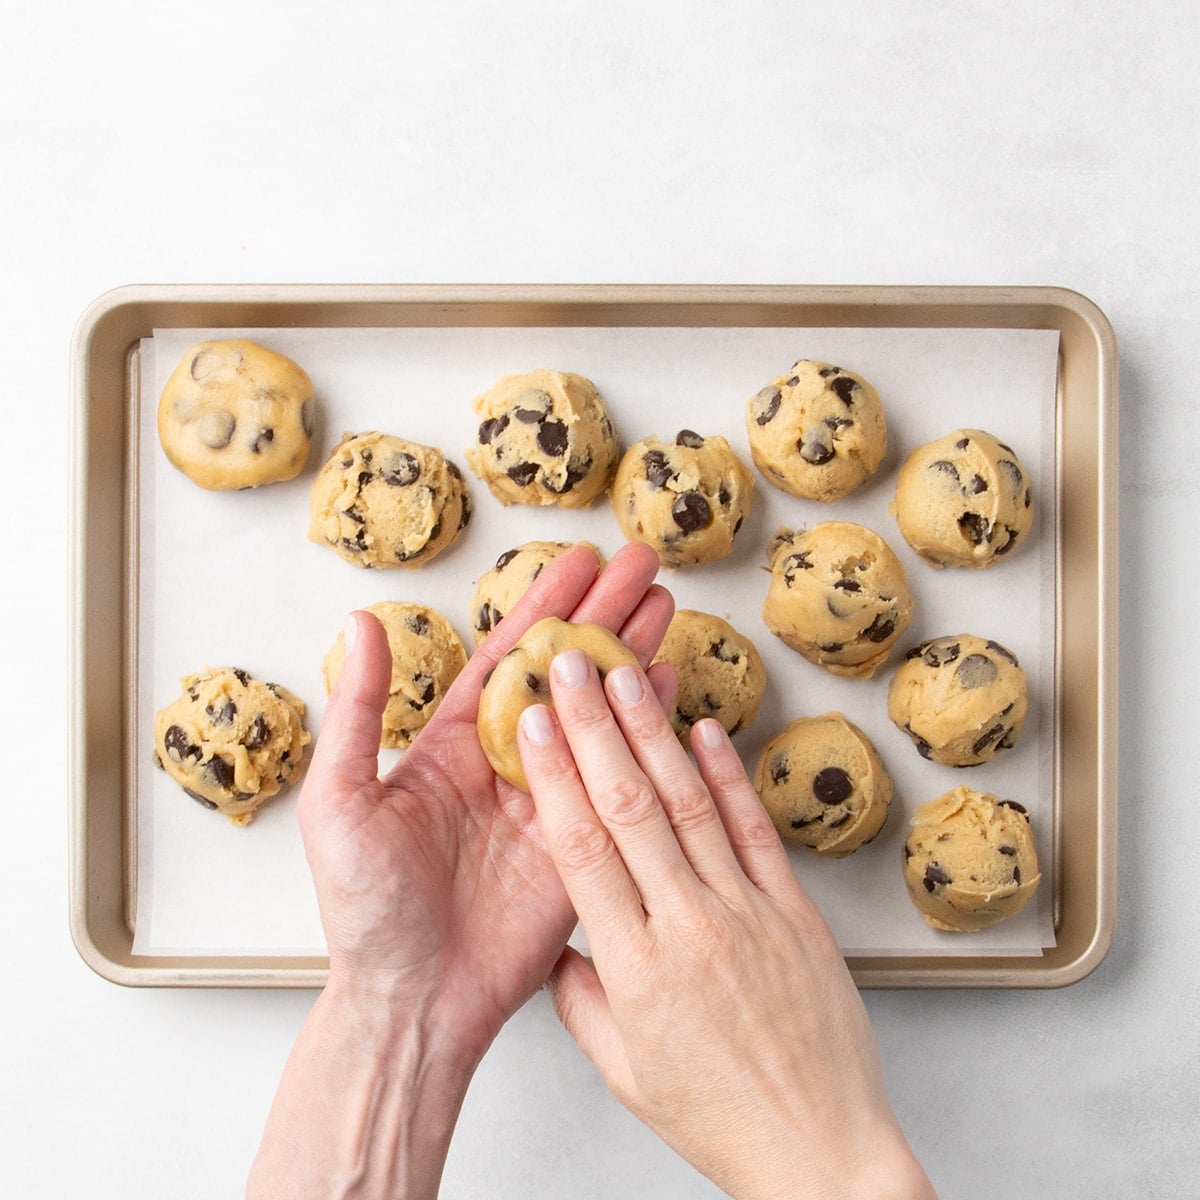
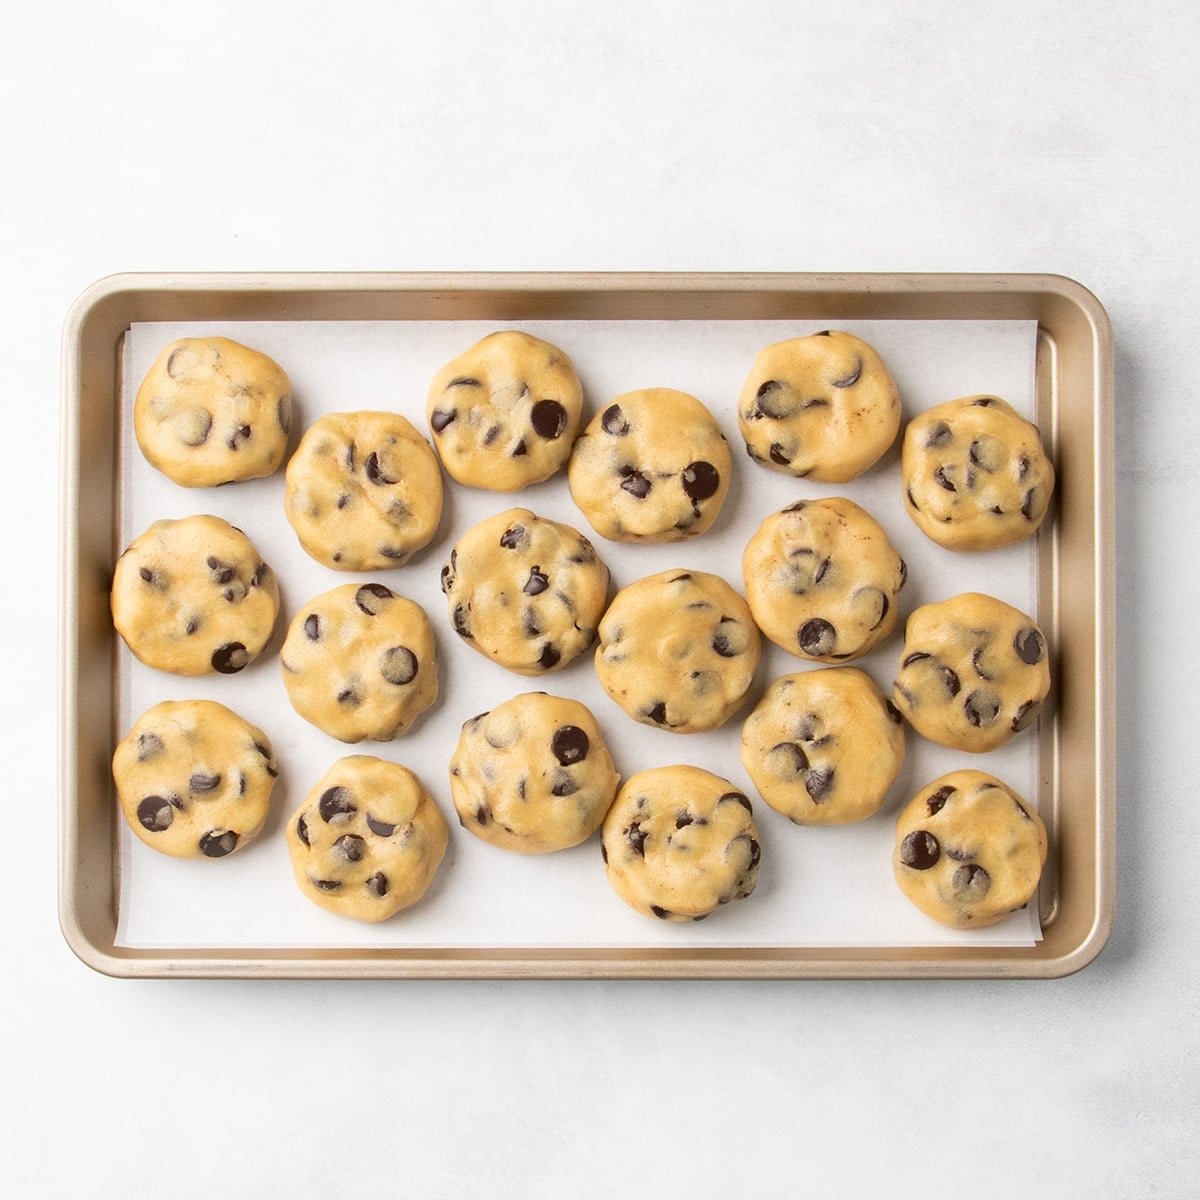
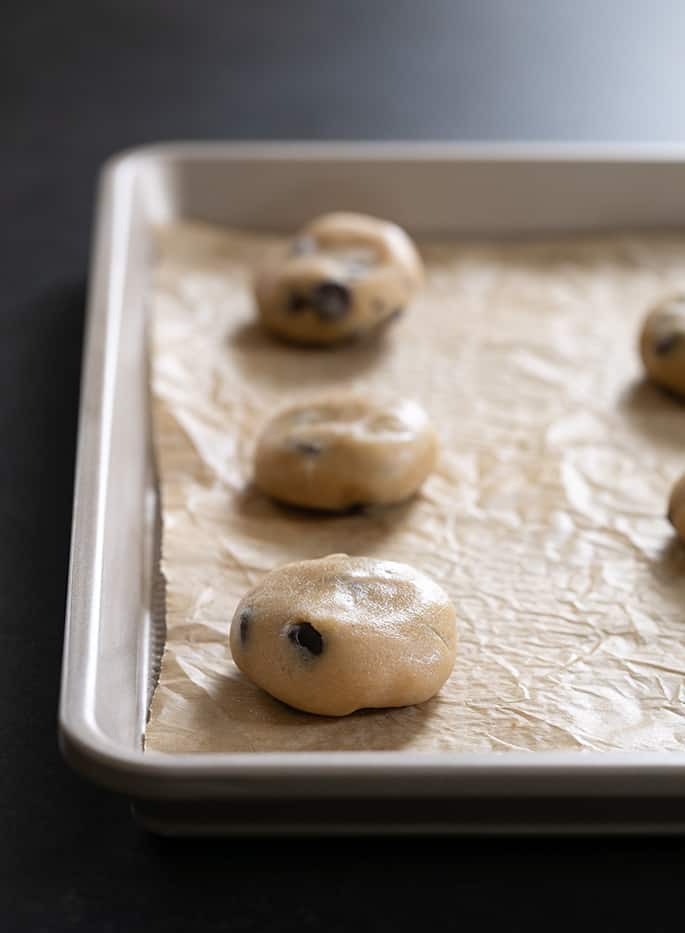
Hold each ball of dough in the palm of one hand and use the fingers of the other to press each ball into a disk. This will ensure the exact right amount of spread in the oven, since these cookies have less butter than some others, creating a perfectly controlled spread.
Rest the dough
For chewy cookies that have tons of deep flavor, cover the shaped dough so it doesn't dry out, and rest it for 24 hours. You can also bake a few cookies right away, and let the remaining dough rest, but even resting for 30 minutes will help develop the flavors and improve texture and browning. If you're resting the dough for longer than about 1.5 hours, rest it in the refrigerator to prevent spoiling.
If the dough is cold
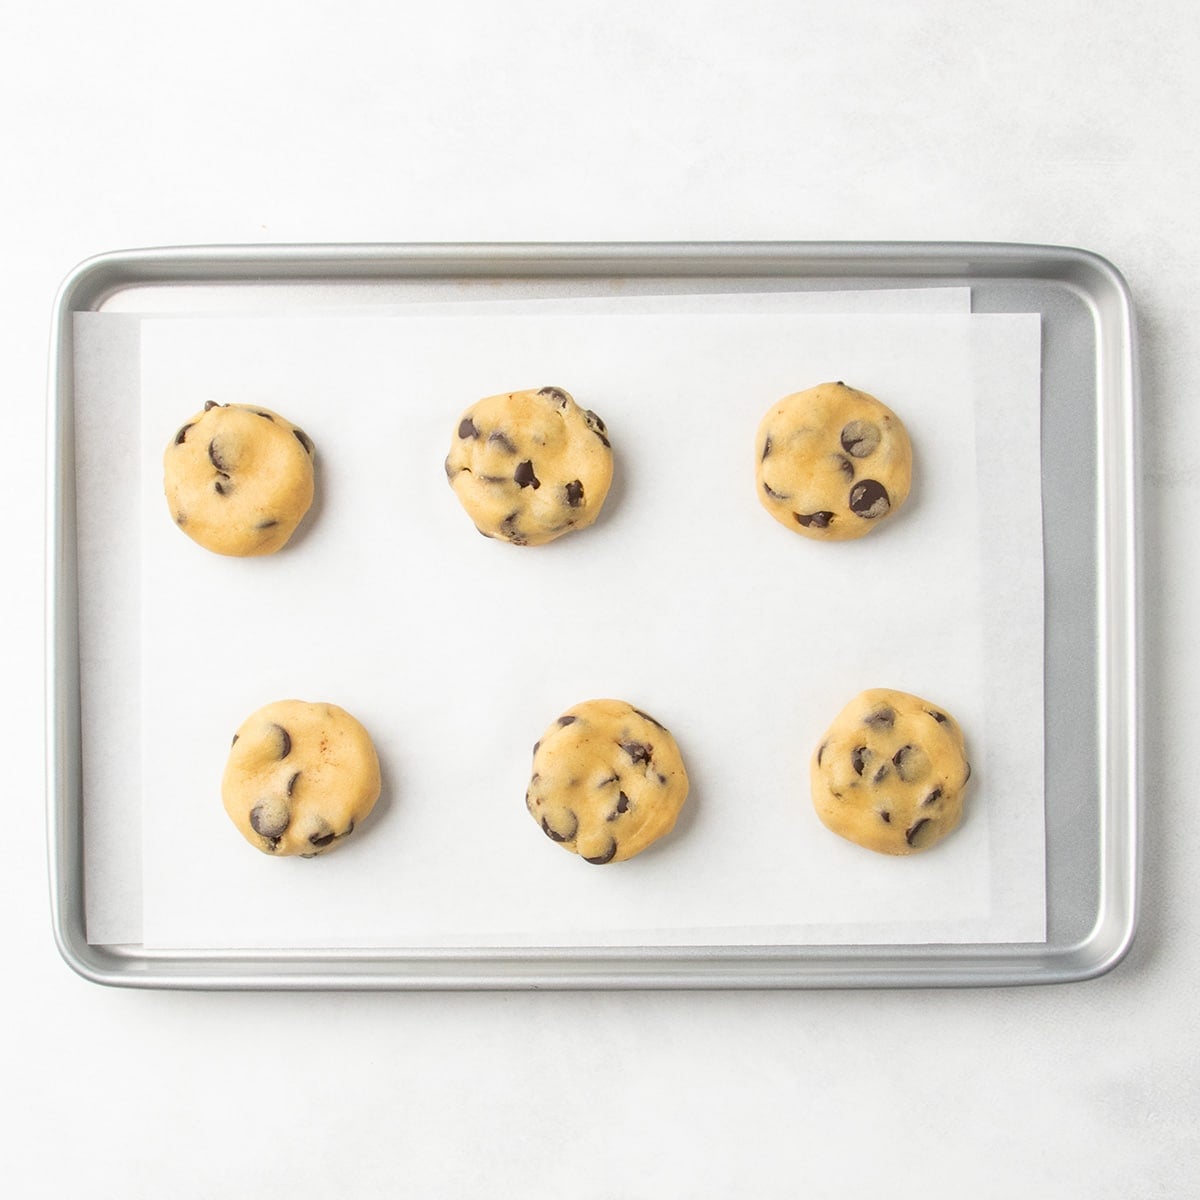
If you've chilled the cookie dough, set the shaped pieces out on parchment-lined baking sheets about 2 inches apart until it reaches about room temperature.
Bake the cookies
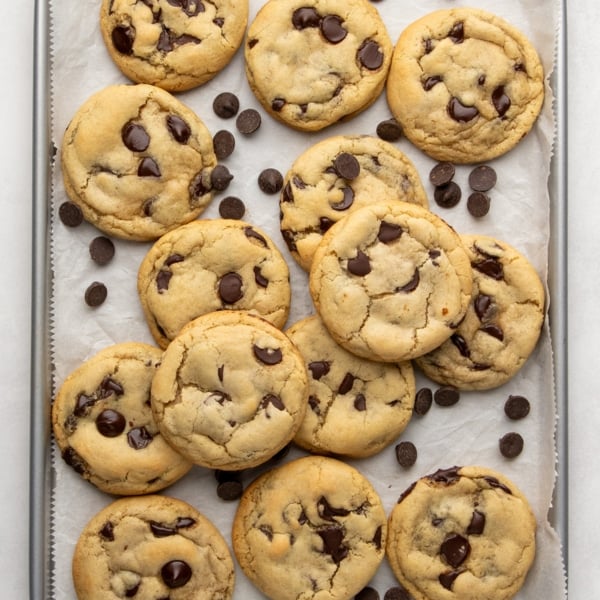
Place the baking sheets, one at a time, on the middle rack of a preheated 350°F oven for about 12 minutes. When the cookies are done baking, the edges should be golden and the centers mostly set. You don't want the center to glisten like it's still wet, but be careful not to overbake and dry them out.
Let set
Let the cookies sit on the baking sheet for a few minutes or they'll fall apart. Once set, they're very stable.
Expert tips
Like many of you, I've made these cookies hundreds of times. Here are the tips I've found that are essential for
Rest for deep flavor
Resting the dough over time creates more flavorful cookies that turn deeper golden brown on the bottoms and edges, fading toward the center. The older the dough, the more flavorful it becomes as the sugars begin to lose some of their moisture both into the air and into the flour, intensifying the caramel flavor of the brown sugar. NOTE: You don't need to actually “chill” this cookie dough unless you're resting it for longer than 1.5 hours, for food safety reasons. These cookies don't have as much butter as some other cookies, so firming them up before baking is not necessary to prevent excess spread.
Don't cream the butter and sugar
Unlike a lot of cookie recipes that begin by beating together the butter and sugar until creamy, here we mix the wet ingredients into the dry ingredients, which is called the “reverse cream” method. Creaming the butter and sugar together first until the sugar dissolves and the mixture increases in volume makes overly smooth cookie dough that doesn't “melt” enough in the oven. Instead of a dense and chewy cookie with the texture of a crackled, uneven top, you get an unusually puffy cookie that doesn't rise gently toward the center.
Skip the mixer
If you can, mix by hand. Using a stand or handheld mixer flattens the texture and creates a more uniform cookie texture. If you must use a mixer, work wet ingredients into dry as instructed in the recipe, rather than creaming butter and sugar first. This will help you avoid artificially thick cookies that don't rise naturally in the oven.
Add extra chips on top
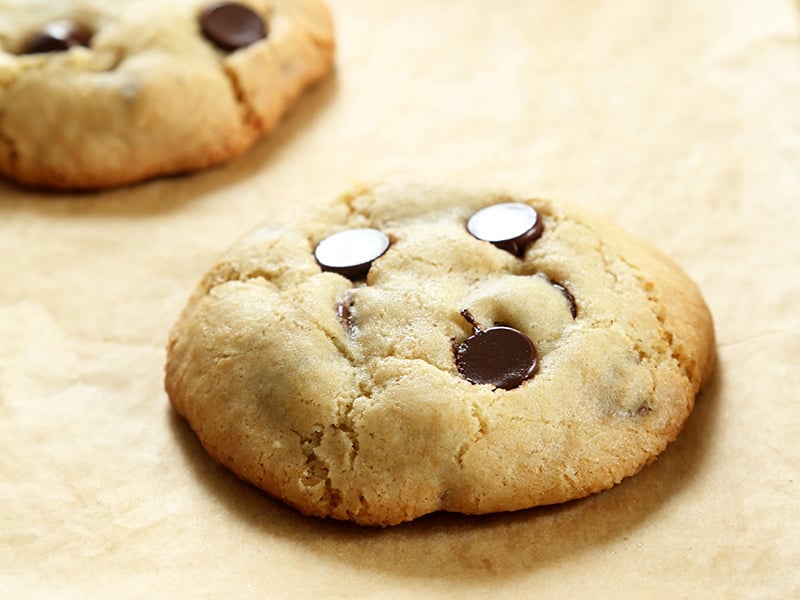
For photo-worthy cookies, press a few extra chips into the tops before baking, or just make sure the shaped dough has some visible chips on top. You can also add a couple of extra chips to just-baked cookies before they've set.
But what happens when I…
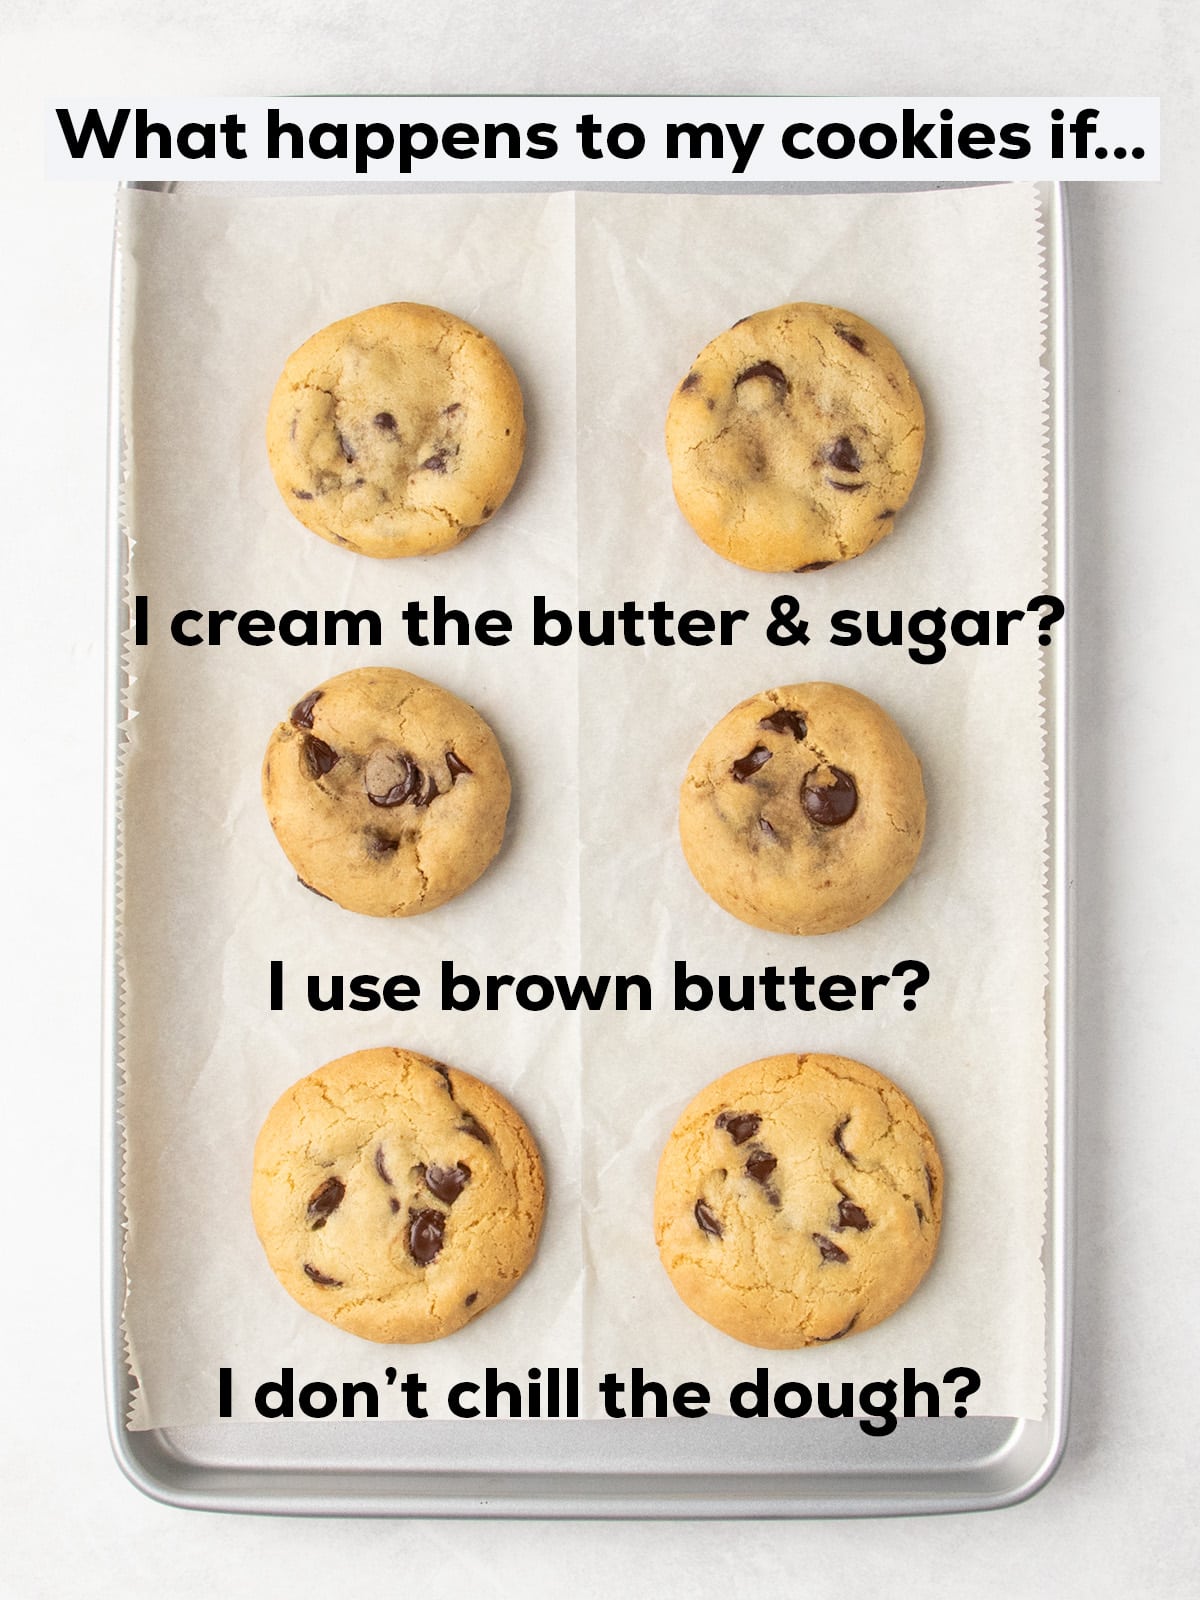
I often get emails and comments asking what happens if you cream the butter and sugar together, don't rest the dough, or if you can make these cookies “even better” by using brown butter. Here's why this recipe works best exactly the way it's written:
If you cream the butter and sugar, the cookies are thicker because they contain more air so they're less pleasantly chewy and don't have that crackly texture on top.
Using brown butter does add some depth of flavor, but even when you add back in exactly the amount of moisture that cooks off, the cookies are still crumbly.
Not resting (or chilling) the dough robs the cookies of variable browning and flavor development. It's not as big of a deal as the other changes above, though. Skipping the rest only leads to slightly more oven spread since that's when the flour absorbs and locks away some of the moisture. But these cookies don't have an overabundance of butter, so they won't overspread either way.
Ingredient substitutions
Unlike other recipes that require you to add almond flour, these are naturally nut-free, and easy to adapt for dairy-free or egg-free baking, too.
Dairy free
Swap the butter for Spectrum or Crisco vegetable shortening or block-style vegan butter (like Melt or Miyoko’s Creamery). Shortening makes crisp-edged cookies but doesn't brown much, and the dough hardens in the refrigerator, so be sure to shape it before chilling. If you're using vegan butter, chill the dough overnight to prevent overspreading. And don’t forget to use dairy-free chocolate chips!
Egg free
Replace each egg with a “chia egg” (1 tablespoon ground white chia seeds + 1 tablespoon warm water, mixed and gelled). Or try 100 grams plain Greek-style yogurt at room temperature and add 1 more tablespoon gluten free flour. Either way, when making this swap, be sure to rest/chill the dough overnight for the best structure and texture.
Easy mix-in ideas
Try swapping up to half of the chocolate chips, by weight, with:
- Flavored chips (like white chocolate or butterscotch, but check for gluten!)
- Chopped nuts (like pecans or walnuts)
- Soft dried fruit (like cranberries or raisins)
Storage instructions
Room temperature: Baked cookies stay fresh in a sealed container at room temperature for up to 5 days.
Refrigerator: You can store shaped, unbaked cookie dough in the fridge for several days. Keep it in a sealed zip-top bag or airtight container and bake in batches as needed.
Freezer: Freeze both baked cookies and raw, shaped dough for up to 3 months. You can bake the dough straight from frozen, just flatten the disks slightly first, and add 2 minutes to the baking time, but your cookies will be thicker. I prefer to let the raw disks come to cool room temperature before baking for the perfect spread and no risk of overbaking.
Gluten Free Chocolate Chip Cookies Recipe
Ingredients
- 2 ¼ cups (315 g) all purpose gluten free flour blend, (See Recipe Notes)
- ½ teaspoon xanthan gum, omit if your flour blend already contains it; use a heaping 1/2 teaspoon (See Recipe Notes)
- ½ teaspoon kosher salt
- 1 teaspoon baking soda
- ¾ cup (150 g) granulated sugar
- ¾ cup (164 g) packed light brown sugar
- 8 tablespoons (112 g) unsalted butter, at cool room temperature (69°F is ideal)
- 2 (100 g (weighed out of shell)) eggs, at room temperature, beaten
- 1 tablespoon pure vanilla extract
- 12 ounces semisweet chocolate chips, plus more as desired, up to 16 ounces total
Instructions
- Preheat your oven to 350°F (unless you plan to chill your cookie dough for longer than it takes to preheat your oven). Line baking sheets with parchment paper and set aside.
- In a large bowl, whisk together the flour blend, xanthan gum, salt, baking soda, and granulated sugar.
- Add the brown sugar and whisk again, breaking up any lumps with a fork if needed.
- Create a well in the center and add the butter, eggs, and vanilla. Mix the wet ingredients together in tight circles in the center, then stir into the dry ingredients until combined.
- Fold in 12 ounces of chocolate chips. The dough will be thick but workable. Add more chips if desired.
- Divide the dough into 21 (or up to 24, if you used more chips) portions, about 50 grams each. Roll into balls, then flatten into disks about 1 1/2-inches in diameter and 1/2-inch thick.
- If you like, press a few extra chips onto each dough ball for a more chocolatey look.
- Arrange cookies about 2 inches apart on the lined baking sheets.
- Cover and chill the shaped dough for about 24 hours (or up to 5 days) for the thickest, best-flavored cookies. If you can't wait, you can bake them right away, but even chilling the dough for 30 minutes will help them have more flavor. If you're not resting the dough for longer than 1.5 hours, you don't need to chill it.
- If you've chilled the dough, let it come to at least cool room temperature before baking it.
- Bake one sheet at a time until the cookies are golden brown on the bottom and edges and just set in the center, about 12 minutes.
- Let the cookies cool on the baking sheet for 5 to 10 minutes or until fully stable before disturbing them. You can let the cool on the baking sheet or transfer them to a wire rack to finish cooling.
Video
Notes
Nutrition
Nutrition information is automatically calculated, so should only be used as an approximation.
FAQs
Yes and no. Resting the dough deepens the flavor of the cookies, and you really only need to chill the dough if you're resting it for long enough that food safety becomes an issue (at about the 2 hour mark). You can bake the shaped cookies right away and they will still taste great, but even 30 minutes of resting time will help improve the flavor. Maybe bake some now, and chill the rest!
You may have overmeasured the flour, skipped xanthan gum, or used butter that was too cold to mix in properly. If you browned your butter first, that would also make crumbly cookies.
Your dough may have been too warm, your butter too soft, or your baking sheet still hot from the last batch.
If your flour blend doesn't contain xanthan gum, adding guar gum or konjac powder instead can work. For a full explanation, see our post about xanthan gum substitutes using this recipe for testing.











I found the recipe a little bit confusing. The video shows it being rolled in a parchment in a log and she the directions say to shape them into ball and flatten into desks. Can you please confirm which is the correct procedure? Thank you very much.
You can either make these cookies as slice and bake, as you describe, or by shaping them into a ball and flattening them into disks, Sheila. It’s your choice, either way you end up with the cookies with the same general shape!
What happened to the vegan alternative recipe? Link is not working and I used to love the ones with applesauce
The link changed, Brooke! So sorry. It’s fixed now. Here it is for your convenience.
These cookies are AMAZING!! I made a dozen the way the instructions state, but the rest of the batter I used in a mini muffin tin, using a cookie scoop to ball the dough. They’re slightly crispy on the outside while being soft and chewy on the inside! I don’t have a gluten allergy but my son does, and any time I can make him a copycat of the foods he misses, it’s a win in my book!
Aw, that’s so sweet, Heather. I started this whole site because of my son, so it makes me really happy that you were able to use this recipe for yours. :)
Hi Nicole, I know that you usually specify that cookies or dough can be frozen, but I didn’t see those instructions for the NYT style chocolate chip cookies. Can you do either or both for those cookies? Thanks
Hi, George, I do freeze this cookie dough, yes. But I only recommend freezing it already portioned into disks, or it’s too difficult to shape after it’s been frozen. Then, let it sit at room temperature until it’s defrosted but still a bit cold before baking. I find that if I bake it from frozen, it simply doesn’t spread almost at all. Same with the NYT cookies.
Last time I made these, my brother was coming to visit. I rolled them into balls and loaded up a bowl for the refrigerator until he was fit to arrive in the next couple of days. They were in the oven when he walked through the door, but he always checks my fridge out. He couldn’t wait! He downed a couple of the dough balls, much to his wife’s dismay, with a grin on his face, until the baked ones came out of the oven. They are coming next week and his wife asked if I always have warm chocolate chip cookies in the oven when guests arrive! I think she’s hoping! ❤️
That’s so lovely to hear, Mary! He’s lucky to have you. Thank you for sharing that story!
Hi! I’m wondering if these can be made with sugar alternatives?
Hi, Morgan, you can try using Lankato brand sugar alternatives for each of the sugars (a granulated sugar alternative where appropriate, a light brown sugar alternative where appropriate), but alternative sugars tend to be very drying, so the cookies won’t really turn out as intended, I’m afraid. When it’s a recipe that already has a liquid, you can sometimes add more, but here you’d really do better with a recipe developed to be made with sugar alternatives.
Really yummy
I’ve reviewed this recipe before and its so good that I feel the need to review it again! These cookies are simply amazing! I first made them over the Christmas holiday using the flour blend recipe provided by Nicole. They were amazing and were all gone by the end of the evening. I made them again this week for a birthday celebration, using a store bought gluten free flour blend, and they were gone within minutes. Not only that but multiple people requested a copy of the recipe. They are the absolute best and will definitely be my go-to cookie recipe for everything!
That’s so great to hear, Lindsey, and thank you so much for sharing your experience. I’m so glad that you’ve enjoyed these cookies as much as my family and I have!
Followed directions exactly, I don’t care if they are flat or puffy. These have absolutely no taste except sugar and chocolate chips. I’ll stick to the other recipe that takes a bit longer and more ingredients. It worth ever making tasteless cookies again, much better ones than this.
Seriously amazing cookies! I made a double batch because the whole family had been missing homemade cookies and we made about half a batch right away and then left the rest in the fridge for a few days. They’re were really good baked right away but the longer they stayed in the fridge before baking really made the taste better and better! Very much worth the extra time
So glad you tried them both chilled and baked right away, Megan, so you can see what a difference it makes! I always recommend that people make a larger batch and bake some right away, and chill the rest. The best of both worlds!