This post may contain affiliate links. Please read our disclosure policy.
Make any holiday or occasion special with these gluten free celebration pinwheel cookies. They're much easier than they look!
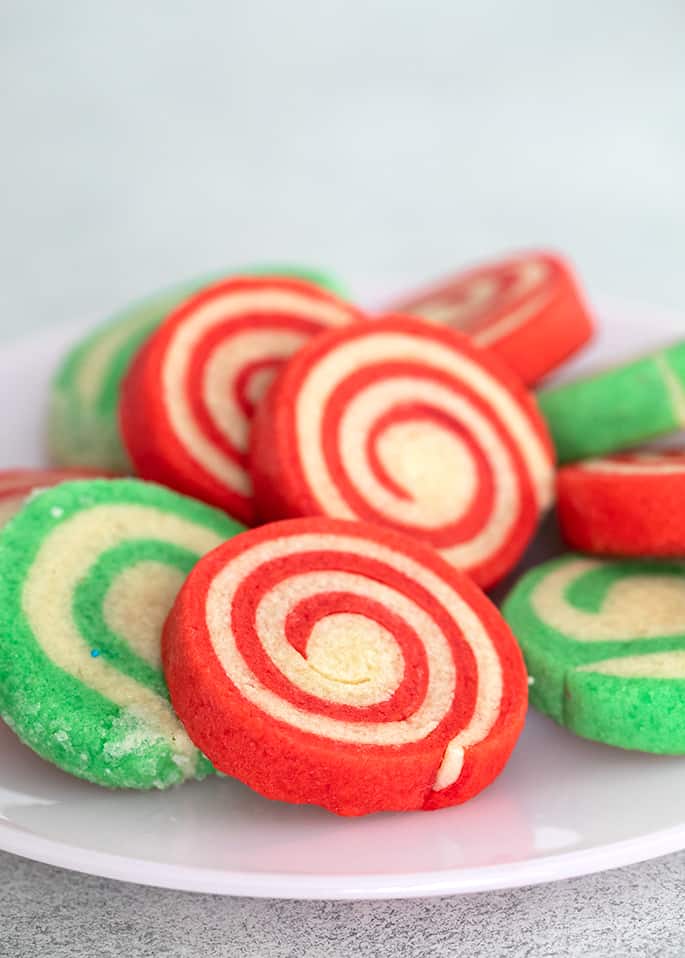
Let's have some holiday fun!
I rely on fun holiday cookies, like these celebration pinwheels, to dress up a cookie plate every year. This recipe is for everyone who wants a little fun, and can have food coloring.
If you must avoid food coloring, then I hope you'll let the rest of us have some fun. I'm afraid you can't use natural food colorings, because they just aren't vibrant enough.
The colors don't change the taste of these dressed-up, shaped sugar cookies, of course. But you can match the color to the flavor using flavoring oils, if you want to go all in.

The (easy, I promise) method for making pinwheel cookies
The cookies are most tender when you beat the softened butter and sugar until light and fluffy before adding the remaining ingredients. You can make the cookie dough by using the reverse-cream method (dry ingredients, whisked together, with wet ingredients mixed in after), but I don't recommend it.
Once you see how the spiral is shaped, the steps in the recipe below won't seem overwhelming, despite the sheer number of them. So watch the how-to video first.
You'll see that you add food die to one half of the dough, pat each half into a rough flat rectangle, wrap tightly, and proceed with the recipe from there.
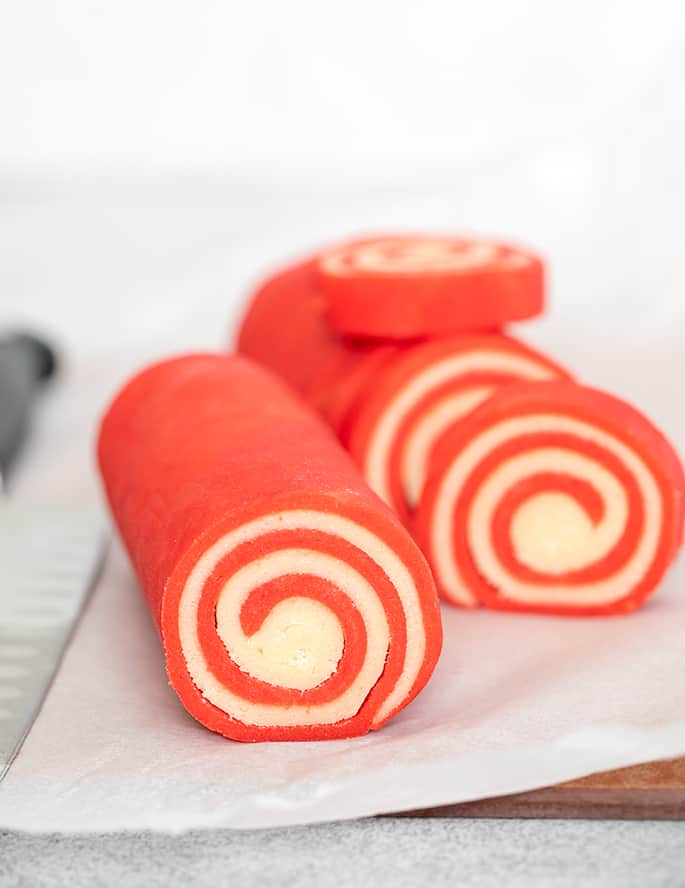
Tips for keeping the round shape of pinwheel cookies
The cookie dough will be quite soft when it's first made, since we make it with softened butter. The trick is to shape the dough in stages.
When the dough first comes together in the mixer, you'll divide it in halves. One half stays plain, the other has gel food coloring mixed in.
Each of the halves is then pressed into a rough square, wrapped tightly in plastic wrap and then chilled until firm (but not hard). If at any point you chill the dough so much that it becomes brittle, just let it warm up at room temperature for a bit.
Then, roll out each piece into a tidy 10-inch square, layer the squares, and roll them together into a cylinder. The cylinder will be beautifully round, but when you chill it next, it will likely flatten a bit.
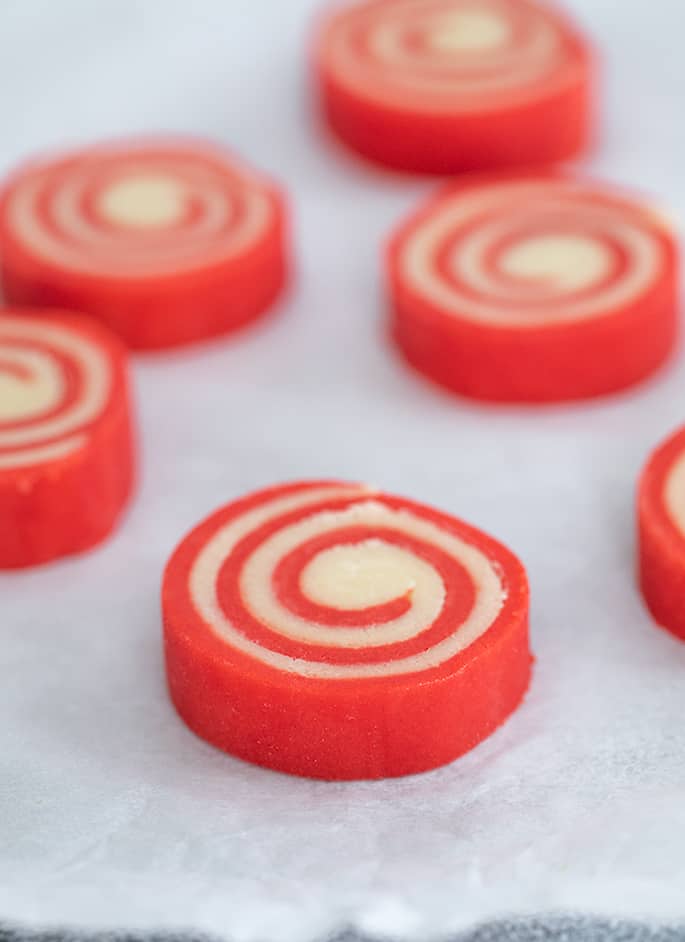
When you finish chilling the cylinder, just rock it back and forth on the counter to return it to its proper shape. If any of the slices flatten a bit when you cut by cross-section, reshape them gently by squeezing flat in one clean palm.
Gluten free Pinwheel Cookies: Ingredients and substitutions
Dairy
In place of the butter in this recipe, I recommend trying vegan butter. My favorite brands are Miyoko's Kitchen and Melt.
Egg
Since there is only one egg in this recipe, I think a “chia egg” should work fine. Just place 1 tablespoon ground white chia seeds in a small bowl and mix it with 1 tablespoon lukewarm water. Mix and allow the mixture to gel.
Since even white chia seeds do have brown flecks of color, even when ground, you will end up seeing some flecks in the finished cookies. To camouflage them, try adding different colors of gel food coloring to each half of the dough, rather than keeping one plain.
Food coloring
I always use AmeriColor brand gel food colorings. They're reliably gluten free, very vibrant, and don't affect the taste of baked goods. I have a set of small squeeze bottles in lots of colors, and they last forever.
Do not try to use liquid food coloring in this recipe. You'll need to add way too much food coloring to get a vibrant color, and it will affect both the taste and the performance of the dough.
For a dye-free version, try our chocolate and vanilla classic gluten free pinwheel cookies. No artificial colorings needed!
Flavoring
In place of the vanilla extract in this recipe, you can use your favorite flavoring oil. I like LorAnn brand flavoring oils.
Try pairing the color with the flavor you might expect to go along with it. For the red color, try cherry flavoring. For the green color, try mint. But resist the urge to add too much, as these oils tend to be potent!
Gluten Free Celebration Pinwheel Cookies
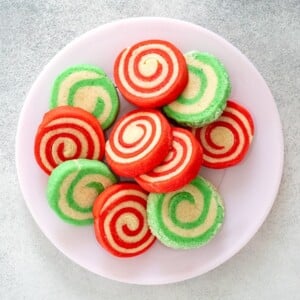
Ingredients
- 2 cups (280 g) all purpose gluten free flour blend, plus more for sprinkling (I used Better Batter; please click thru for full info on appropriate blends)
- 1 teaspoon xanthan gum, (omit if your blend already contains it)
- ½ teaspoon baking powder
- ⅛ teaspoon baking soda
- ½ teaspoon kosher salt
- 11 tablespoons (154 g) unsalted butter, at room temperature
- ¾ cup (150 g) granulated sugar
- 1 (50 g (weighed out of shell)) egg, at room temperature, beaten
- 1 ½ teaspoons pure vanilla extract, (or flavoring oil; See Recipe Notes)
- Gel food coloring, (See Recipe Notes)
- Coarse sugar or nonpareils for decorating, plus egg whites (optional) (See Recipe Notes)
Instructions
- Preheat your oven to 375°F. Line a large rimmed baking sheet with unbleached parchment paper and set it aside.
- In a medium-size bowl, place the flour, xanthan gum, baking powder, baking soda, and salt, and whisk to combine well. Set the dry ingredients aside.
- In the bowl of a stand mixer fitted with the paddle attachment or a large bowl with a handheld mixer, place the butter and beat on medium-high speed for about 2 minutes, then the granulated sugar and continue to beat until light and fluffy (about 5 minutes more).
- Add the egg and vanilla, and beat until smooth.
- With the mixer running on low, add the flour mixture and beat until just combined.
- Remove half of the dough (11 1/4 ounces) and set it aside.
- To the rest of the dough, add about 1/8 teaspoon of green or red food coloring (or whatever other food coloring you like). Beat until the color is uniform and vibrant.
- Place each piece of dough (the plain and the colored) on a separate large piece of plastic wrap.
- Cover the dough loosely, and pat the dough into about a 4-inch square.
- Place each on a flat surface, and place in the refrigerator to chill for about 10 minutes or until slightly firm.
- Unwrap one of the pieces of dough and place it on a very lightly floured surface.
- Sprinkling very lightly with more flour as necessary to prevent sticking, roll the dough into a rectangle about 10-inches square.
- Repeat the same procedure, separately, with the other piece of dough.
- On a large piece of parchment paper, place the colored square of dough. If the top of the colored square of dough seems very dry to the touch, moisten it very lightly with lukewarm water on your fingertips. This will help ensure that pieces of dough don’t separate much during baking.
- Place the plain square directly on top of the colored squares, layering them evenly on top of one another. Roll them to together with gentle pressure to help them adhere.
- Starting at one end, roll the layered dough away from you and into a cylinder that is as tight as you can manage.
- If any parts of the colored (outside) dough crack during rolling, pinch them lightly together as you work.
- Rock the cylinder back and forth to create a uniform cylindrical shape. Wrap the dough tightly in a large piece of parchment paper, cinching the ends.
- Chill for at least 20 minutes or until firm enough to slice cleanly.
- Once the dough has chilled, rock the cylinder back and forth a bit to reestablish the curve (See Recipe Notes for decoration suggestions here).
- Slice the dough by cross-section into about 16, 1/4-inch thick pieces.
- If any of the of raw cookie slices seem to have flattened on the bottom, squeeze them gently in an open palm to reestablish the round shape.
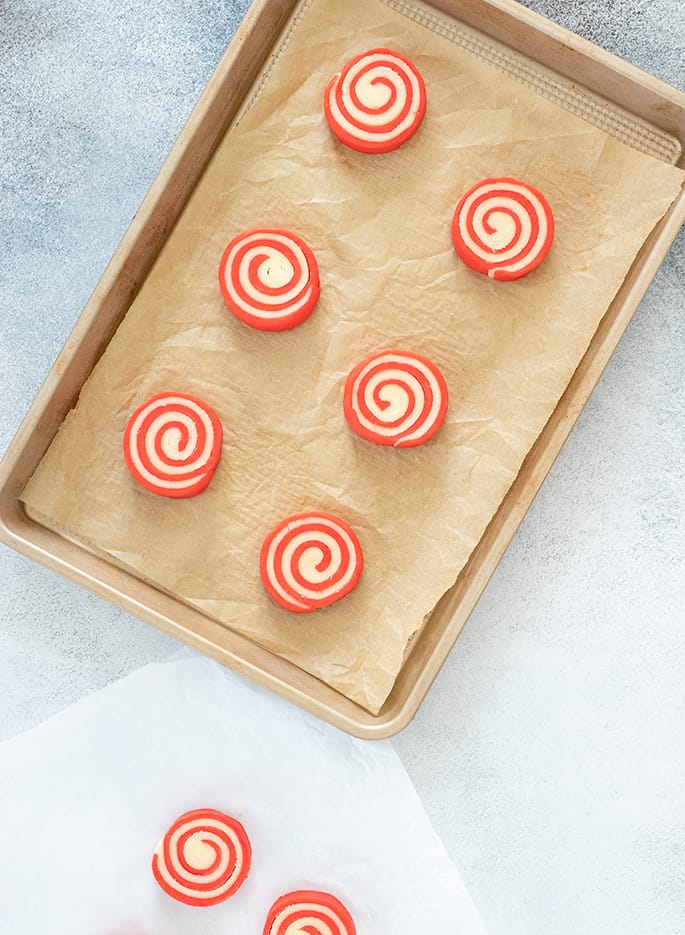
- Place the raw cookies about 1-inch apart on the prepared baking sheet.
- Place in the center of the preheated oven and bake until the cookies are just set in the center (8 to 10 minutes). They should not have browned visibly.
- Allow the cookies to cool for at least 5 minutes or until firm on the baking sheet before transferring to a wire rack to cool completely.
Video
Notes
In place of the vanilla extract in this recipe, try using your flavoring oil. I like LorAnn brand, but they’re potent so use sparingly. For the gel food coloring
You can only use gel food coloring to color this cookie dough. I always use AmeriColor brand gel food colorings. Do not try to use liquid food coloring in this recipe. For even fancier cookies
If you’d like to decorate the outside edge (perimeter) of the cookies, it’s best to decorate the raw rolled dough cylinder before slicing the cookies by cross-section. After chilling, brush the outside of the cylinder lightly with egg white, and sprinkle on your decorating sugar or nonpareils. Roll the cylinder back and forth as you sprinkle the decorations, pressing the cylinder gently to help the decorations adhere. Proceed with the recipe as instructed.
Nutrition information is automatically calculated, so should only be used as an approximation.

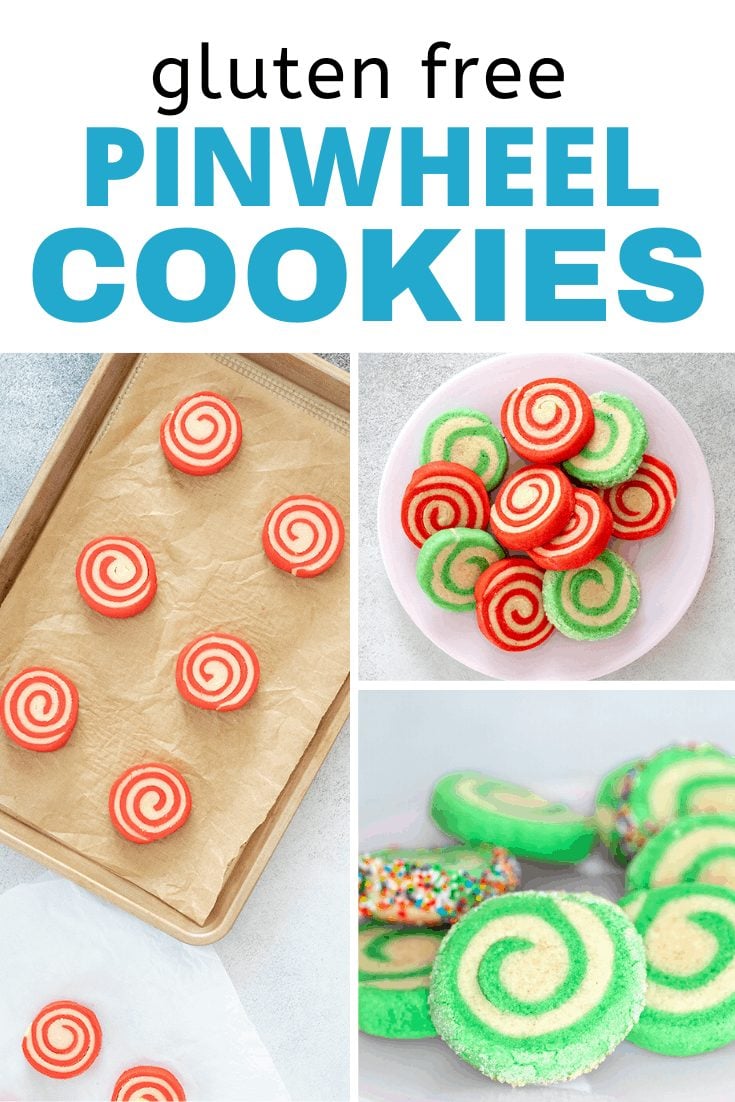


In the gluten free cookies, could I use 1/2 Miyokos stick butter and 1/2 Crisco butter flavor shortening? I have not yet tried this. I hate ruining things as ingredients are so expensive!
It really depends on the recipe, Karen, and since I haven’t tried it I can’t promise results. But that does sound like a combination worth trying to mimic the taste and performance of butter.
I would love to have your pinwheel cookie recipe that used chocolate. I cannot find it on your website. Hopefully, you can send it to me. It was the best of any of the recipes I used.
Hi, Joan, that blog post is no longer available, but you can print the recipe and keep it for your records.
I didn’t wind up having to freeze ahead – but good to know the baked cookies freeze well! These are wonderful and so flexibly festive! I did red and white with white non-pareils and peppermint flavoring. Thank you for a great recipe to add to my gf collection.
So fun, Jeri! Their ability to freeze beautifully is one of my absolute favorite qualities of cookies. And they have many charms!