This post may contain affiliate links. Please read our disclosure policy.
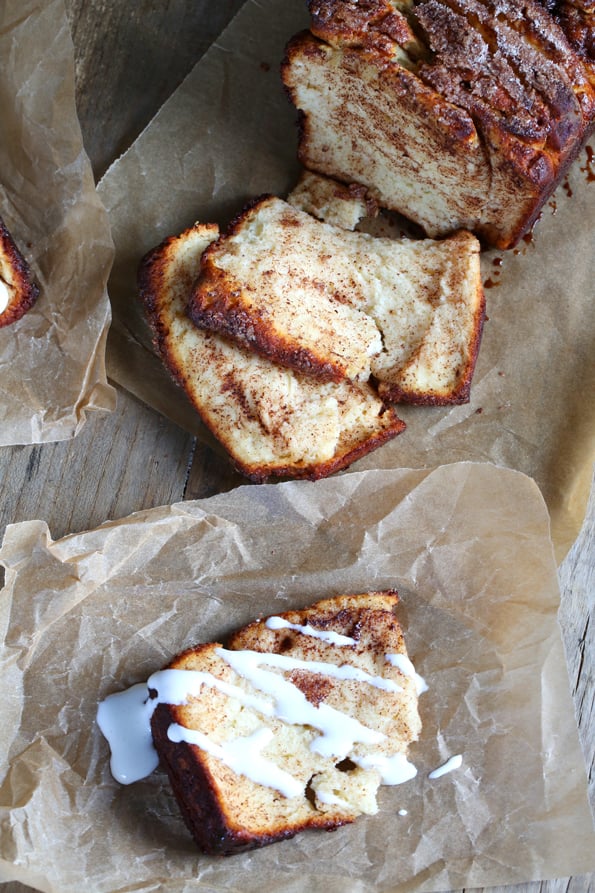
This gluten free chocolate pull apart bread is the fun bread everyone's making—gluten free! Make it chocolate, or a cinnamon-sugar version.
I used to get emails asking me to make one of those recipes for the now-famous-on-the-Internet pull-apart breads all the time. I kept saying “I will I promise I will.” And then I didn't.
Because I knew I was working in my mad scientist nerd-o-matic gluten free kitchen on a whole new way of making gluten free bread. I was writing Gluten-Free on a Shoestring Bakes Bread, and it was going to be a gluten free bread revolution if it was the last thing I did!
But it was a looooong process and success was just barely on the horizon. But now that the new book has been out in the world for a solid month (!), it was time. Clearly, it was time. And oh my was it ever worth the wait.
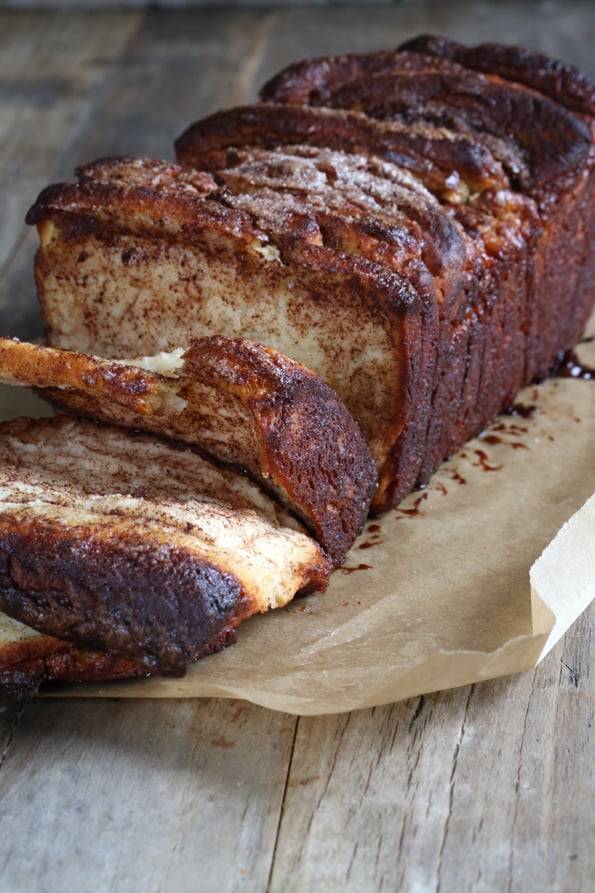
Table of Contents
Sometimes, a recipe or technique that catches fire on the Internet kind of just leaves me scratching my head. Like, say, Oreos stuffed in … other cookies? I don't judge those who do it, but I have no desire to join them. Just not my thing.
But pull-apart bread? Made with real, proper honest-to-goodness gluten free yeast bread since, well, we can do that now?
Turns out that this one's totally legit. It's like French toast that you serve yourself layer by delicious layer. Warm, toasty, tender bread. And mine is all chocolatey. Trust me—you're gonna want to make it yours.

I made mine into chocolate pull-apart bread, but really? You can really sprinkle whatever you like in there.
You can just do cinnamon and sugar, or you can do any of the savory types that are swirling around out there on other blogs. The technique is the same, and it really isn't difficult at all.

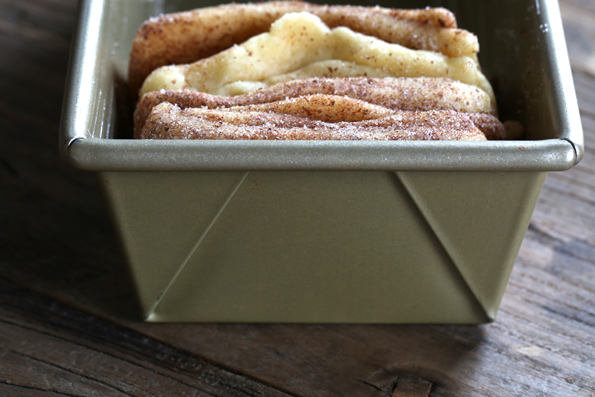
Now I know it can be frustrating making yeast bread dough from Bakes Bread, and then having to wait at least 12 hours before you shape it and bake it. It really does make a difference in the bread and in the shaping (it is much easier to handle and rises much more evenly).
But this particular dough is rather highly enriched, so I tested it both ways—the usual way (letting it rise in the refrigerator for at least 12 hours) and the quicker way (letting it rise until doubled in a warm place). Both worked.
I much preferred the shaping and rising experience the slower way, but who could blame you, really, if you just couldn't take the waiting.
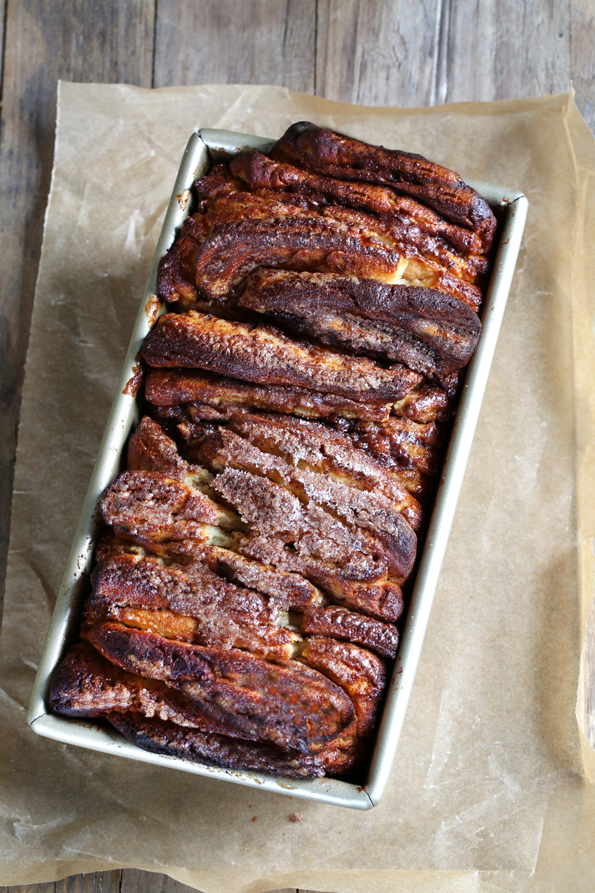
Just look at that sugary, chocolatey goodness. It's made with our gluten free bread flour blend, a revolution in gluten free bread baking.
Gluten Free Chocolate Pull-Apart Bread
Equipment
- Stand mixer fitted with the dough hook
Ingredients
For the bread
- 3 cups (420 g) Gluten Free Bread Flour, plus more for sprinkling (you must use this blend; please click thru for full details)
- ¼ teaspoon cream of tartar
- 2 teaspoons (6 g) instant yeast
- ¼ cup (50 g) granulated sugar
- ½ teaspoon (3 g) kosher salt
- ⅔ cup (5 ⅓ fluid ounces) warm milk, (about 95°F)
- 2 (100 g (weighed out of shell)) eggs, at room temperature, beaten
- 4 tablespoons (56 g) unsalted butter, melted and cooled
For the filling
- 3 tablespoons (42 g) unsalted butter, melted
- 2 ounces finely-grated bittersweet chocolate
- ½ cup (100 g) granulated sugar, whisked with 1/2 teaspoon ground cinnamon
Instructions
- Make the bread dough.
- In the bowl of your stand mixer, place the flour, cream of tartar, instant yeast and sugar, and use a handheld whisk to combine well. Add the salt and whisk to combine well. Add the milk, eggs and butter, and mix on low speed with the dough hook until combined. Raise the mixer speed to medium and knead for about 5 minutes.
- The dough is a lovely, smooth, enriched dough. It climbs up the dough hook during kneading but remains intact and smooth. Spray a silicone spatula lightly with cooking oil spray, and scrape down the sides of the bowl.
- Transfer the dough to a lightly oiled bowl or proofing bucket large enough for the dough to rise to double its size, spray the top of the dough with cooking oil spray, and cover with an oiled piece of plastic wrap (or the oiled top to your proofing bucket).
- Place the dough in the refrigerator for at least 12 hours and up to 3 days.
Prepare the dough for shaping.
- On baking day, grease a standard loaf pan (approximately 9-inches x 5-inches) and set it aside.
- Turn out the chilled dough onto a lightly floured surface and smooth out the dough by scraping it up with a lightly floured bench scraper or cake turner, and turning it over on itself. Be sure that you are using a very light touch, sprinkling the dough with more flour and kneading it lightly. Repeat scraping and folding until the dough has become smoother. Do not overwork the dough or you will incorporate too much flour and it will not rise properly.
Shape and fill the dough.
- Divide the dough into two equal pieces. Set one piece aside and cover lightly with a tea towel so that it does not dry out.
- With a floured French rolling pin, roll the remaining half of dough flat into a rectangle until it is about 6-inches x 10-inches, shifting the dough around frequently and sprinkling lightly with more flour as necessary to prevent sticking.
- Brush the entire surface of the dough with about half of the melted butter from the filling. Sprinkle with half of the grated chocolate, and then half of the cinnamon sugar. Press gently on top to secure the chocolate and cinnamon sugar.
- Using a very sharp knife or pizza wheel (the wheel works best), slice the rectangle into 3 strips along the 10-inch length. Carefully lift the strips and stack them squarely on top of one another.
- Slice through all 3 strips in 5 places, making 5 equal stacks of small rectangles, each 3 high. Set the stacks aside.
- Gather together any of the filling that has fallen off, and set it aside.
- Repeat with the remaining piece of dough and the remaining filling in the exact same manner.
Assemble and bake.
- Place all of the stacks of dough in the prepared loaf pan, all back to back. The pieces of dough will touch, but will reach across the length of the loaf pan without being too crowded. Sprinkle the top with any filling that fell off during shaping.
- Cover the dough loosely but securely with an oiled piece of plastic wrap, and set in a warm, draft-free location to rise until doubled in size (about 1 1/2 hours, but rising time can vary greatly depending upon your kitchen environment).
- About 20 minutes before your dough has finished its final rise, preheat your oven to 350°F.
- Once the dough has finished rising, remove the plastic wrap and place the pan in the center of the preheated oven.
- Bake until deep golden brown all over (35 to 40 minutes), or until the top of the bread is relatively firm when pressed gently on top.
- Allow to cool for about 10 minutes in the pan before running a thin spatula around the edge of the loaf pan and turning out the bread onto a wire rack to finish cooling until no longer hot to the touch. Serve immediately.
Nutrition information is automatically calculated, so should only be used as an approximation.



Can this bread be frozen and baked later? If so, at what stage in the preparation can it be frozen?
Wow, my sister is going to go nuts for this. We’ve been flipping through your book (which she received for Christmas) trying to decide which recipe to try first, and she was really into the chocolate bread. But she also misses pull-apart bread like crazy. I have a feeling this may be in our near future. (Because, don’t get me wrong, I love chocolate and pull-apart bread, too!)