

This post may contain affiliate links. Please read our disclosure policy.
Even with nearly 2 cups of mashed banana, these gluten free banana muffins bake up tall and golden, with deep banana flavor and a soft, fluffy crumb that never turns heavy or gummy.
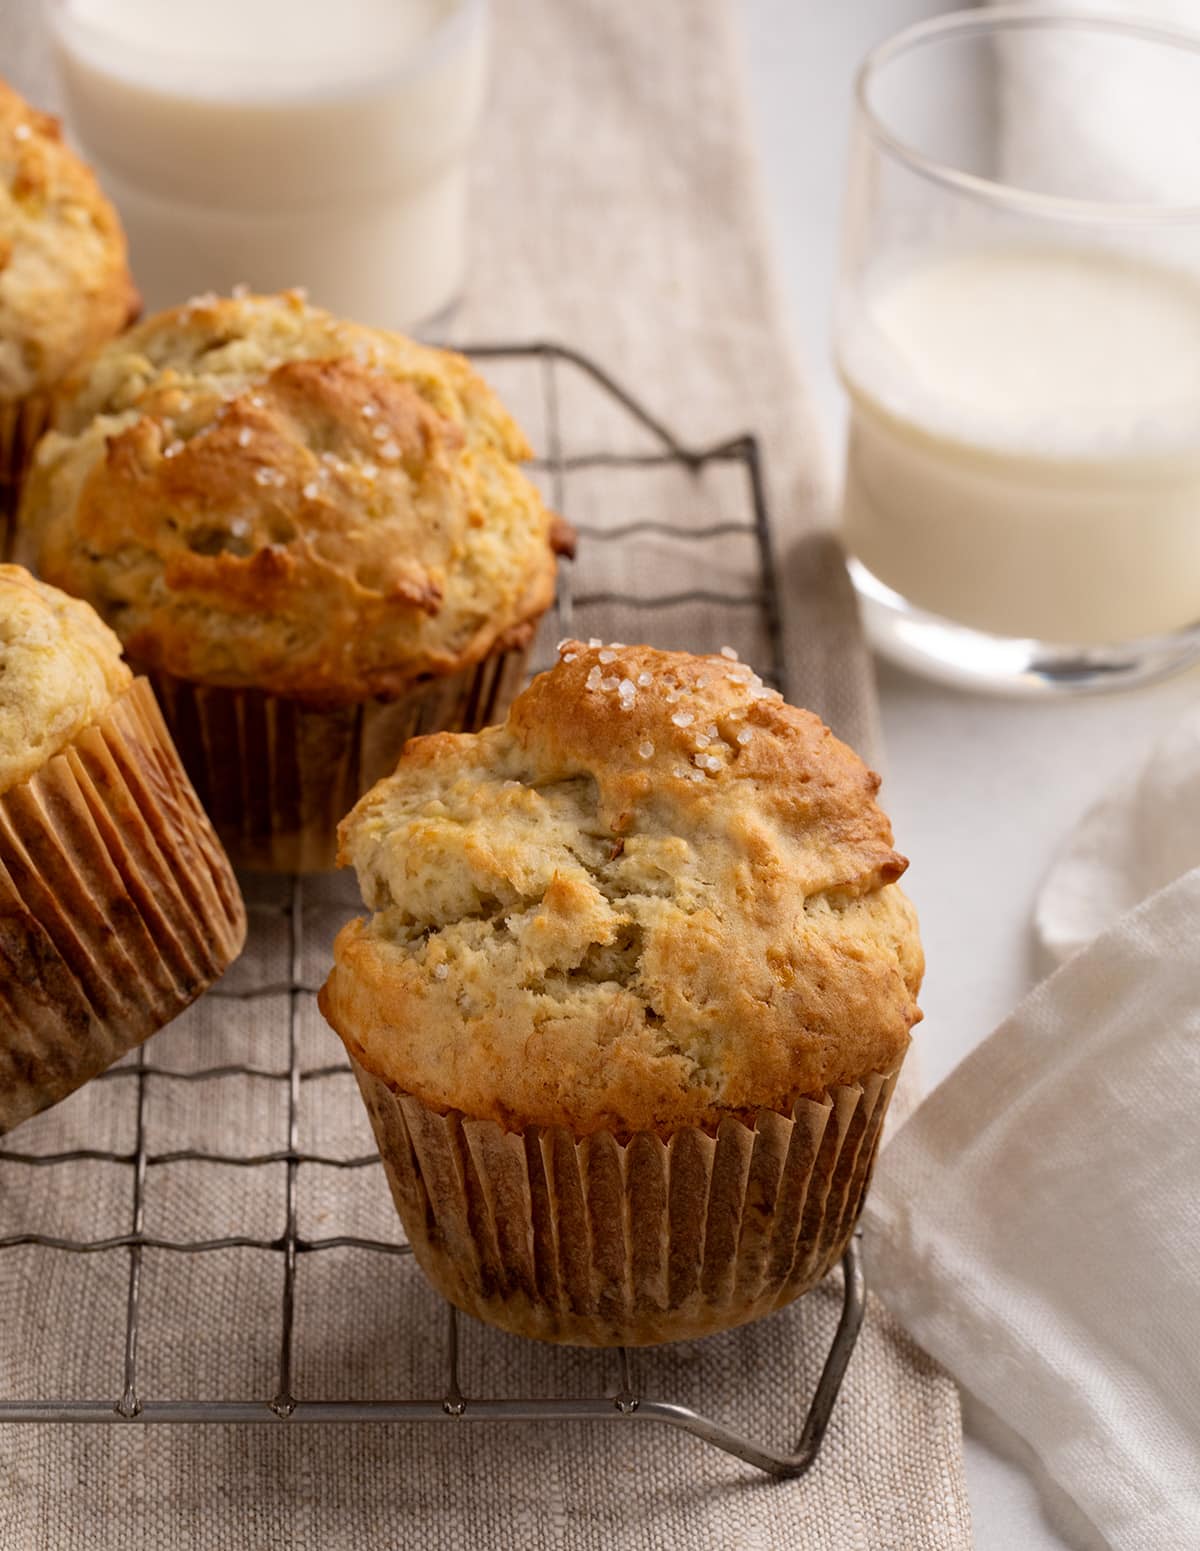
Why this recipe works
A generous 1¾ cups of mashed ripe bananas gives these muffins deep banana flavor, but the batter is carefully balanced so the crumb stays light and tender.
The mashed bananas go in last, after most of the batter is mixed. Folding them in gently keeps them from releasing too much moisture, which can make banana muffins gummy.
A combination of melted butter and oil gives the muffins rich flavor and helps them stay moist. Starting them in a very hot oven creates tall domed tops, then lowering the temperature lets the centers bake through without burning.
Recipe ingredients
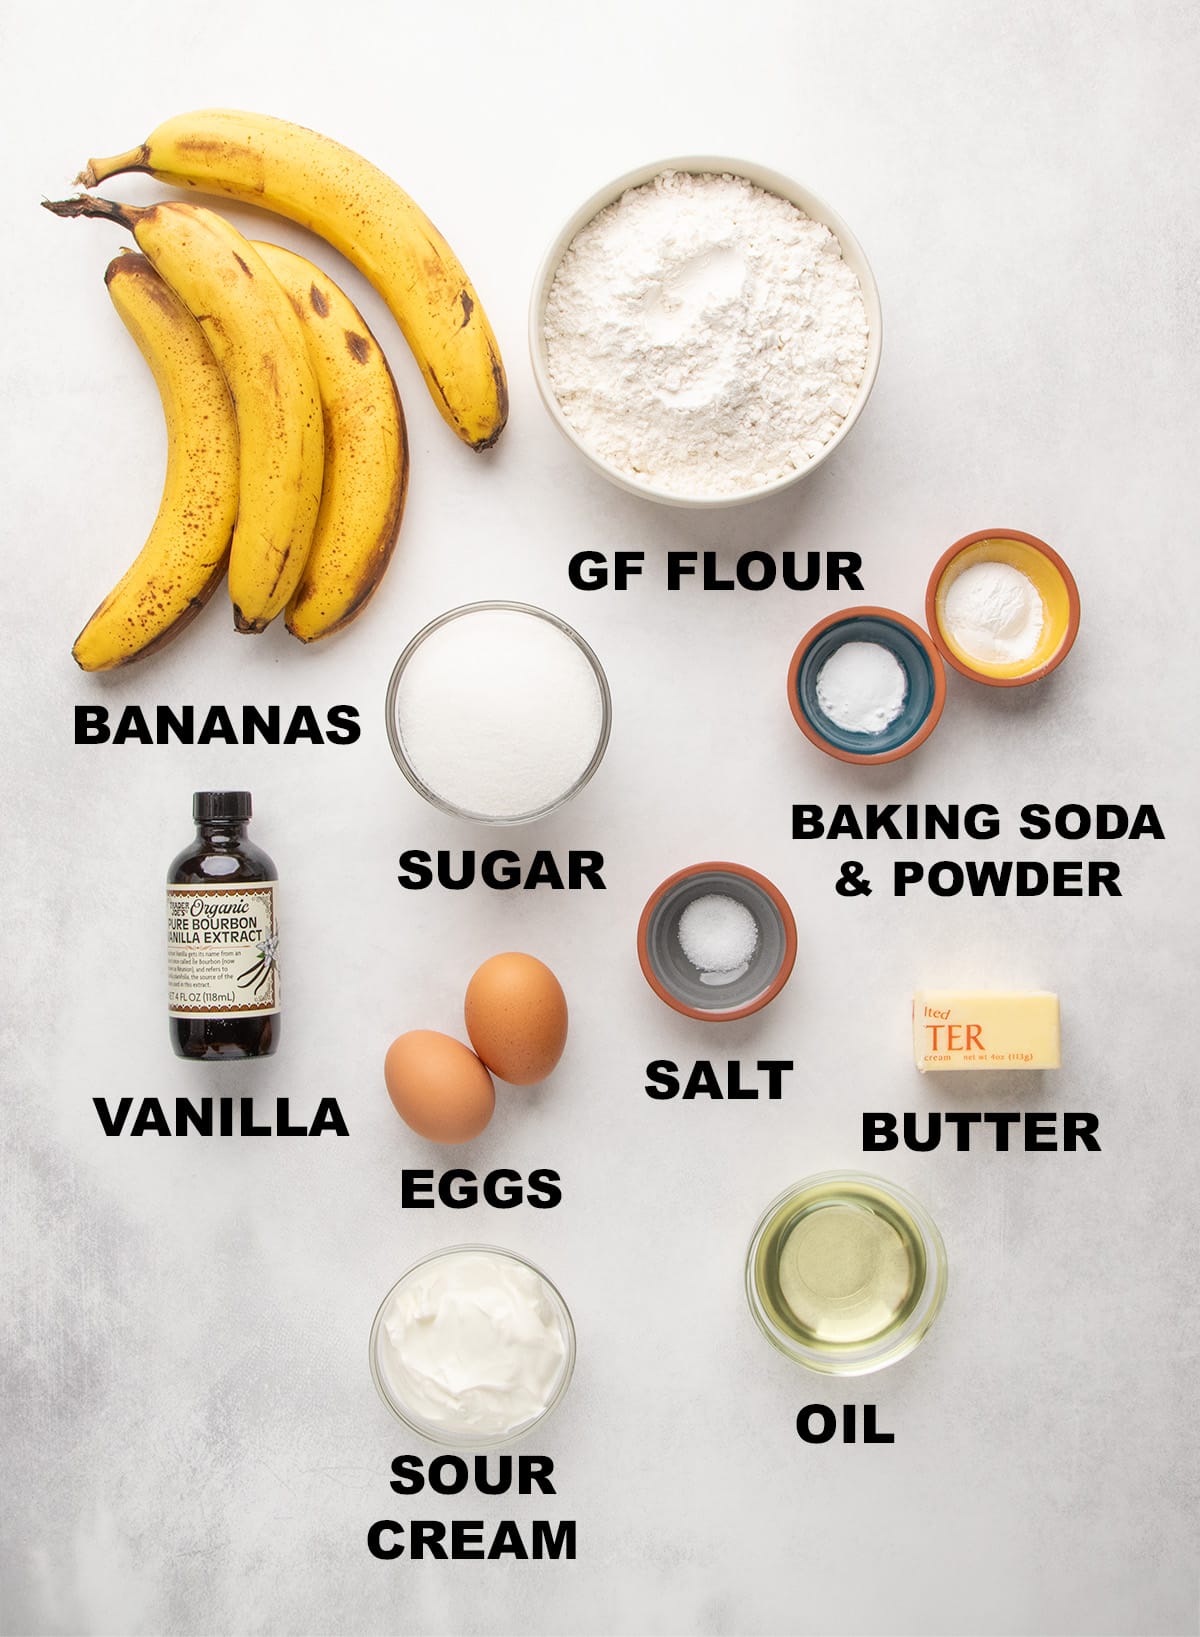
Here’s a little bit about each ingredient in these muffins and why it’s worth sourcing the right ones:
- Gluten free flour blend: Provides most of the structure for these muffins. My favorite blends are Better Batter’s original blend (which already contains enough xanthan gum), Nicole’s Best (with the gum listed in the recipe), or Bob’s Red Mill 1-to-1 gluten free blend with an additional 1/4 teaspoon gum since the blend has some, but not enough for muffins that aren’t crumbly.
- Baking powder & baking soda: Help the muffins rise and brown in the oven without overbaking.
- Salt: Enhances flavor and balances sweetness.
- Granulated sugar: Adds sweetness and keeps the muffins tender by locking in moisture.
- Eggs: Help the muffins rise and holds the structure of the rise as they cool.
- Mashed bananas: Ripe bananas add flavor, natural sweetness, moisture, and banana aroma. Underripe bananas have less sugar and less moisture, and don’t break down fully in the oven. As banana ripen and the skin browns, it also softens, so if your bananas are hard to separate or peel, they’re not ready for baking. As long as they’re ripe, even if they’re not over-ripe, they’re fine for baking.
- Sour cream: Adds moisture to bring the batter together, gentle tang, and helps keep the crumb tender.
- Melted butter and neutral oil: The butter adds richness and buttery flavor from the butter and keeps the muffins from tasting oily; the oil’s higher concentration of fat that’s liquid at room temperature helps the muffins stay moist for longer at room temperature.
- Vanilla extract: Adds depth of flavor.
How to make gluten free banana muffins (step by step photos)
Here’s a visual overview of how to make gluten-free banana muffins in your own kitchen, with an explanation of how each step contributes to the best muffins:
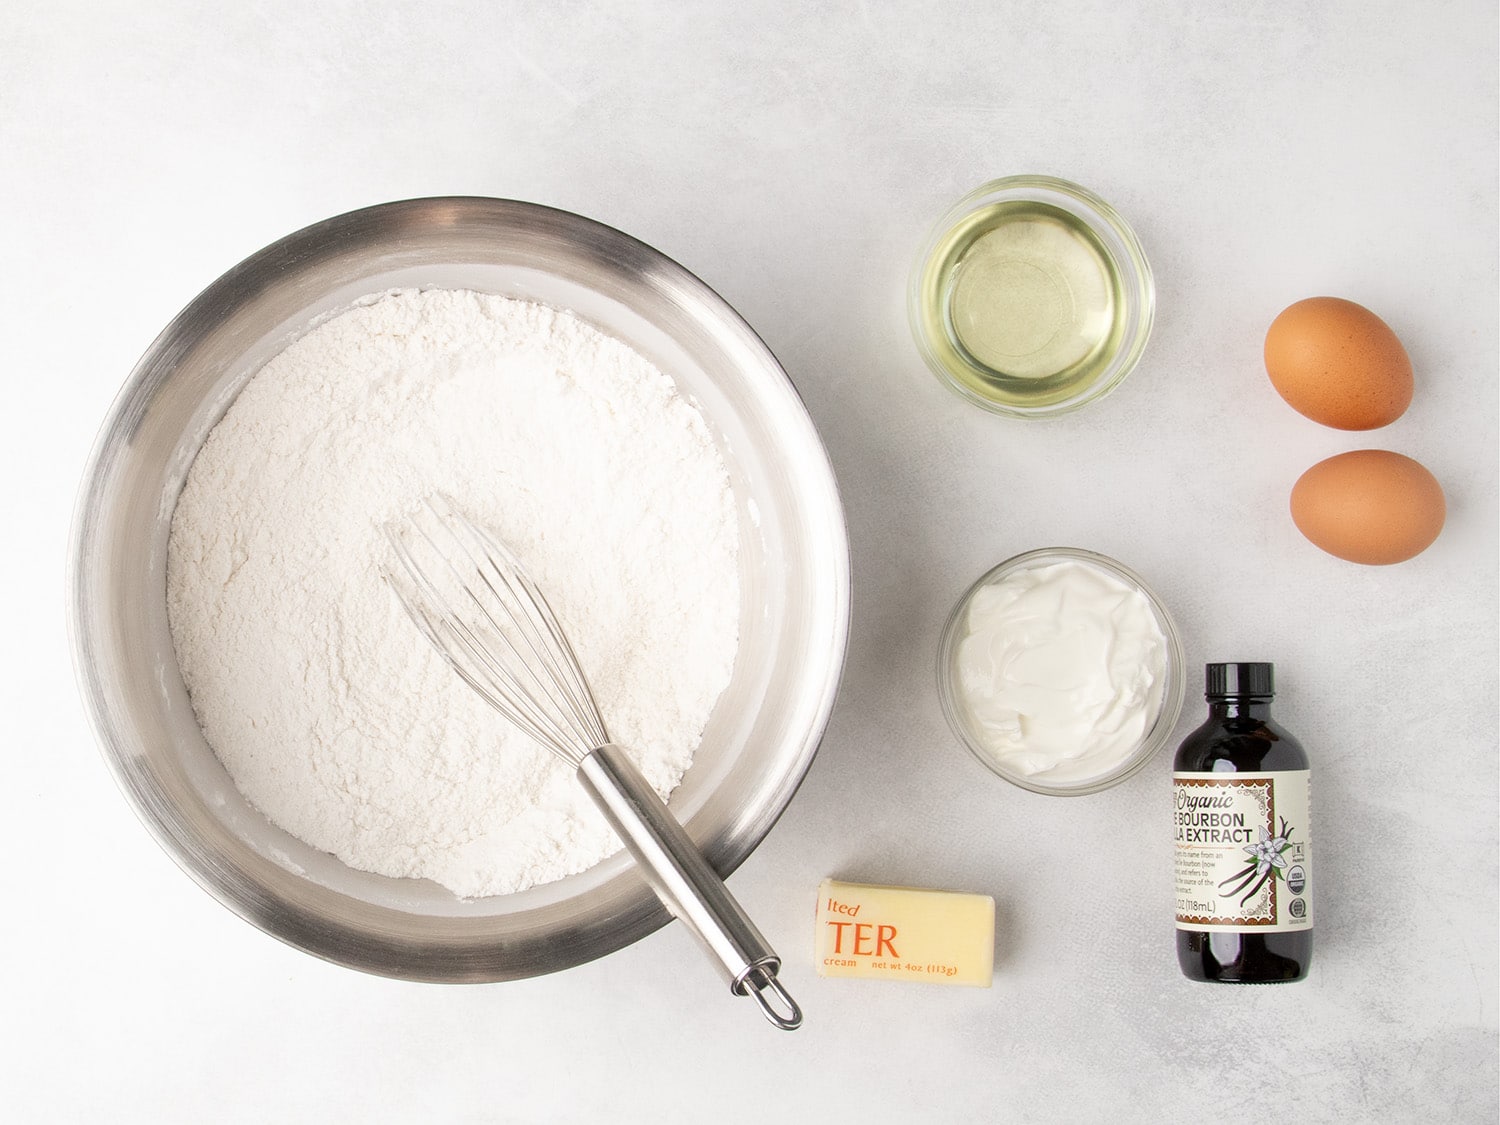
Mix the dry ingredients
In a large mixing bowl, place the gluten free flour blend, xanthan gum (if needed), baking powder, baking soda, salt, and sugar, and whisk to combine well and avoid any clumps of leavening.
Add the wet ingredients
Create a well in the center, then add the melted butter, oil, eggs, sour cream, and vanilla. Start to mix just the wet ingredients together in the center of the bowl before combining with the dry ingredients. This allows us to avoid mixing the wet ingredients together in a separate bowl, simplifying the recipe.
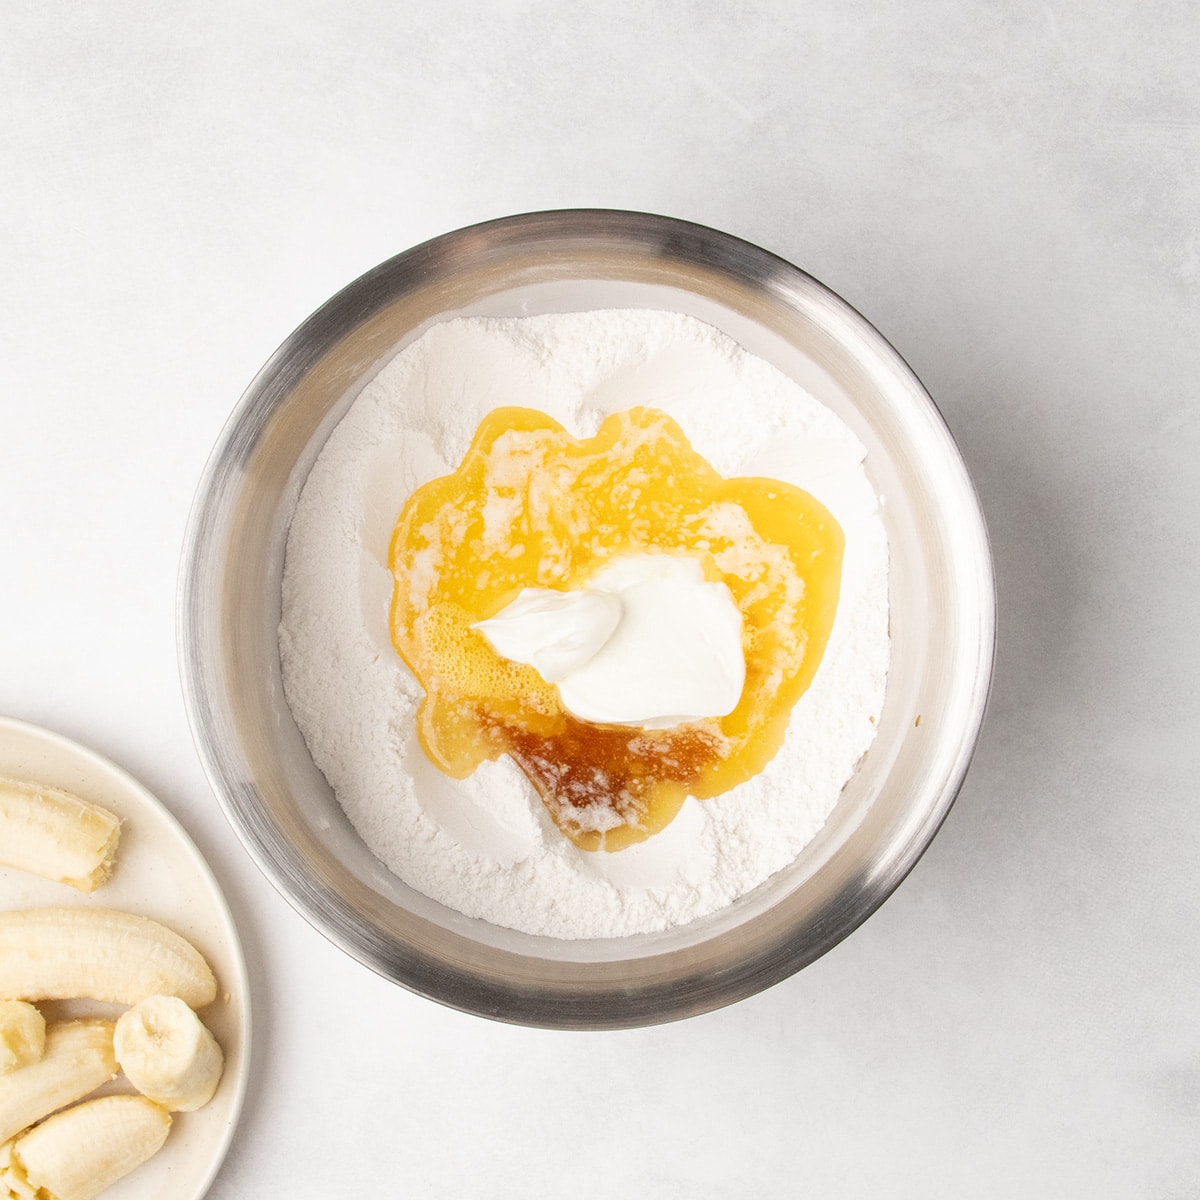
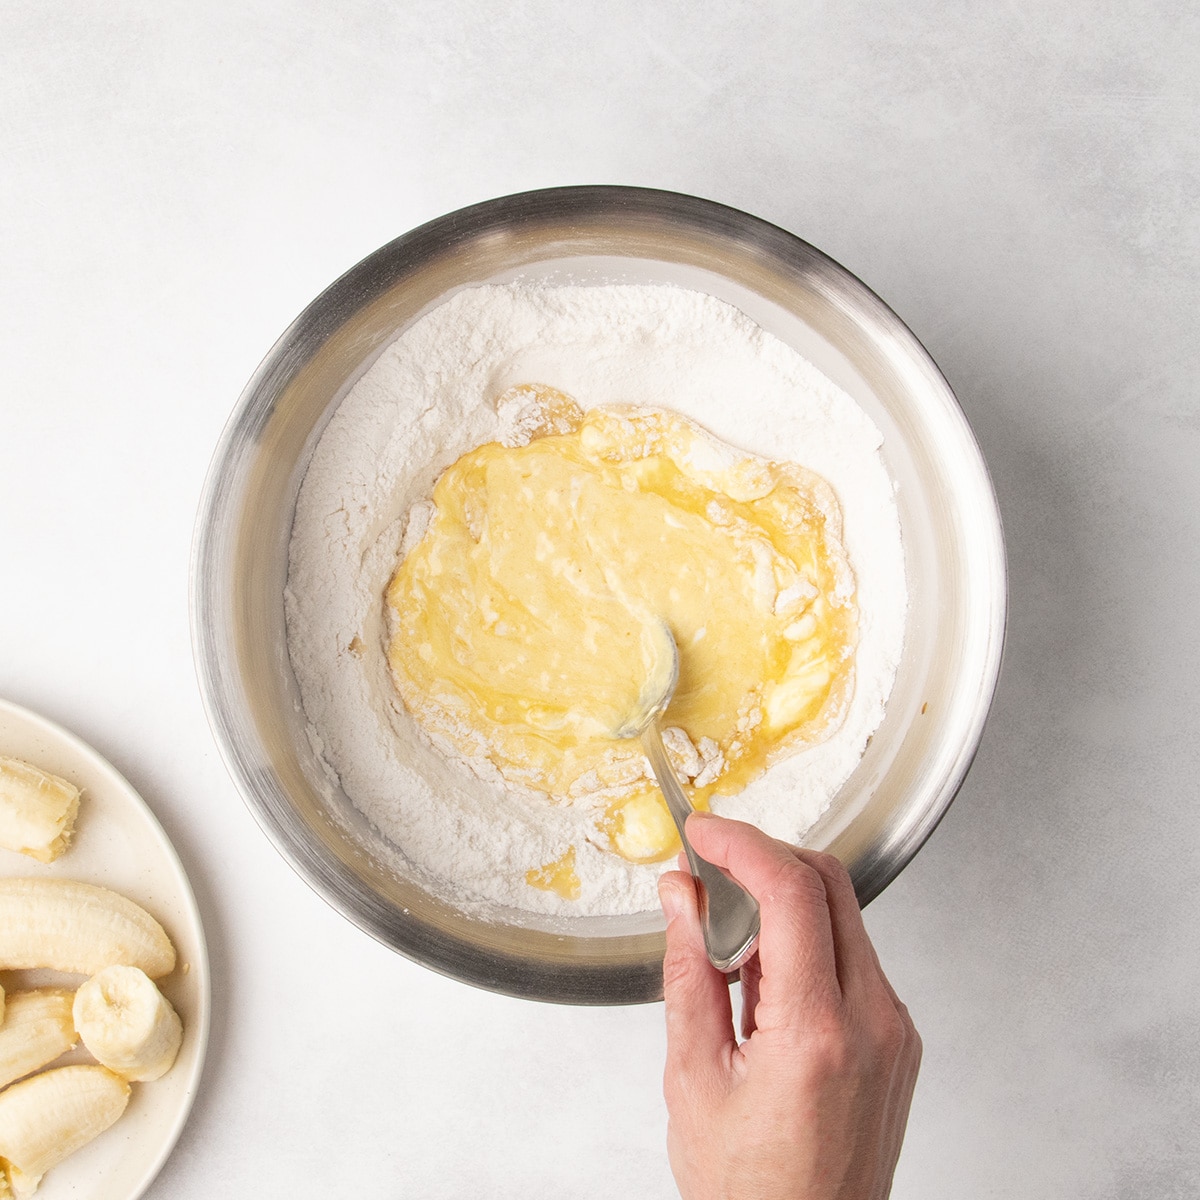
Mix in the wet ingredients
Keep mixing the wet ingredients and slowly incorporate as much of the dry ingredients as you can. The mixture will be too thick to mix fully and completely into a smooth batter.
Fold in the mashed bananas
Add all of the mashed bananas and use a spatula to fold them into the mixture. It will loosen up a lot. We add the mashed bananas last to avoid crushing them too much, which would release too much moisture and could lead to a gummy result.
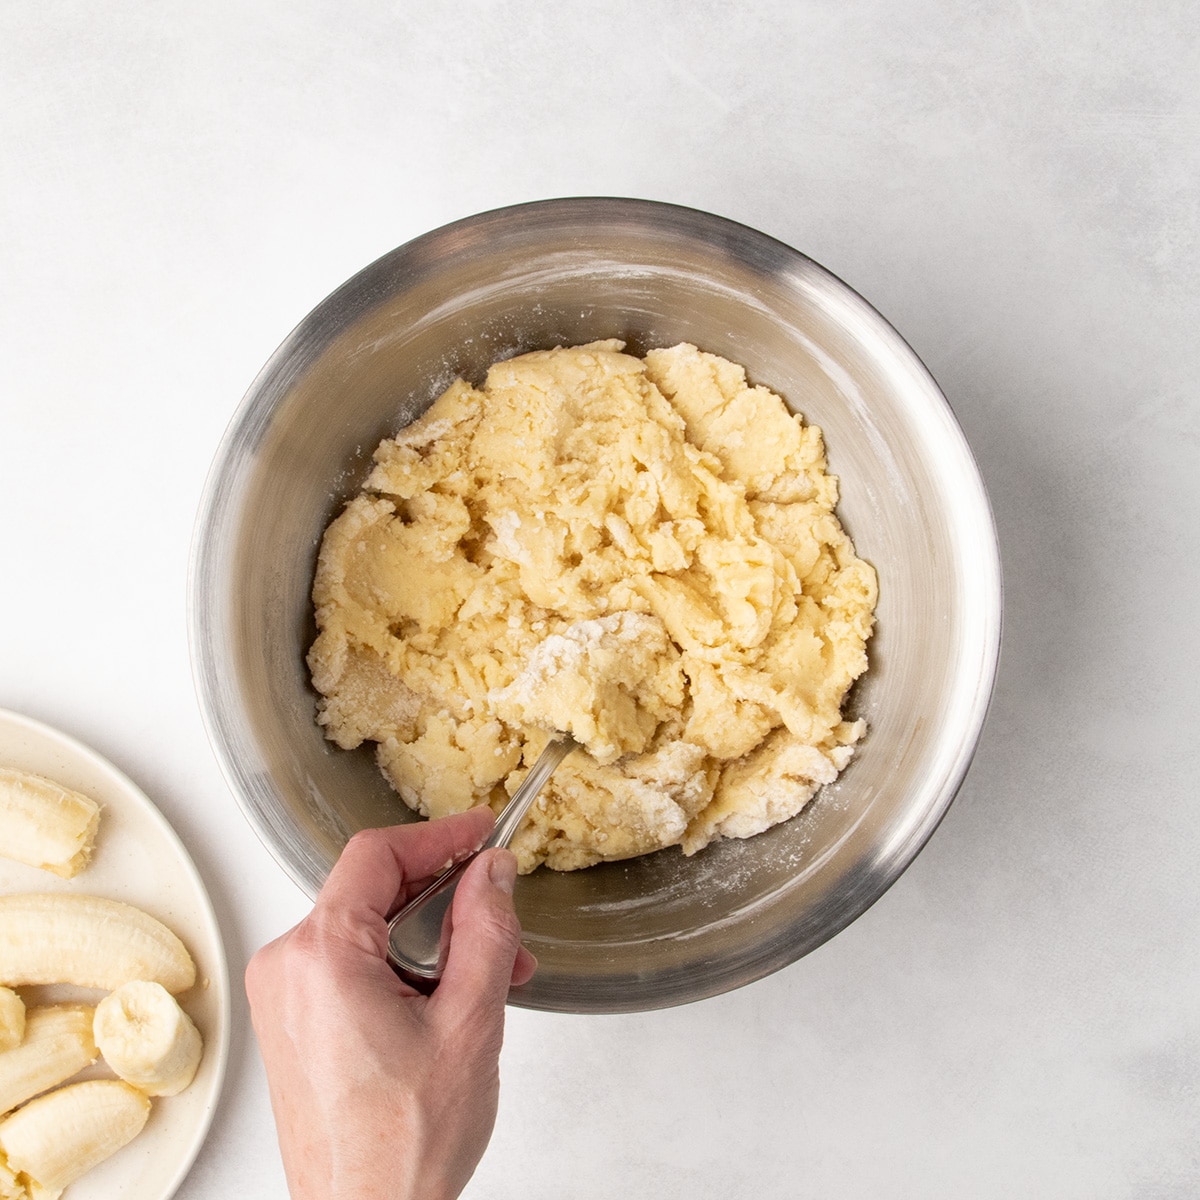
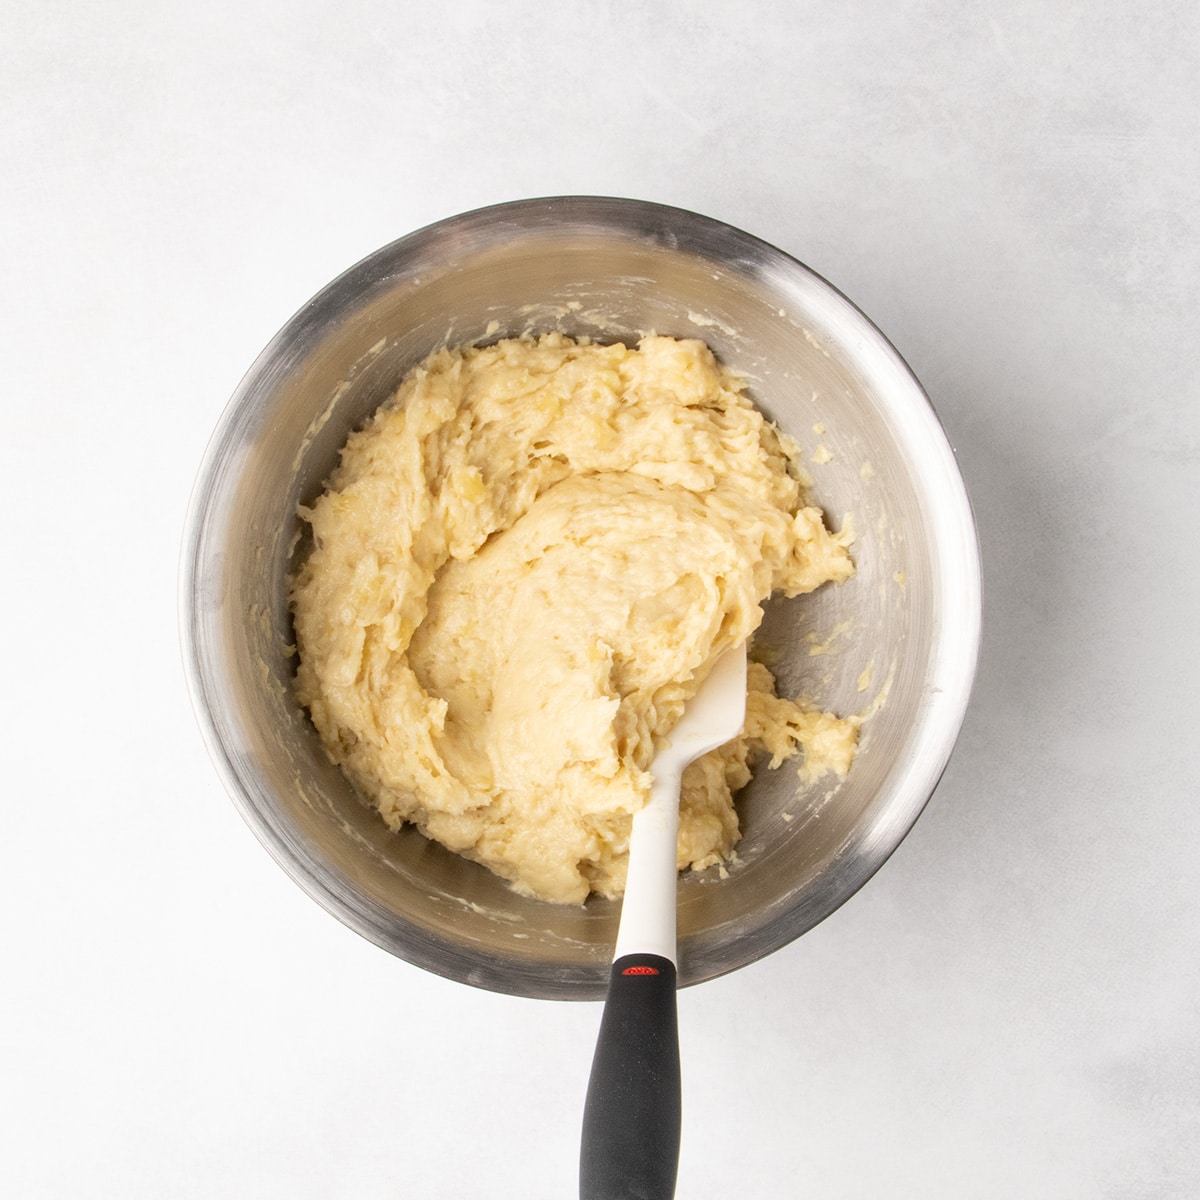
Portion the batter
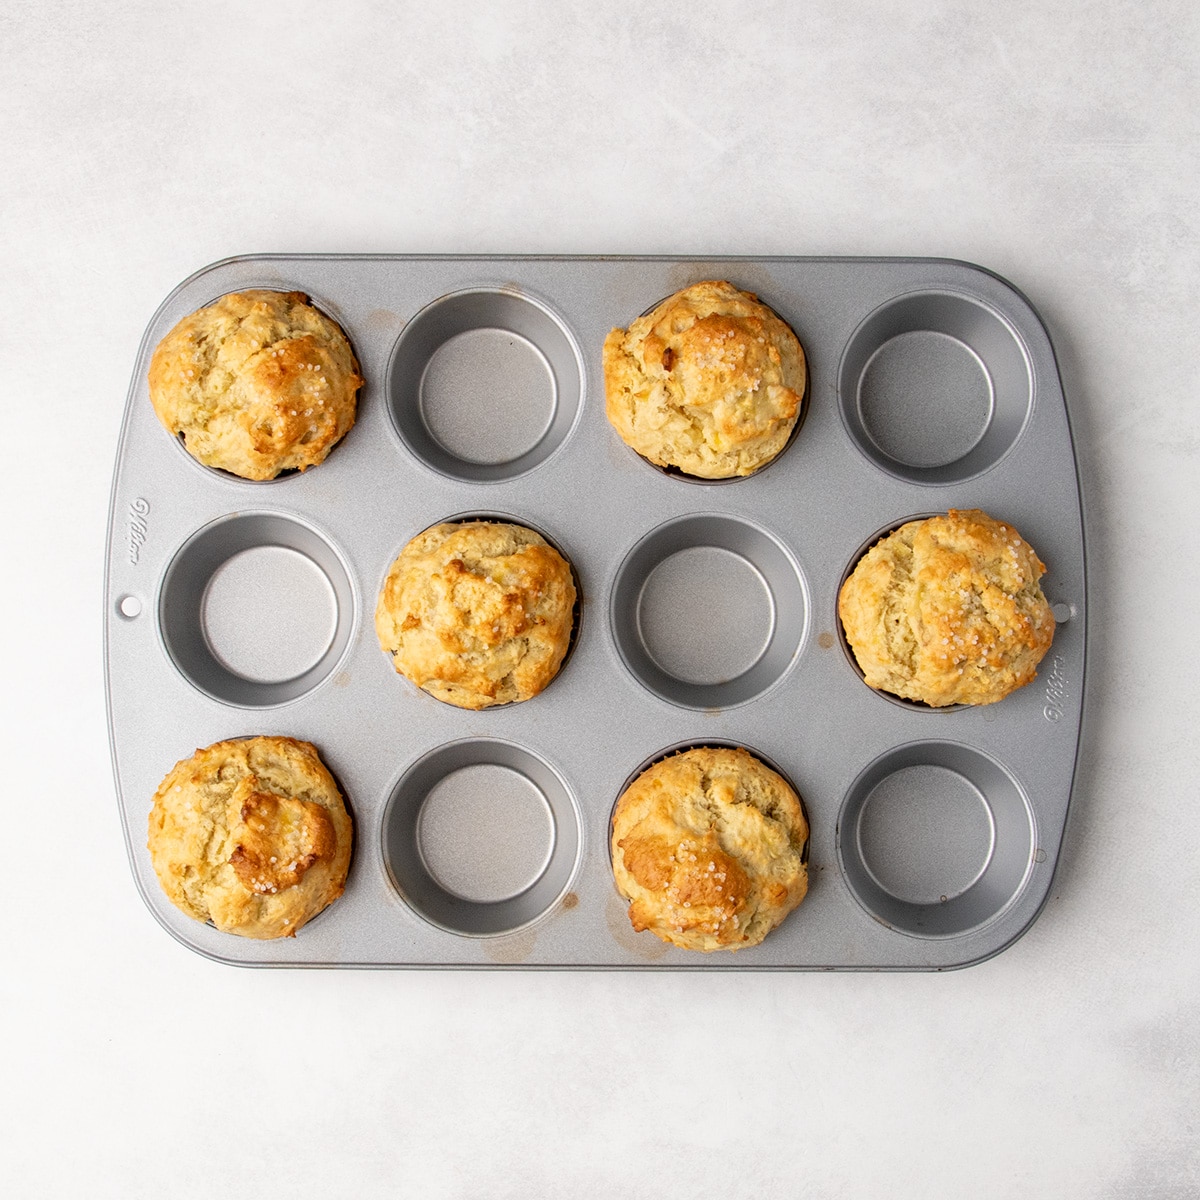
For the tallest muffins, use 2 muffins wells and line every other well to give the muffins space to expand without interfering with each other. Scoop enough muffin batter into each liner to fill it all the way to the top.
Bake first at 425°F
Bake this very high temperature for 5 minutes to activate the baking powder quickly and force the muffin batter to rise upward quickly, and the outermost layer of the muffins to set into a dome.
Finish baking at 350°F
Quickly reduce the oven temperature to 350°F and continue to bake for about another 15 minutes or until the tops spring back when pressed gently in the center and muffins are golden brown. This temperature reduction allows you to bake the muffins all the way through without burning them. Let the muffins cool for just 5 minutes in the tin before transferring them to a wire rack to finish cooling.
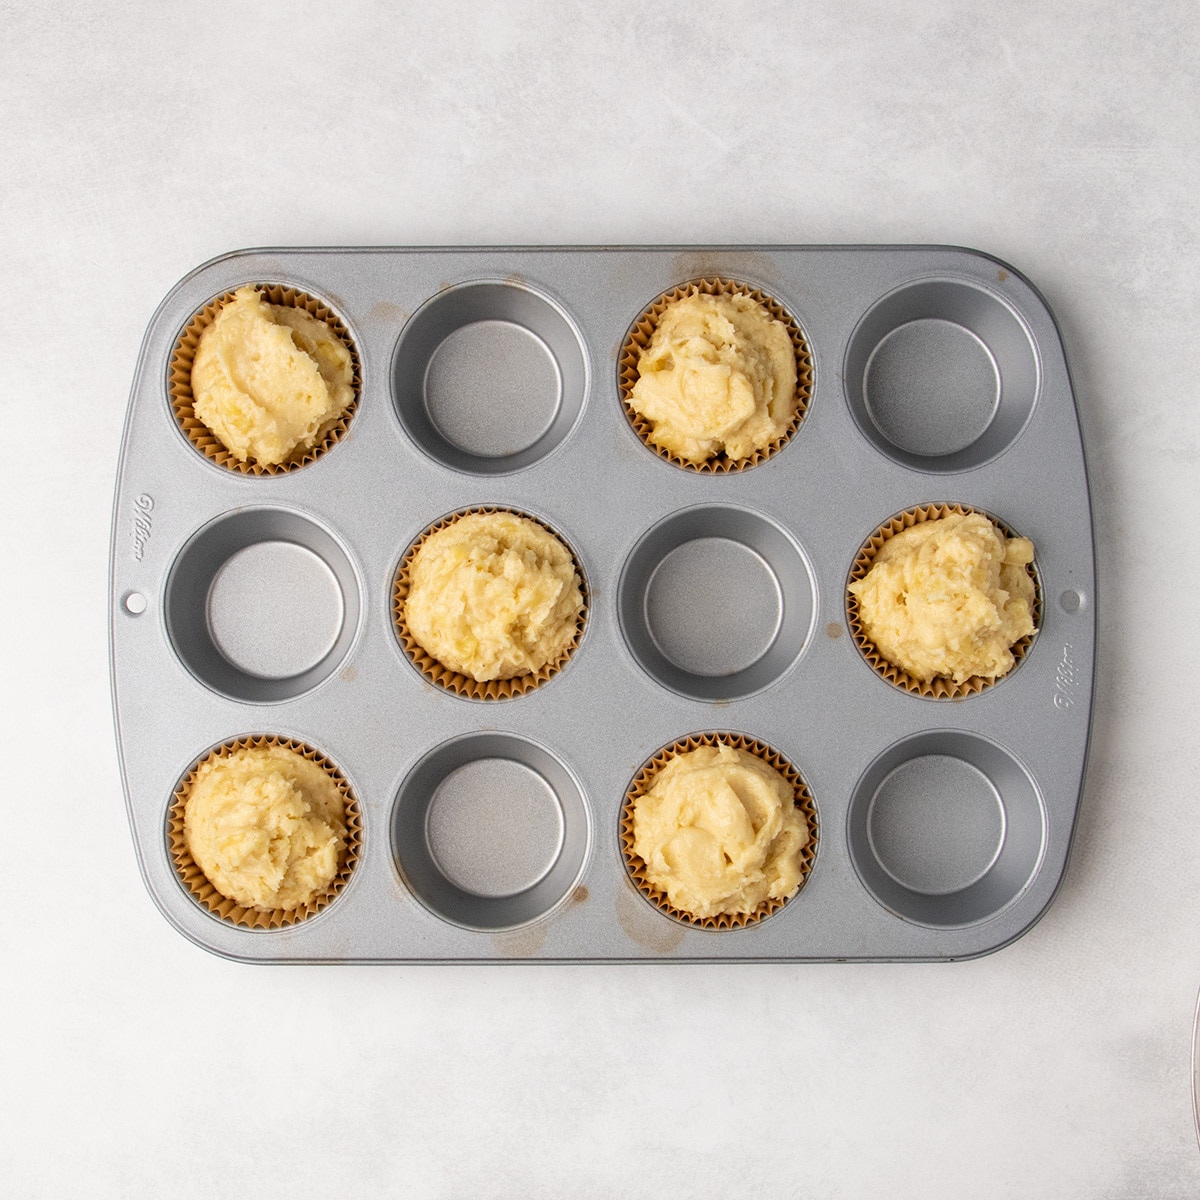
Expert tips
For the tallest muffins
Start with a hotter oven of 425°F for the first 5 minutes of baking to create more oven spring in the first few minutes of baking. Then, reduce the oven temperature to 350°F to finish baking without burning your muffins. Only baking in every other muffin well can also help get tall muffins.
Remove from the tin quickly
Don’t leave baked muffins in the tin for much longer than 5 minutes or the muffins will steam in the liners and the outside can be become unpleasantly chewy.
Ingredient substitutions
If you have additional dietary restrictions, here’s how you can modify this recipe:
Dairy free
Replace the butter with virgin coconut oil (melted and cooled). Triple-filtered coconut oil is best if you don’t want any coconut flavor. For the sour cream, try dairy free sour cream or strain dairy free plain yogurt until it’s the consistency of Greek-style yogurt before measuring it for the recipe.
Egg free
You can try replacing the 2 eggs in this recipe with 1 chia egg (1 tablespoon ground chia seeds mixed with 2 tablespoons water, and allowed to gel) per egg, Bob’s Red Mill’s egg replacer, or “Just Egg” refrigerated egg replacer.
Storage instructions
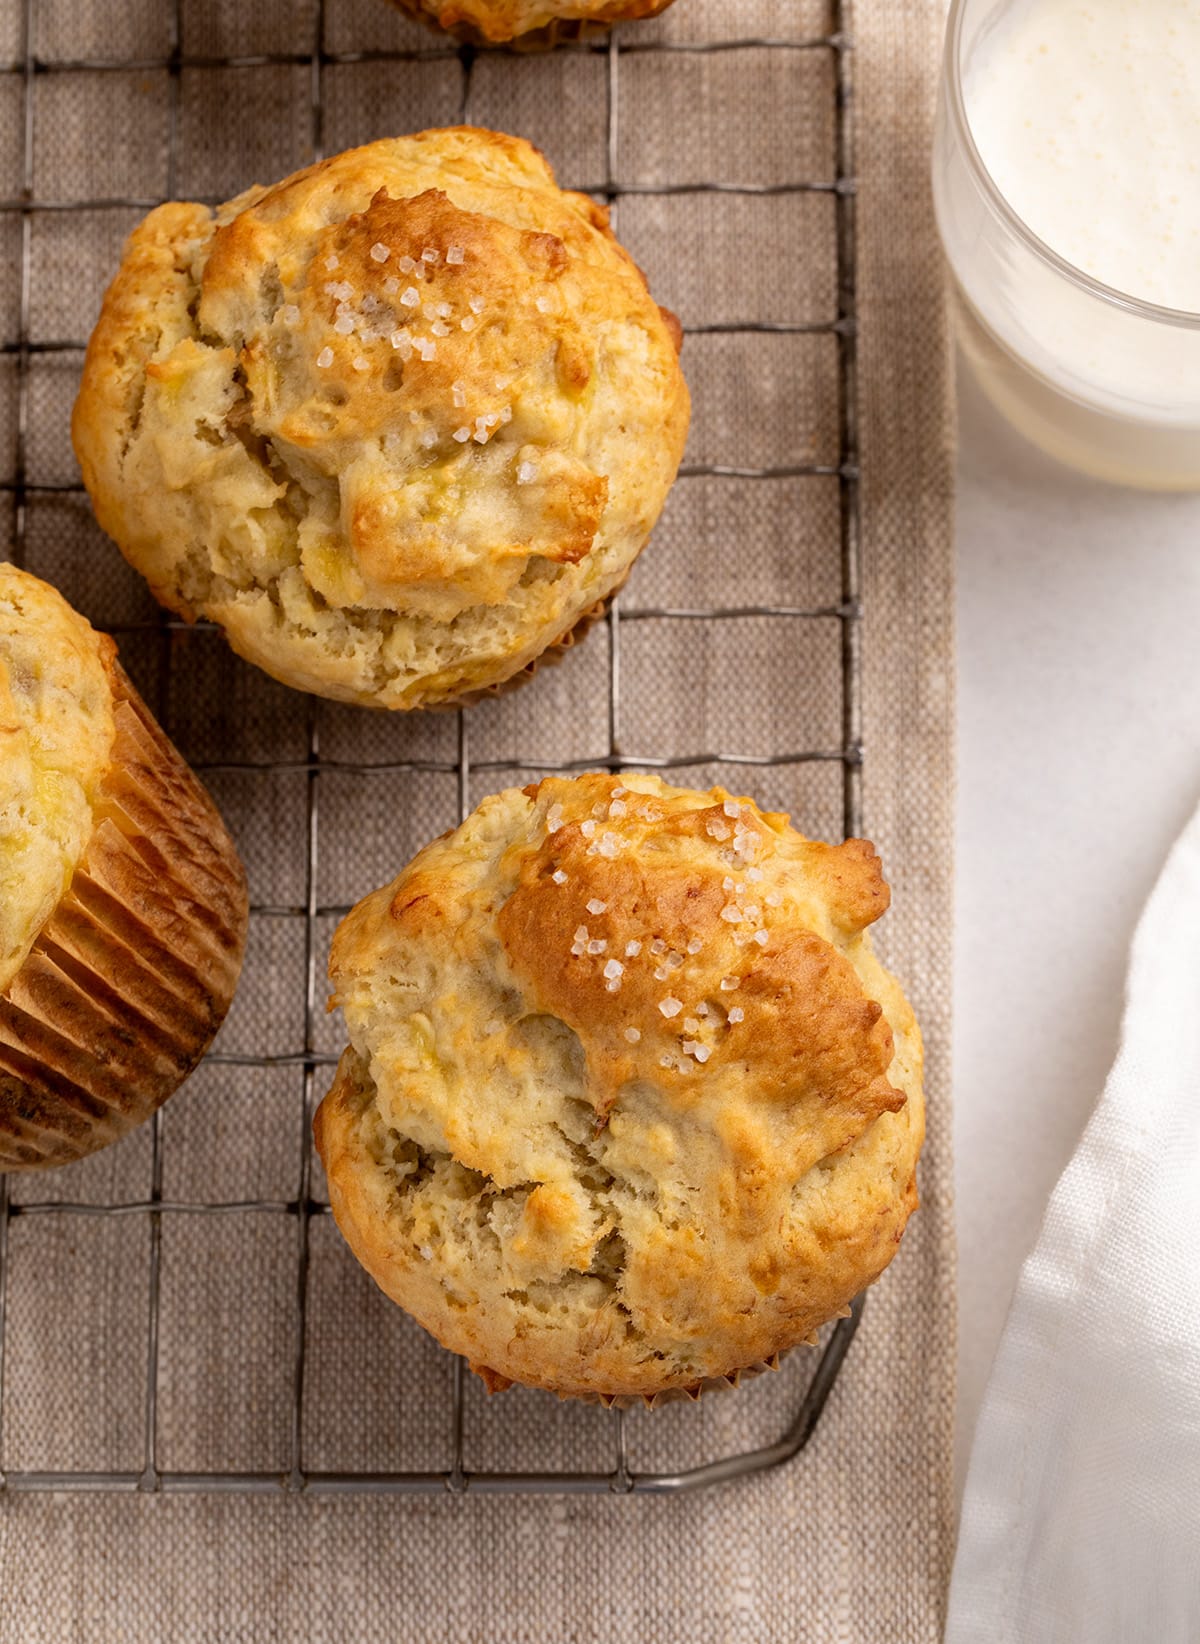
Let muffins cool completely before storing to avoid sogginess. Keep them in an airtight container at room temperature up to 5 days.
To refresh a slightly dry muffin, run it briefly under cold water and warm it in a toaster oven at 300°F for a couple minutes.
For longer storage, freeze, place cooled muffins on a baking sheet until solid, then store in a zip-top bag for up to 2 months. Thaw at room temp or microwave for 25 seconds. For the best texture, reheat in a low toaster oven.
If you need another banana baking idea, try making my delicious almond flour banana muffins.
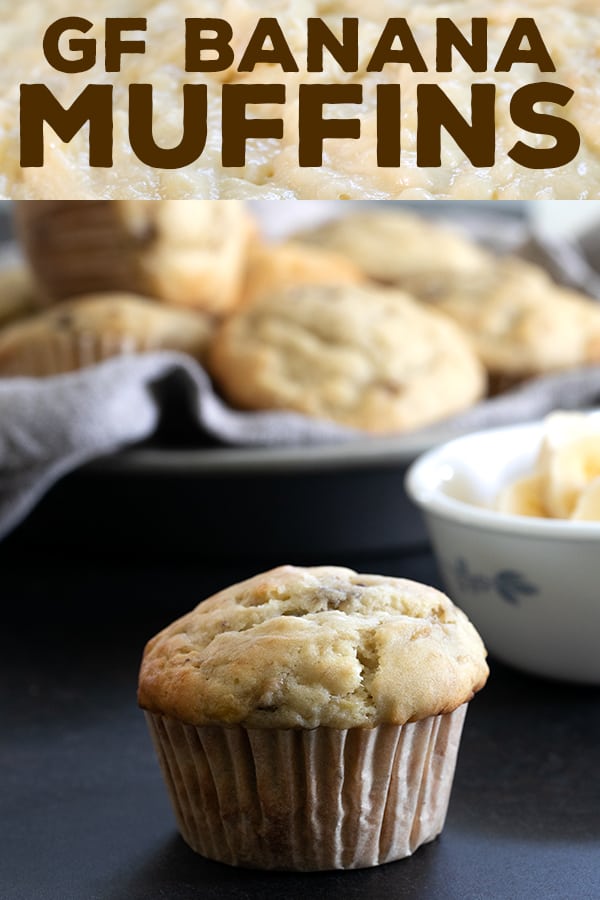
Gluten Free Banana Muffins Recipe
Tell Google you trust GFOAS!
Ingredients
- 2 ⅔ cups (375 g) all purpose gluten free flour blend, (See Recipe Notes)
- 1 ⅓ teaspoons xanthan gum, omit if your blend already contains it
- 2 teaspoons baking powder
- ½ teaspoon baking soda
- ½ teaspoon kosher salt
- 1 cup (200 g) granulated sugar
- 4 tablespoons (56 g) unsalted butter, melted and cooled
- 4 tablespoons (56 g) neutral oil, canola, vegetable, peanut, or grapeseed oil, etc.
- 2 (100 g out of shell) eggs, at room temperature, beaten
- ½ cup (113 g) sour cream, or plain Greek-style yogurt, at room temperature
- 1 teaspoon pure vanilla extract
- 1 ¾ cups (350 g) mashed ripe bananas, from about 4 medium or 3 large bananas
- Coarse sugar, for sprinkling (optional)
Instructions
- Preheat your oven to 425°F. Use muffin liners to line every well of a standard 12-cup muffin tin or every other well of 2 standard 12-cup muffin tins. For the tallest muffins, line every other well.
- In a large bowl, place the flour, xanthan gum, baking powder, baking soda, salt and sugar, and whisk to combine well.
- Create a well in the center of the dry ingredients, and add the melted butter, oil, eggs, sour cream, and vanilla.
- Mix the wet ingredients in small circles toward the center, then continue mixing to incorporate most of the dry ingredients. The mixture will be too thick to mix until smooth.
- Add the mashed bananas, and mix to combine fully without breaking the bananas too much. The mixture be lumpy because of the bananas, and thick but relatively soft.
- Fill every lined well of your muffin tin(s) completely, all the way to the top of the liner. Sprinkle the tops lightly with the optional coarse sugar, if using.
- Bake in the center of the preheated oven for 5 minutes, then reduce the oven temperature to 350°F.
- Bake at the lower temperature until a toothpick comes out mostly clean (not wet, with no more than a few moist crumbs) and the muffins bounce back when pressed gently in the center, about 15 minutes more. If your muffins still aren't done baking at nearly 15 minutes, reduce the oven temperature to 325°F to continue baking without burning the bottoms.
- Allow them to cool in the tin for 5 minutes before transferring to a wire rack to cool completely.
- Repeat with the remaining muffin tin if you've used 2 tins.
Notes
Nutrition
Nutrition information is automatically calculated, so should only be used as an approximation.
FAQs
Yes! Just be sure they’re fully thawed before adding them to the batter. Frozen bananas release water as they defrost, so be sure to use both the fruit and the liquid to maintain the right moisture balance.
This usually means they were underbaked. The muffins may have looked done outside while still raw in the center, often caused by an oven running too hot. Use an oven thermometer and bake until the centers spring back.
Yes! Use a 24-cup mini muffin tin and fill each well to the top. Start checking for doneness at 15 minutes, and bake at 350°F from start to finish. They’re ready when the tops spring back when gently pressed.
Yes. Add up to 1/2 cup chocolate chips, or 2 to 3 ounces of chopped nuts like walnuts or pecans. You can also stir in 1 teaspoon of ground cinnamon with the dry ingredients for a warm, spiced variation.










Love your recipes thanks Nicole
You’re so welcome, Edith. Thank you for the kind words—they mean so much!
I am loving all of your recipes Nicole! You do such a great job. I don’t usually find a site where the recipes are so reliable and also just to my tastes! I’ve also been learning about different ingredients through reading your blog and also your replies to comments, recipe notes etc. You are very thorough. Truly a professional. I’m actually looking forward to trying more recipes just as written and EVEN the yeasted breads because I now have confidence that you know what you’re talking about. Btw your oat flour brownie recipe is my all time favorite out of all I’ve ever made.
Yes gush gush gush and lots of compliments! You really deserve it and I recommend your site on the gf Reddit group I’m in and tell my friends whenever they try something I’ve baked from it.
Thank you so much.
I used to always make your dairy free gluten free banana muffins– they’ve been a favorite in our house for several years. But now I can’t find them on your site, and the video of them on Facebook now redirects to this recipe– are they still around?
I’m afraid that post doesn’t exist on the blog any longer, NB, no. Here’s a link to the printable recipe, if you’d like to print it out and hold onto it, though.
These were fantastic, they are great cut in half and put under the grill with some butter and honey after a few days of sitting out.
Extremely easy to make!
That sounds delicious, Taylor! So glad you enjoyed the muffins, and I’ll have to try them just as you described.
Another very good recipe. I followed the instructions exactly as written and the muffins turned out moist, soft, and delicious. I cannot have buttermilk, so I did Nicole’s swap with Siggi’s nondairy yogurt and lactose free milk, and it was perfect. I will say it again, invest in a small, inexpensive food scale! I weighed my eggs out of the shell and only needed 2 and 1/2 eggs to reach the proper weight. Baking is chemistry so precision matters. The recipe as written made exactly 16 muffins if you fill the muffins as instructed.
So true, Phyllis, baking is chemistry and precision matters! I’m so glad you enjoyed the recipe, and I love that buttermilk swap. It’s really versatile, whether you’re using dairy free components or not! Thank you so much for sharing your experience.
Hi Nicole:
Can I use gf tapioca flour instead of the cornstarch?
If so, how much?
Thank you.
I don’t recommend that, no, as tapioca flour is a unique starch with lots of stretchy qualities that you don’t want more of here. In place of cornstarch, you can use an equal amount of potato starch or arrowroot if you can’t have corn.
These are amazingly light fluffy. The whole family loved them. Nobody knew that they were GF! I added about a cup of chopped Walnuts and got 24 Muffins, so froze half for another time. This recipe goes to the top of my GF list! Now I can’t wait to try your other recipes! Thanks so much!
I’ve been using your recipes to bake gluten free stuff for quite some time now and there are some great recipes.
I have a few comments to make and the main one is the amount of sugar you use in a lot of recipes is way over the top and very unhealthy. Again if it is cakes we are baking then more sugar is required but for things like banana muffins for example, the bananas are already sweet and also the vanilla is sweet and therefore does not in my opinion need anywhere near 150g of sugar. I use 50g and it is plenty sweet enough and doesn’t take away from the texture at all.
The second one is your aversion to psyllium husk. I can fully understand that you feel that there is a taste that it leaves that you don’t like but I have to say that psyllium husk is way better than xanthan gum in terms of binding the mix together and gives a far better texture. I personally get no taste from the psyllium but fully appreciate that this is a personal thing and everybody is different.
Please don’t take this as criticism as I’m a big fan of your recipes and use them all the time.
Mike, I’m publishing your comment, but I don’t believe it contains accurate information, so I’m responding to correct it. Whether you intended it as criticism or not, my response has nothing to do with hurt feelings. It’s with respect to the information itself.
There is no more sugar in my recipes than there is in conventional recipes of each type. Your opinion is not backed by science. Sugar isn’t just a sweetener. It’s a tenderizer, which is why fat free baked goods tend to be loaded with sugar. These recipes use a conventional amount of sugar. I don’t do “low sugar” or “sugar free” baking because it requires a lot more than just reducing sugar in a recipe not developed with that in mind to make good baked goods with the expected taste and texture. Viewing my recipes through the lens of “healthy eating” in general is a mistake, as I’m not that sort of blogger. I wouldn’t expect you to criticize a healthy blogger’s recipes as too low in sugar. In addition, gluten free baked goods already get criticized as being subpar. My entire purpose is to elevate people’s expectations. Perhaps a keto blog would suit your tastes better? And as a point of reference, pure vanilla extract has a very pleasant taste and aroma, but is not at all sweet and cannot make up for missing sugar in a recipe.
About psyllium husk, please do whatever works for you, but I won’t recommend or agree with anyone else’s recommendation for its use in my recipes here on my blog, as they will come to me for support when things don’t go as planned. I’m afraid I simply won’t provide that support. There are many recipe developers that use this ingredient, and make recipes intended for it, and I respect them and their efforts very much. It isn’t a simple 1:1 substitute for xanthan gum at all, in fact, and if I were one of those bloggers, I’d hate to see someone recommending that as if it were simple and foolproof. That’s why I won’t offer my suggestions on something that is an entirely different, and respected, way of baking in its own right.
My insistence on specificity in my recipes, and following a recipe carefully, isn’t for everyone, but I stand by it 100%.
I love this recipe, but I substitute Guar Gum for the Xanthum Gum, I stopped using Xanthum Gum years ago, it was way too stringy, sticky kind of dough. With the Guar Gum, it is just like I am cooking with regular gluten type of way, it pours, and flows like I have experienced for all the years I baked with wheat flour before going gluten free. Just a suggestion.
I’m glad you found something that works for you, Cindy. It sounds like you were using too much xanthan gum in your baking, which is why it’s important to use it sparingly, and according to a recipe. For others’ benefit, xanthan gum is considerably more effective for baked goods than guar gum. Guar gum is most useful in cold applications, like ice cream.
Awesome!