

This post may contain affiliate links. Please read our disclosure policy.
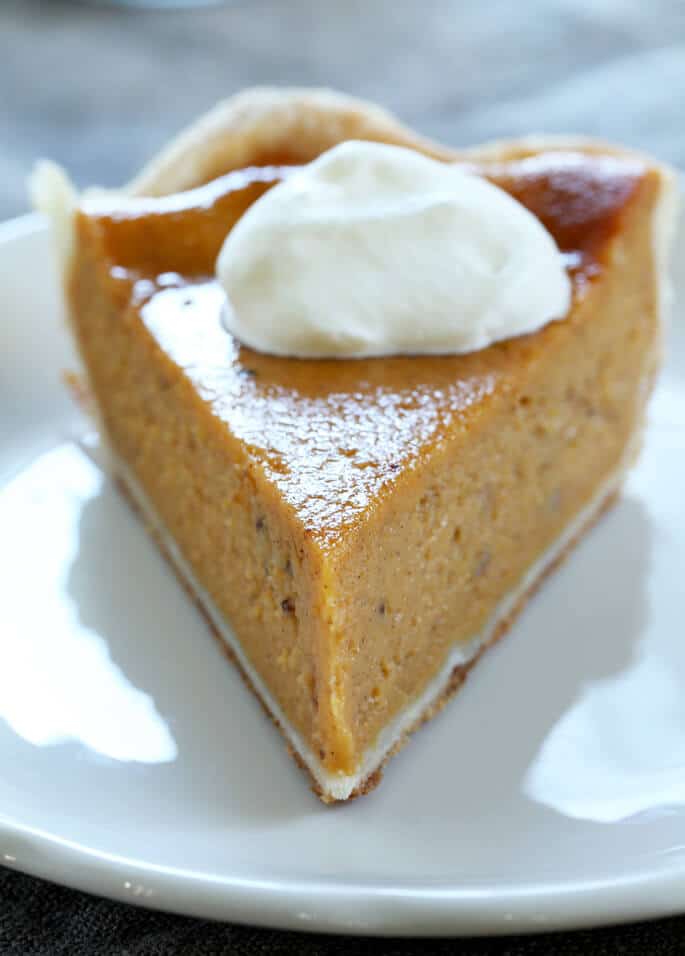
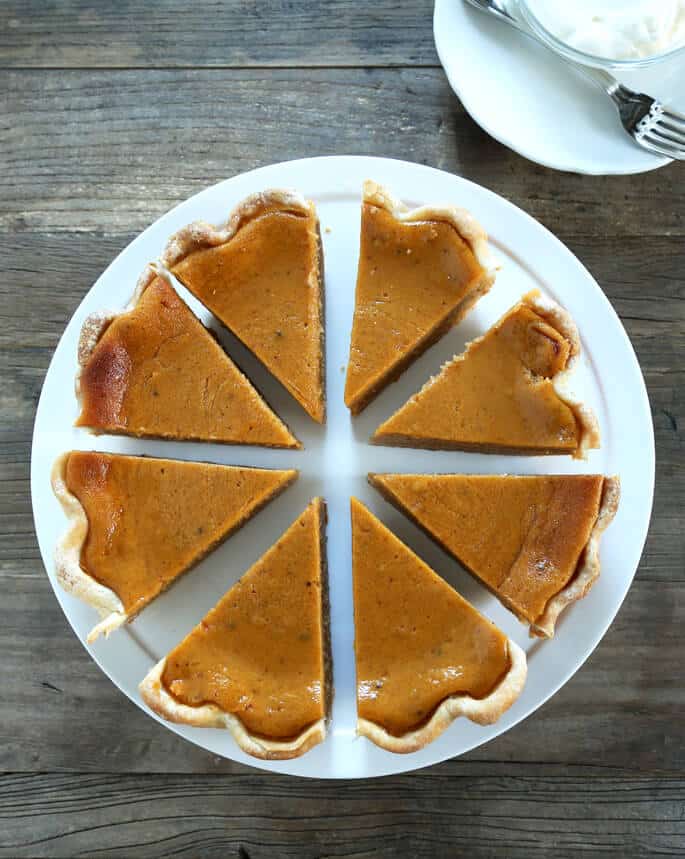
This gluten free pumpkin pie starts with my extra flaky gluten free pie crust, then fills it with a rich, silky pumpkin custard that’s warmly spiced and just sweet enough. The filling bakes up smooth and creamy, with no cracks, and sets into clean slices.

“I have never made a pumpkin pie, let alone, a gluten free one. And I have, with the help of this recipe, just made the best pumpkin pie I’ve ever had! I am so grateful! Thank you! This pie is going to be a big hit come Thanksgiving!”
Why this recipe works
We use super creamy evaporated milk in the filling. With less water to cook off, the custard firms up sooner and keeps its smooth, light texture.
A small amount of gluten free flour thickens and stabilizes the filling. It helps the custard hold clean slices without becoming too firm, or cracking from overbaking.
Parbaking seals the crust so it stays crisp and flaky beneath the liquid filling. A hotter oven finishes browning the crust, then lower heat cooks the custard gently and evenly.

Recipe ingredients
Here's what you need to make this recipe and the role each ingredient plays in a successful result. For full ingredient details, including amounts, please see the recipe card.
- Pumpkin puree: Adds moisture, flavor and color the filling. You'll only need 11 ounces of puree for this recipe, and a standard can is 15 ounces, so be sure to measure out just what you need. Use the rest of the puree to make a half recipe of my gluten free pumpkin muffins, or gluten free pumpkin bread in one of those little mini loaf pans!
- Eggs: Add richness and structure to the custard filling, helping to turn liquid into a custard filling you can slice cleanly.
- Evaporated milk: Adds flavor and moisture, but with less water than regular milk, so you don't have to bake the pie as long for it to set up, risking cracks in the filling. For an even richer-tasting pie, use half-and-half or heavy whipping cream in its place.
- Butter: Adds rich, buttery flavor.
- Sugars – Granulated sugar adds sweetness, and brown sugar adds sweetness and notes of caramel flavor. For more depth of flavor, replace 2 tablespoons of the brown sugar with 2 tablespoons of pure maple syrup.
- Pumpkin pie spice: The classic fall spice combination or cinnamon, ginger, allspice, cloves and nutmeg that provides the aroma of what we think pumpkin tastes like (but it does only faintly).
- Gluten free flour: Helps thicken the filing slightly and set the custard so it slices cleanly; this addition helps ensure that you won't overbake the pie, which leads to cracks. As long as it has very finely ground flours, almost any gluten free flour blend you like will work here since there's so little of it.
While we are making pies together, you have to try my gluten free apple pie and gluten free pecan pie as well. They are spectacular!
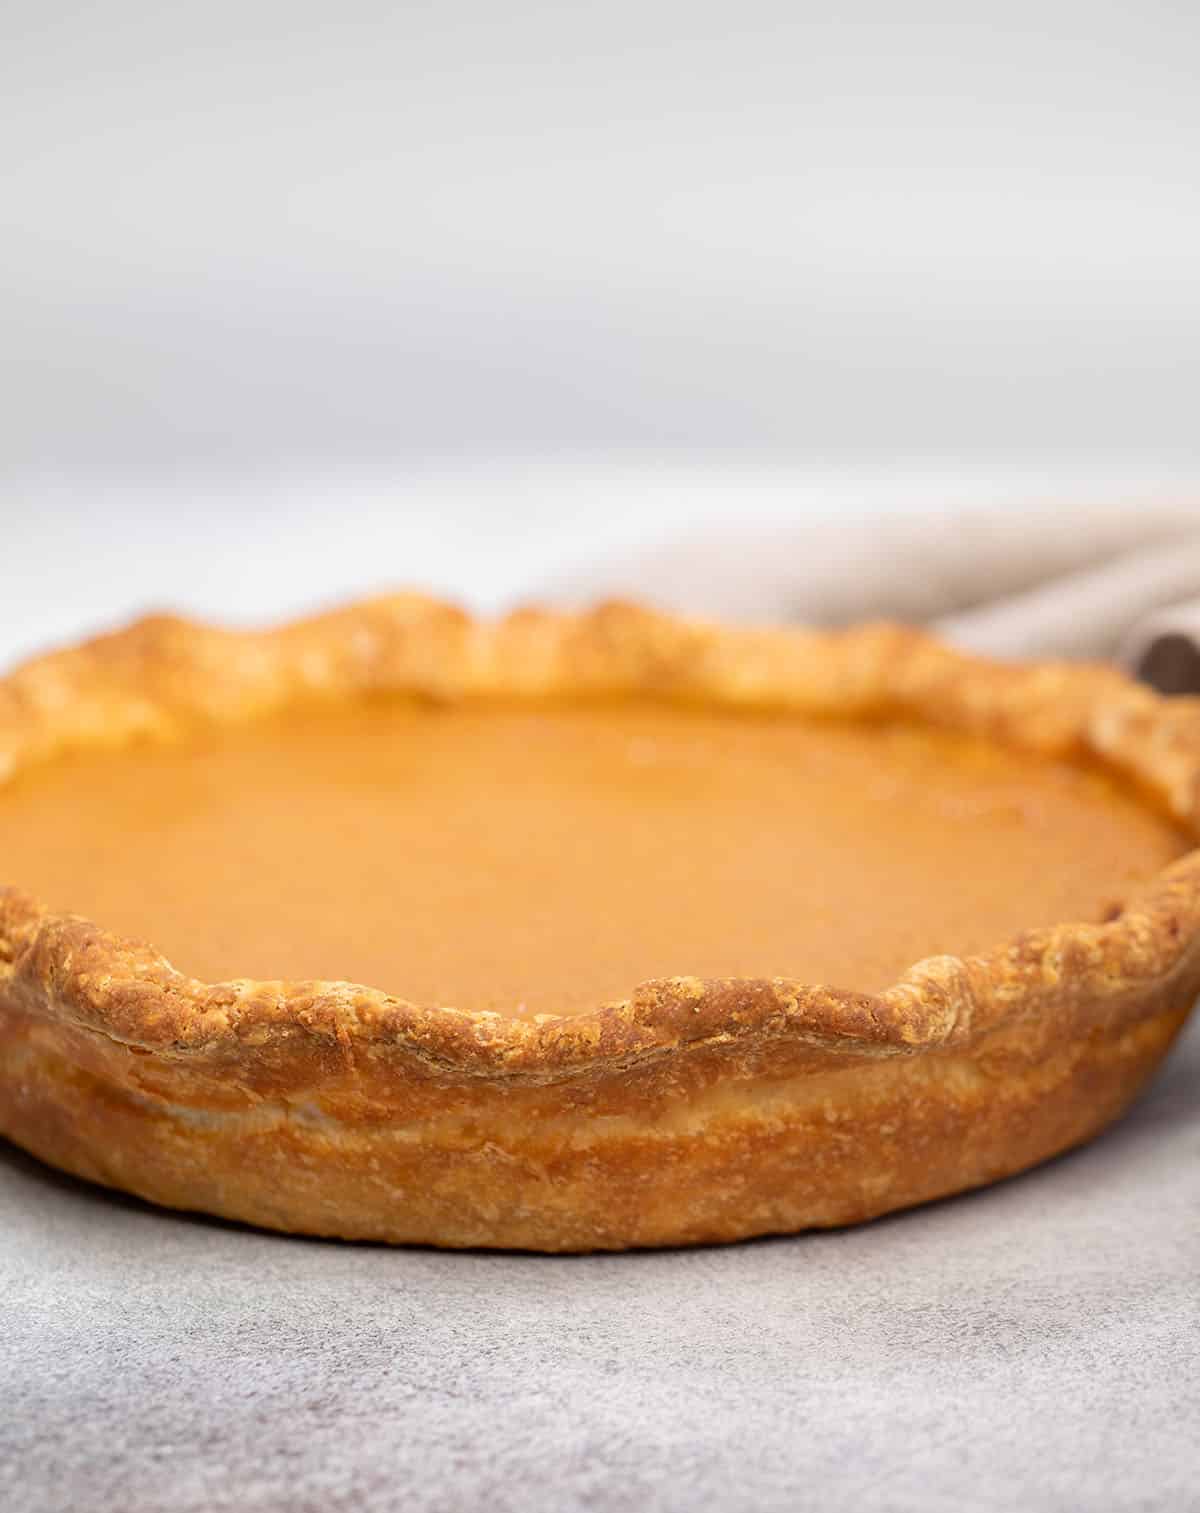
How to make gluten free pumpkin pie (step by step photos)
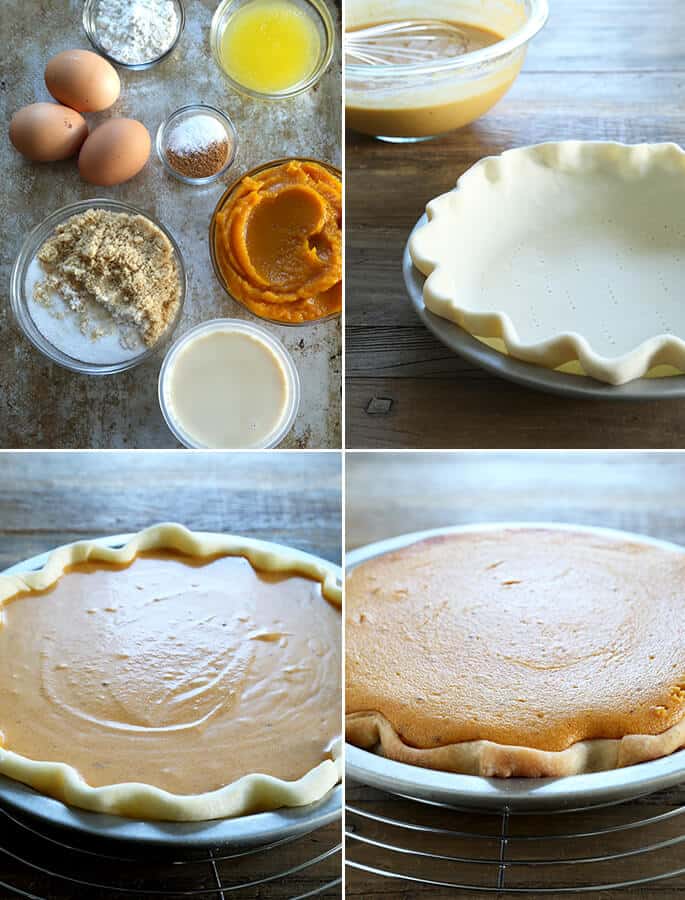
Here's a visual overview of how to make the pie the right way, including the reasons for each step:
Prepare the pie crust
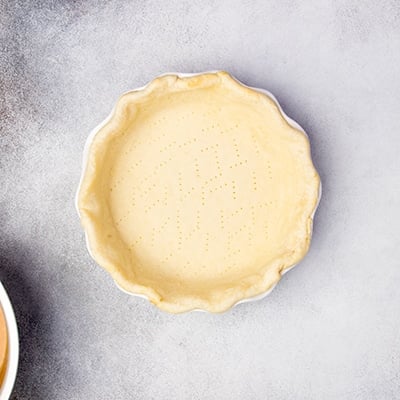
Make, shape and parbake the crust (a partial bake of just the crust), until it's just beginning to brown and it's set. This keeps it from getting soggy when you fill it.
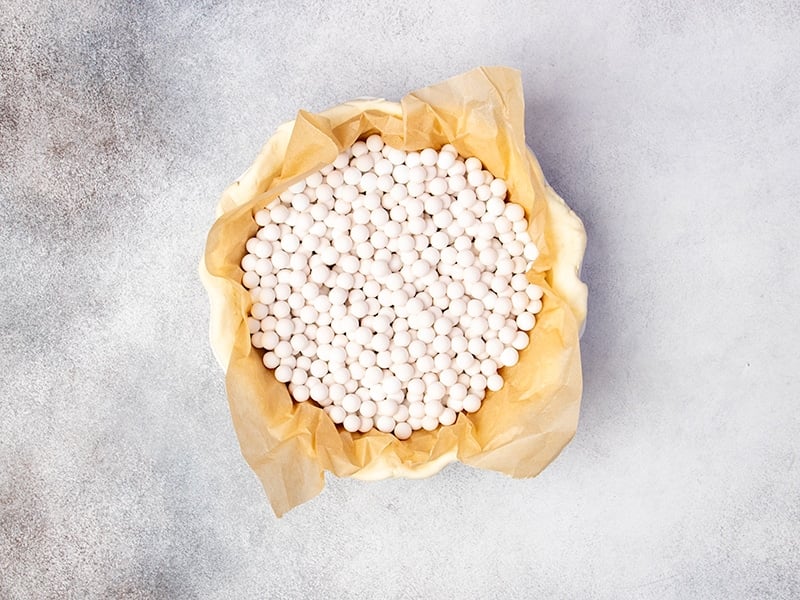
Be sure to cover the bottom and sides of the crust with ceramic pie weights (or dried beans) to keep it from shrinking or puffing up as it parbakes.
Make the filling
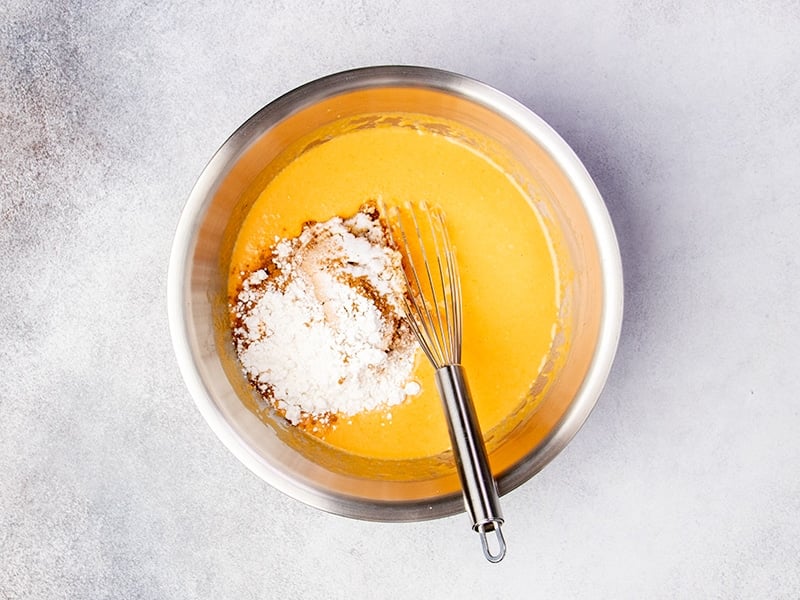
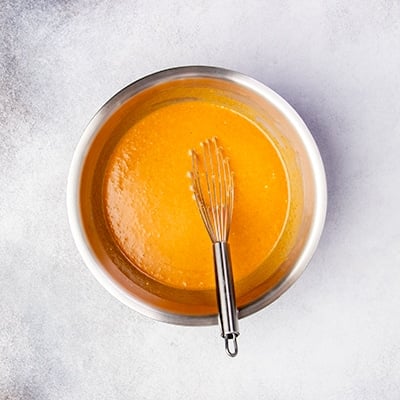
Whisk together the wet ingredients (pumpkin puree, evaporated milk or cream, melted butter and eggs) until smooth. Add the brown and white sugars, pumpkin pie spice, salt, and a bit of gluten free flour, and whisk until smooth and fully combined to avoid any clumps that won't bake properly.
Make sure your ingredients are all at the right temperature so they combine fully. A smooth filling without any lumps will bake into a smooth custard and slices cleanly.

Bake
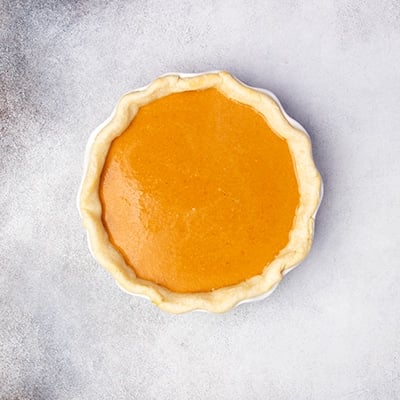
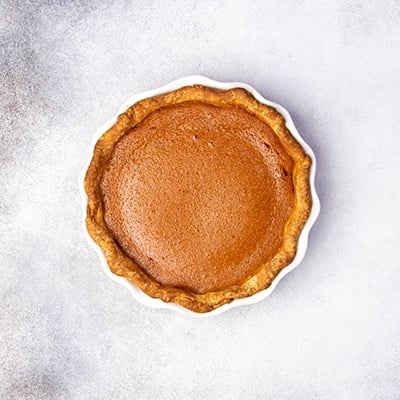
Pour the filling into the partially baked crust, and smooth the top. Bake first at 375°F to help the crust brown fully and the filling rise. Reduce the oven temperature and finish baking at 350°F until done for a fully set, evenly baked custard that isn't overbaked.
It's done but not overbaked when it appears set in the center and sort of sways instead of loosely jiggles when it's moved side to side.
Cool and chill
Let cool to room temperature, then chill in the refrigerator until set, at least 1 1/2 hours. That's how you get nice clean slices.
Let rest
Let the sliced pie sit at room temperature for a few minutes until the crust softens enough to have the proper flaky texture.

Expert tips
Crust options
If you're short on time or just not in the mood to make a classic gluten free pie crust, consider these alternatives:
- Crustless pumpkin pie: Grease the bottom and sides of your pie plate fully, and skip the crust. Make sure the custard is chilled until fully set before slicing and serving.
- Store-bought solutions: They can be a great time-saver and taste surprisingly close to homemade.
- Use a gluten free graham cracker crust. Make your own using our recipe, or look for a store-bought one, like the one sold by Mi-Del.
Par-bake your crust
Whether you're using a homemade or store-bought crust, don't forget to parbake it. That just means to half-bake it without the filling first. It keeps your crust crisp even when it's covered in a liquid filling.
Keep your crust from burning
If you're using a glass pie dish and you notice the pie crust getting dark at after about 30 minutes total baking time, wrap the bottom of the pie pan with a bit of aluminum foil, and cover the visible crust around the edges, too to slow down the heat absorption to those areas.
Slice the pie cold
For the cleanest edges, slice the pie into wedges when it's very cold. But for the best experience of the flaky pie crust, let the slices sit at room temperature for 15 to 30 minutes before serving.
Ingredient substitutions
Dairy free
For the pumpkin pie filling, instead of regular evaporated milk, use dairy free half and half or canned light coconut milk. In place of regular butter, use block-style vegan butter like Miyoko's Creamery or Melt brand. For a dairy free pie crust, follow the substitution instructions in the pie crust recipe.
Egg free
In place of the 3 eggs in the filling, you can try Bob's Red Mill's egg replacer, JustEgg liquid egg replacer, or 1 1/2 tablespoons plain Greek-style yogurt or sour cream and 2 teaspoons cornstarch per egg.
Pumpkin free
Exchange the pumpkin puree for an equal amount of roasted sweet potato puree. Wash, dry, and pierce 3 medium sweet potatoes with a fork to release steam. Bake on a baking sheet at 375°F for about 1 hour, or until the skin loosens and the flesh is very soft. Remove and discard the skin and puree in a blender or food processor until smooth. Measure out 11 ounces and proceed with the recipe as written.

Storage instructions
Store the finished pie, covered tightly with plastic wrap that doesn't touch the top of the filling, in the refrigerator for up to 3 days. If condensation forms on the pie after refrigeration, gently dab it with a paper towel.
To store leftover individual slices, place in a sealed container in a single layer in the refrigerator for up to 3 days. For longer storage, wrap each tightly in plastic and freeze for up to 3 months.
This pie can also be baked completely ahead of time, cooled completely, then covered tightly with plastic wrap and frozen until you’re ready to serve it.
Defrost any frozen slices or the whole pie in the refrigerator overnight, and then allow it to sit on the counter for at least 30 minutes before slicing and serving. The pumpkin (or sweet potato) custard filling will still be smooth, and the crust as flaky as ever.
Gluten Free Pumpkin Pie Recipe
Equipment
- 9-inch round pie plate
Ingredients
- 1 recipe Gluten Free Pie Crust, or use store-bought
- 11 ounces (308 g) canned pumpkin puree, at room temperature
- 3 (150 g out of shell) eggs, at room temperature
- 10 fluid ounces evaporated milk, or heavy whipping cream (or half and half), at room temperature
- 3 tablespoons (42 g) unsalted butter, melted and cooled
- ¾ cup (164 g) packed light brown sugar
- ¼ cup (50 g) granulated sugar
- ½ teaspoon kosher salt
- 2 teaspoons pumpkin pie spice
- 2 tablespoons (18 g) all purpose gluten free flour blend, (any all purpose blend with superfinely ground ingredients, with or without xanthan gum)
Instructions
Prepare the pie crust.
- Prepare the pie crust according to the recipe instructions in a standard 9-inch or 10-inch round pie pan, including chilling the crust until firm (at least 30 minutes).
- Pierce the bottom of the pie crust all over with the tines of a fork. Place a sheet of parchment paper on top of the raw crust and cover the bottom of the crust with pie weights or dried beans.
- Place in the center of the preheated oven and bake until the crust is lightly golden brown on the edges, about 10 minutes.
- Once the crust is done parbaking, remove it from the oven and allow it to sit for a couple of minutes before removing the parchment paper and pie weights.
- Keep the oven temperature at 375°F.
Prepare the filling.
- In a large bowl, place the pumpkin or sweet potato puree, eggs, milk or cream, and melted butter, and whisk vigorously to beat the eggs and combine the mixture very well.
- The mixture should be smooth, and will be quite thin if you used evaporated milk, thicker if you used heavy whipping cream.
- Add the brown sugar, granulated sugar, salt, pumpkin pie spice and flour blend.
- Whisk the mixture until just combined.
- If you used evaporated milk, the mixture will be relatively thin. If you used heavy whipping cream, the mixture will be thicker and creamier.
Fill the crust and bake the pie.
- Pour the prepared filling into warm crust, and smooth it into an even layer.
- Return the crust to the oven and bake for 15 minutes at 375°F.
- Reduce the heat of the oven to 350°F and bake until the edges are puffed and set, and the center jiggles only slightly and in a controlled, rather than a loose, way when the pie is shaken from side to side (about another 25 minutes).
- Remove from the oven and place the pie plate on a cooling rack.
- Allow the pie to cool for at least 45 minutes or until cool to the touch before covering tightly with plastic wrap and placing in the refrigerator to chill until firm (about 1 1/2 hours).
- Remove the pie from the refrigerator and slice it into wedges while cold. Allow slices to sit at room temperature for 30 minutes before serving.
Video
Nutrition
Nutrition information is automatically calculated, so should only be used as an approximation.
FAQs
No, canned pumpkin pie filling and pureed pumpkin are different things.
Pumpkin pie filling is reduced, sweetened, and spiced pumpkin that's ready to pour into a crust and bake. Pureed pumpkin is simply 100% pure pumpkin. There's no sugar or spice, so you need to add your own when making a pie.
Absolutely! If you'd like to save time, there's nothing wrong with using a prepared gf pie crust from the store. Just be absolutely certain that it's gluten free.
You can try reducing the amount of sugar in the filling slightly, but sugar is not just for sweetness. It's also for texture and bulk.
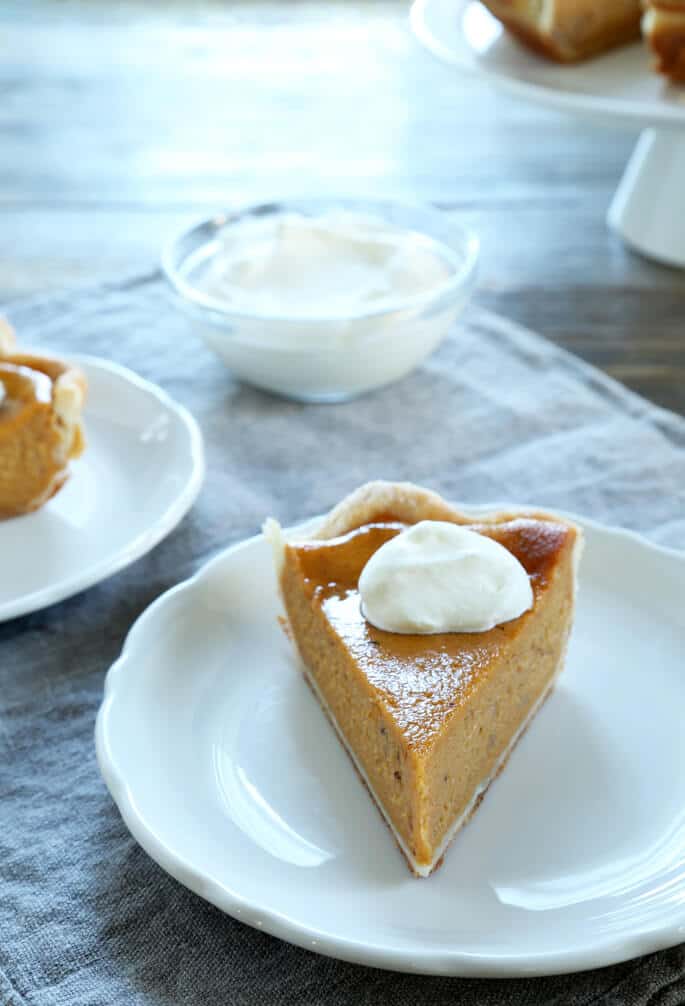
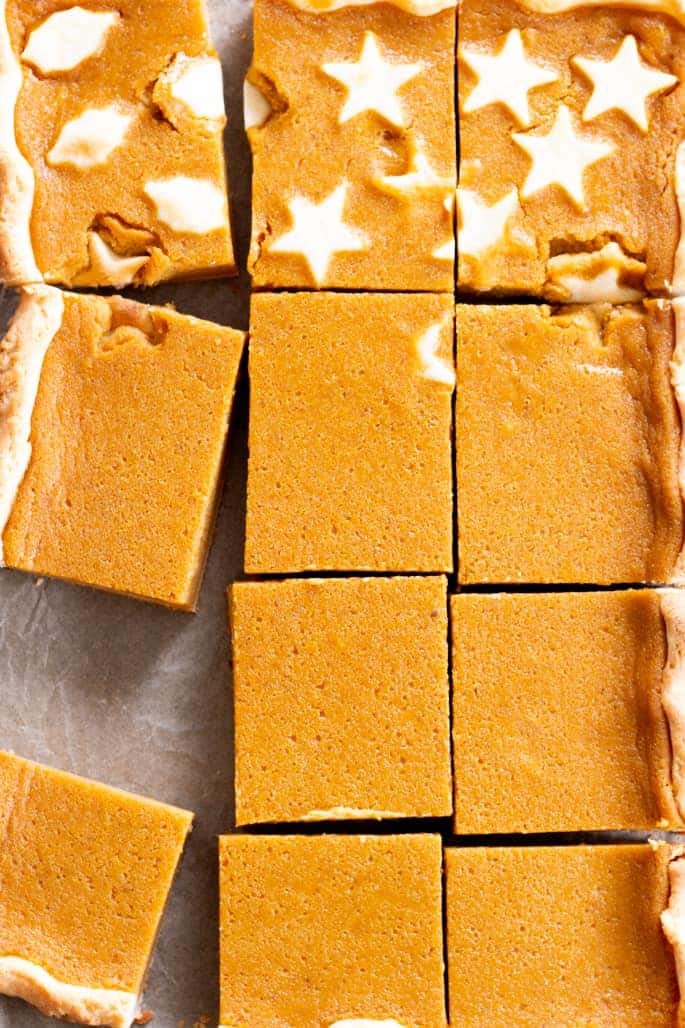
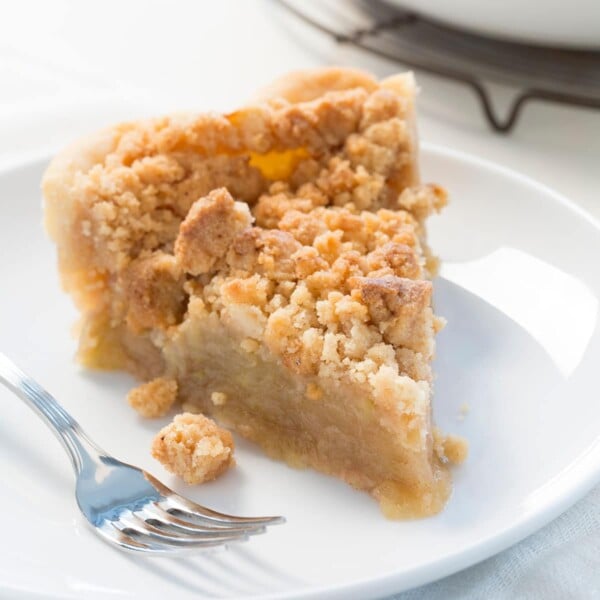










Made with a store bought crust – just cause I had to use up! This pie turned out really well. Easy to assemble and not too sweet. No issues baking at Denver CO altitude. Thank you!
So glad to hear it, Sharmain! Thanks for sharing your experience, especially about baking at altitude, which is especially helpful!