

This post may contain affiliate links. Please read our disclosure policy.
My classic gluten free pumpkin bread recipe is perfectly spiced, super moist, and packed with pumpkin flavor. It tastes just like that famous Starbucks pumpkin bread in the glass case filled with treats that you thought you couldn’t have any more!
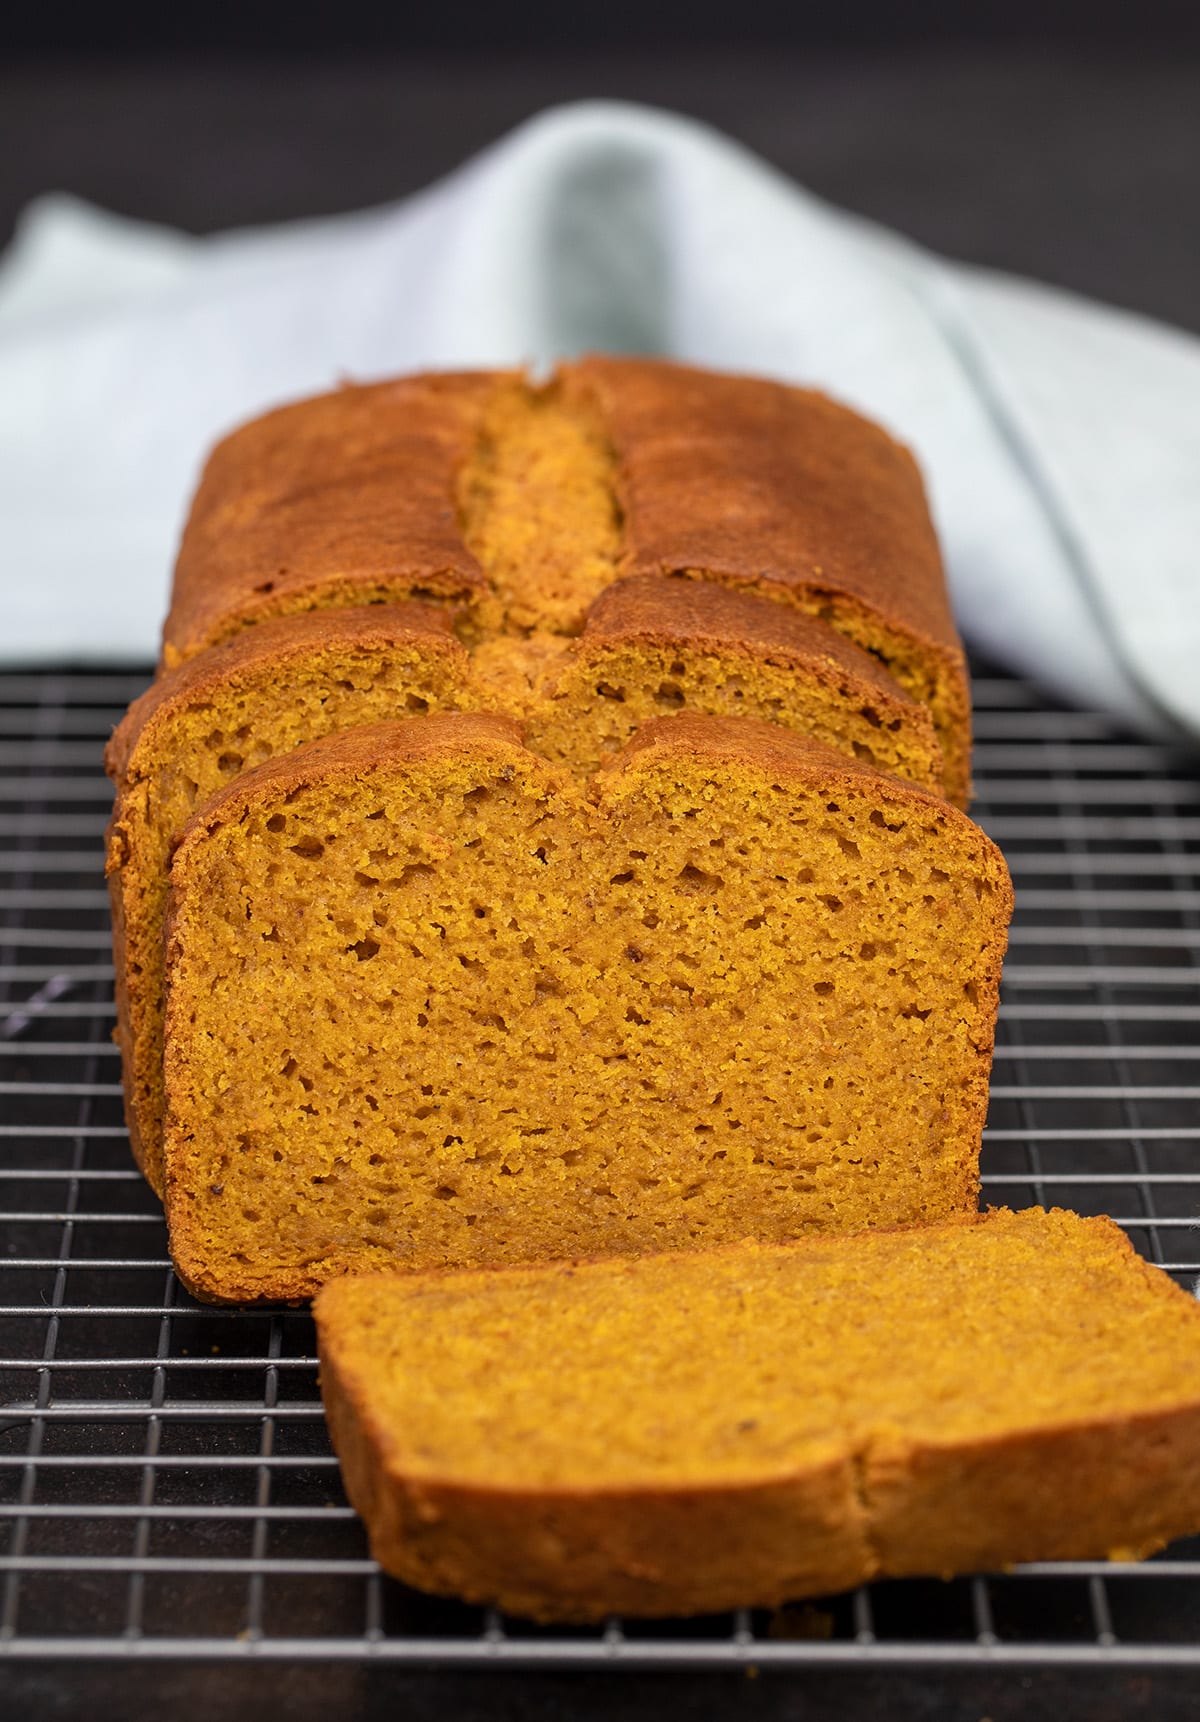
If you enjoyed making my classic gluten free bread recipe or my gluten free sourdough bread you will love this pumpkin version. My gluten free chocolate banana bread is the chocolate version that everyone will love.
Why this recipe works
Made quick and easy with regular canned pumpkin puree, this recipe is made just by mixing wet with dry ingredients, and popping the bread in the oven.
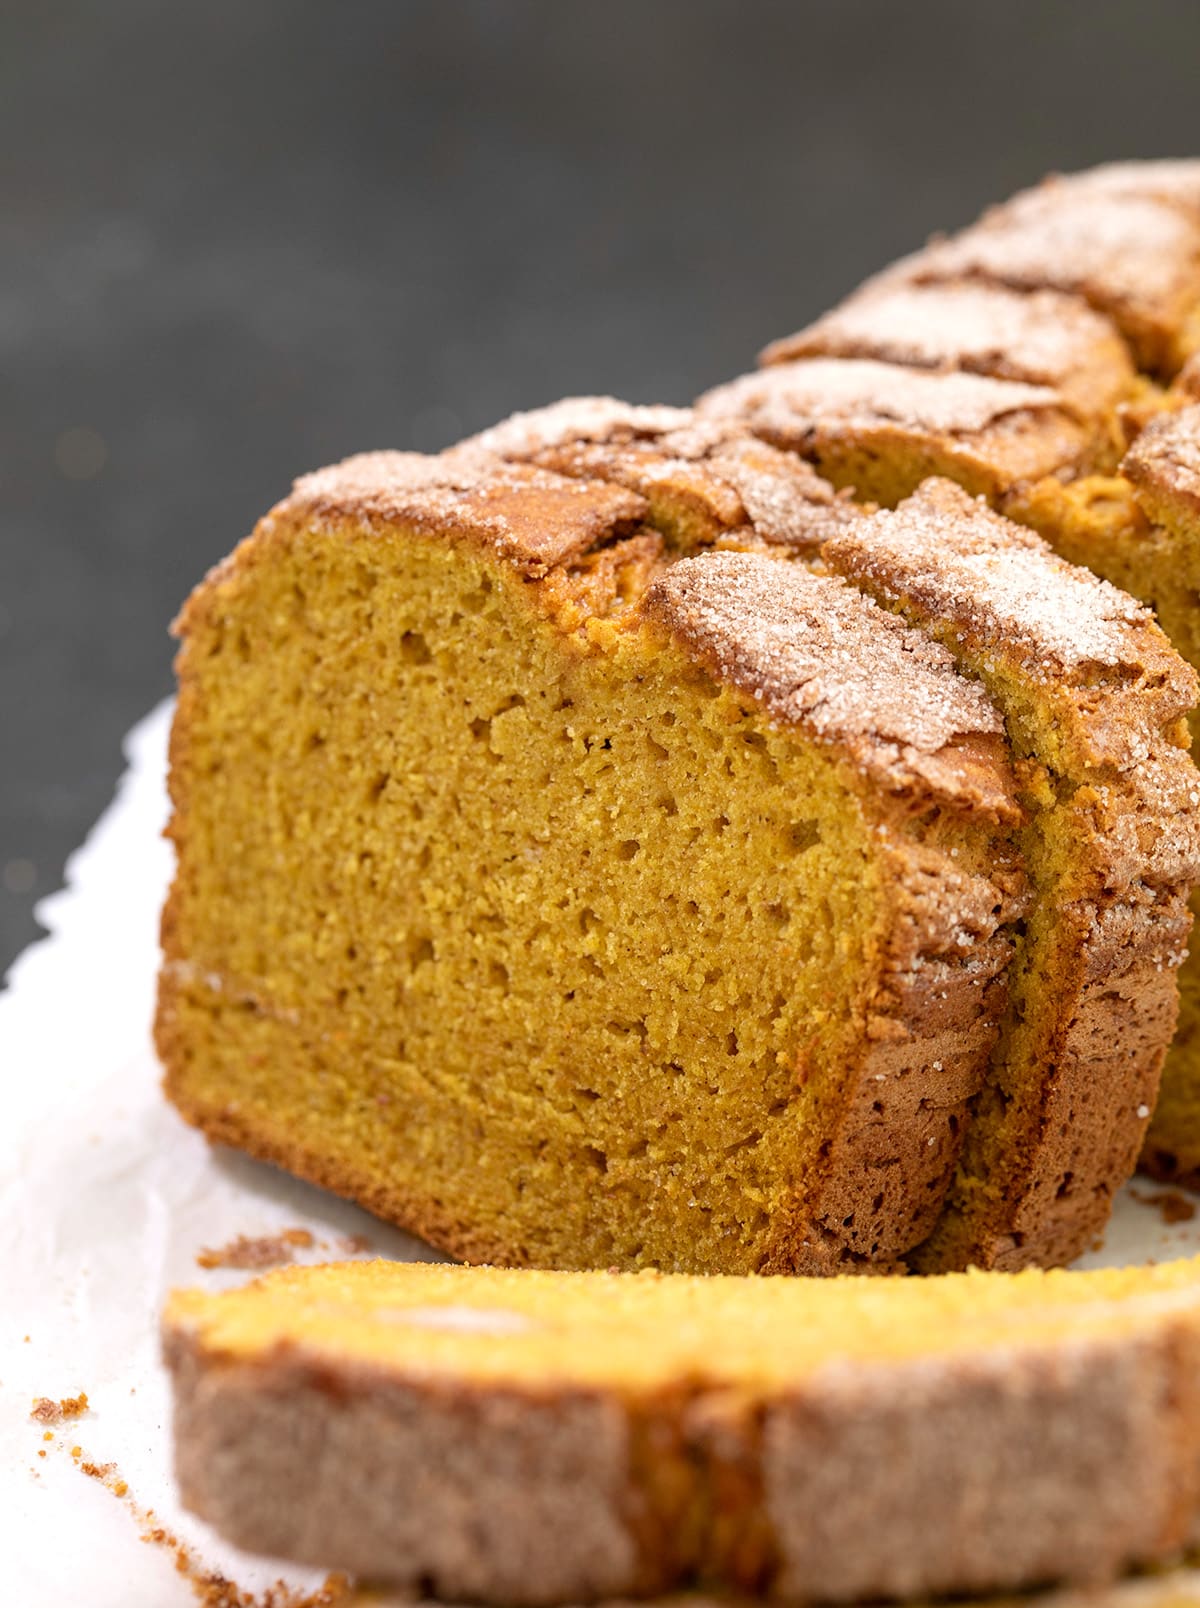
This tender loaf is only lightly sweet, with the rich flavor of pumpkin. You’ll want to get every last crumb. There’s plenty of pumpkin pie spice for rich golden color, and it’s that simple blend cinnamon, ginger, allspice, cloves and nutmeg is what smells & tastes like pumpkin.
Unlike some quick bread loaves, this pumpkin bread won’t ever burn before it bakes all the way through. Like when we’re baking gluten free zucchini bread with zucchini, baking this bread with all that pumpkin puree adds plenty of moisture keeps the bread at a consistent temperature as the moisture evaporates.
Key ingredients explained
Here’s what you need to to make this bread, plus some information about the role of each ingredient in a successful quick bread:
- Gluten free flour blend: A well-balanced rice flour-based gluten free flour blend with finely ground flours provides enough structure to hold the rise as the bread cools. I like Nicole’s Best multipurpose with added xanthan gum, Better Batter’s classic blend, and Bob’s Red Mill 1-to-1 gf baking flour, but with another 1/2 teaspoon xanthan gum added.
- Salt: brightens the flavors and balances the sweetness.
- Baking powder and baking soda: help the bread rise in the oven; baking soda helps it brown, too.
- Pumpkin pie spice: A warm spice blend of mostly ground cinnamon and ginger that tastes and smells like we only think pumpkin itself does.
- Sugar: Adds sweetness and locks in moisture for a tender crumb.
- Light brown sugar: For sweetness plus depth of flavor and richness.
- Pumpkin puree: Adds lots of moisture, color, and some pumpkin flavor. Instead of making this recipe with pumpkin butter, which can be hard to find, I now make this recipe with canned pure pumpkin puree like in our gluten free pumpkin pie so it’s easy to make without the extra step of buying or making pumpkin butter, but is still rich and flavorful.
- Butter: Adds flavor, tenderness, and moisture.
- Eggs: Help with the rise and provide structure to hold the rise as the bread cools.
- Sour cream: The acidity helps tenderize the crumb, and adds fat for richness and flavor; it works just like buttermilk, but with less moisture so the bread bakes all the way through without any gumminess.
How to make gluten free pumpkin bread (step by step photos)
Here’s a photo overview of how to make this bread in your own kitchen, plus some information about the reason behind each step:
Whisk dry ingredients
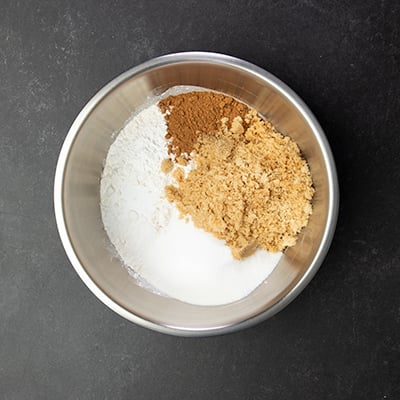
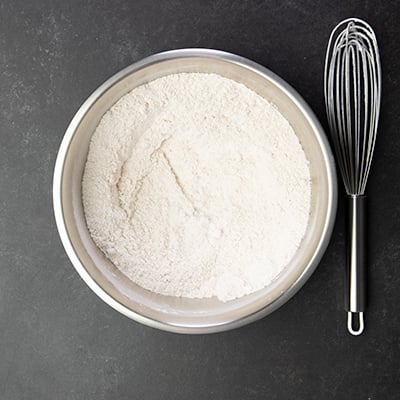
I whisked the gluten free flour blend, salt, baking powder, baking soda, pumpkin pie spice, and white and brown sugars first in a separate small bowl to ensure they’re well-combined without any pockets of concentrated leaveners. You can also You can make this recipe in one bowl by whisking the dry ingredients first, then adding the wet on top and mixing to combine, but since this recipe has a lot wet ingredients, I find it easier to mix dry into wet.
Combine wet ingredients
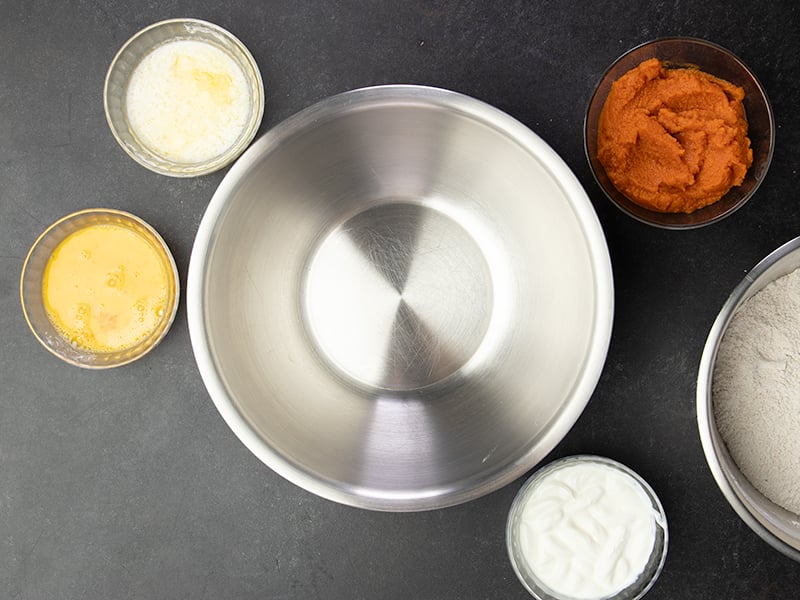
In a large mixing bowl big enough for all the batter, whisk melted butter, eggs, pumpkin puree, and sour cream until very smooth. Whisk until the mixture turns lighter in color, which means that the eggs are emulsified in the mixture which leads to a more stable batter that rises evenly.
Add dry to wet
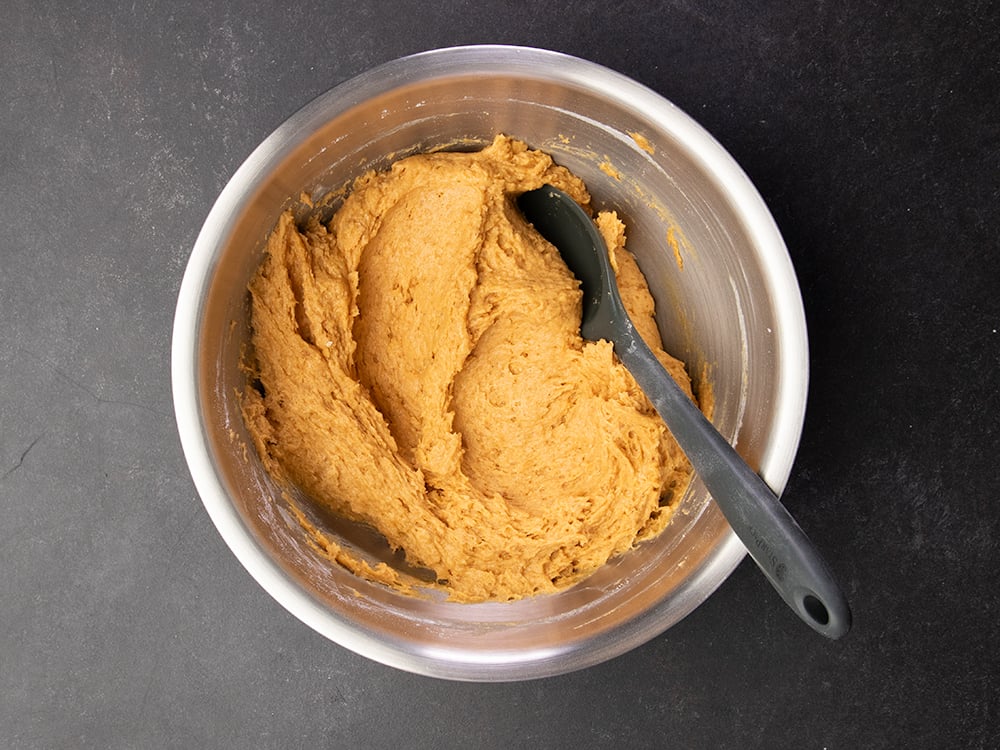
Add the combined dry ingredients right on top, and mix to combine. The batter will thick, but smooth and soft, not thick or hard to mix.
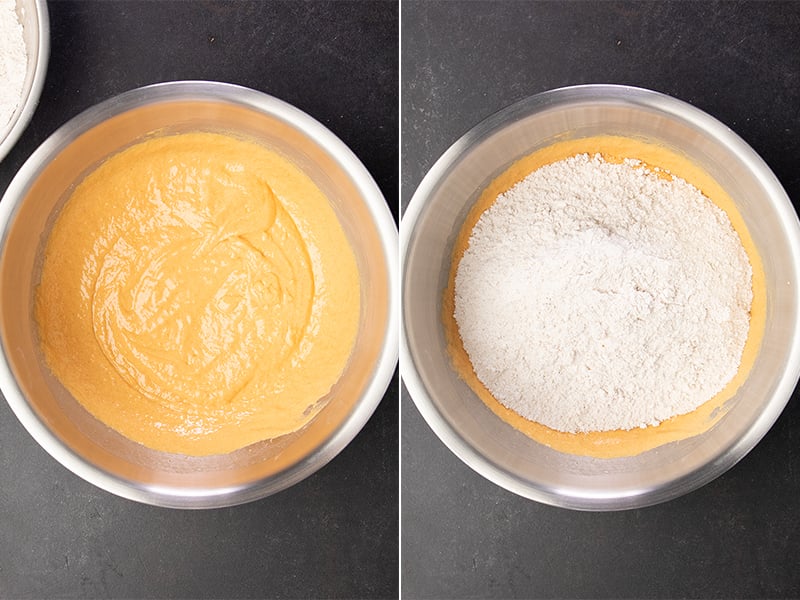
The batter should be strong enough to hold its shape as it bakes, but still has enough moisture for a tender bread. It shouldn’t stick to your mixing spoon very much, either.
Transfer the batter
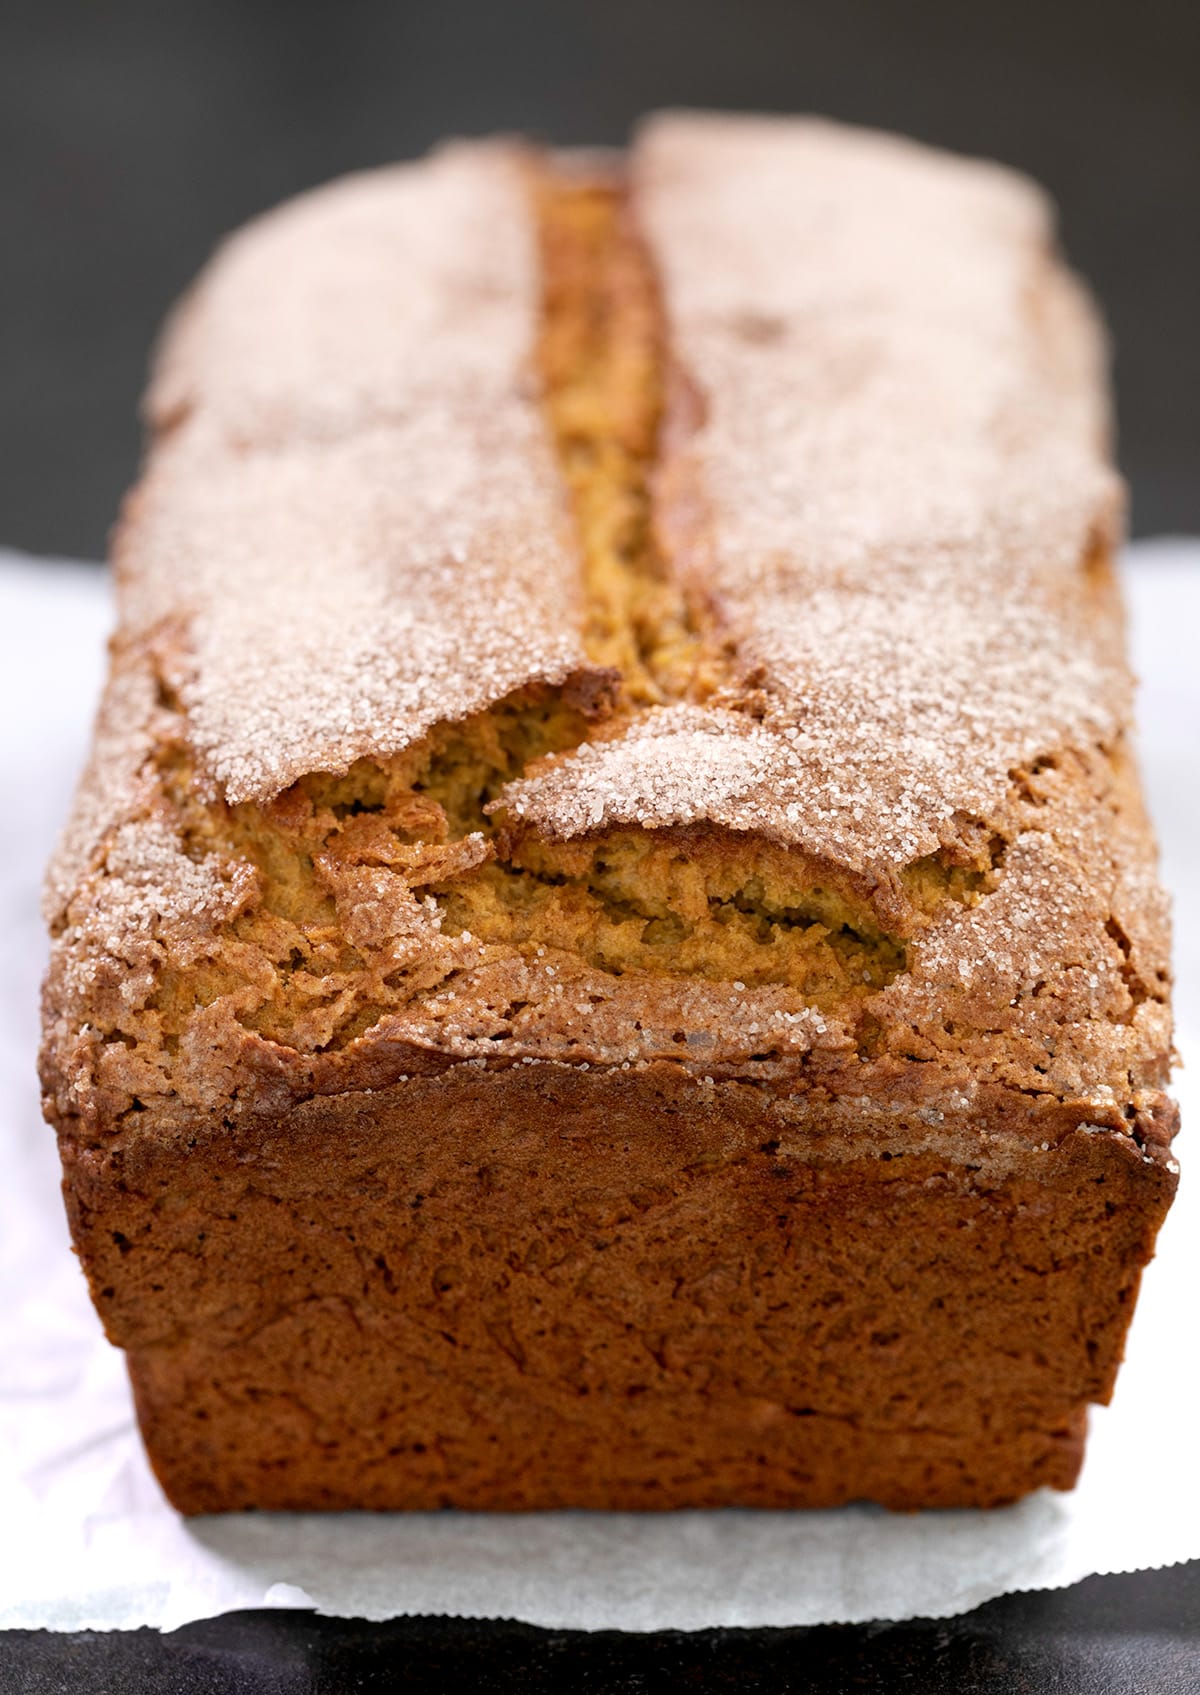
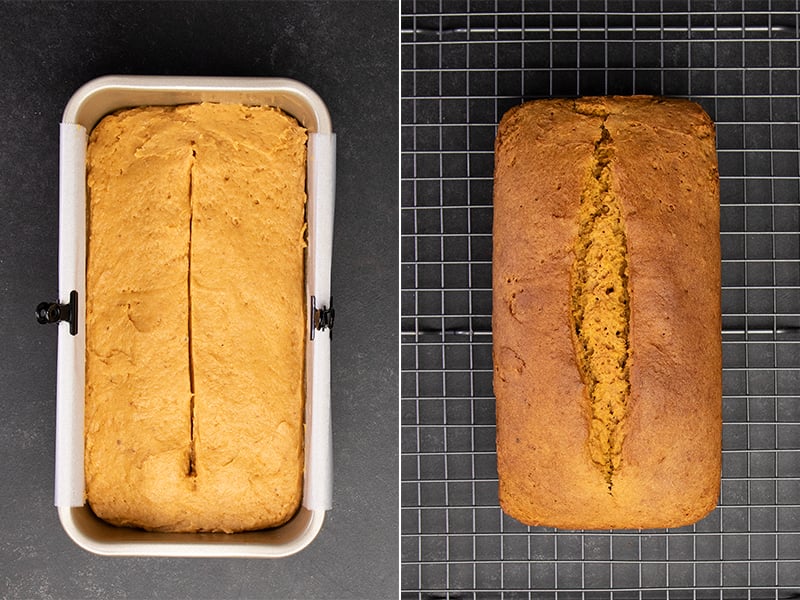
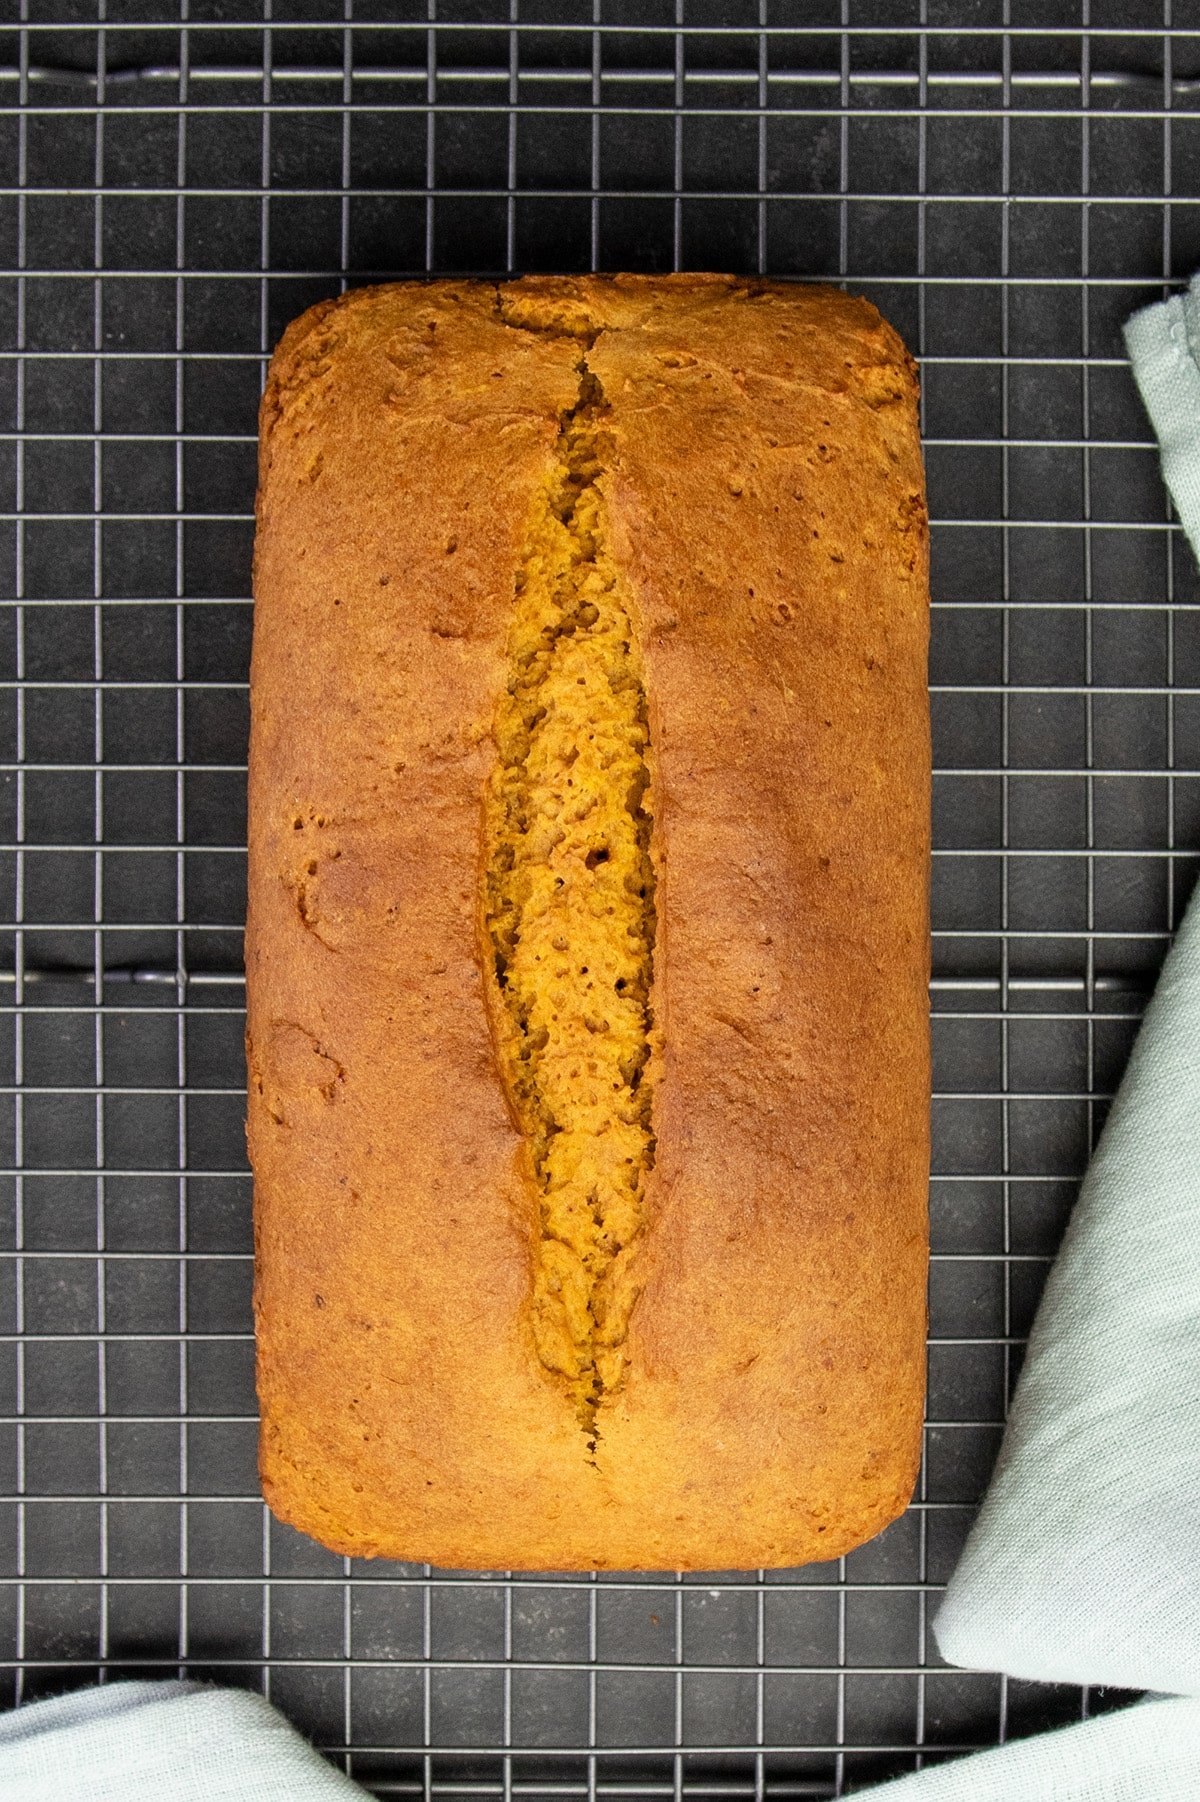
Scrape the raw batter into a prepared loaf pan, smooth the top, and score it down the middle for a lovely top. That gives the steam a place to escape during baking. For more sweetness and a thin, crispy crust, sprinkle the raw top with cinnamon and sugar.
Bake and cool
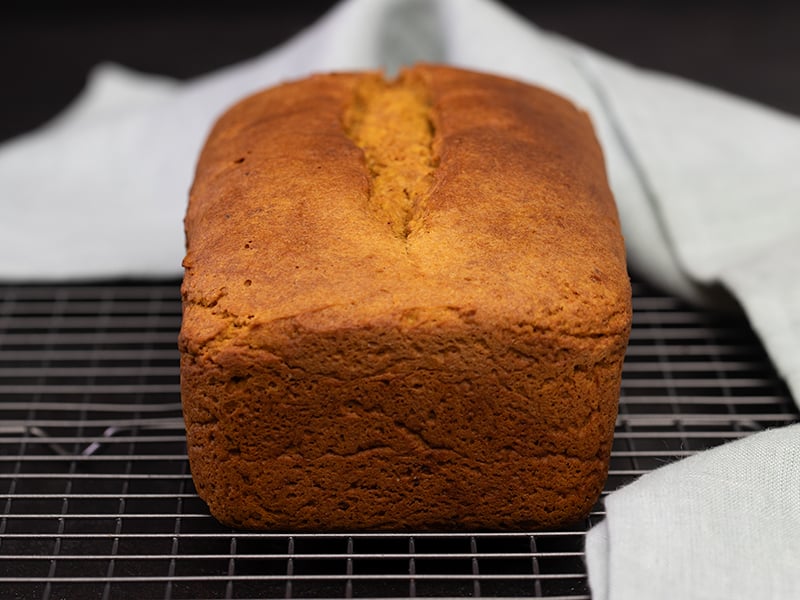
Bake at 350°F until the top is relatively firm to the touch and a tester inserted in the center comes out without any raw batter. A few moist crumbs are fine, and this bread doesn’t burn easily since it has so much moisture, so err on the side of overbaking than underbaking or the bread will collapse as it cools.
Let the bread cool fully, or the starches in the bread won’t have fully absorbed the moisture. That can lead to a gummy crumb, and a bread that goes stale quickly from loss of moisture.
Expert Tips
Measure gluten free flour by weight
When measuring your gluten free flour blend, be sure to measure by weight rather than volume. When you scoop flour from a bag, you might accidentally compact it in your measuring cup.
This means once you’ve mixed everything together, your proportions will be off because you’ve got too much flour. If you don’t realize it, you may end up with a drier, more crumbly bread.
Use room temperature ingredients
Make sure that your sour cream, eggs, and pumpkin puree are at room temperature, so they combine with one another properly. Your butter should be melted, and then cooled until it’s no longer hot to the touch so it doesn’t raise the temperature of the other ingredients.
Bake it as long as it needs
This loaf doesn’t really have a tendency to burn before it bakes all the way through, so be sure to give it the time it needs to bake fully. If you’re using a slightly smaller loaf pan than 9-inches x 5-inches, it may take up to an hour to bake, but it won’t burn.
Let your bread cool before slicing
Be sure that your bread is no longer hot when you slice into it. If you don’t give it time to cool, no matter how carefully you slice it, the loaf will compress when you cut it.
Ingredient substitutions
If you have other dietary restrictions, here are my best guesses for how you might accommodate them:
Dairy free
Replacing the dairy in this recipe means replacing the butter and the sour cream. In place of butter, I recommend using vegan butter, and my favorite brands are Melt and Miyoko’s Kitchen.
In place of sour cream, try nondairy sour cream, or Greek-style plain nondairy yogurt. If you can’t find Greek-style, try straining moisture out of plain nondairy yogurt until it resembles sour cream.
Egg free
There are two eggs in this recipe. You can try replacing each of them with one “chia egg” (a total of 2 tablespoons ground white chia seeds + 4 tablespoons lukewarm water, mixed and allowed to gel).
Storage instructions
This pumpkin bread is super moist, and it doesn’t dry out very quickly. Wrap each leftover slice as tightly as possible, and let it sit at room temperature for a day or so.
For longer storage, freeze the tightly wrapped slices and defrost in the microwave for about 20 seconds, or at room temperature. The frozen slices should stay in the freezer for up to 2 months.
Gluten Free Pumpkin Bread Recipe
Tell Google you trust GFOAS!
Ingredients
- 2 ¼ cups (315 g) all purpose gluten free flour blend, See Recipe Notes
- 1 teaspoon xanthan gum, omit if your blend already contains it
- ¾ teaspoon kosher salt
- 1 teaspoon baking powder
- ½ teaspoon baking soda
- 2 teaspoons pumpkin pie spice, See Recipe Notes
- ⅓ cup (67 g) granulated sugar
- ½ cup (109 g) packed light brown sugar
- 6 tablespoons (84 g) unsalted butter, melted and cooled
- 2 (100 g (weighed out of shell)) eggs, at room temperature, beaten
- ⅔ cup (150 g) sour cream, at room temperature
- 8 ounces pure pumpkin puree, at room temperature
- Cinnamon-sugar, for dusting (optional)
Instructions
- Preheat your oven to 350°F. Grease and line a standard 9-inch x 5-inch loaf pan and set it aside.
- In a small bowl, place the flour, xanthan gum, salt, baking powder, baking soda, pumpkin pie spice, granulated sugar and light brown sugar, and whisk to combine well, breaking up any lumps.
- In a separate large mixing bowl, whisk together the melted butter, eggs, sour cream, and pumpkin puree until very smooth.
- Add the dry ingredients to the large bowl of wet ingredients, and mix until just combined. The batter will be very thick, but soft.
- Scrape the batter into the prepared pan, pressing it into all corners of the pan so there aren’t any gaps in the baked bread.
- With a wet spatula, smooth the top of the batter into an even layer and score it about 3/4-inch deep down the center of the bread using a sharp knife at a 45° angle.
- Dust the top generously with a layer of the (optional) cinnamon sugar mixture, and score again down the center if necessary to reestablish the scoring.
- Place the loaf pan in the center of the preheated oven and bake until the top is domed and lightly golden brown, and a toothpick inserted in the center comes out with no more than a few moist crumbs attached (nothing gooey at all!) (about 50 minutes).
- Remove the pan from the oven and allow to cool for 10 minutes before turning out onto a wire rack to cool completely. Slice and serve once cool.
Video
Notes
You can use any of my recommend all purpose gluten free flour blends with a superfinely ground rice flour as a base. I like Nicole’s Best multipurpose with added xanthan gum, Better Batter’s classic blend, Vitacost multi gf blend with added xanthan gum, and Bob’s Red Mill 1-to-1 with an extra 1/2 teaspoon xanthan gum added because it doesn’t have enough. For pumpkin pie spice
To make your own pumpkin pie spice, combine 1 teaspoon ground cinnamon + 1/2 teaspoon ground ginger + 1/4 teaspoon ground allspice, 1/4 teaspoon ground cloves + 1/8 teaspoon ground nutmeg. For the dusting cinnamon sugar
Dusting the top of the raw loaf of pumpkin bread with cinnamon sugar creates a very thin, crunchy layer of fragrant sweetness. It’s entirely optional, though. I use 1 full teaspoon ground cinnamon for each 3/4 cup of granulated sugar. You should add cinnamon to taste, though. Nutritional information.
Nutritional information is an estimate, per slice based on a loaf cut into 10 slices without the optional cinnamon sugar topping.
Nutrition
Nutrition information is automatically calculated, so should only be used as an approximation.
FAQs
No. Although pumpkin pie filling doesn’t have the same consistency or moisture balance as pumpkin puree and won’t work in its place.
Yes! You can make your own pumpkin pie spice. To make just over 2 teaspoons of pumpkin pie spice, in a small bowl, combine 1 teaspoon ground cinnamon + 1/2 teaspoon ground ginger + 1/4 teaspoon ground allspice, 1/4 teaspoon ground cloves + 1/8 teaspoon ground nutmeg. If you are missing any of the component spices, just add more ground cinnamon to round out the 2 teaspoons.
Instead of trying to bake this pumpkin bread batter in a muffin tin, try my recipe for tender, perfectly-spiced gluten free pumpkin muffins.
Yes! You can dust the top of the raw loaf with cinnamon-sugar before baking. You can also add raw pumpkin seeds or flax seeds (as a topping) before for some really nice added texture. Press the seeds down gently on the raw bread first to help them adhere.












Great recipe, thank you. I had success with using my Nordic Ware pumpkin muffin pan. 375 degrees 13 – 15 minutes. they did come out with air pockets, so the pumpkin detail wasn’t perfect, despite hitting pan on counter lightly before baking, to try to remove them. Otherwise perfect, great tasting muffins!
Instead of using this recipe for muffins, Christine, which I don’t recommend, I suggest using my gluten free pumpkin muffins recipe. They’re really not the same!
An old favorite pumpkin bread recipe had chopped walnuts and raisins in it. Do you think the recipe would work just as well with one or both added?
Hi, Linda, I think that would be just fine since those are both dry mix-ins. I would start by adding 1 cup total of either or both as a combination, but with a total volume of no more than 1 cup.
This turned out great! I had Cup to Cup on hand so I used that. Very happy with the results. I had about given up on most GF baking. Thanks Nicole!
You’re so welcome, Cheryl. I miss the old Cup4Cup that worked so well, but I’m glad you had success using the new one! Thanks so much for sharing your experience.