

This post may contain affiliate links. Please read our disclosure policy.
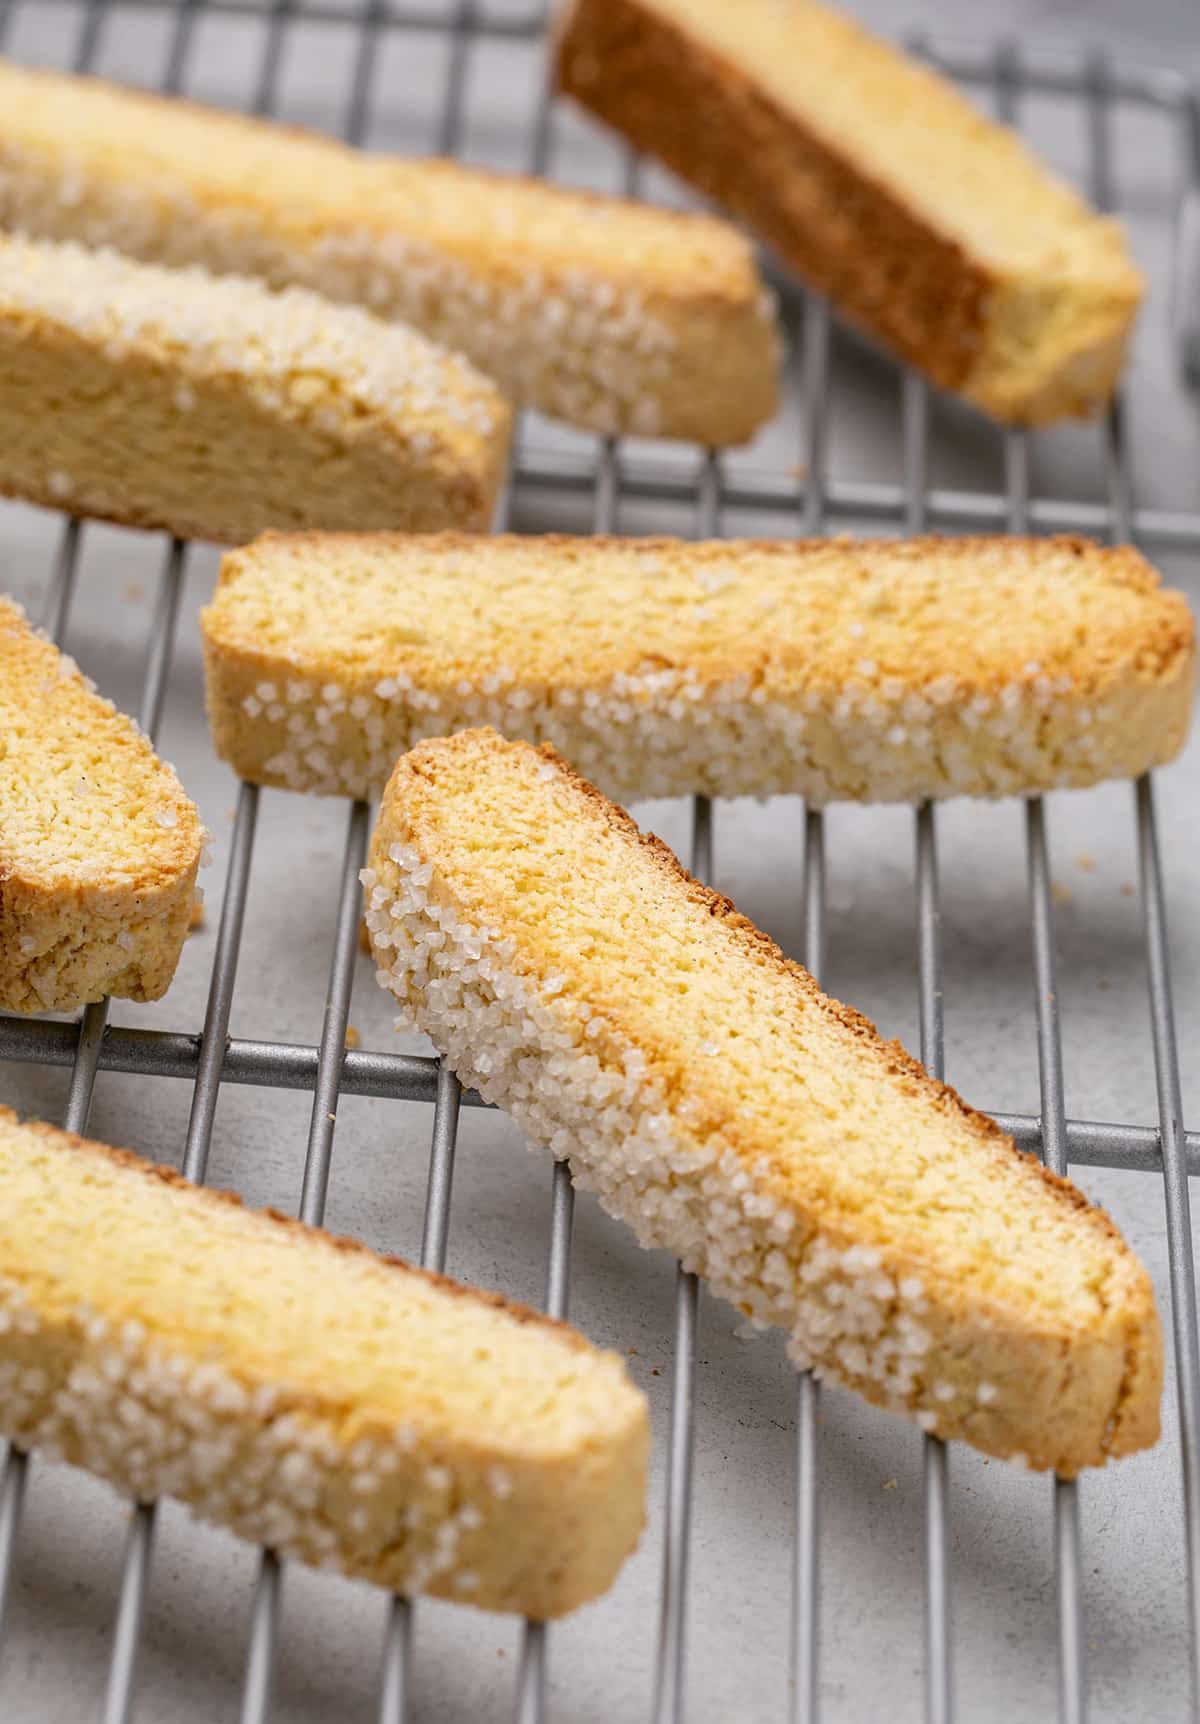
These classic gluten free biscotti have a delicate vanilla almond flavor and a satisfying crunch without being hard to bite. They’re baked twice for that signature crisp texture, with no butter or oil needed.
And despite their bakery-style appearance, they’re even easier to make than drop-and-bake chocolate chip cookies!
Why this recipe works
These traditional Italian-style biscotti have a delicate crunch but still tender and easy to bite. They crisp up beautifully without needing an especially long baking time.
The simple dough comes together in one bowl and is baked first just until firm enough to slice. A second bake dries out the exposed cut surfaces to make the cookies crisp, which also helps them stay fresh longer on your kitchen counter.
Chopped almonds add richness, flavor, and texture. You can also leave them out and bake a little longer for equally crisp biscotti.
Recipe ingredients
Here’s what you need to make this recipe, including some information on the role of each ingredient in the final result:
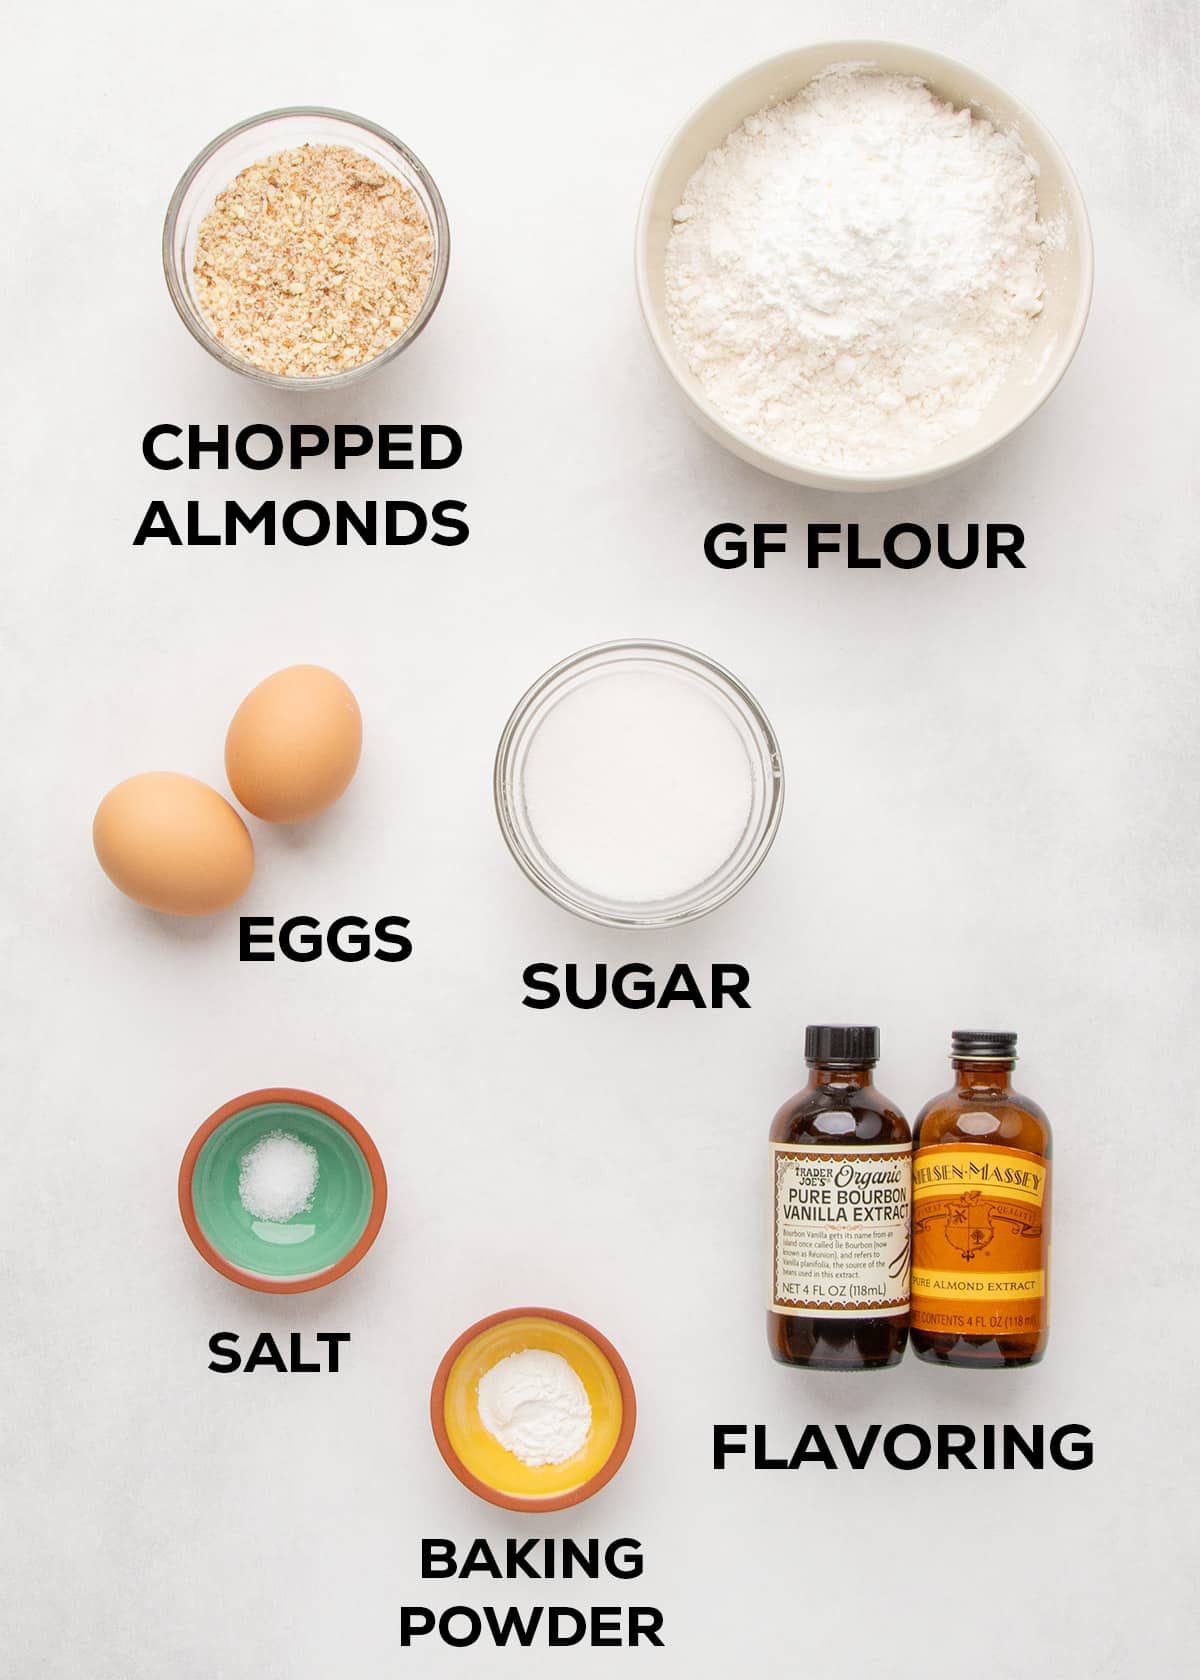
- Gluten free flour blend: Provides the main structure of the biscotti. I recommend using Better Batter’s original all purpose gluten free flour blend without any more xanthan gum, Nicole’s Best multipurpose with 1/2 teaspoon xanthan gum as directed to hold the cookies together, or Bob’s Red Mill 1-to-1 gluten free baking blend without additional xanthan gum. Bob’s has a mild aftertaste, though, which you will taste in this relatively simple cookie.
- Cornstarch: Creates a slightly more delicate, crisp texture rather than a hard crunch, which is particularly important if you’re using Bob’s Red Mill blend. You can also replace it with more of your gluten free flour blend, by weight.
- Chopped raw almonds: Add a little crunch, and some of the mild, sweet flavor of almonds. Their natural oils add richness and make the biscotti taste less dry, even though they’re baked until crisp. You can chop the almonds by hand, or pulse a few times in a food processor. You can also use almond meal here instead, but not almond flour, which is made from almonds that have had their skins removed and behaves a bit more like flour. If you prefer, you can leave the almonds out and the recipe still works, but the cookies are a bit smaller and have less flavor and texture.
- Granulated sugar: Adds sweetness and tenderness by holding onto moisture. Keeps the cookies from being hard to bite, even though they’re thick and crunchy. Also helps them brown a bit in the oven, but the lack of baking soda or added butter keep them from browning quickly.
- Baking powder: Responsible for most of the rise in the oven so the cookies aren’t dense or hard.
- Salt: Brightens the other flavors.
- Eggs: Bind the cookies together and help them keep their shape after rising without adding any butter or oil.
- Flavorings: A combination of vanilla extract and almond extract adds depth and enhances the flavor of the chopped almonds. You can use 1 tablespoon of vanilla extract, or 2 teaspoons vanilla and 1 teaspoon almond extract. Almond extract has a potent flavor, though, so be careful about how much you use.
How to make gluten free biscotti (step by step photos)
The simple dough is baked in a flat log first. It’s cooled briefly, and then sliced and baked. Here’s a visual overview, with the “why” behind each step:
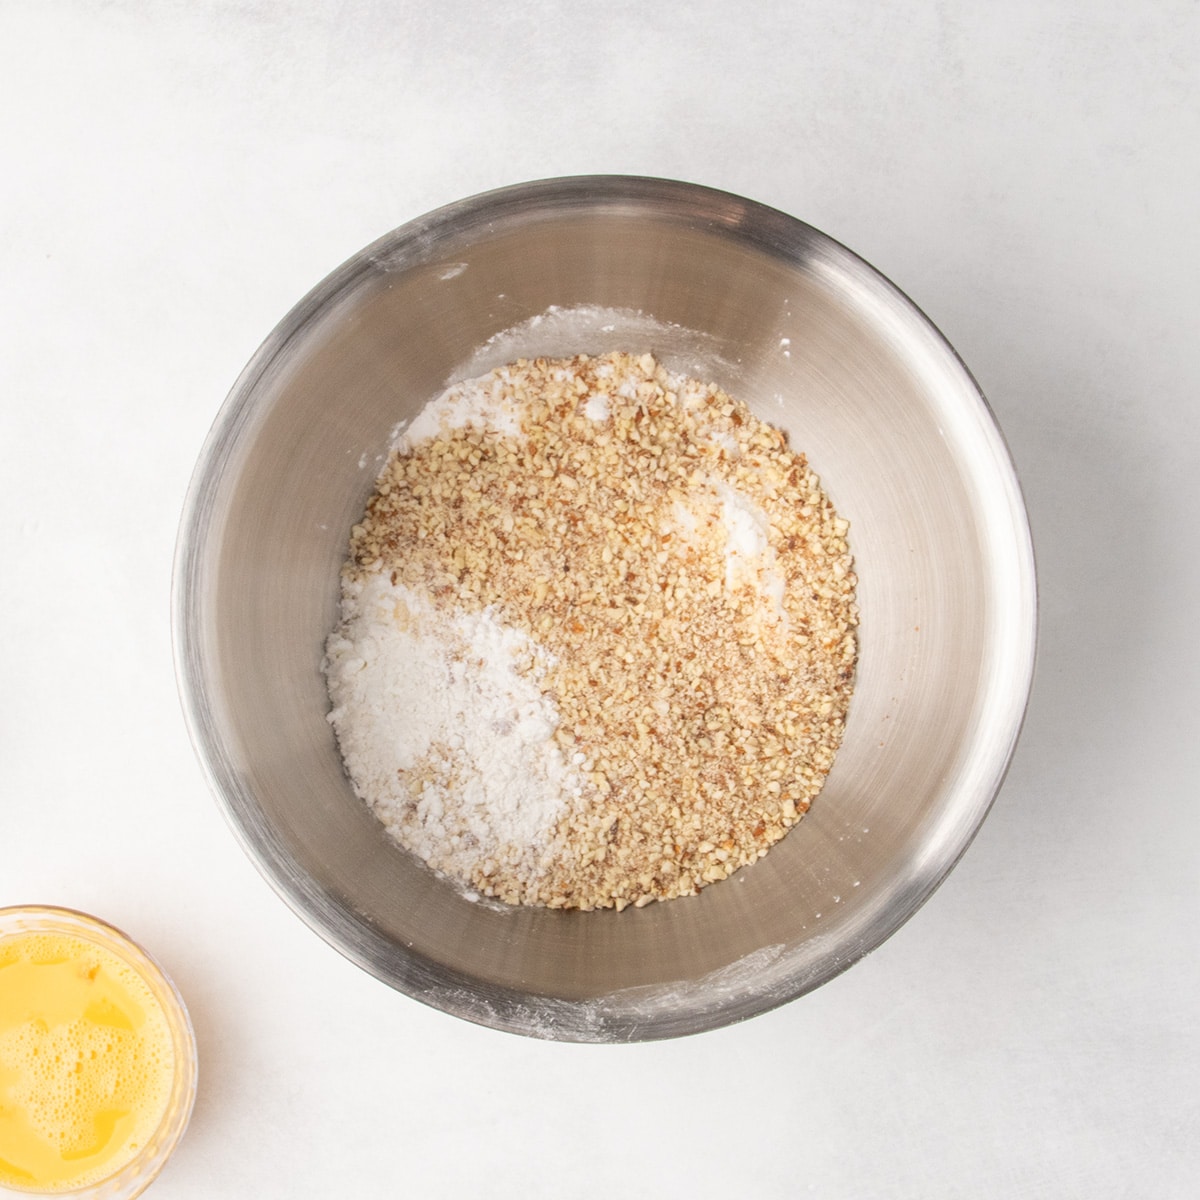
Steps 1-2: Whisk dry ingredients
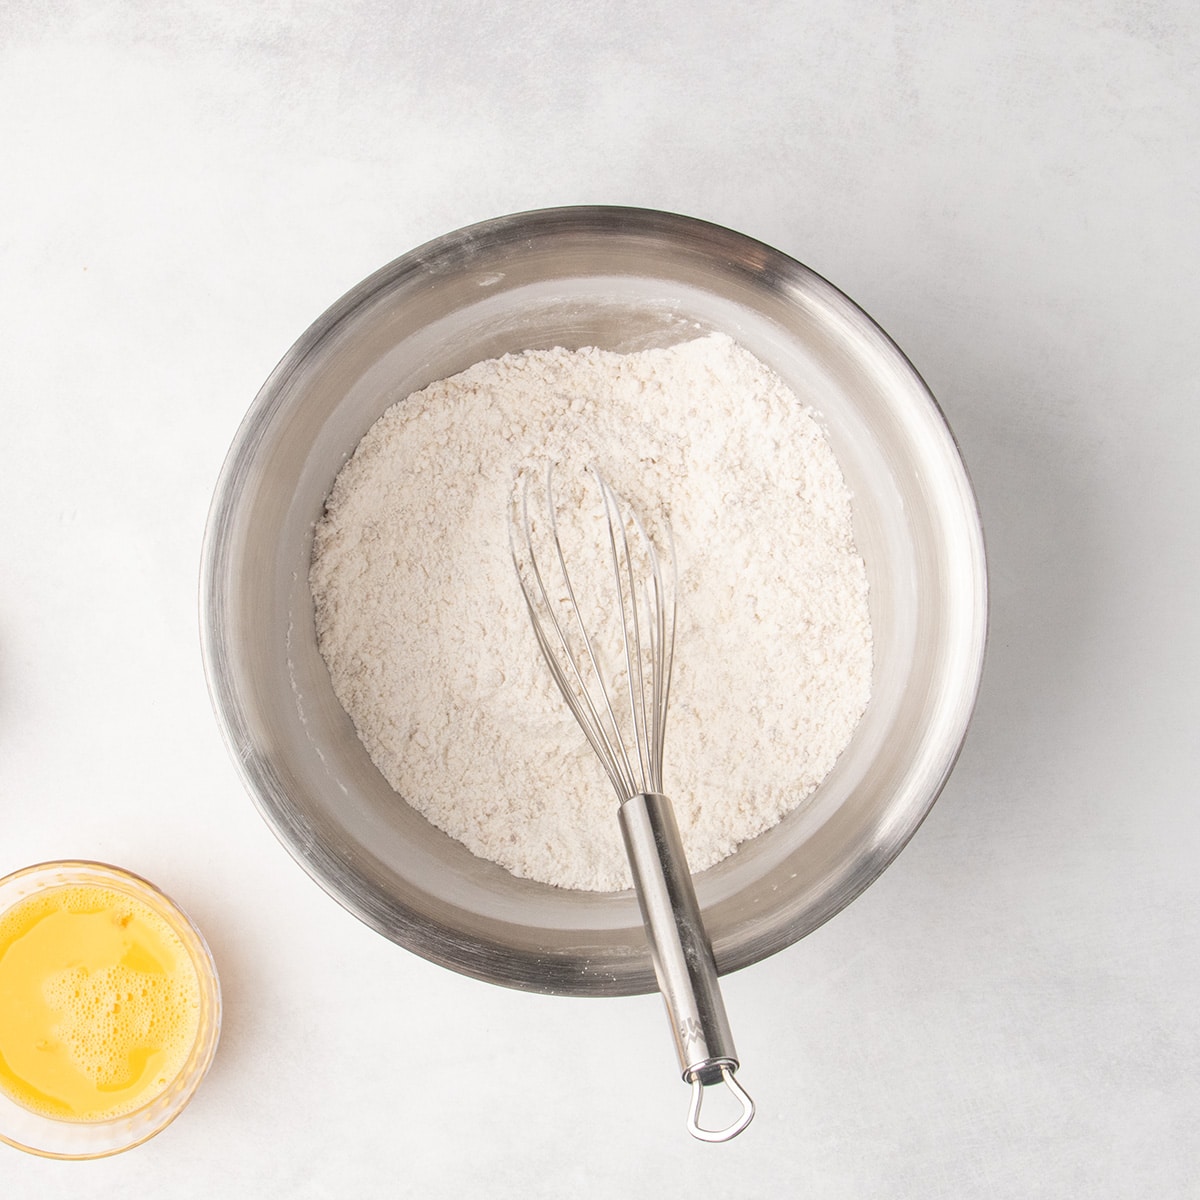
In a large mixing bowl, place the flour blend with xanthan gum, cornstarch, baking powder, salt, granulated sugar, and chopped almonds. Whisk to combine well to avoid any clumps of almonds that won’t bake fully or bitter pockets of baking powder.
Steps 3-4: Mix in wet ingredients
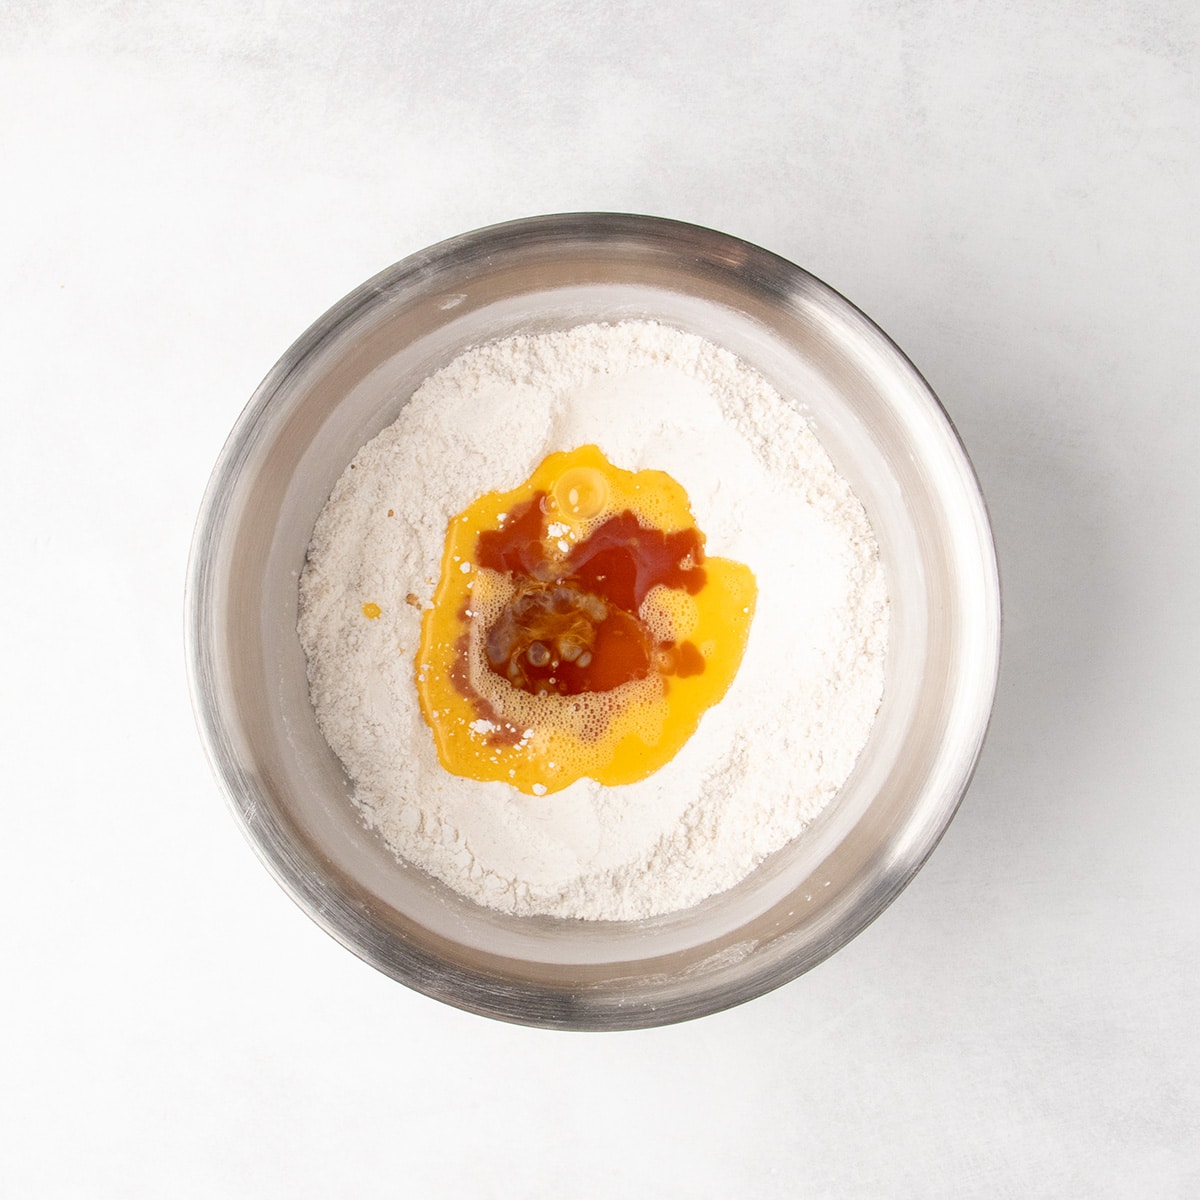
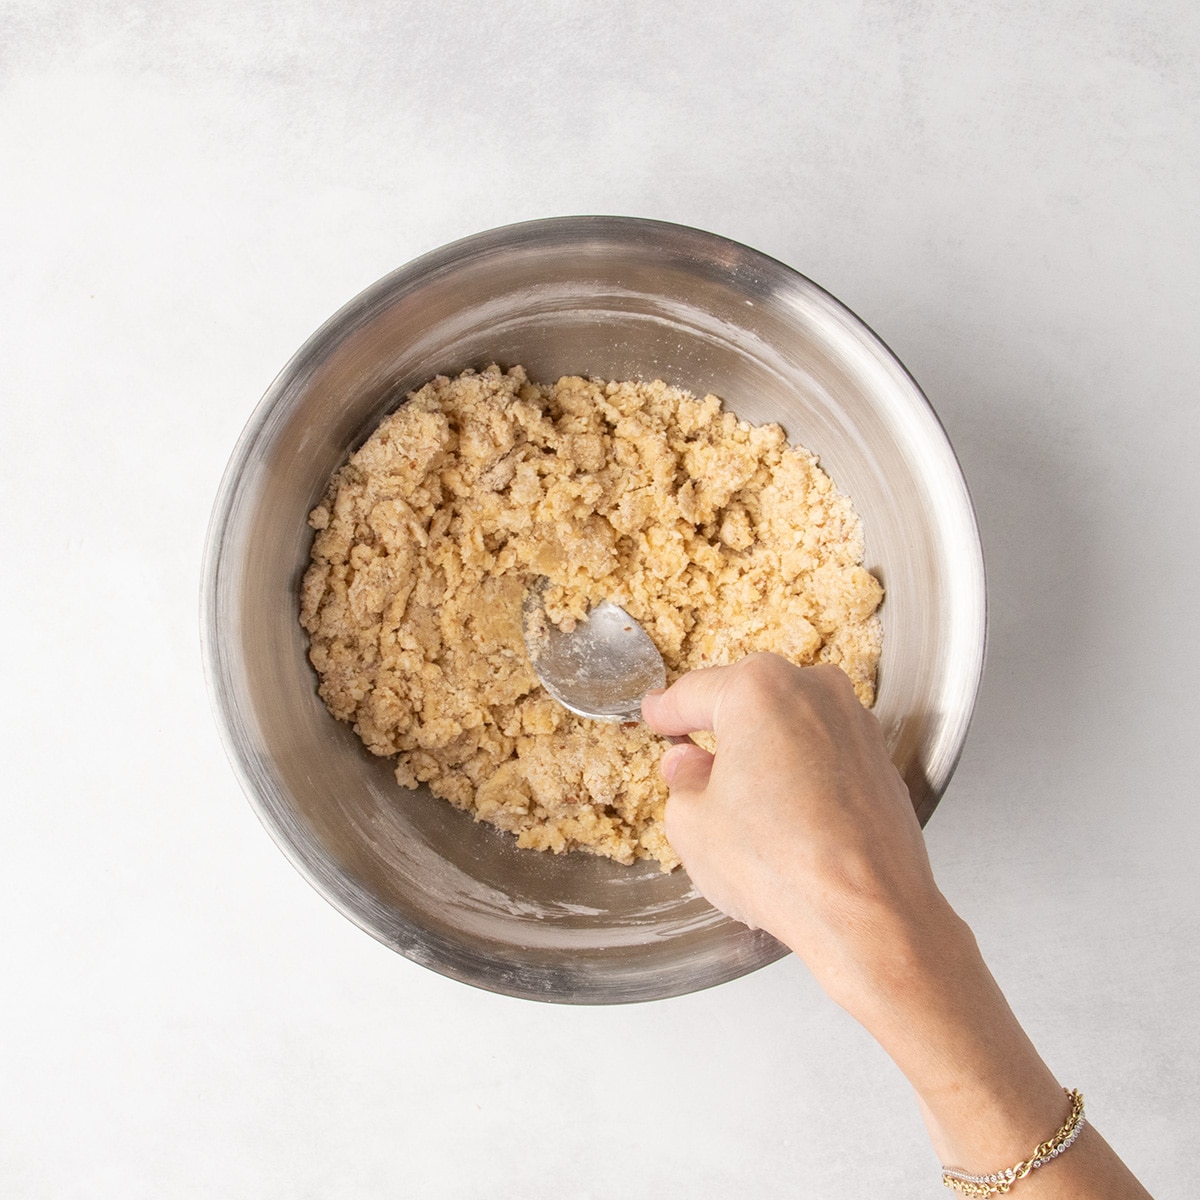
Create a well in the center of the dry ingredients to make it easier to combine them with the wet ingredients. Add the eggs and vanilla and/or almond extracts to the well, and mix first by stirring in the center, then by pressing down with the back of your mixing spoon to moisten all the dry ingredients. This helps work the moisture into the dry ingredients so the dough comes together more easily without adding extra liquid.
Step 5: Knead
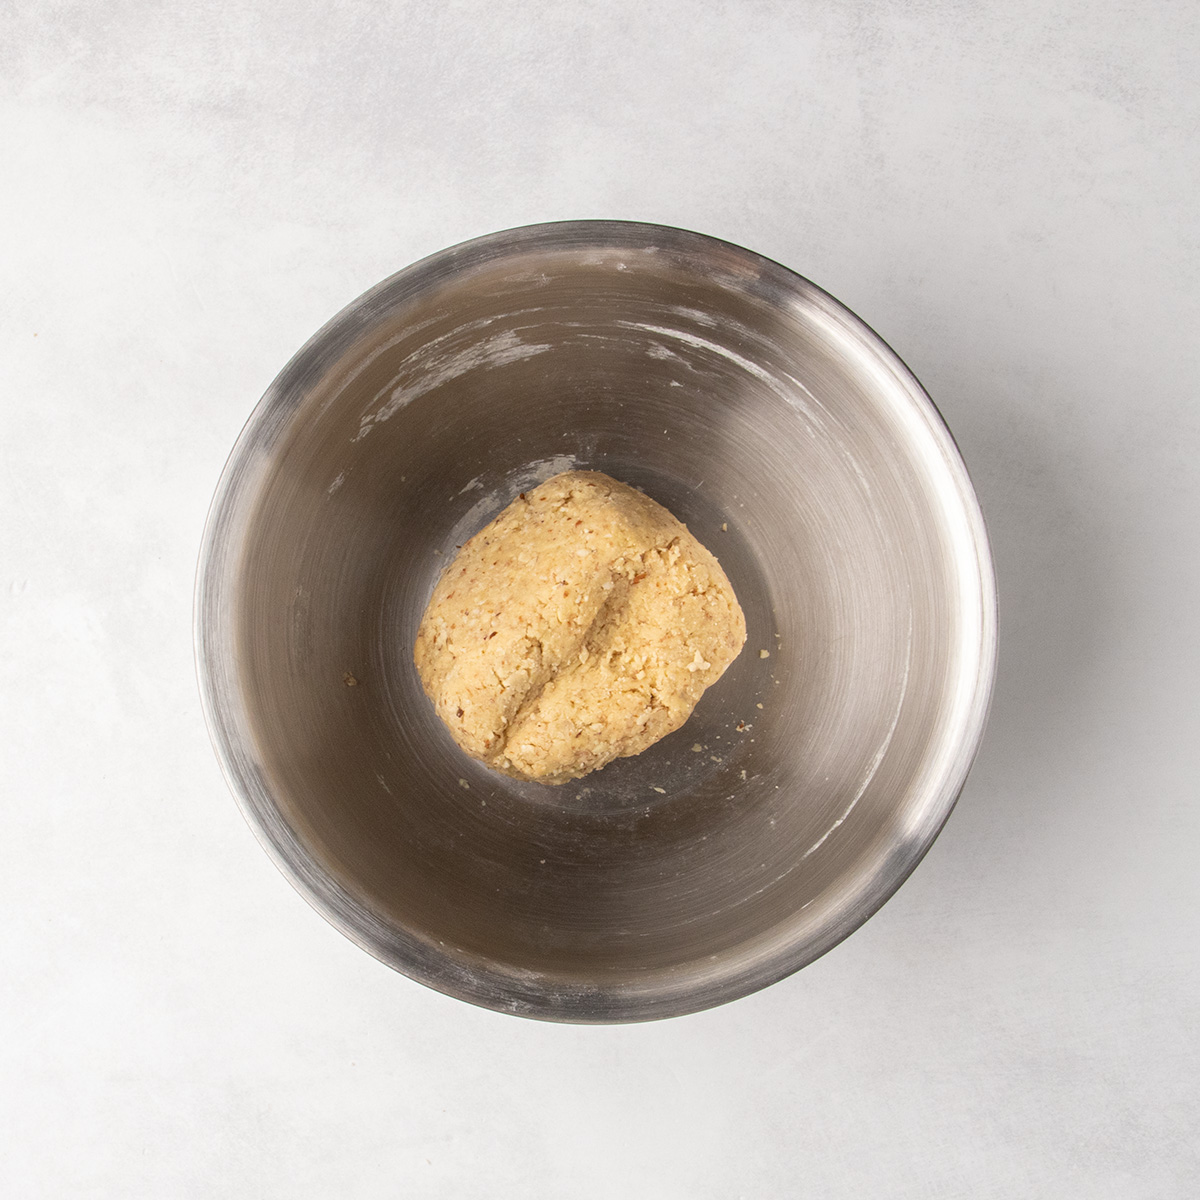
Whether there are dry patches or not in the dough, knead it together with clean hands so it’s cohesive, making it easier to roll out.
Step 6: Shape
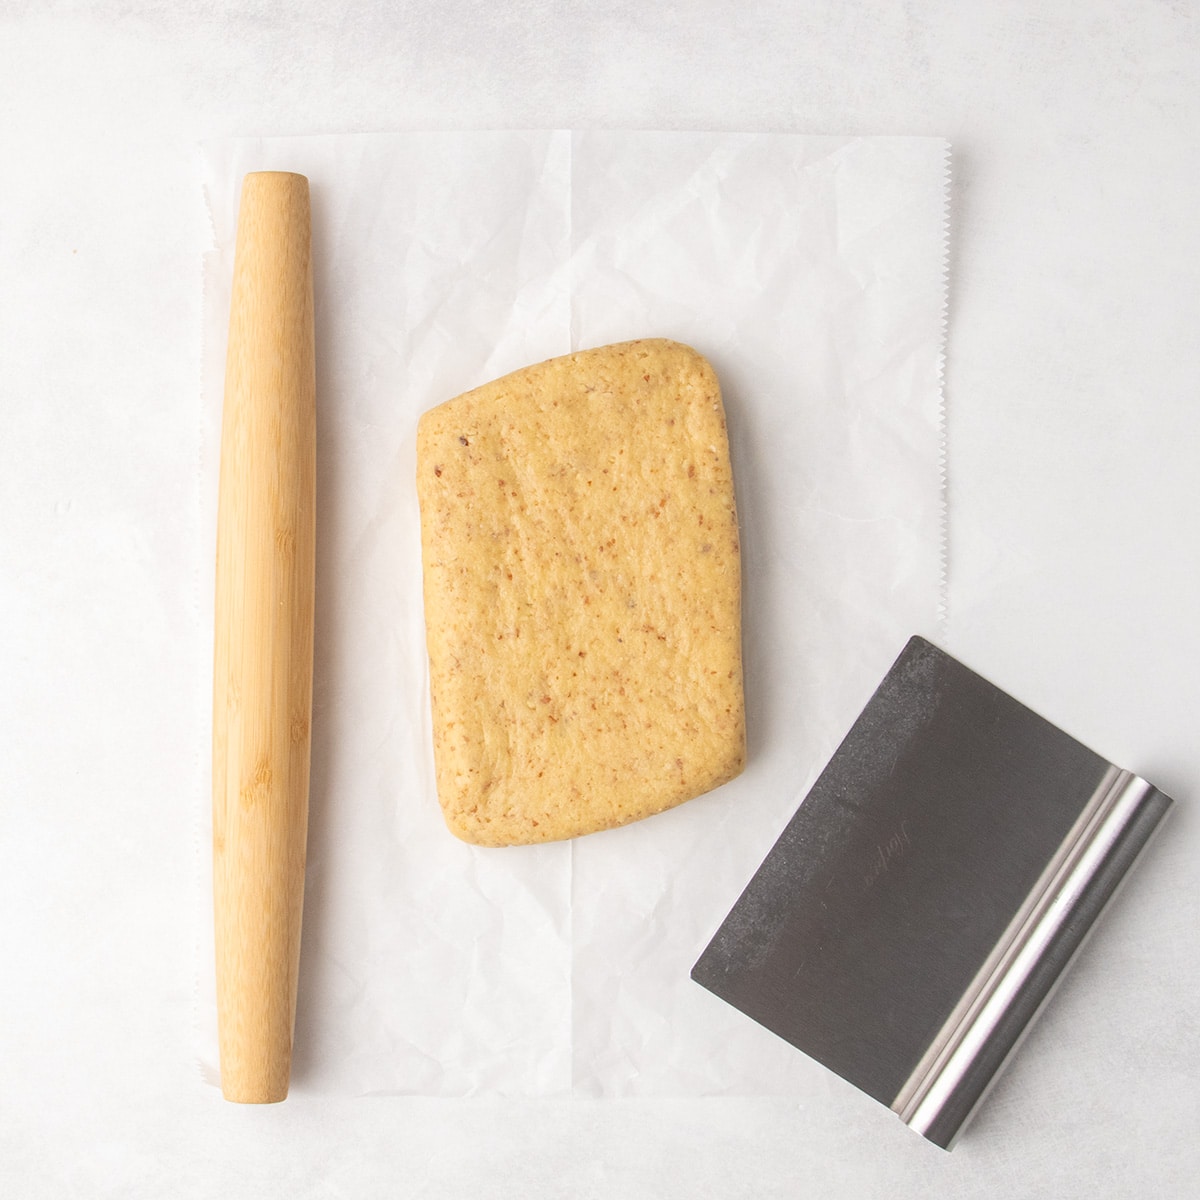
Use a rolling pin to shape and press the dough into a rectangle about 7-inches long x 4-inches wide. It should be about 1-inch thick. Angle the short ends about 20° away from perpendicular to the long sides, in either direction, to make it easier to slice the loaf on the bias.
Step 7: Bake once
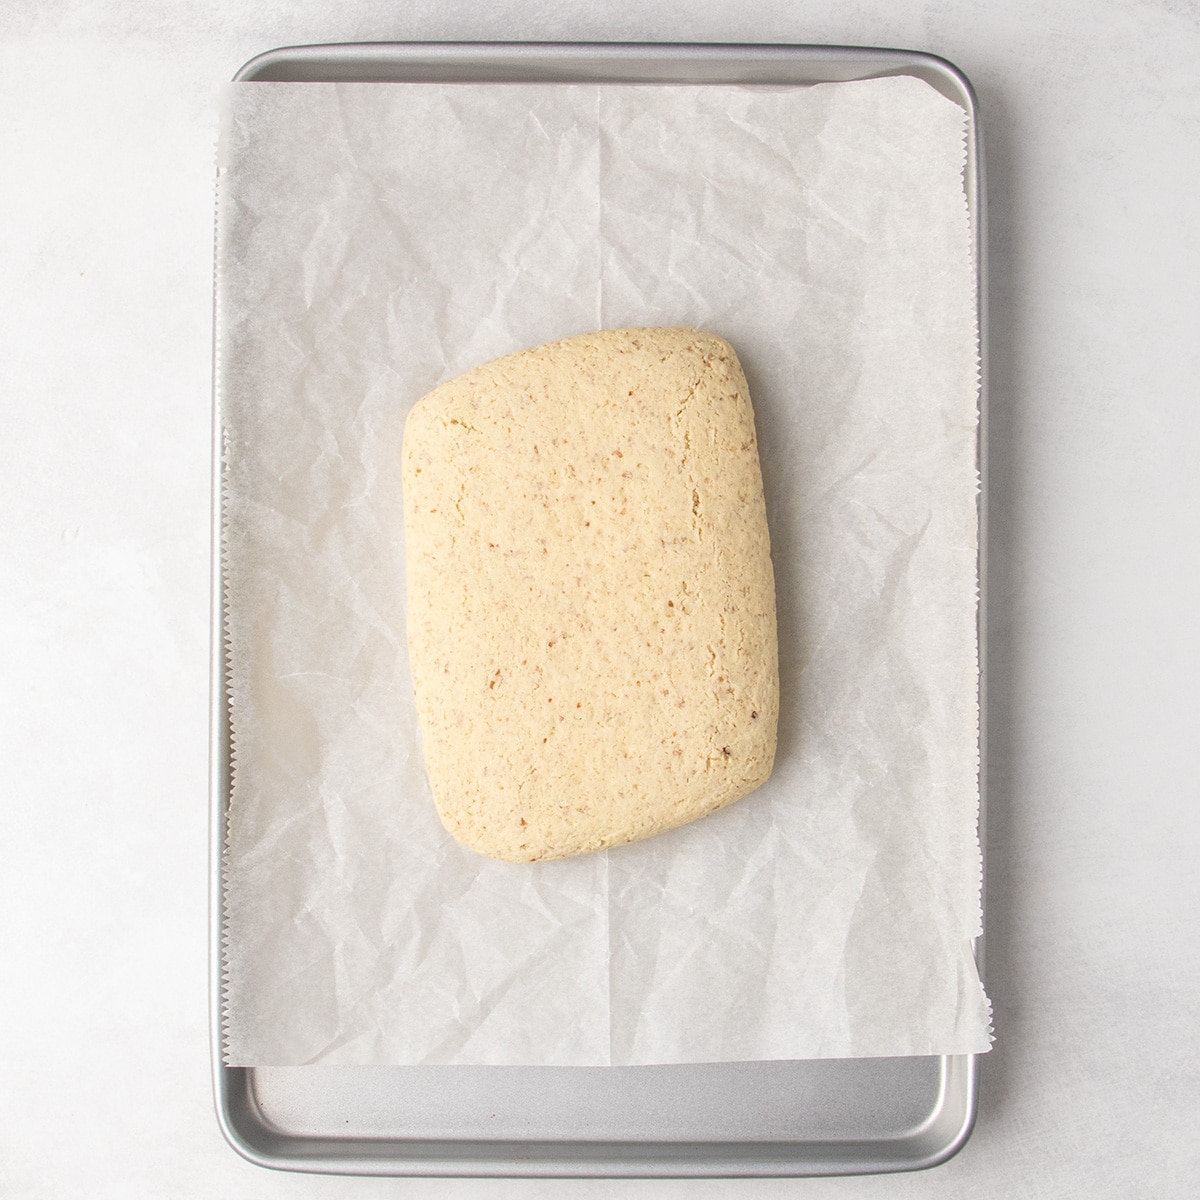
Bake the dough as a single loaf at 350°F, just until it’s set enough to slice. The loaf will be barely set inside, but must feel firm to the touch so it’s stable enough to be sliced without crumbling. Let it cool until it’s no longer hot before slicing it (at least 10 minutes).
Step 8: Slice
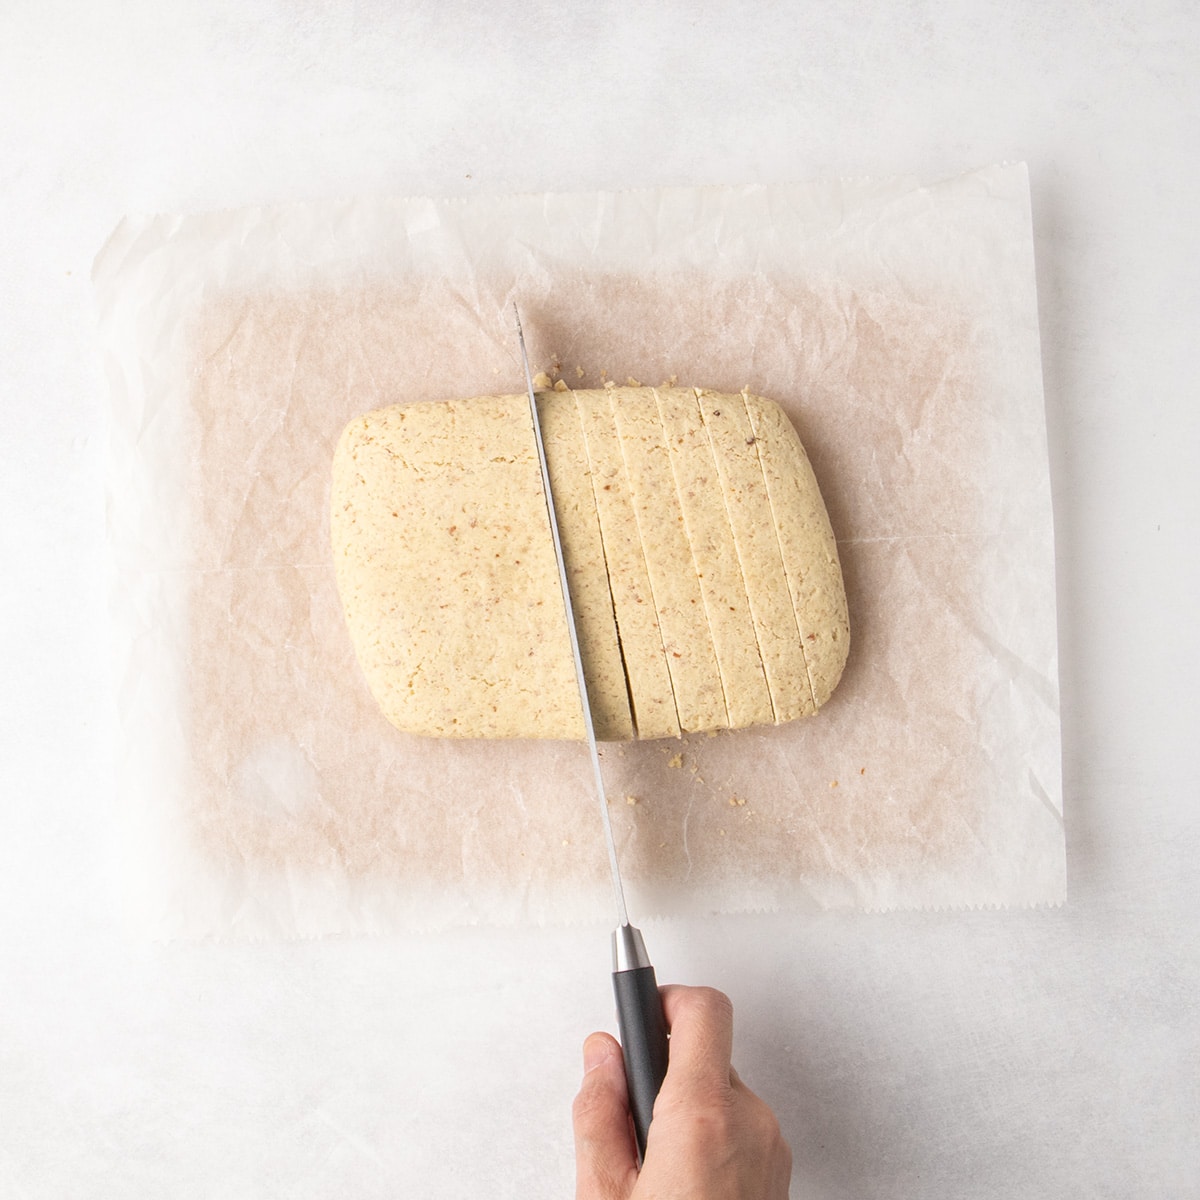
Use a large, serrated knife to slice the loaf on the bias from one long side to the other into 10 to 12 pieces, each about 1/4 inch thick, to create cookies. Use a gentle back-and-forth sawing motion to avoid compressing or breaking the loaf. Both ends will be slightly rounded and won’t crisp quite as well.
Step 9: Bake a second time
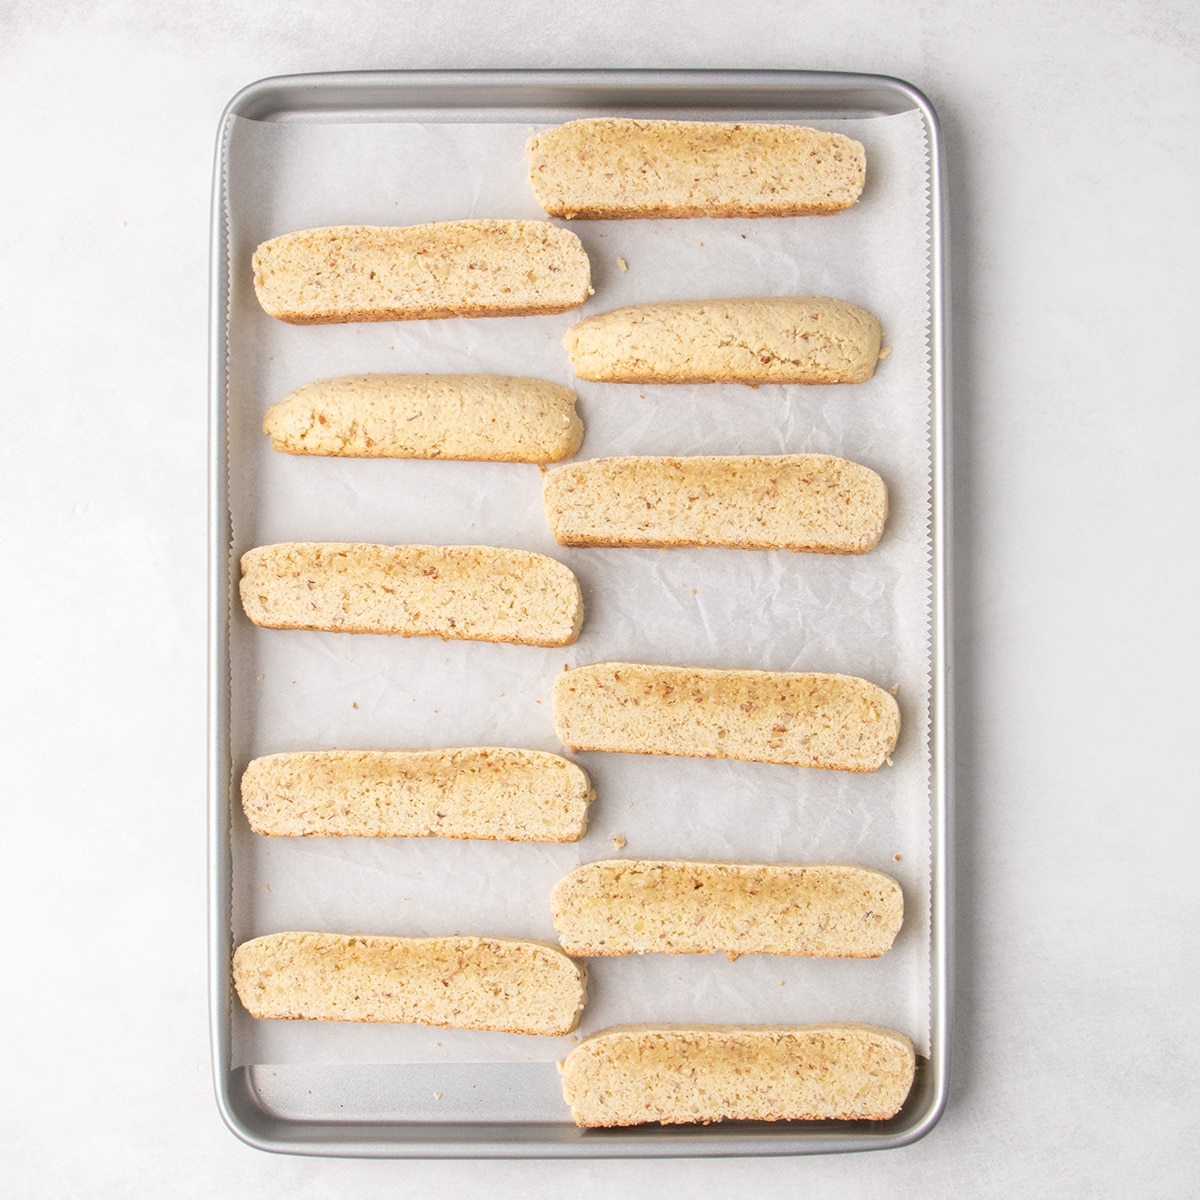
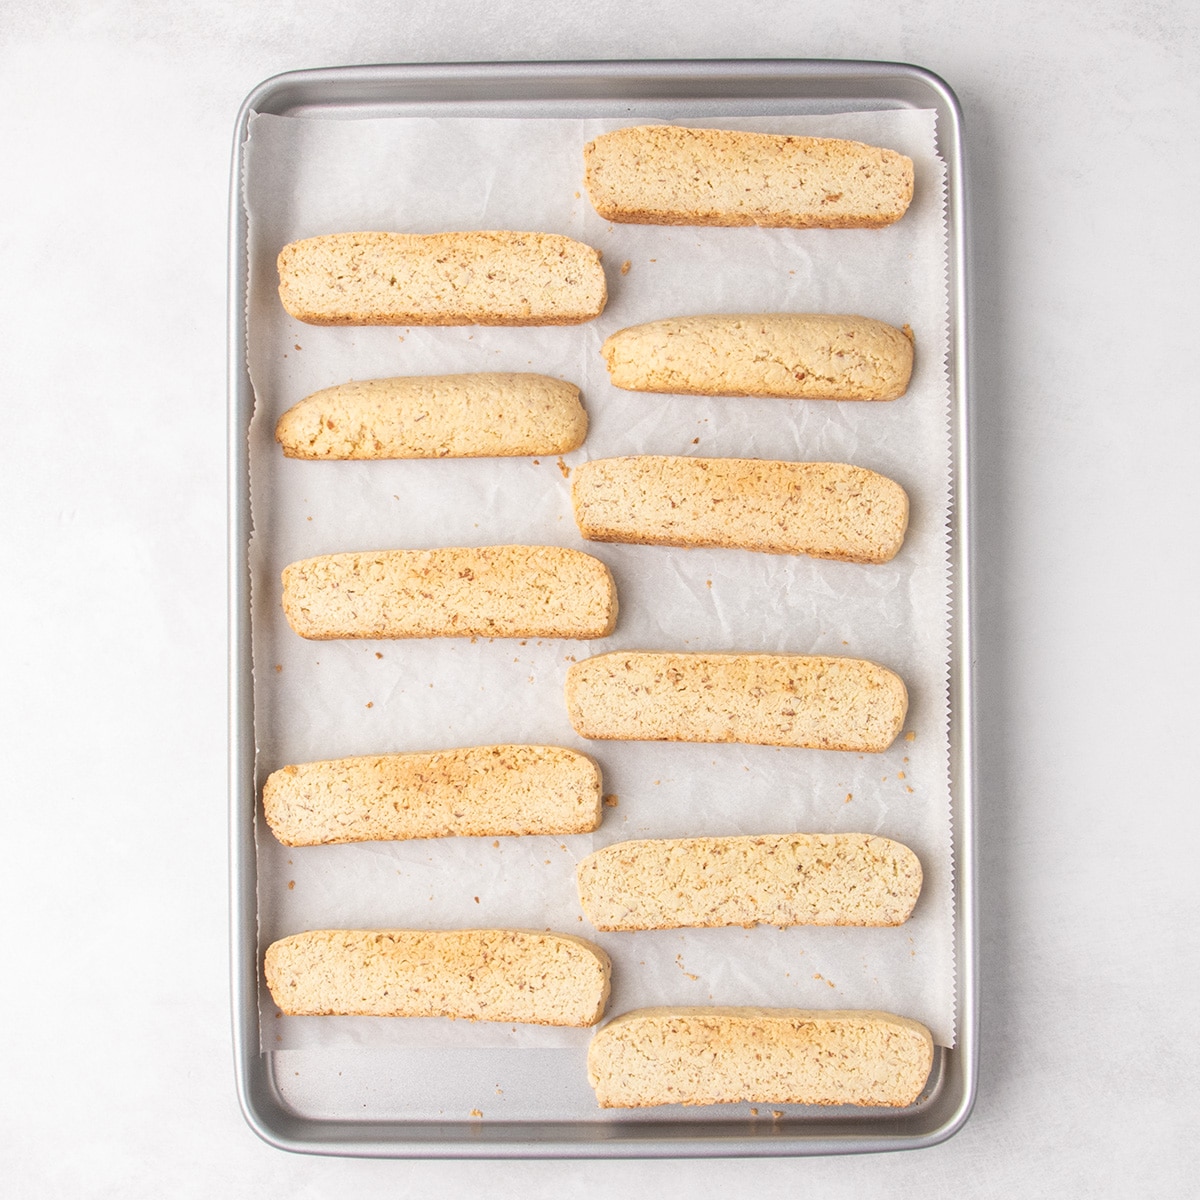
Lower the oven temperature to 300°F and place the slices, at least one cut side down, for 10 minutes. This second bake is designed to dry out the slices but not bake them too much. Only the side that is on the baking sheet will brown a bit.
Step 10: Flip and finish second bake
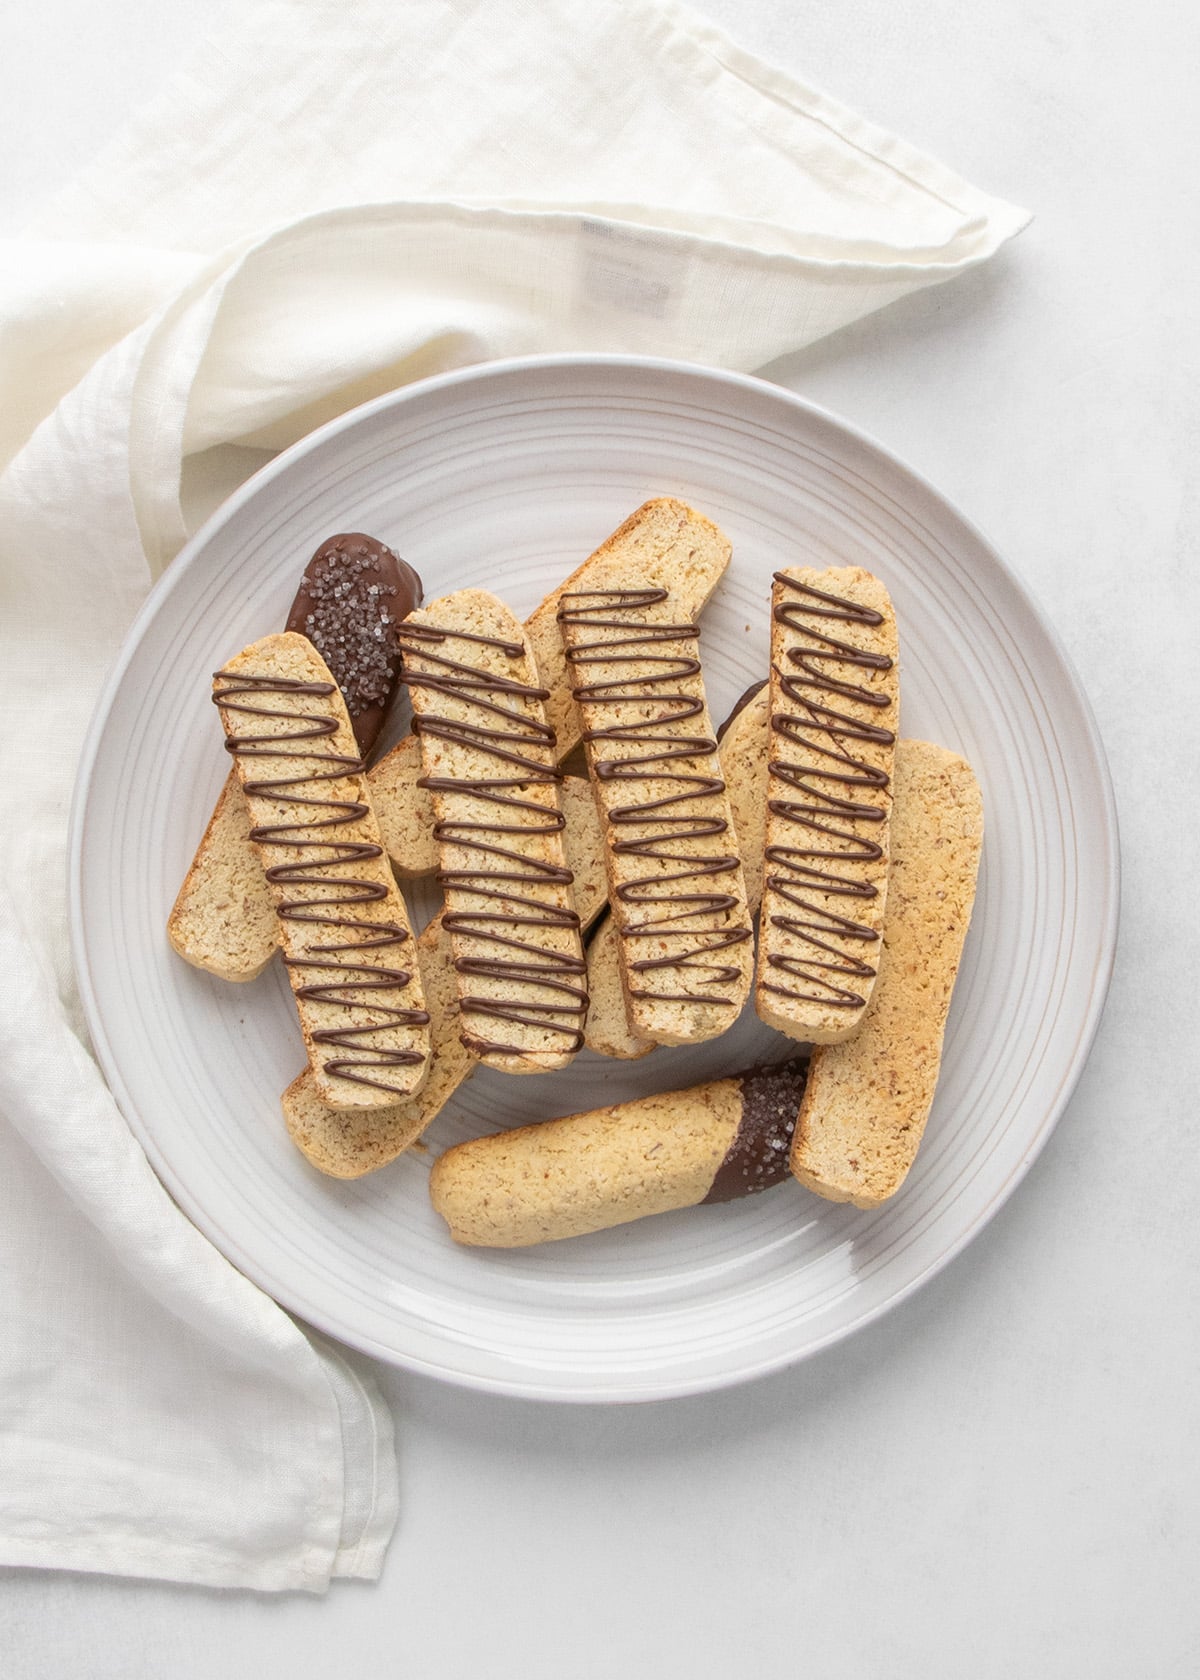
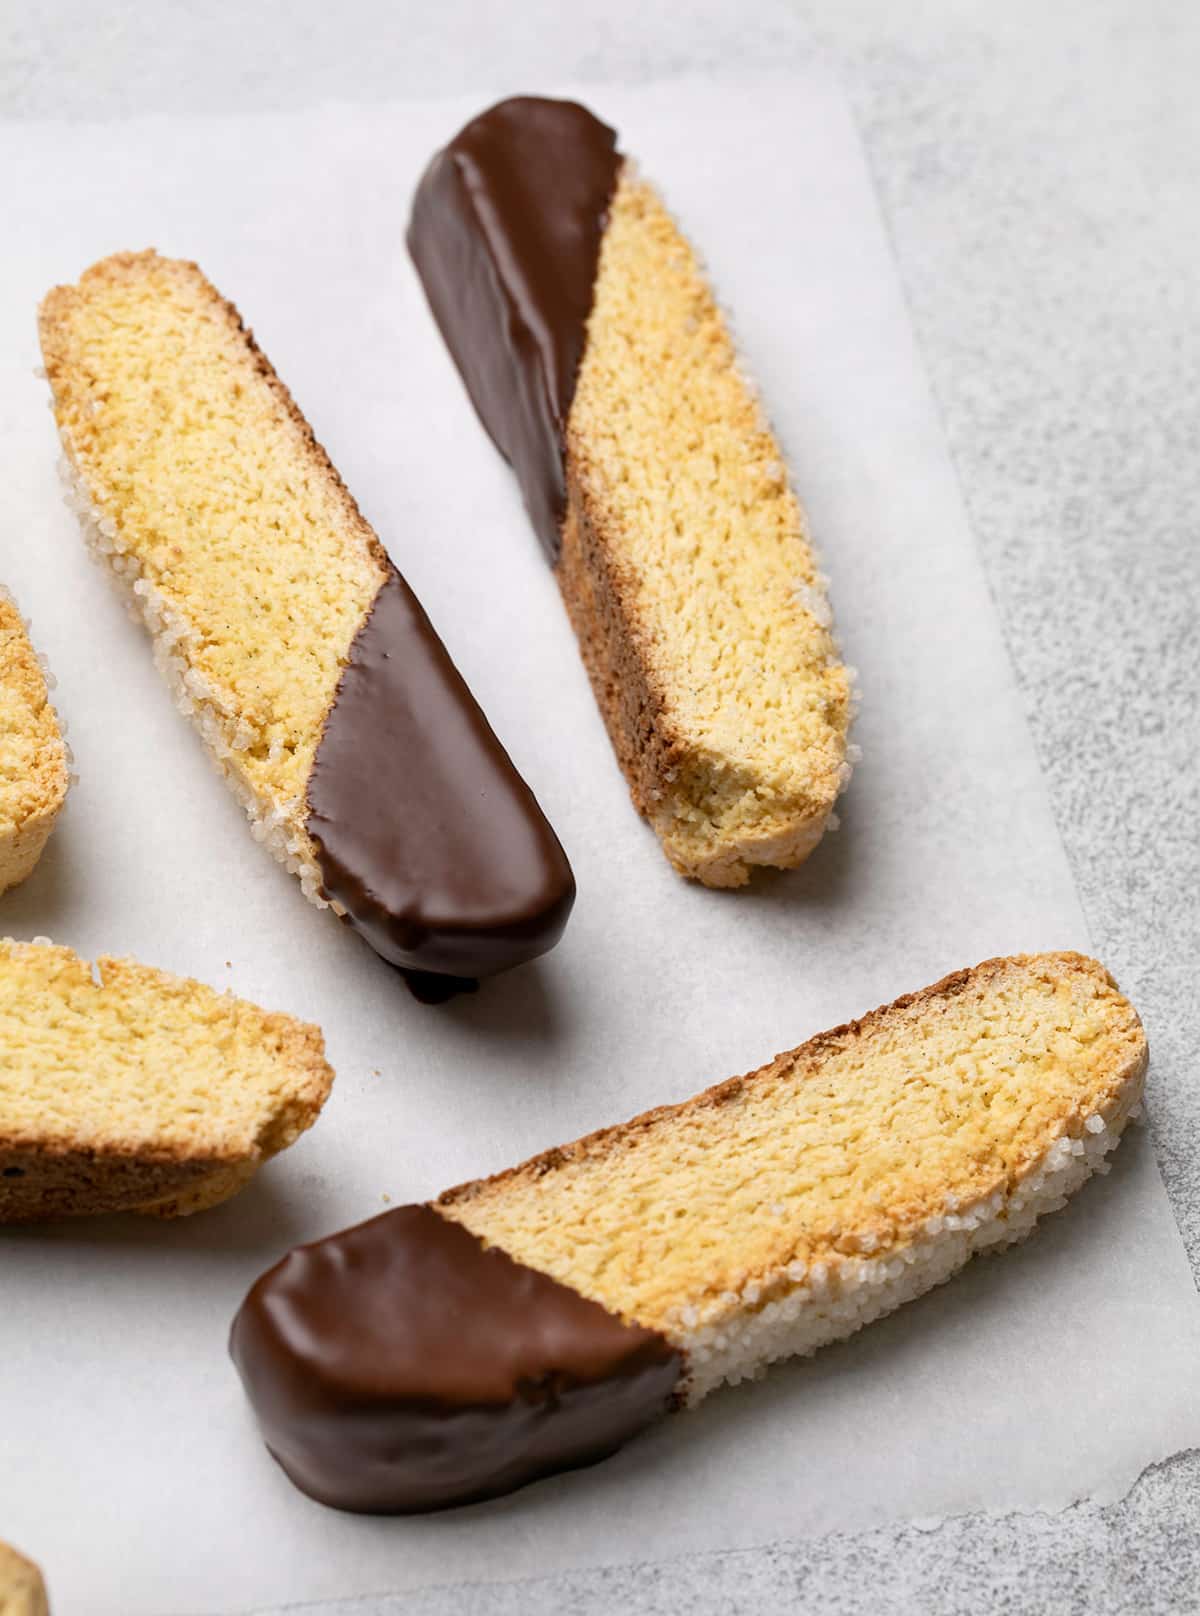
Flip the slices over to brown them lightly on the other side and finish drying them out. Let them cool to allow them to finish crisping. After they’re cool, you can decorate them with melted chocolate in a drizzle, or a dip.
Expert tips
This biscotti recipe is made with very few ingredients in one bowl, in the classic twice-baked style. Once you understand the general concept of how to make it, your very first batch will be as good as your 10th.
Check your oven temperature
Biscotti is baked as a single loaf at a classic baking temperature of 350°F, just until it’s set enough to slice without crumbling. Then, we lower the temperature to 300°F and bake each each side until lightly brown. If your oven runs hot during the second bake, the outside will brown before the center is crisp at all, so be sure to use an oven thermometer, as most ovens are less reliable at lower temperatures.
Adjust the baking time for different textures
Some people love their biscotti to be as crisp as possible without being burned, so they can dip each bite into a cup of coffee or hot chocolate. If you like your biscotti like that, try baking for 10 minutes on each side at 300°F, and then returning them to the oven until golden brown all over.
If you prefer your cookies chewy in the center, so you can eat them easily bite by bite, without any dunking, the original baking times are likely enough. You can even lower the oven temperature to 275°F if you’re not sure that they’re baked all the way through but you don’t want them too crisp or browned.
Use a serrated knife
Your biscotti loaf won’t be firm all the way through after the first bake. If you try to slice it with even a sharp, non-serrated knife, the center may collapse. A clean cut on each side of the cookies helps them crisp evenly in the oven during the second bake. A large bread knife is best, but even a serrated tomato knife is preferable to a chef’s knife.
Slice on the bias
Slicing the loaf on the bias simply means cutting it at an angle, which gives each biscotti a larger flat surface on both cut sides. Those larger surfaces are exposed during the second bake, helping them dry out and become crisp. To make angled slicing easier, we shape the raw dough into a rectangle with the short ends slanted about 20° away from a right angle to the long sides, in either direction.

Ingredients substitutions
Some Americanized recipes contain some butter (or oil), but the only added fat in this cookie dough (other than the chopped almonds) is egg yolks. So these cookies are already naturally dairy-free.
Egg-free
Since there are only 2 eggs, you may be able to replace them with one “chia egg” each. To make two chia eggs, place 2 tablespoons ground white chia seeds in a small bowl with 4 tablespoons lukewarm water. Mix, and allow the mixture to sit until it gels. You can also try using Bob’s Red Mill egg replacer or JustEgg liquid egg replacer from the refrigerated section.
Almond-free
Other relatively dry mix-ins like miniature chocolate chips or toasted chopped hazelnuts will add some fat and help absorb some of the moisture in the loaf. You can also leave the almonds out (and use only vanilla extract), and just bake the whole loaf about 5 minutes more, and about 5 minutes more after flipping the sliced cookies.
Storage instructions
Once completely cool, store the biscotti in an airtight glass container at room temperature to keep them crisp for at least 5 days. Their low moisture content and lack of added dairy help them stay fresh for longer than most other cookies, and storing them in glass, rather than plastic, helps protect their crisp texture from moisture in the environment.
For longer storage, freeze in an airtight freezer-safe container for up to 3 months. Thaw them at room temperature. If they’ve lost their texture, bake them at 300°F for 3 to 4 minutes.
Gluten Free Biscotti Recipe
Tell Google you trust GFOAS!
Ingredients
- 1 ¼ cups (175 g) all purpose gluten free flour blend, (See Recipe Notes)
- ½ teaspoon xanthan gum, omit if your blend already contains it
- ¼ cup (36 g) cornstarch, (See Recipe Notes)
- 1 teaspoon baking powder
- ¼ teaspoon kosher salt
- ½ cup (100 g) granulated sugar
- ¾ cup (84 g) raw almonds, chopped finely (optional)
- 2 (100 g out of shell) eggs, at room temperature, beaten
- 2 teaspoons pure vanilla extract, (See Recipe Notes)
- 1 teaspoon pure almond extract, (See Recipe Notes)
- Coarse sugar, for coating (optional)
- Melted dark chocolate, for dipping (optional)
Instructions
- Preheat your oven to 350°F. Line a small rimmed baking sheet with unbleached parchment paper and set it aside.
- In a large bowl, place the flour blend, xanthan gum, cornstarch (or more flour blend), baking powder, salt, granulated sugar, and shopped almonds, and whisk to combine well.
- Create a well in the center of the bowl, and add the eggs, vanilla extract and almond extract. Mix to moisten all the dry ingredients in the beaten eggs and extracts. It's helpful to press down with the bowl of the mixing spoon.
- With clean, dry hands, knead the cookie dough until smooth. It should hold together very well.
- Place the dough in the center of the prepared baking sheet, and shape with wet hands into a loaf that is 7-inches long x 4-inches wide x 1-inch thick. Angle each of the short sides about 20° from perpendicular to each long side, both in the same direction.
- If you’re using the coarse sugar, moisten the top of the raw loaf with wet hands until it glistens. Sprinkle the coarse sugar in an even layer on top. Press down to help the sugar adhere.
- Place the baking sheet in the center of the preheated oven and bake until lightly golden brown and firm to the touch, about 20 minutes. If you haven't used the chopped almonds, the loaf will take about 5 minutes longer in the oven to become firm to the touch.
- Remove the baking sheet from the oven and allow the loaf to cool for at least 10 minutes, or until no longer hot to the touch.
- Lower the oven temperature to 300°F.
- Using a large, serrated knife, slice the loaf carefully in cross-section on the bias into 10 to 12 pieces. Cut the slices carefully by sawing back and forth with the serrated knife. Each piece should be about 1/4-inch thick.
- Place the pieces back on the prepared baking sheet, cut-side down and spaced about 1-inch apart from one another. Return the baking sheet to the oven and bake for 10 minutes.
- The bottoms of the biscotti will have begun to brown lightly. Flip each of the cookies over on the baking sheet.
- Return the baking sheet to the oven to bake until the underside of the cookies is lightly golden brown. That will take about another 10 minutes if you’ve used almonds, 15 minutes if you haven’t.
- For even crunchier cookies, bake until golden brown on both sides, flipping as necessary and returning the baking sheet to the oven to finish baking. Do not bake the cookies so long that they burn.
- Remove the cookies from the oven and allow them to cool to room temperature before serving. They will crisp as they cool.
- Once cool, the biscotti can be dipped in melted chocolate on one end, one side, or not at all.
Video
Notes
Nutrition
Nutrition information is automatically calculated, so should only be used as an approximation.
FAQs
If your biscotti aren’t crunchy, you probably didn’t bake them for long enough. They also may not have cooled enough before you broke into them, as they crisp during cooling.
If you store your biscotti in a plastic container or froze them after baking, they will soften as they absorb moisture. Store them in a sealed glass container at room temperature to maintain their texture.
If your whole loaf cracks during the first bake, your oven temperature may have been too high. You want the loaf to rise slowly at 350°F. Just let it cool until no longer hot to the touch, and slice it very carefully by sawing back and forth with a serrated knife before the second bake.












These are fabulous! GF biscotti have seemed so complex without great results, but these are easy and come out crisp and tasty. I added dried tart cherries, which goes well with the almond flavoring – and almond flour, by weight, instead of chopped almonds.
One short cut I like is to bake the cut slices on cookie racks so they crisp up from both side at the same time – no flipping needed.
Thanks for all the tasty treat recipes!
That’s a good trick, Anne!
These are amazing – I have to make more!
I crisped them on a cookie rack, so both sides crisp up at the same time – no flipping needed. I didn’t have any almonds, so I used 84g of almond flour and it seems to have worked just fine.
Also, I added chopped dried tart cherries, which goes great with the almond flavoring – perfect with coffee or a glass of red wine, so I can start and end my day with these delicious crunchy treats.
No oil or butter in recipe?
Traditional Italian biscotti, which this recipe is, contains only fat from egg yolks, JoAnne.
I want to make this!
In recipe after cornstarch it says see notes. I do not see anything in notes about the cornstarch. Do I add it?
Thanks!
Hi, Annette, I would never have an ingredient in the list that you was optional unless that was made very clear (like it is for xanthan gum). The note about cornstarch is only if you need a substitute for it.
just made these last night and they came out fantastic. i was diagnosed with celiac about a year ago, and part of what made this news so tough was my love for baking. finding your website has been so encouraging for me! i love still being able to engage in one of my favorite hobbies. eating these biscotti with my morning cup of coffee as i write this. lovely.
So glad to hear that you loved the biscotti, Atty! I’m even more thrilled that you have a sense of empowerment that you can return to your hobby and not feel limited by having to do it gluten free. That’s the entire reason I started the blog in 2009, and that I still do it today. Thank you so much for sharing that. It means so much to me!
i am very sad because look fantastic but i am not able to get the recipe
I’m not sure why, Monica, since it’s at the bottom of the page, which you can get to by scrolling or by clicking the “jump to recipe” link at the top of the page. I hoep you enjoy the biscotti!
I’ve been craving biscotti for so long. Didn’t think it was possible to have now that I’ve gone gluten free. This was so good. Thank you!
You’re so welcome, Meg. I’m so happy you enjoyed them!
can you make biscotti using stevia instead of sugar?
I’m afraid you can’t make this recipe using Stevia in place of sugar, no, Maria. Stevia doesn’t perform like sugar in baking. I have had some success with Lankato brand monkfruit sweeteners in their various forms, but alternative sugars are quite drying and require moisture rebalancing. It’s really best if you begin with a keto recipe that was developed for use with alternative sugars.
Hi Nicole, I’m made these biscotti. My eggs didn’t weigh 100 g so I added some water. The biscotti turned out great and just the right thing to have with a cup of coffee! For my reference, what do you recommend doing if your eggs don’t weigh the required amount?
Thank you, Lillian
It depends on how short your eggs are, Lillian. Generally, if you’re more than 6 or 7 grams short of 50 grams per egg, and you’re using 2 eggs, I’d just beat another egg and add the missing amount. Glad you enjoyed them!
Thank you! I’ll remember that for next time.