
This post may contain affiliate links. Please read our disclosure policy.
This easy gluten free cornbread recipe will give you the perfect balance of delicious sweetness and melt-in-your-mouth crumbly softness. It's the perfect side for nearly any meal, from soup to BBQ, and it's naturally gluten free if you use all cornmeal and no other flours.

Why this recipe works
This recipe was one of the earliest gluten free recipes I shared on the blog, and it's become a staple in so many readers' homes. The recipe has always been simple, and still remarkably adaptable.
Many of you have written to me of the years, telling me that you made it with granulated sugar instead of honey, milk instead of buttermilk or yogurt, shortening or coconut oil (or even vegetable oil!) instead of butter. The recipe has turned out every single time.
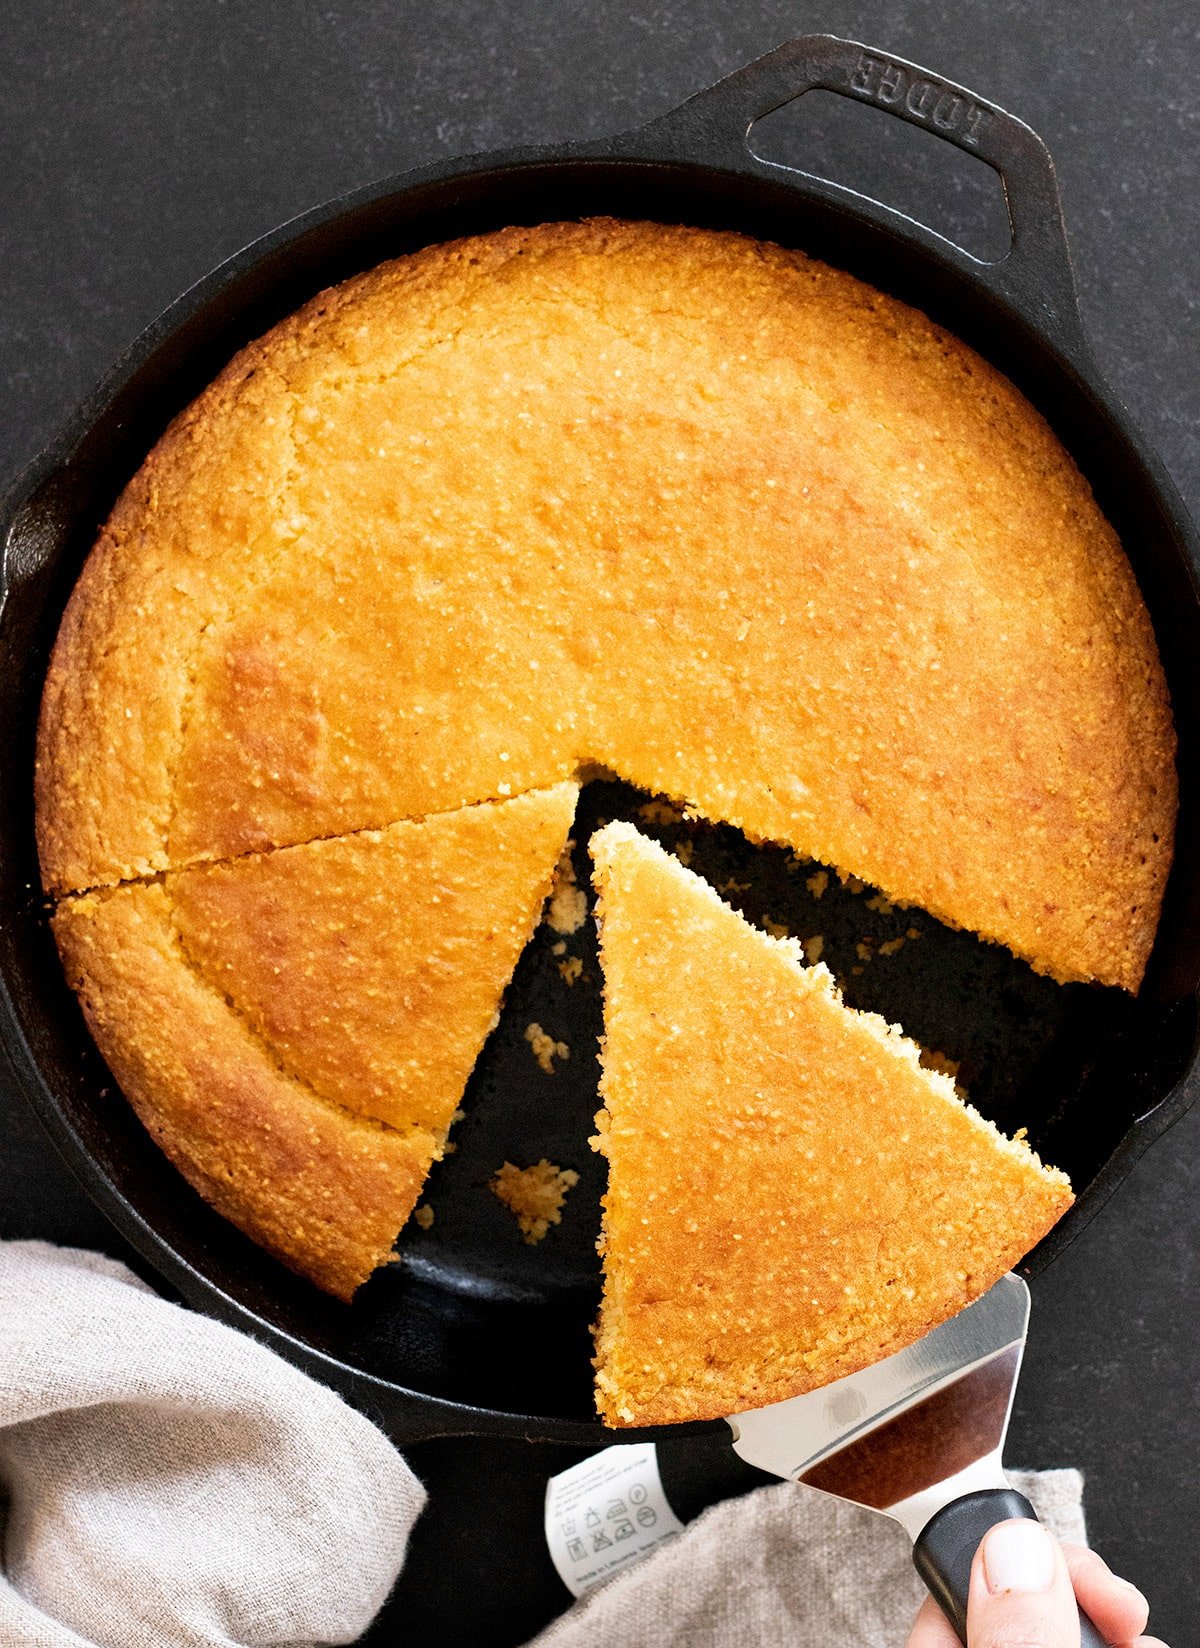
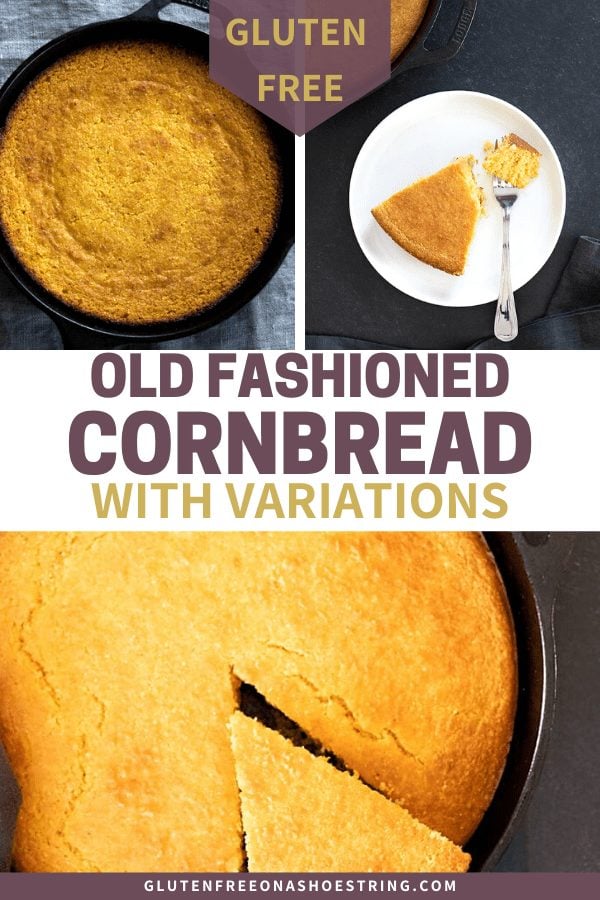
It bakes very quickly, especially if you're making it in a cast iron pan, since that conducts heat very well. The sides and bottom of the cornbread also brown very nicely in the oven.
Choosing a baking pan
Cast iron skillet, cake pan and muffin tin are all possibilities for cornbread, and I've made this easy gluten free cornbread recipe in nearly every container imaginable.
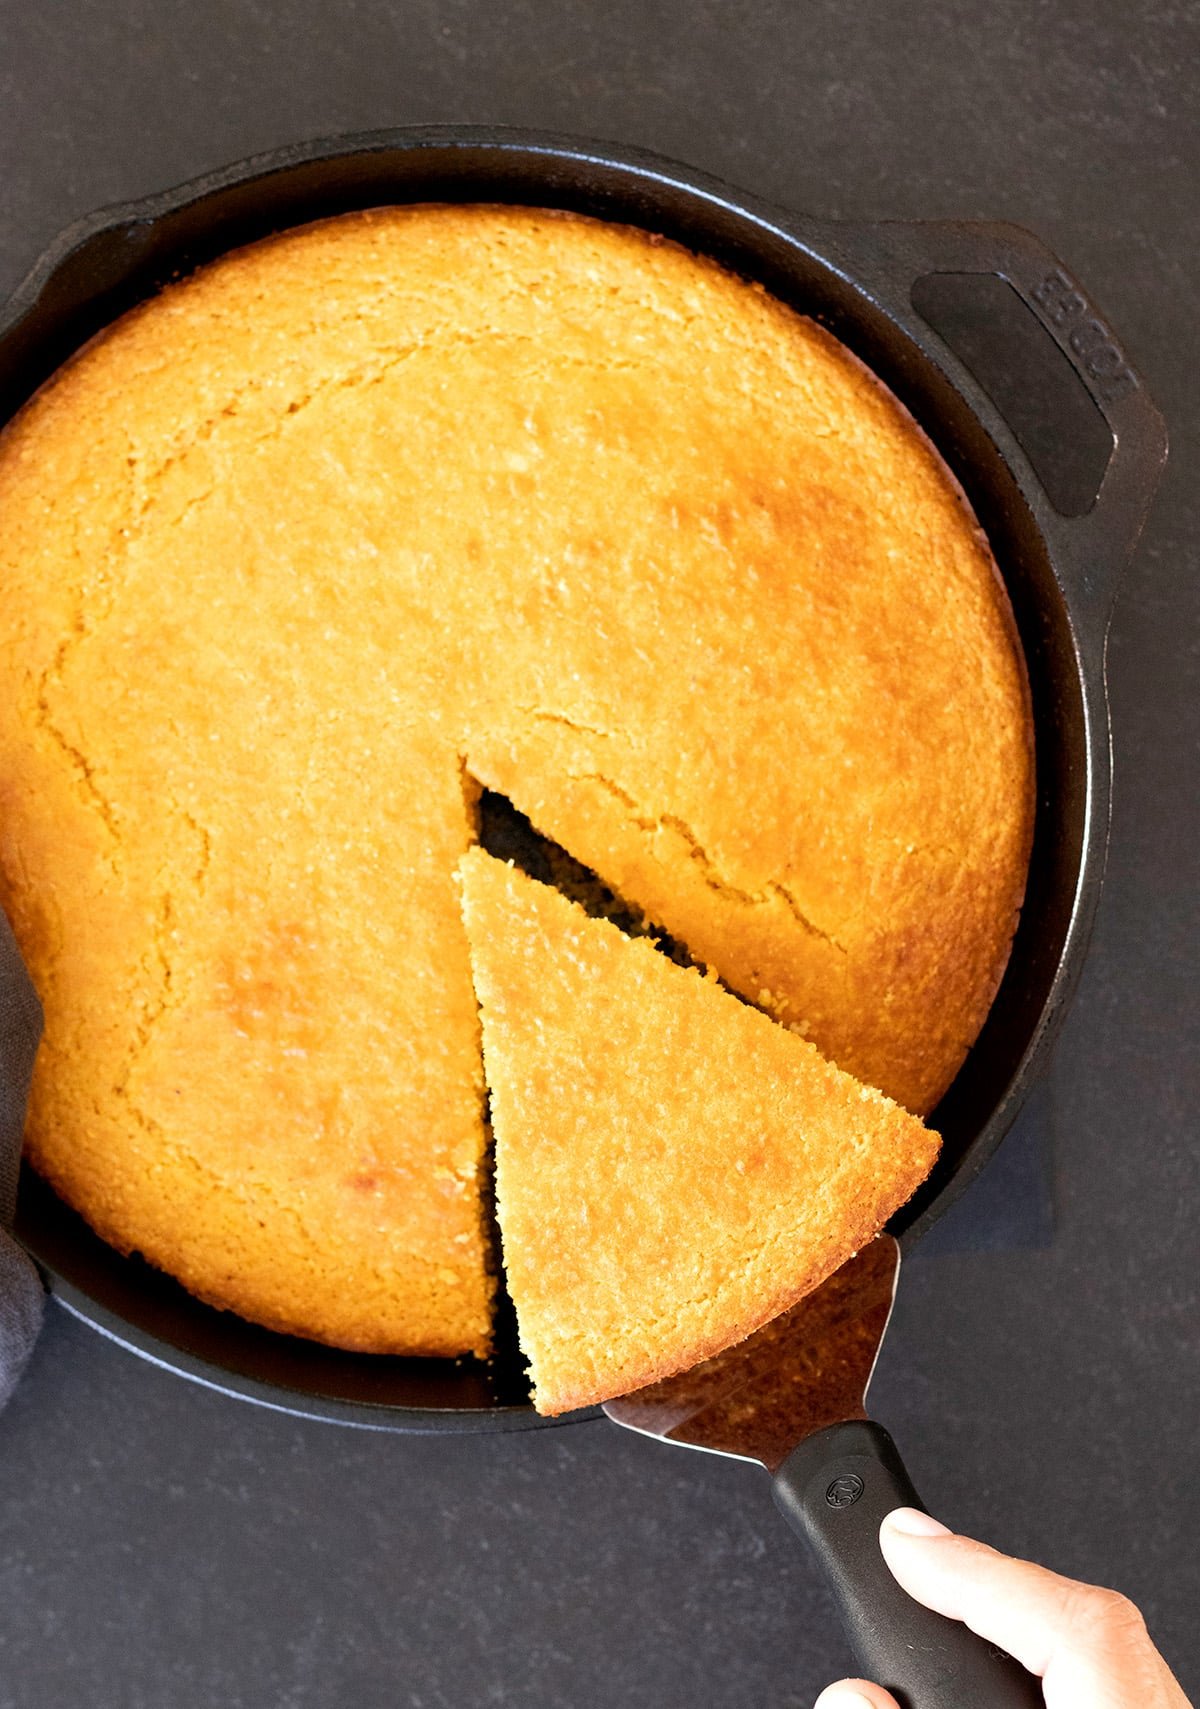
My favorite way by far is my cast iron skillet — I love my pan, and I find myself using it nearly every day. And as with many things, it does a superb job with this gluten free cornbread. I'm talking quick cook time, crunchy edges, and lovely color.
But if you don't have a cast iron pan, you have plenty of options. A round 9-inch cake pan works well too. The only difference I notice between my cast iron pan and cake pan is that bread doesn't get as crunchy around the edges when I use the cake pan. If you're not a fan of too much crunch, try a cake pan instead!
Believe it or not, I hadn’t tried this gluten free cornbread recipe in a standard 12-cup muffin tin — until recently. And no surprise, they turned out beautifully.
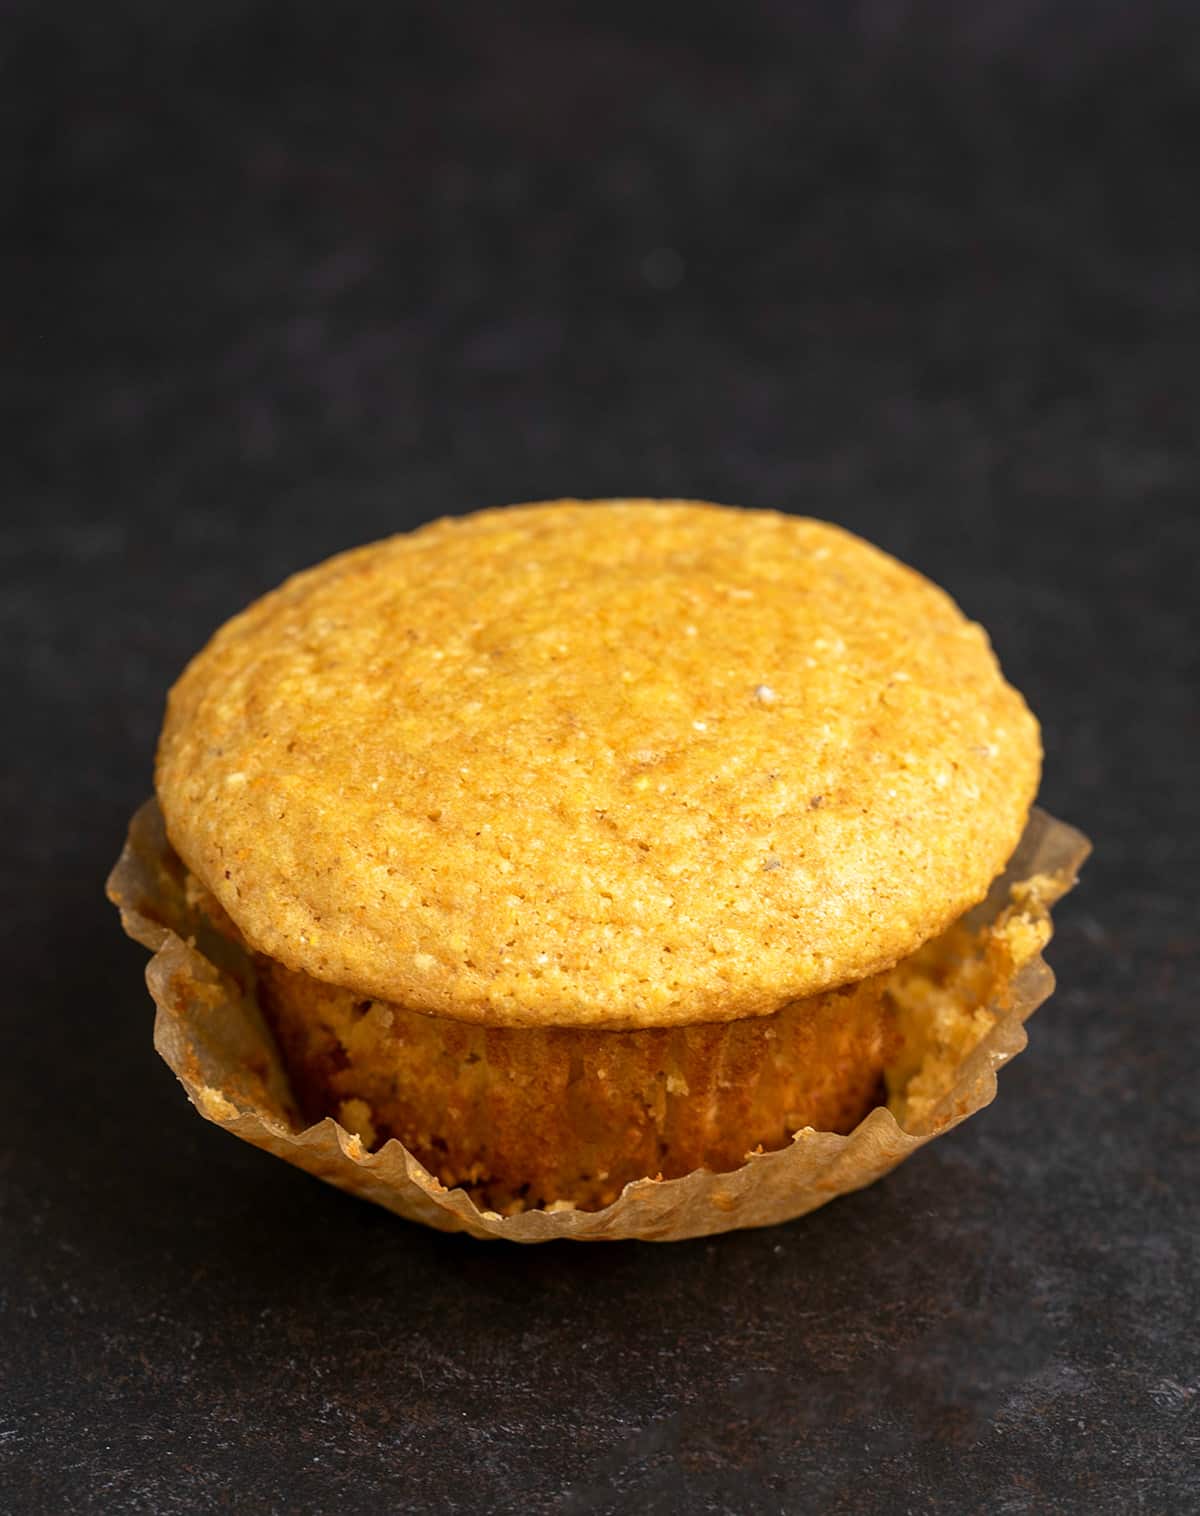
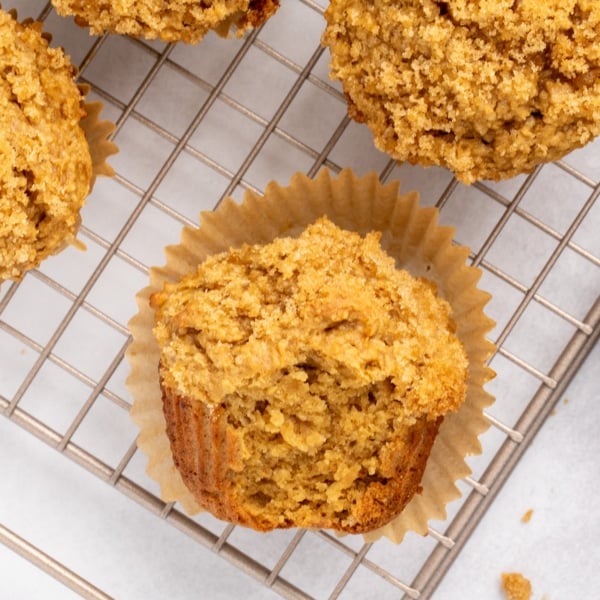
Making gluten free cornmeal muffins
To use this same recipe to make muffins, I lined the wells of the tin with greaseproof paper liners so the muffins didn’t stick, and distributed the batter evenly among the wells. In my muffin tin, the wells were nearly full of batter.
This isn’t a high-rising cornbread, so I wasn’t concerned that the gluten free corn muffins would overflow the pan. I made the variation with half coarsely ground yellow cornmeal and half corn flour, as discussed below.
The muffins rose evenly, and they baked perfectly at 350°F in 18 minutes. I was considering adding another egg, since the batter is looser than an ideal muffin batter, but I wanted to see if it worked as written. And it did!
Choosing a flour or combination of flours
This recipe is so incredibly simple—and strikingly adaptable. As originally made, the recipe calls for all cornmeal, coarsely ground or medium ground. But you can also make it with a combination of cornmeal and an all purpose flour or corn flour.

The original, all cornmeal recipe
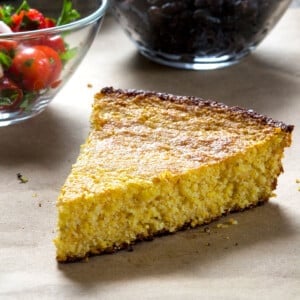
The original gluten free cornbread recipe calls for 2 cups of coarsely ground yellow cornmeal as the only flour—without any added starches or more finely ground flours.
Made this way, as the recipe was originally written, this classic cornbread recipe is moist and tender, but has a fair amount of “bite” from the cornmeal. The honey helps keep the cornbread tender and helps offset any bitterness from the cornmeal.
None of these variations contain cornstarch, which is a flavorless powder made from only the starch in the endosperm of the corn grain. You could probably replace a bit of the cornmeal with cornstarch and get a more tender cornbread, but I prefer the other variations listed in this recipe.
Cornmeal and corn flour variation
Cornmeal is coarsely ground corn, and corn flour is finely ground corn. You can buy corn flour, but I generally take my coarsely ground yellow cornmeal and simply grind it again in a blender until it’s lighter.
I consider this variety, made with half coarsely ground yellow cornmeal and half corn flour, to be the best gluten free cornbread of all.
Replacing half of the coarsely ground cornmeal in this recipe with more finely ground corn flour makes for a less crumbly, more cohesive cornbread. It also has a smoother mouth feel, and tends to stay fresh another day longer when stored at room temperature, wrapped tightly.
Since I’ve started experimenting with changing up the flours in this recipe, this variation has become my favorite. I do sometimes buy corn flour if I’m placing an order for other things from nuts.com (where I buy gluten free corn flour), but more often grind my own.
U.K. terminology
To confuse things a bit, I’m afraid that these terms are used differently in the U.K.
In the UK, “corn flour” is actually what we call cornstarch in the U.S. (the starch only).
What you need to look for to make this gluten free cornbread is”coarsely ground cornmeal” (what we simply call “cornmeal” in the U.S.) and “finely ground cornmeal” (what we refer to as “corn flour”). You may also see the latter labeled as “maize flour” or “finely ground polenta”.
Cornmeal and all purpose gluten free flour variation
I learned that this recipe could be made with half all purpose gluten free flour when I ran out of cornmeal after I had already prepared all the ingredients to make cornbread.
The all purpose gluten free flour version makes for a cornbread that has a much smaller crumb, and a lighter crumb color overall (although the top is just as yellow). The crust itself is also less crispy.
It has little bite and is much less chewy than the other two versions. I would not recommend making the cornbread with a combination of all purpose gluten free flour and corn flour, though, as it would not have the right texture.
This variation also tends to dome more in the center during baking because the combination of flours leads to less even baking. It doesn’t affect the flavor or texture any further, though.
Ingredient substitutions
This is such a simple recipe, which often makes substitutions more difficult, but somehow this gluten free cornbread recipe is magic ✨ and can take all sorts of modifications (dairy free, egg free, etc) in stride.
Some following suggestions are from personal experience with this recipe, others are just well-educated guesses.
Dairy free
I have successfully transformed this into a gluten free, dairy-free cornbread recipe by using Earth Balance buttery sticks in place of unsalted butter (just reduce the salt by half) and dairy-free plain yogurt in place of yogurt.
You can also try a mix of half plain dairy-free yogurt and half unsweetened almond milk as a buttermilk replacement. That’s your best bet.
Egg free
As always, whenever there is one egg in a recipe, I recommend trying it with one “chia egg” in its place (1 tablespoon ground chia seeds + 1 tablespoon lukewarm water, mixed and allowed to gel).
I haven’t tried this egg-free, though, so you’ll have to experiment, but I feel pretty confident that you’ll get good results.
Serve this along with my pupusas recipe.
Old Fashioned Gluten Free Cornbread recipe
Ingredients
- 2 cups (264 g) coarsely ground yellow cornmeal, (See Recipe Notes)
- 2 teaspoons baking powder
- 1 teaspoon baking soda
- 1 teaspoon kosher salt
- 1 ½ cups (340 g) plain yogurt, at room temperature (can substitute an equal amount of buttermilk or half sour cream/half whole milk)
- 4 tablespoons (56 g) unsalted butter, melted and cooled
- 1 (50 g (weighed out of shell)) egg, at room temperature, beaten
- 4 tablespoons (84 g) honey
Instructions
- Preheat your oven to 375°F. Grease an 8-inch square baking pan or 9-inch cast iron skillet with unsalted butter and set it aside.
- In a large bowl, place the cornmeal, baking powder, baking soda, and salt, and whisk to combine.
- Create a well in the center of the dry ingredients, and add the yogurt, butter, egg and honey, and mix to combine well.
- Pour the mixture into the prepared baking pan or cast-iron pan. Place the pan in the center of the preheated oven and bake for 20 to 25 minutes, or until the cornbread is firm and a toothpick inserted in the center comes out clean.
- If you're baking in a cast iron pan, the cornbread will likely be done in about 20 minutes.
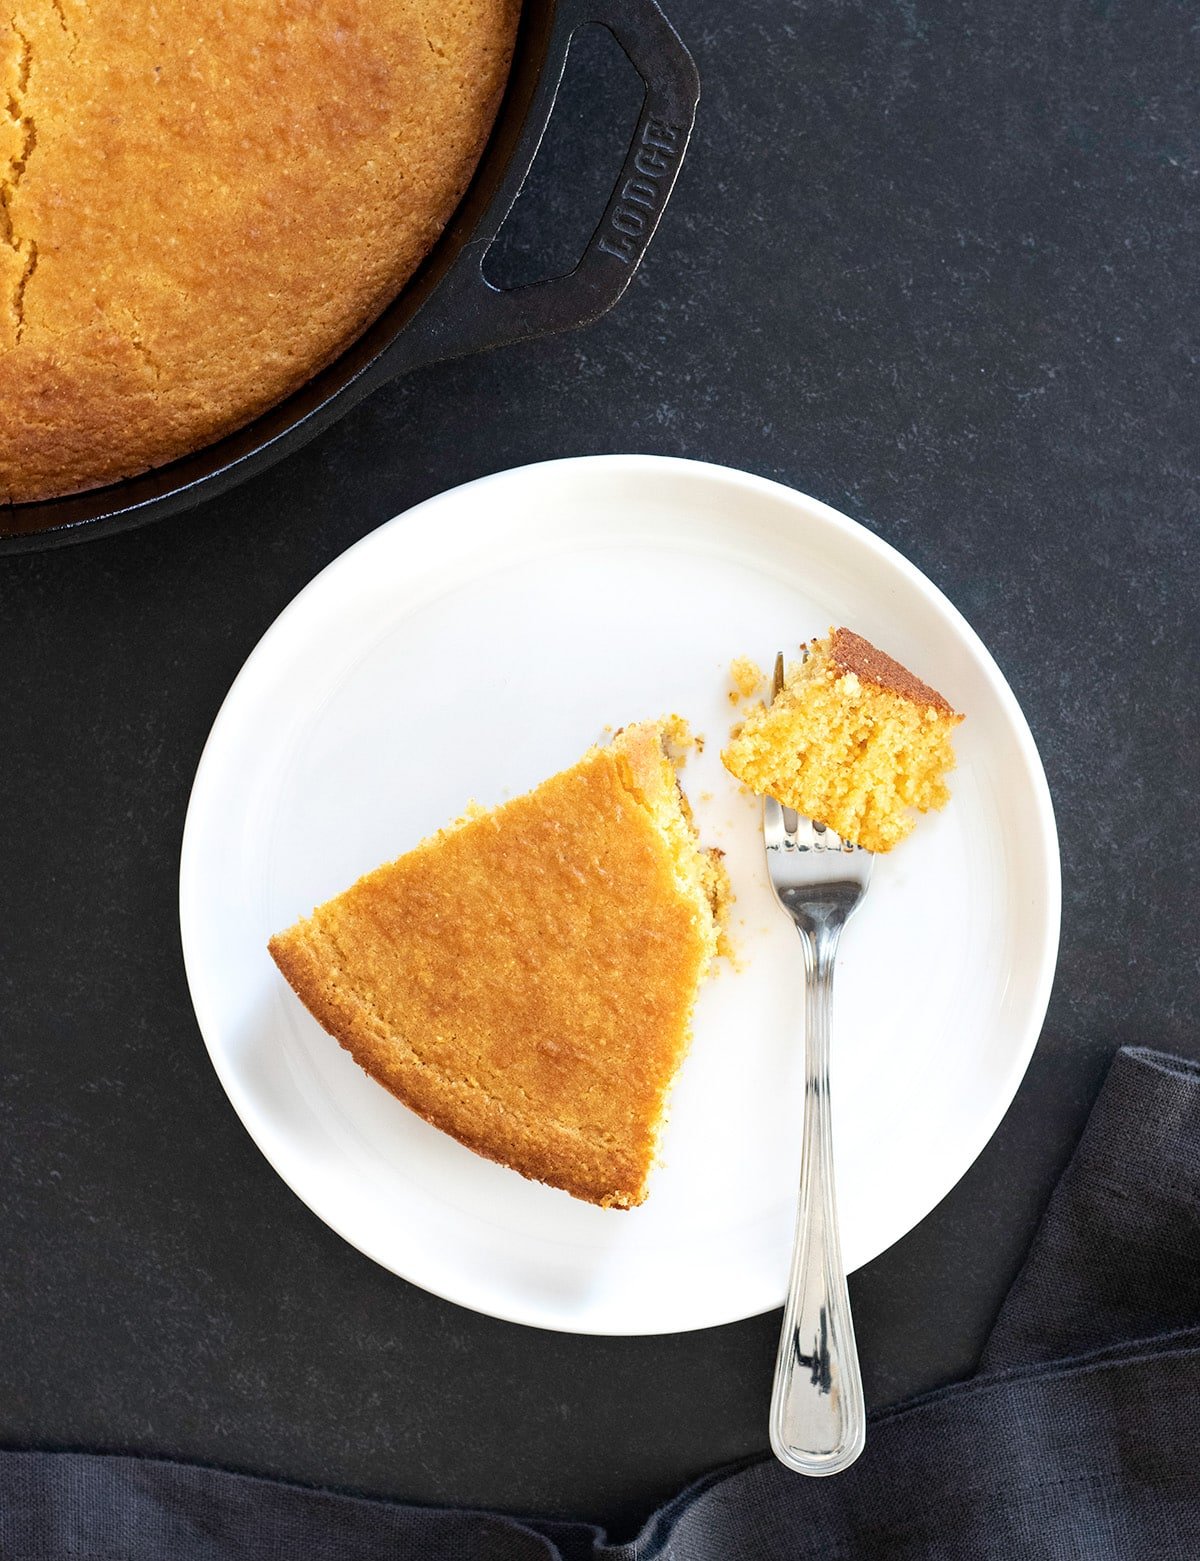
- Slice and serve warm.
Video
Notes
Half of the cornmeal, by weight, can be replaced with an equal amount, by weight of corn flour, and the recipe is otherwise unchaged. You can also replace half the cornmeal, by weight, with all purpose gluten free flour. I like Better Batter as an all purpose gluten free flour here.
Nutrition
Nutrition information is automatically calculated, so should only be used as an approximation.
Storage instructions
Once it's cooled completely, you can store it in an air-tight container at room temperature for 2 to 3 days. For longer storage, store the cornbread in the freezer. I've found that the variation with some all purpose gluten free flour freezes a bit better. When you're ready to eat it, defrost briefly in the microwave, as even a warm oven will dry out the cornbread.
FAQs
Did you let it cool completely before you sliced it? If not, it won't hold together as well when sliced. Did you overmix the batter? That can also create a crumbly, more dense cornbread.
When baked goods rise in the oven and then fall as they cool, they aren't baked all the way through so the center doesn't have the proper structure to support the rise as the steam escapes. Your oven is probably running hot, so the outside of the cornbread is getting overbaked before the center can bake fully.
Cast iron retains heat very well, so less heat is lost during the baking process. In addition, the dark pan attracts more heat than a light-colored pan.
If you underbaked your cornbread, it will be gummy in the middle. If you overmeasured baking powder and baking soda, the cornbread will rise too high and then fall, creating a denser, gummy center.


Hi, this looks yummy. Can I make in advance on the day and heat up just before dinner
Please see the storage instructions in the text of the post just below the recipe card, AK.