
This post may contain affiliate links. Please read our disclosure policy.
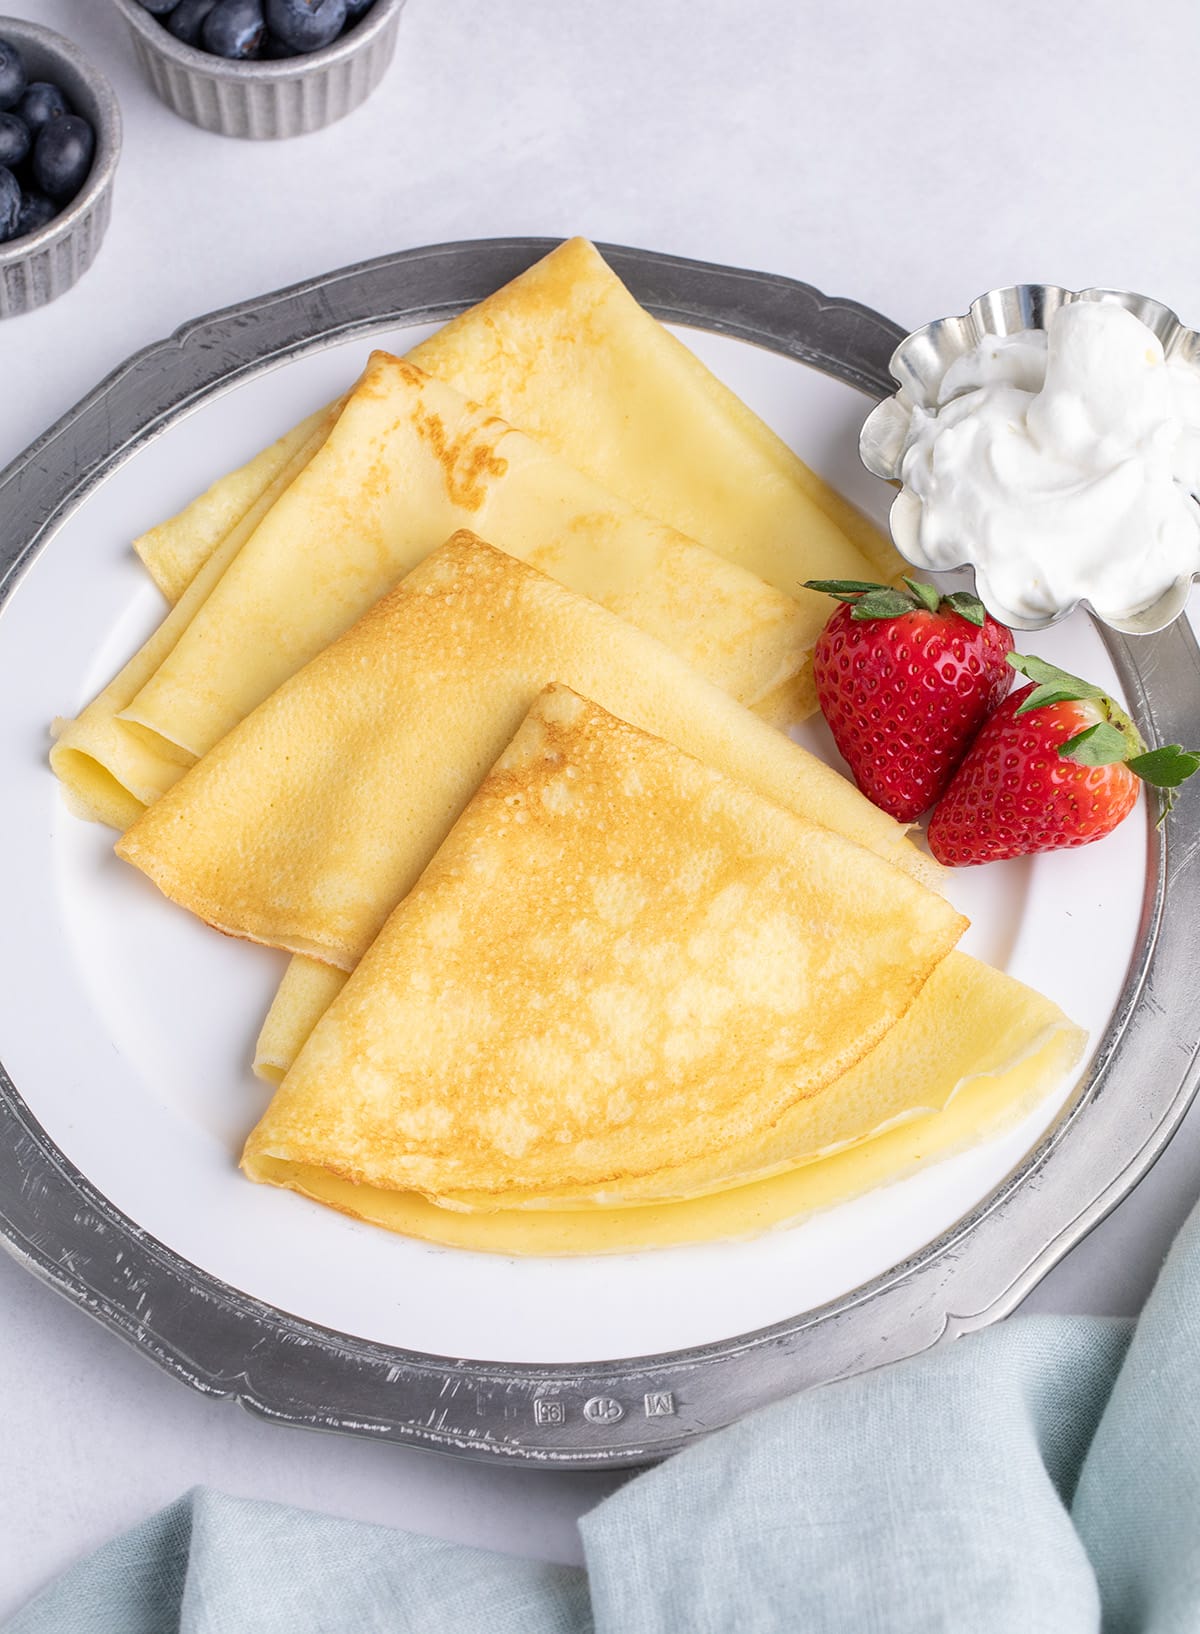
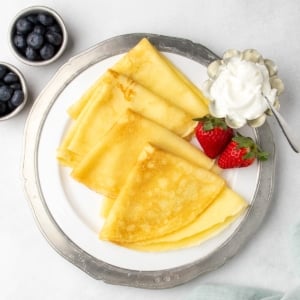
These tender, flexible gluten free crepes always bend and roll without breaking, and are even better than conventional ones. Made with only 5 ingredients (including salt!), they're so easy to make, and turn an everyday meal into something extraordinary!
Why this recipe works
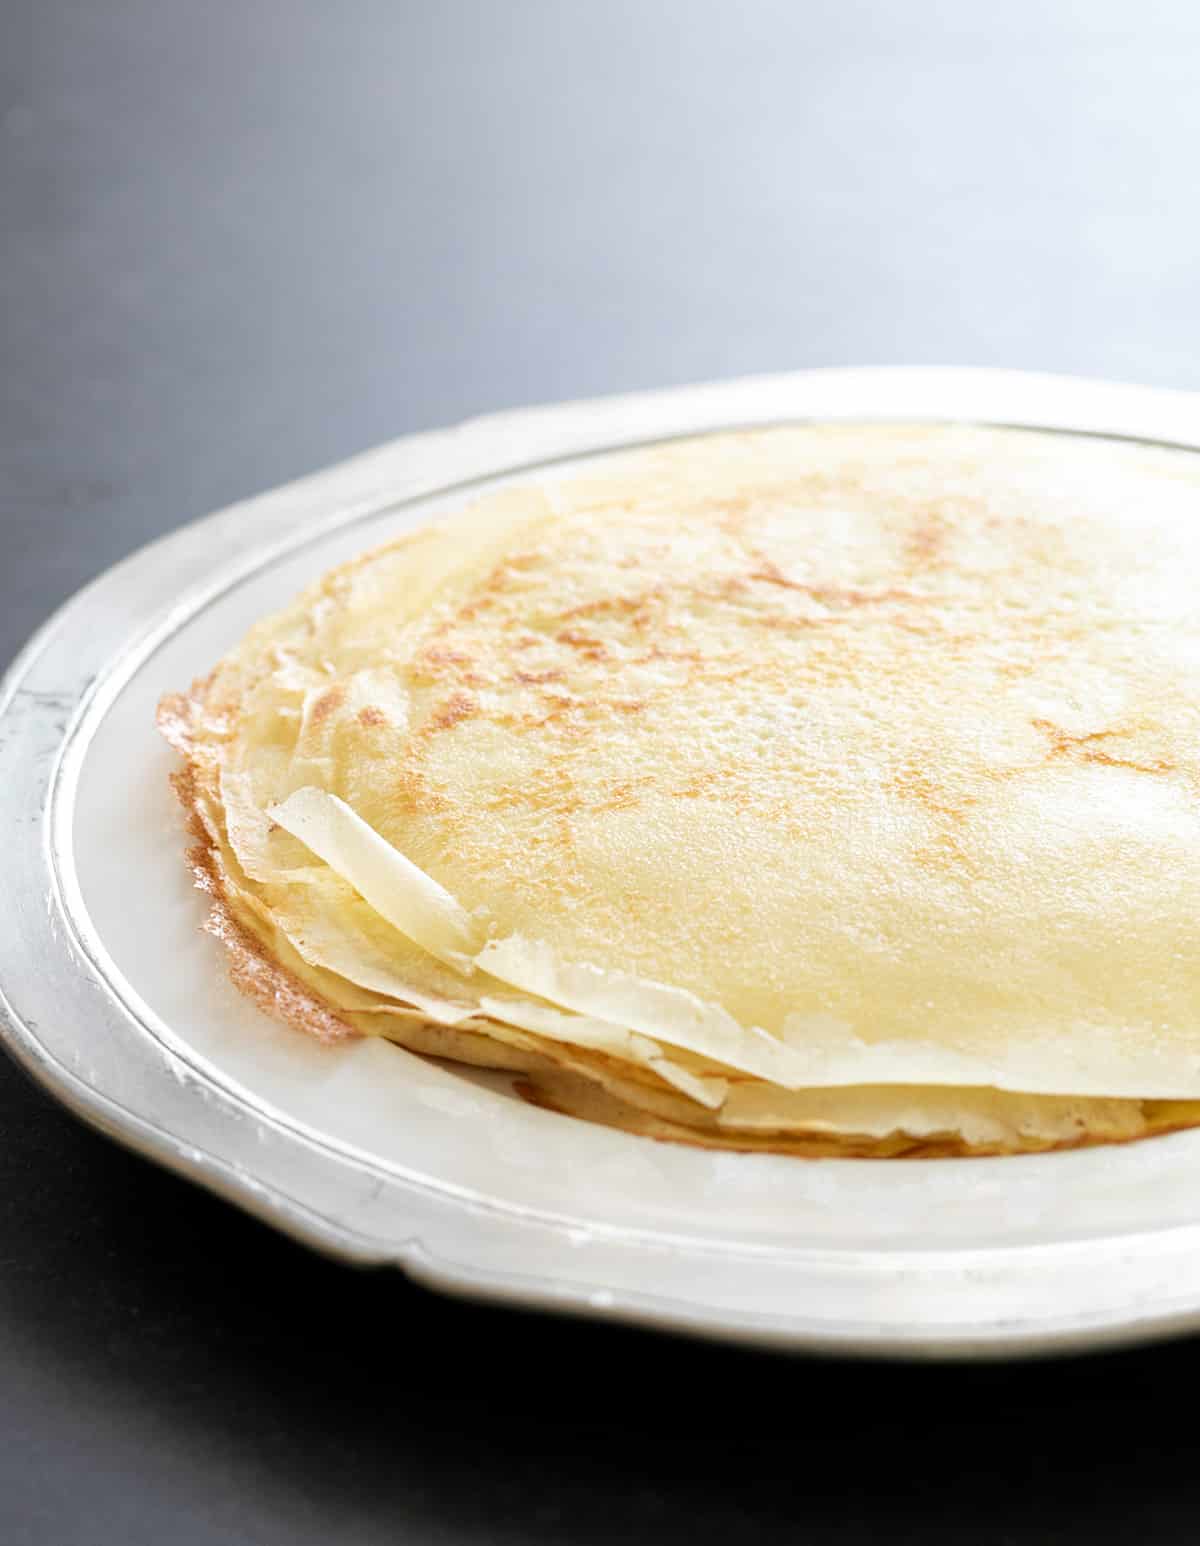
Gluten free crêpes are simple, French-style pancakes. Light, airy and delicate but never fragile, these pancakes can be served sweet or savory.
The simplest recipes are frequently the trickiest, and the ones most likely to frustrate you when you're new at making them. That's why the method and ingredients here are clear, concise, and specific. And since gluten works against tenderness here, gluten free crepes are actually than “regular” ones.
With my simple blender method that provides an easily pourable batter, and detailed instructions for how to you swirl it around in a hot, lightly greased pan, you'll get good at it fast!

Recipe ingredients
Here's everything you need to make crepes at home, plus some information on what each ingredient does in the recipe:
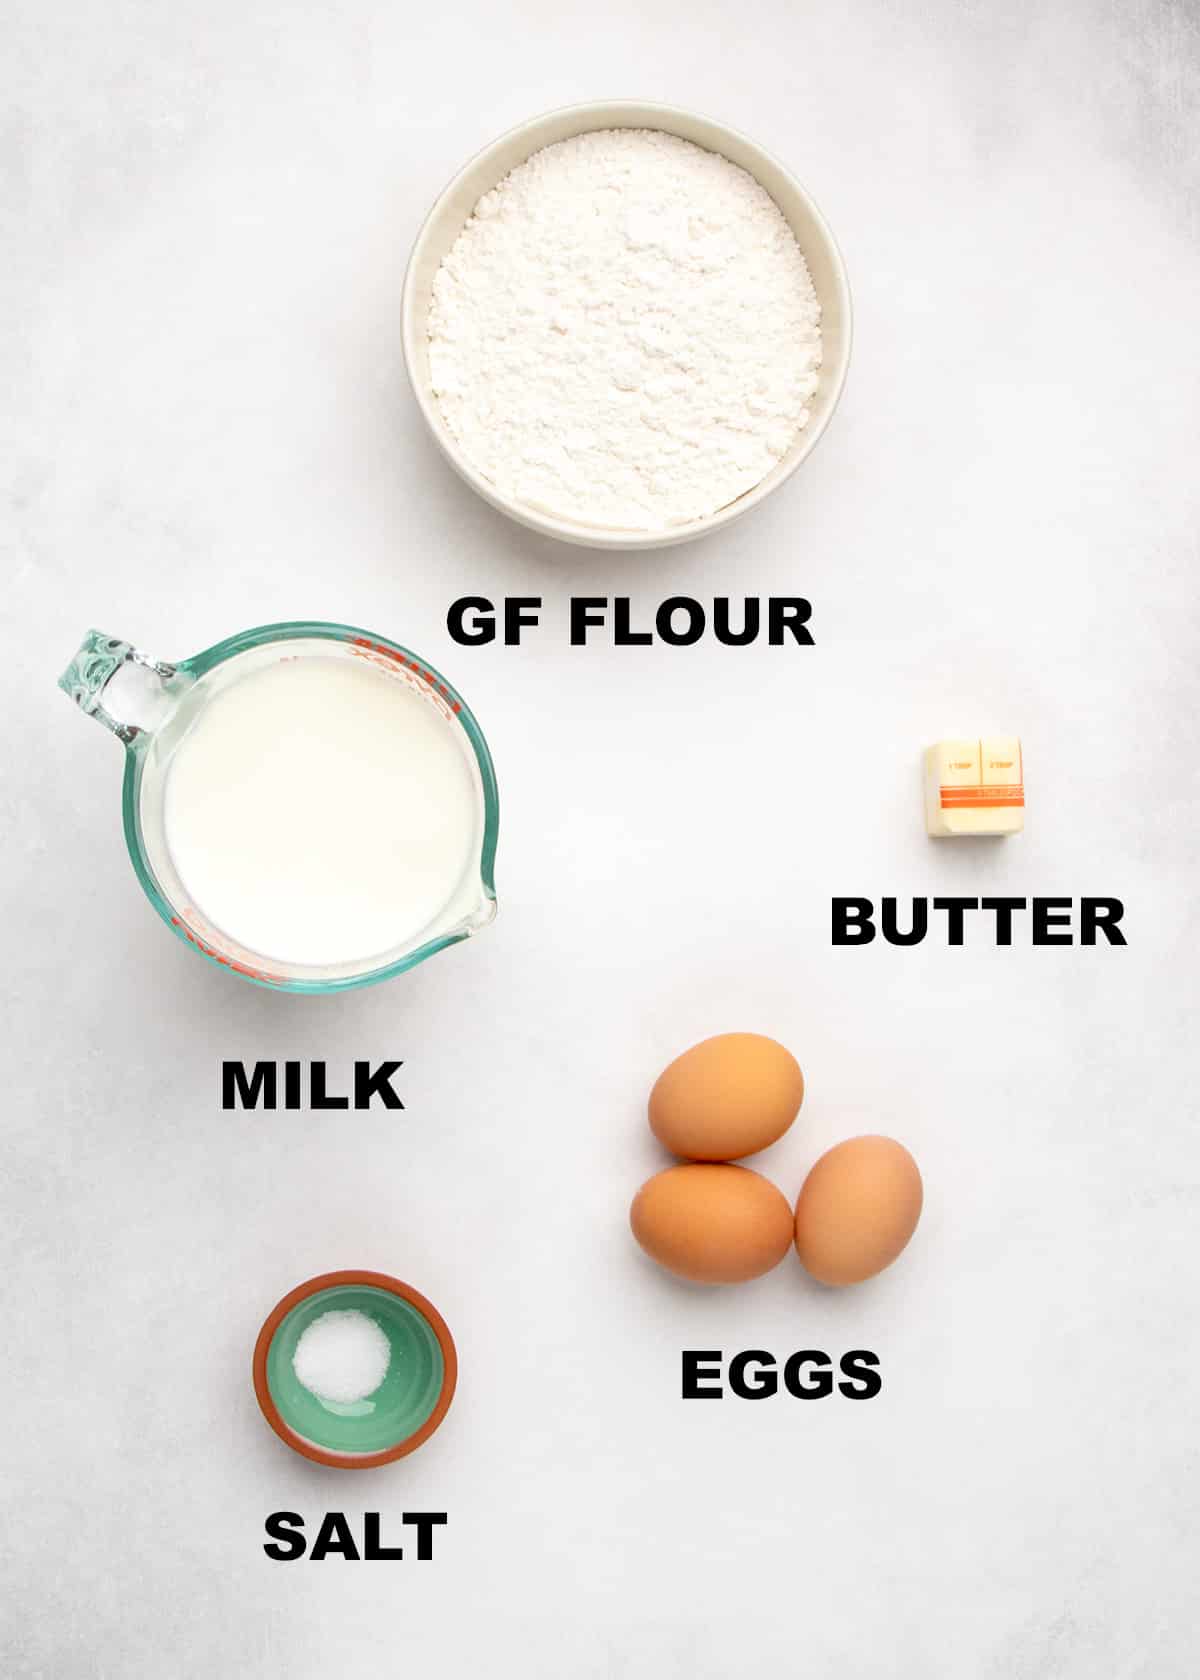
- Gluten free flour blend: This recipe calls for our gum-free gluten free flour blend, made with superfine white rice flour, potato starch, and tapioca starch. Anything with xanthan gum or a substitute will lead to rubbery pancakes. You can also use a gum-free blend as long as it has a finely ground rice flour, like Nicole's Best.
- Eggs: Serve as a binder, adding leavening and elasticity.
- Butter: Butter adds richness, flavor, and tenderness.
- Milk: Adds moisture to hydrate the batter and make it pourable. Whole milk works best because the fat makes the crepes more tender.
- Salt: Brightens the other flavors.
How to make gluten free crepes (step by step photos)
This visual guide for how to make these pancakes at home in your kitchen includes an explanation of the reason behind each step. For full ingredient amounts, see the recipe card below.
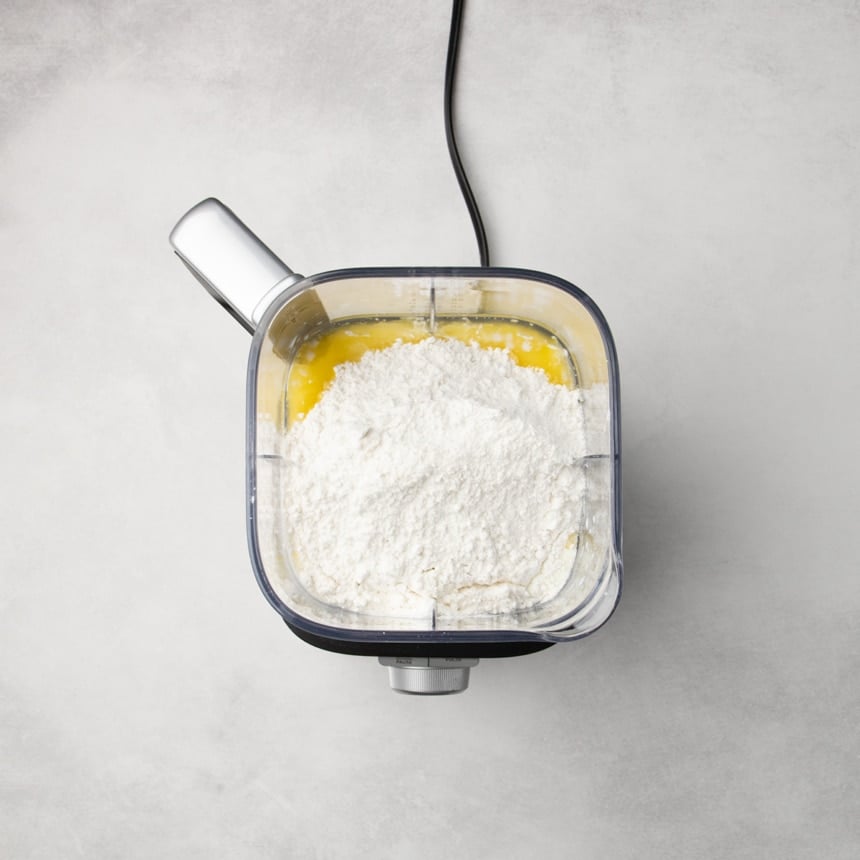
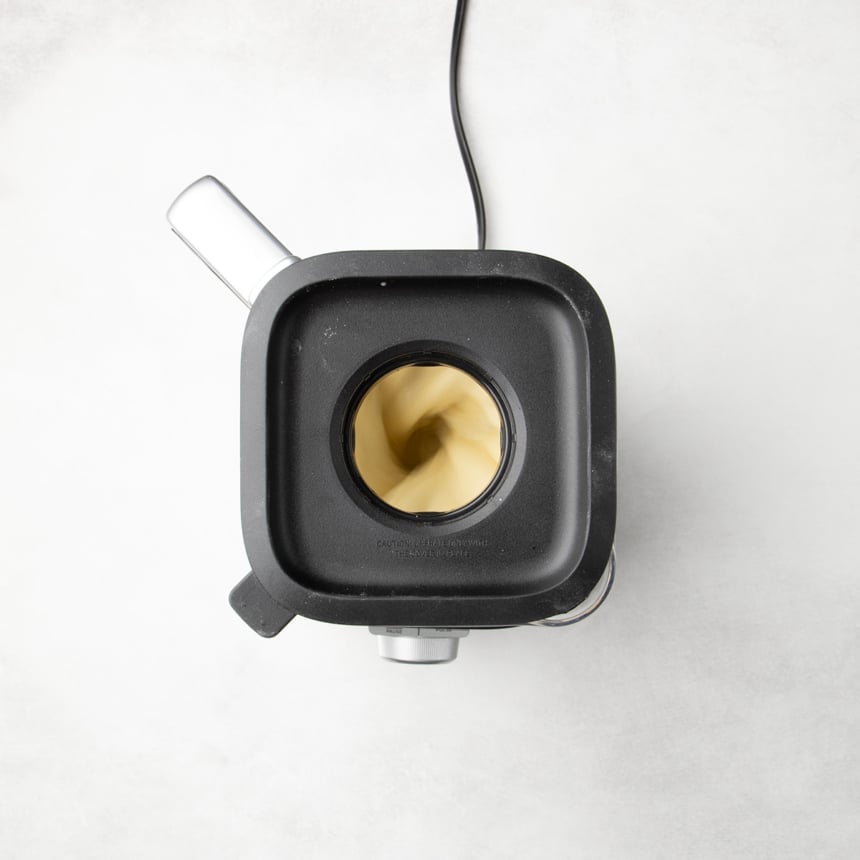
Place all the ingredients in a blender
In a simple blender or in a tall jar, place the milk, eggs, butter and salt, then top with the flour blend in an even layer. Be sure to place the wet ingredients closest to the blade so the dry flour doesn't get stuck to it. If you're using a blender like the Nutribullet with the blade in the lid, reverse the order of the ingredients.
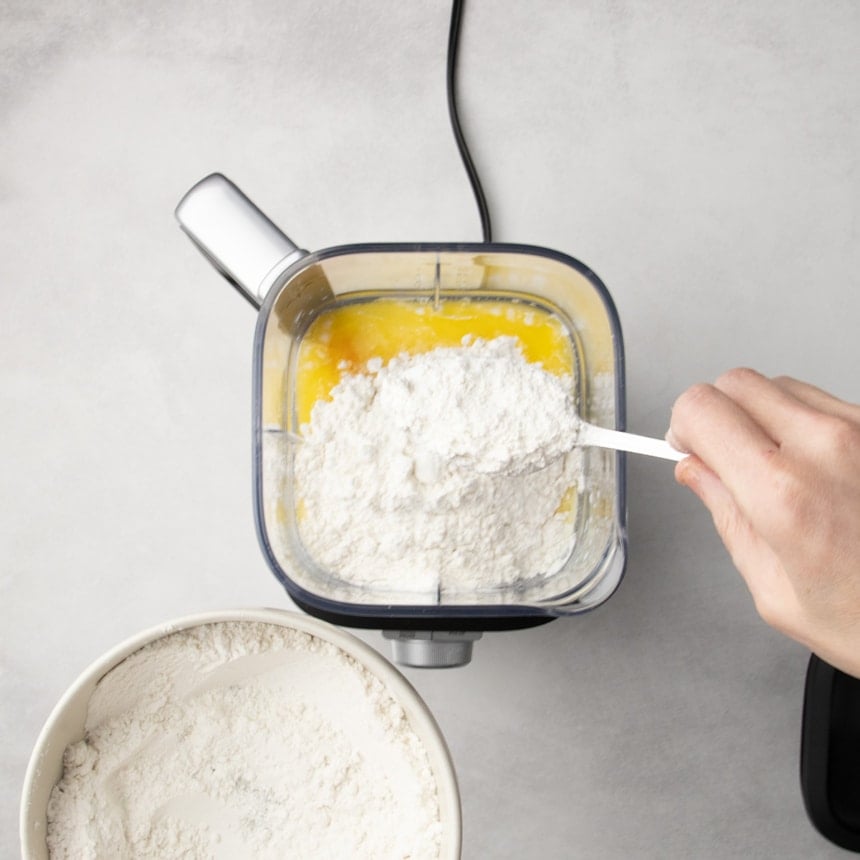
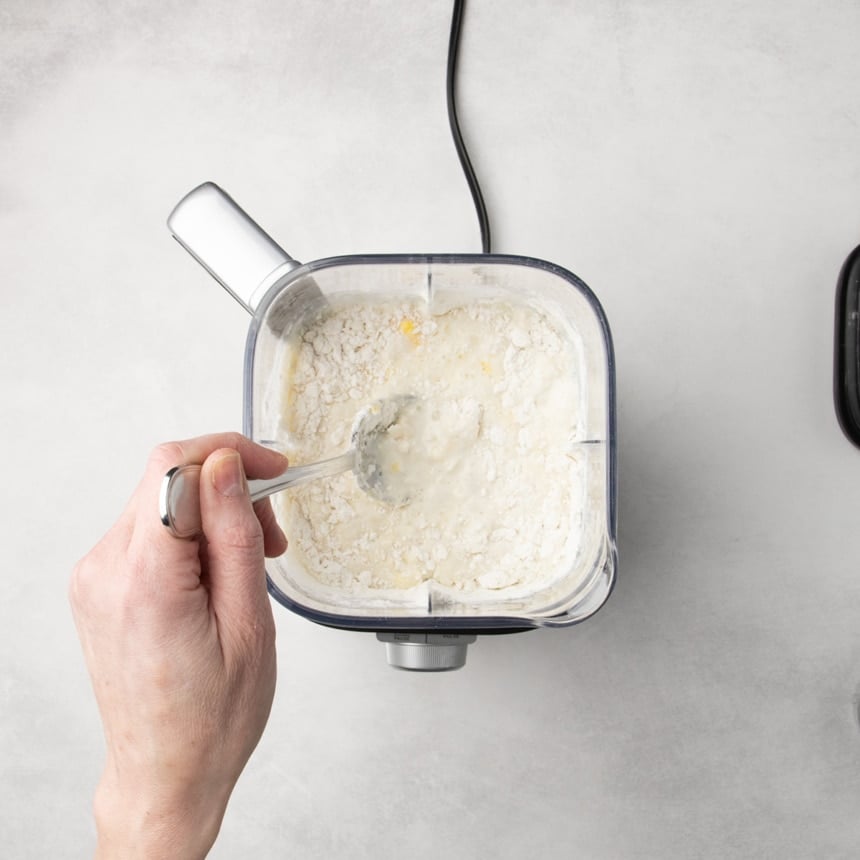
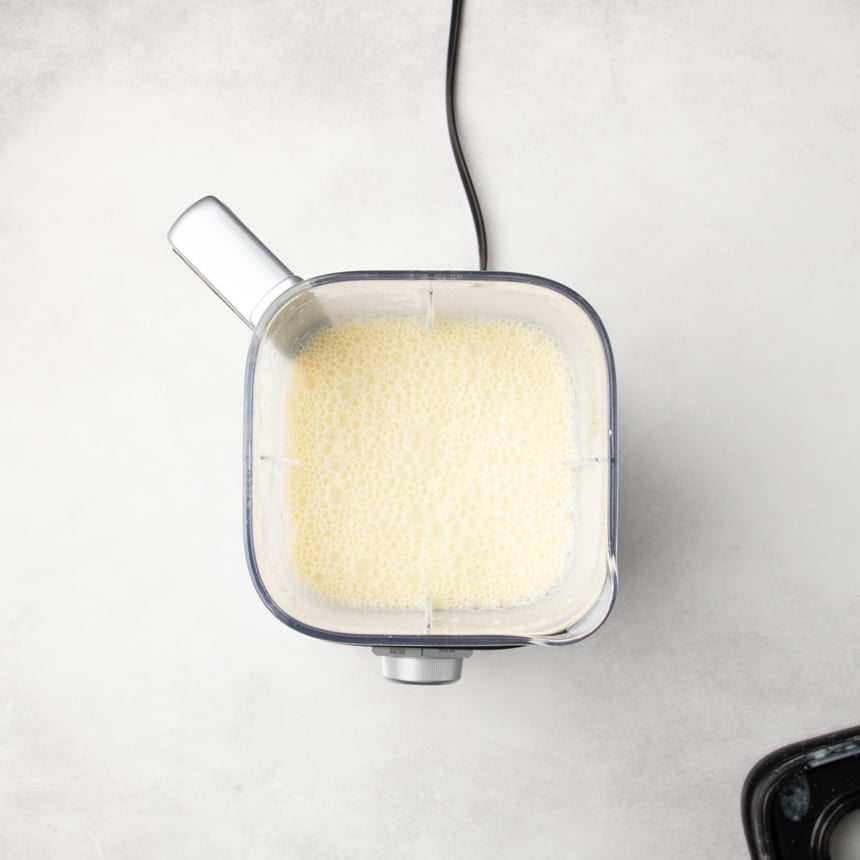
Blend until smooth
Use a spoon or spatula to mix the ingredients just enough to moisten the flour so it doesn't fly out of the blender when you turn it on.
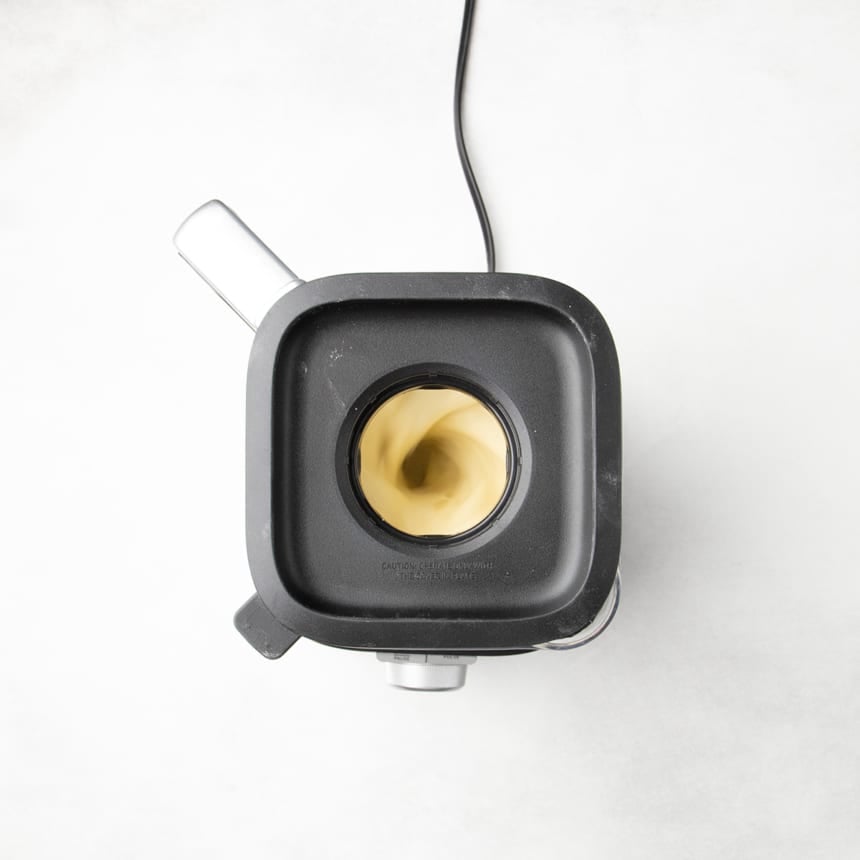
Switch on the blender at medium speed and blend for 2 to 3 minutes or until very smooth so all the flour is moistened and the eggs are fully beaten. Stop halfway through to scrape down the sides of the blender to make sure everything is evenly mixed.
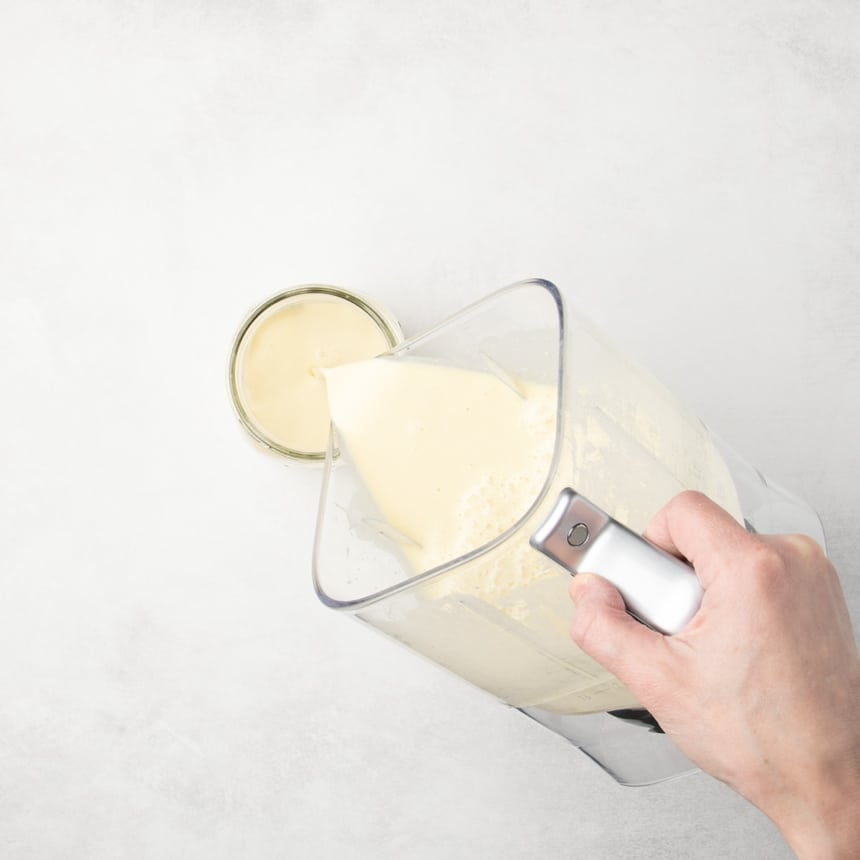
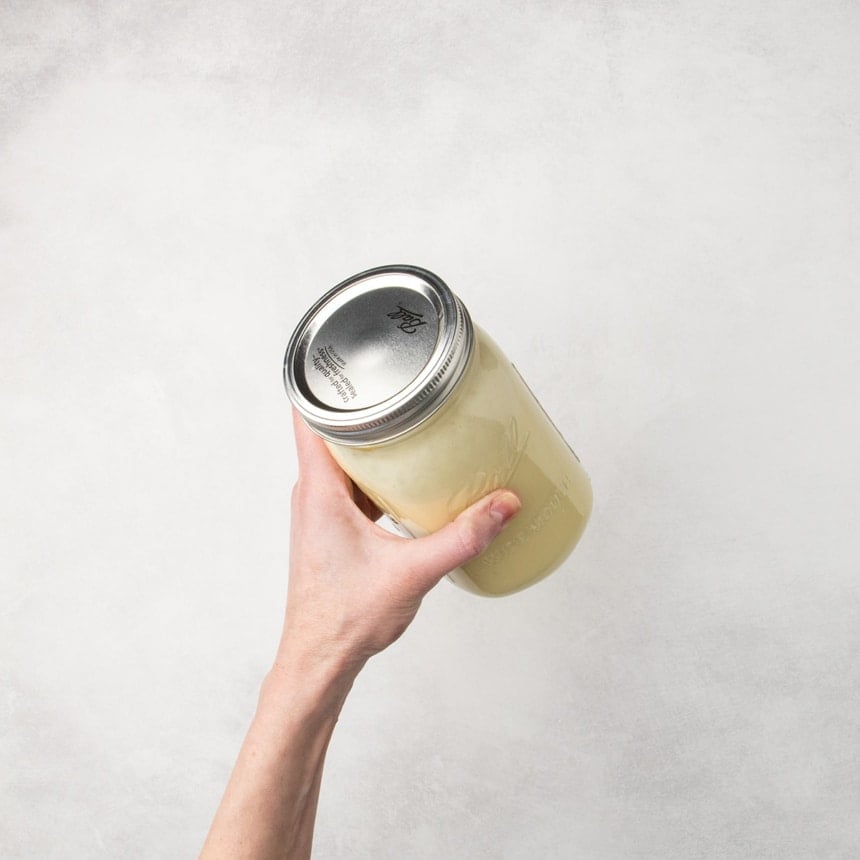
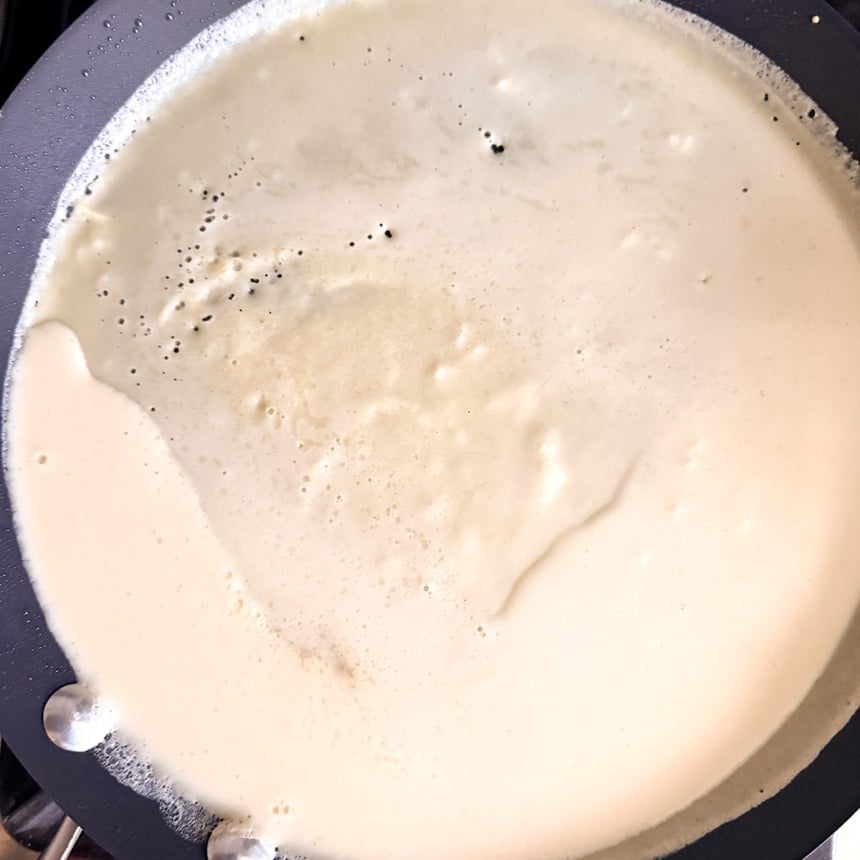
Transfer and refrigerate the batter
The batter should be pale yellow from the fully emulsified eggs and milk. Transfer it to a container with a tight-fitting lid. A 32 ounce or 1 liter mason jar is ideal. Refrigerate the batter for at least 12 hours and up to 3 days to allow the liquids to fully hydrate the flour for smooth crepes. This steps is often used to relax the gluten in the flour, but that isn't our problem to solve here!
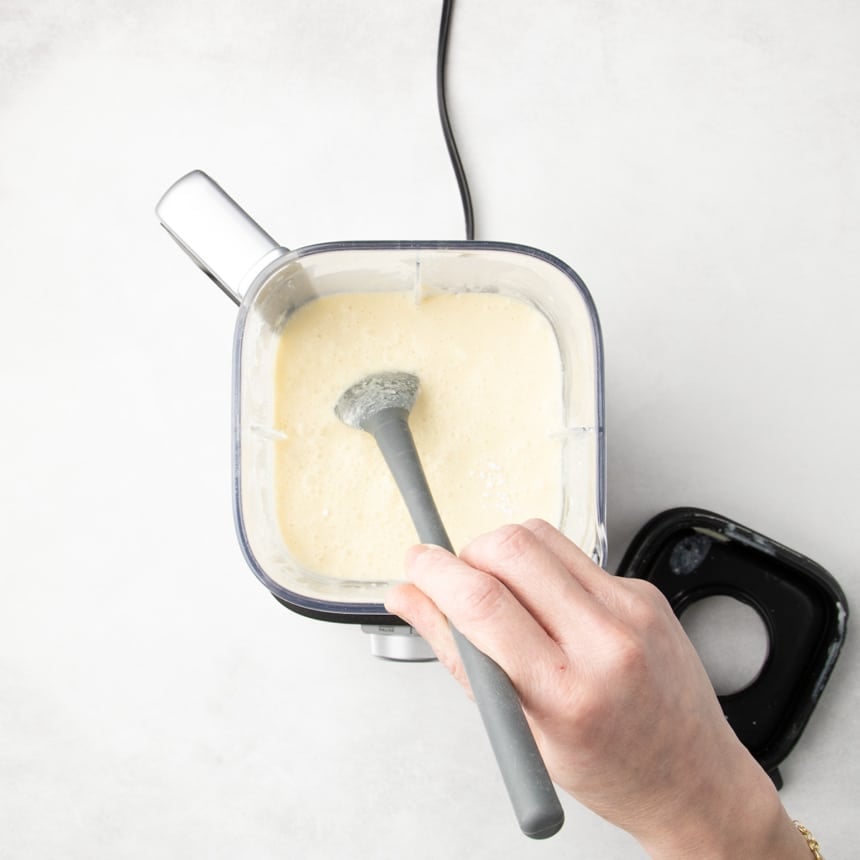
After the batter has chilled
Before cooking with the batter, allow it come to room temperature, which could take about 45 minutes. Since some of the flour will have dropped out of solution, place an immersion blender or tall whisk in the jar and blend or whisk until smooth and well-combined again. The batter should be thicker than milk, thinner than cream (like half and half).
Prepare the pan
Heat a 9 or 10 inch nonstick skillet (a crepe pan with low sides is easiest, but it's not at all necessary) over medium heat for about 1 minute or until it feels almost too warm to hold your open palm right above the pan. Grease it lightly but evenly with cooking oil with a high smoke point like canola, vegetable, grapeseed, avocado or peanut oil.
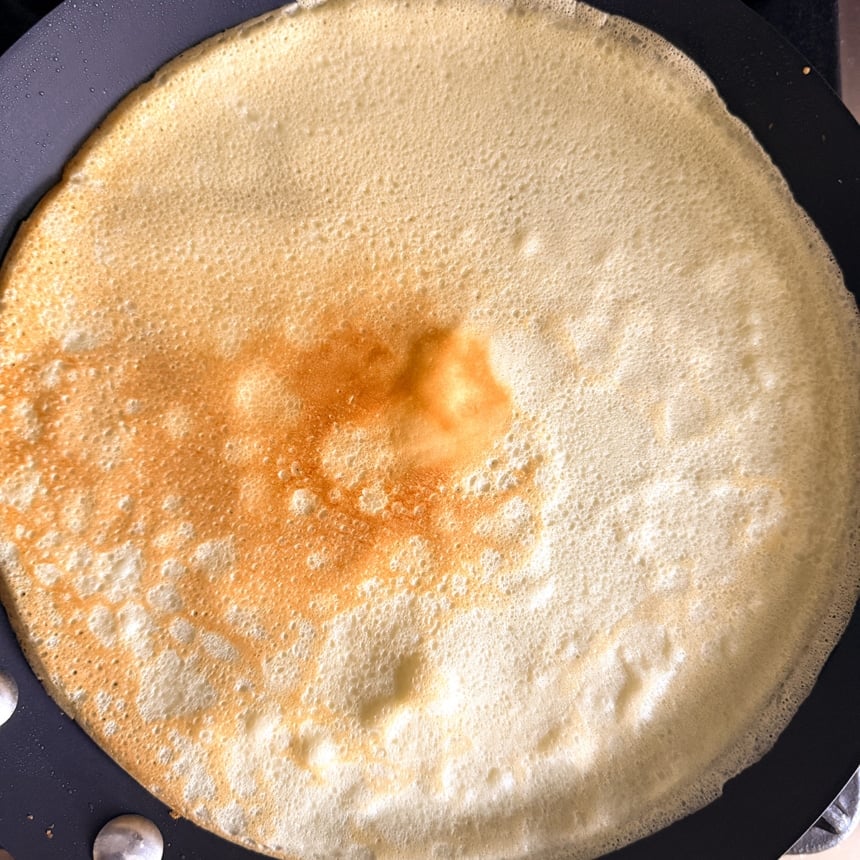
Cook the first side
Transfer the batter to a large measuring cup or bowl with a pour spout, or use a large ladle. Hold the pan just above the heat at a 45° angle (with the handle pointing up) and pour or ladle about 5 tablespoons or 75 ml of batter in the center of the hot pan.
Working quickly, move your wrist in a circular motion to swirl the batter evenly around the pan, and place the pan down on the heat source. As you swirl, you'll create a very thin layer of batter around the edges, which is what turns the lacy and crispy. Let the crepe cook for about 90 seconds.
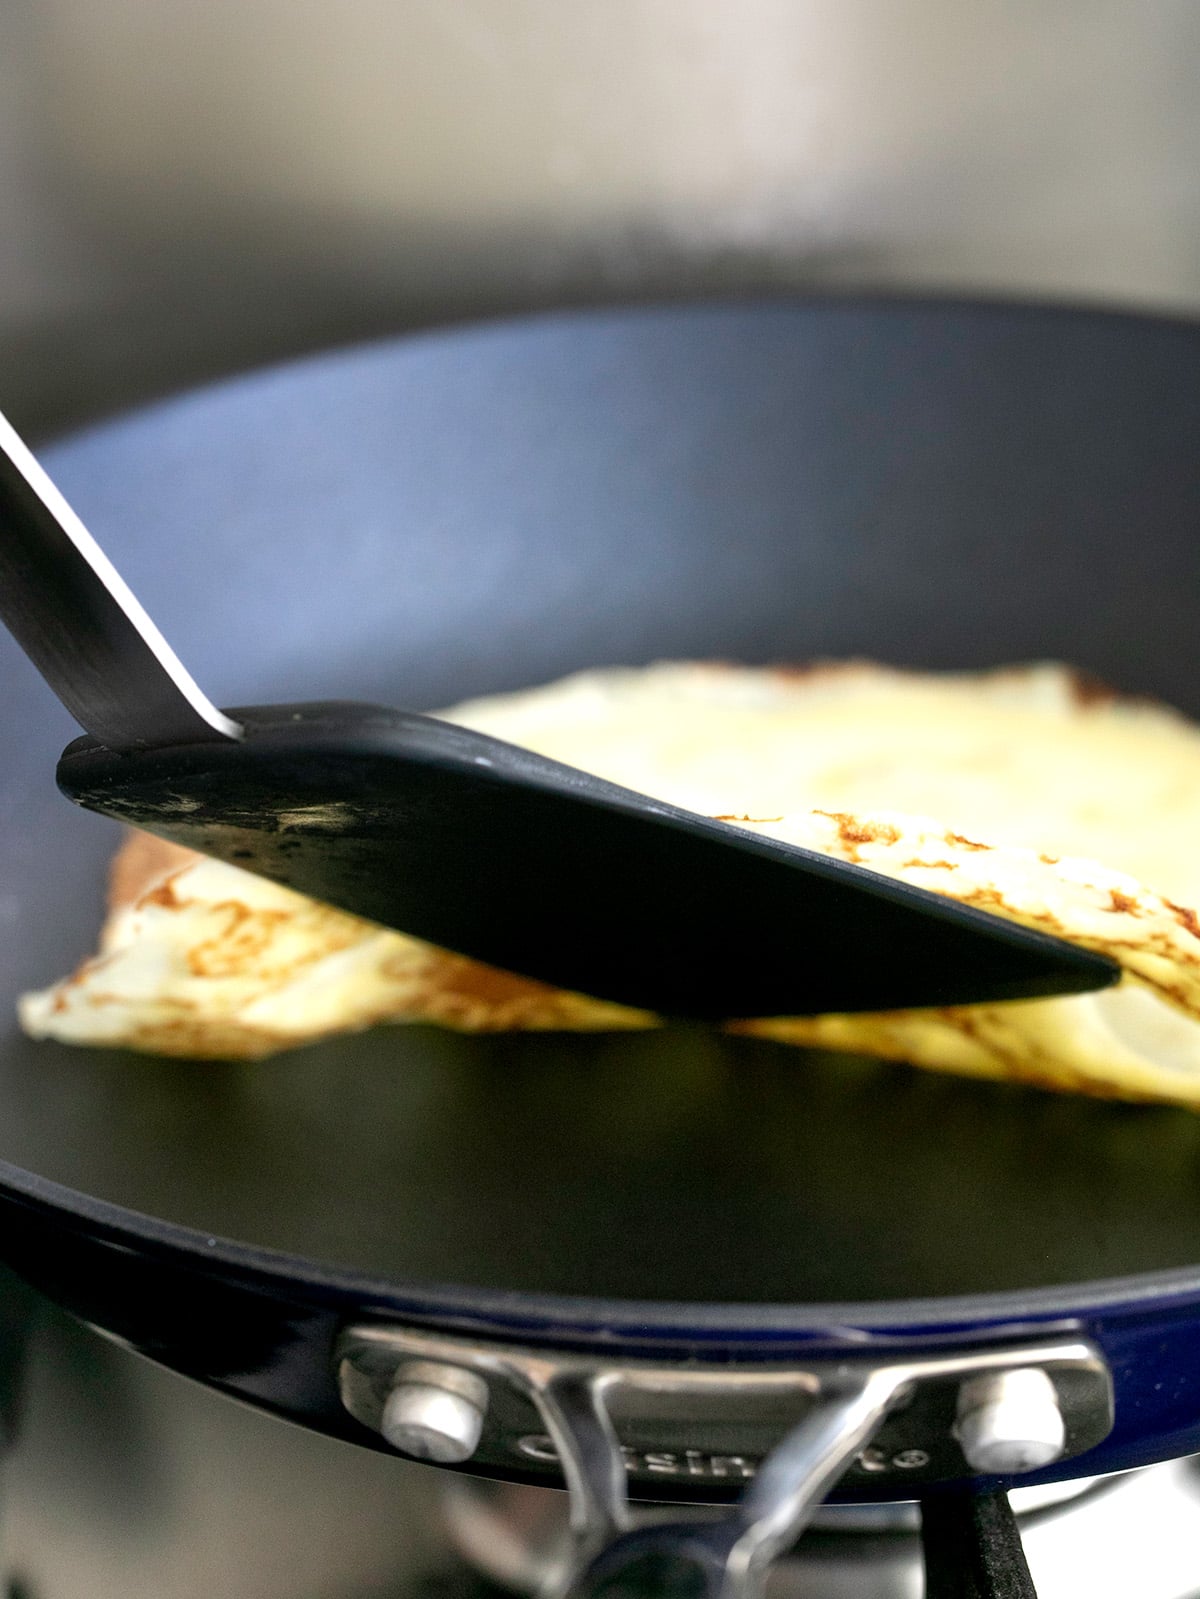
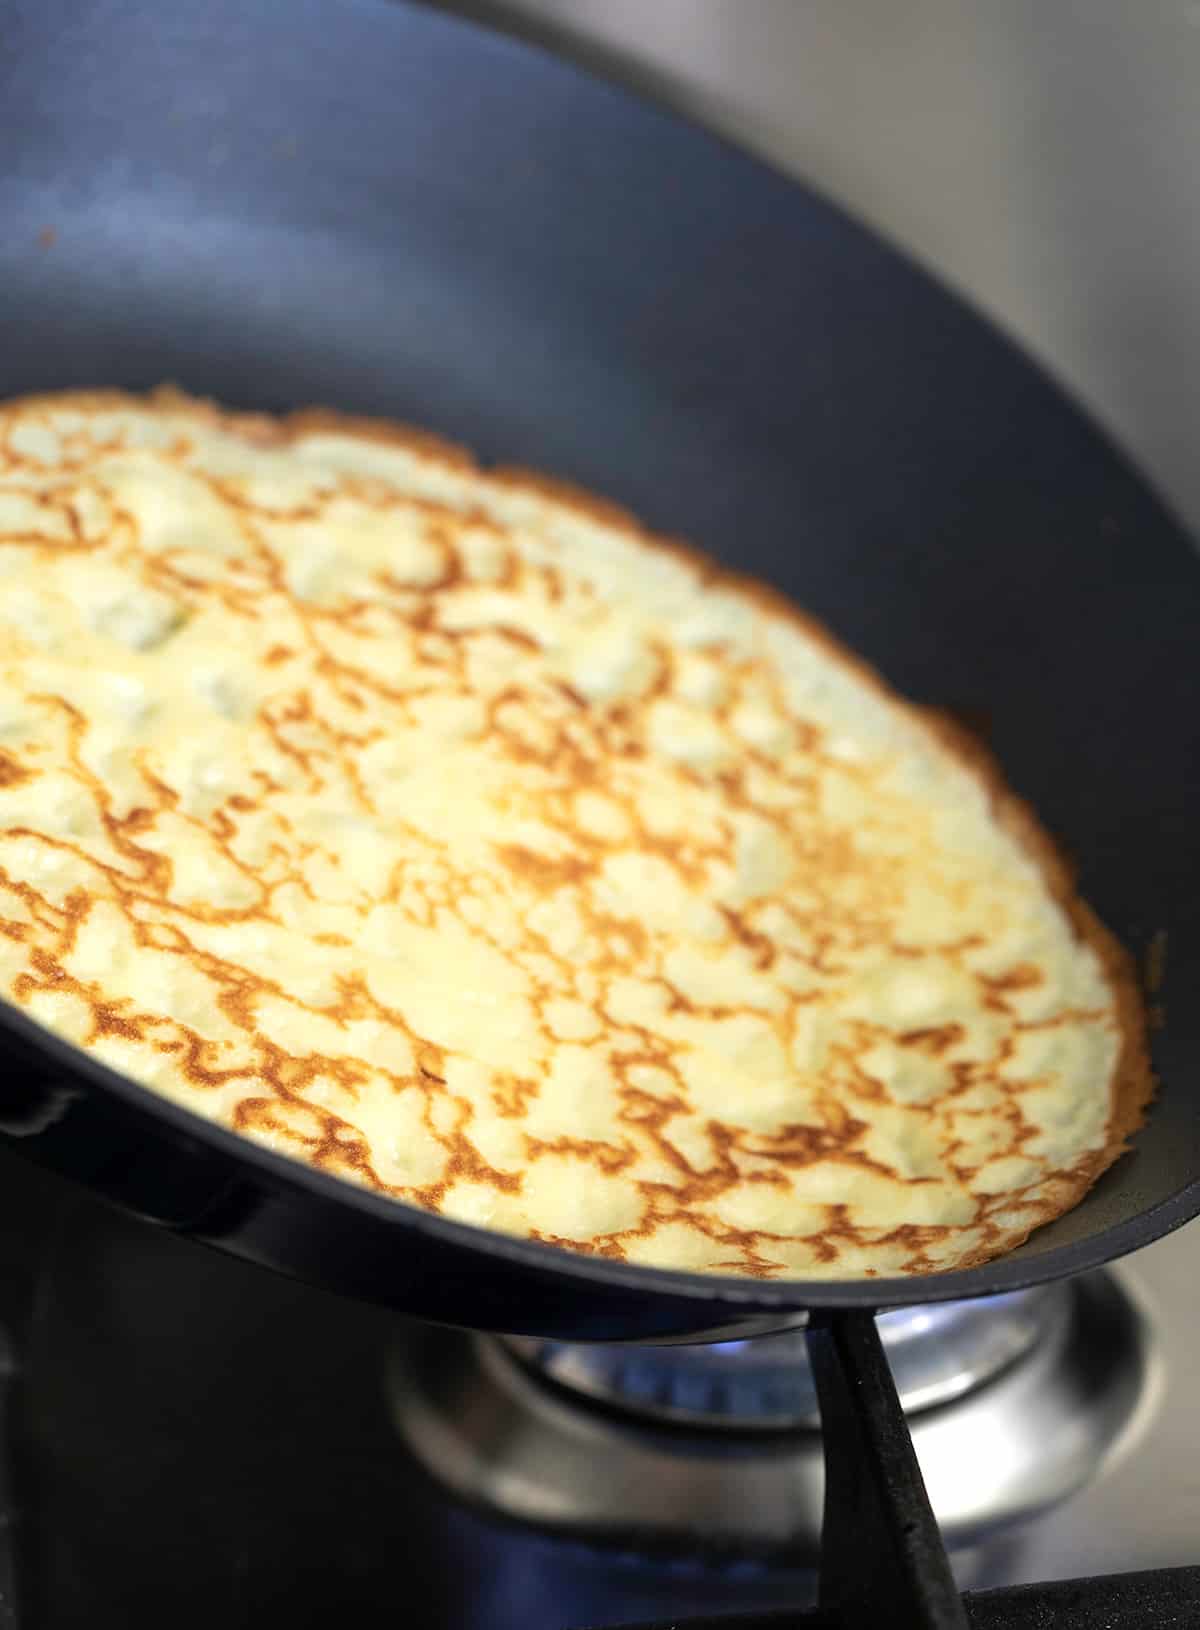
Finish cooking
Use a large spatula or your fingers to flip the pancake over and press it down gently onto the pan. Let it cook for another 30 seconds until you can tell it's brown on the second side. Flip again to add more color to the first side if necessary.
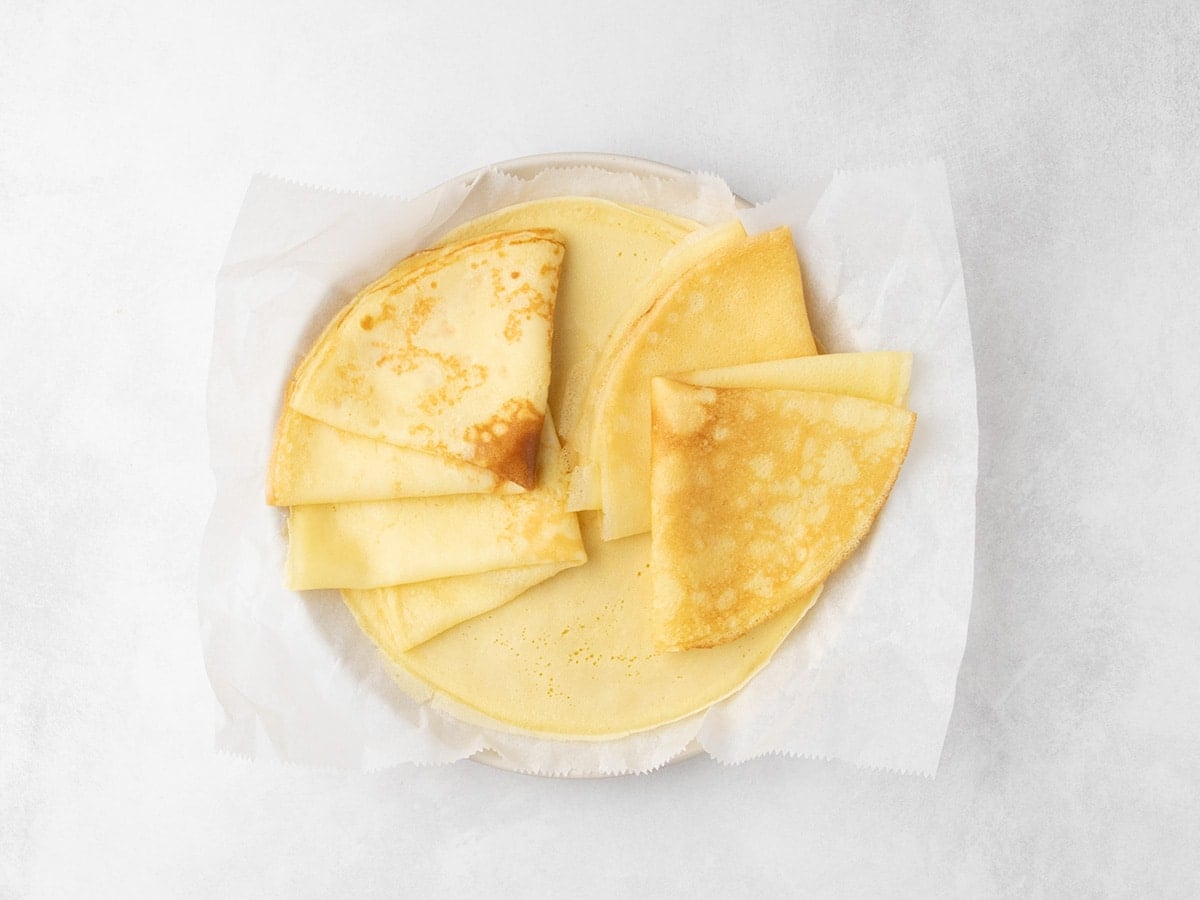
Stack the crêpes
Repeat with the rest of the batter, stacking the pancakes right on top of one another on a parchment paper-lined plate to prevent them from sticking to the plate.
Expert tips
Use the right gluten free flour blend
A rice flour-based gum-free gluten free flour blend without any xanthan gum or substitutes is essential here to avoid rubbery pancakes. And, as always, measuring flour by weight, not volume is needed for precise, reliable results.
Rest the batter first
Allowing your batter to rest in the refrigerator first gives the flours time to absorb the milk. Your batter will be more stable and your crêpes more tear-resistant.
Use the right pan
A non stick pan works best here, but if you have a crêpe pan (which is really just a nonstick skillet with low sides), use that. A well-seasoned cast iron 9-inch skillet is great, too. There are even electric crepe skillets that come with a wooden spreader, but I find that the batter begins to set before you've spread it out evenly if the skillet is hot enough to brown the pancakes.
Preheat the pan for even browning
Warm your pan over medium heat before you begin to swirl in the batter. You'll know from the first crepe pour whether your pan was hot enough.
Keep your pan well-greased
Even nonstick pans should be lightly greased and stay that way, so the batter slides around smoothly before it sets.
Ingredient substitutions
Dairy free
In place of cow's milk, I recommend coconut milk in the carton or unsweetened and unflavored soy milk. Just make sure to use something with fat that has a similar consistency to regular milk. In place of butter, try block-style vegan butter like Miyoko's, Melt, or Trader Joe's brands.
Egg free
There are 3 eggs in this simple recipe, which is a lot to replace. I'm not sure if any of my usual recommendations like chia eggs or flax eggs would work. You might be able to use JustEgg refrigerated plant based eggs.
Storage instructions
Fresh crepes can be made a few hours ahead of time. Just cover the plate, and serve them at room temperature. They’ll still be soft and pliable.
You can also place them in a stack in an air-tight zip-top bag, and refrigerate on a flat surface for up to 3 days. Freeze them the same way for up to 3 months, and then defrost by in the refrigerator or at room temperature.
To refresh unfrozen but still cold pancakes, warm them in a hot, dry skillet, or warm them in the microwave for about 10 seconds.
Gluten Free Crepes Recipe
Equipment
- Blender or immersion blender optional
Ingredients
- 2 cups (16 fluid ounces) whole milk, at room temperature
- 3 (150 g (weighed out of shell)) eggs, at room temperature, beaten
- 2 tablespoons (28 g) unsalted butter, melted and cooled
- ¼ teaspoon kosher salt
- 1 ¾ cups (245 g) gum-free gluten free flour blend, See Recipe Notes
Instructions
- In a blender or large jar if you're using an immersion blender, place the milk, eggs, butter, and salt. Spoon the flour blend on top in an even layer.
- Use a large spoon to mix the batter gently just until the liquid has begun to absorb the loose flour.
- Cover the blender or insert the immersion blender into the jar. Blend for 2 to 3 minutes or until smooth, scraping down the sides of the blender with a spatula about halfway through.
- See the Recipe Notes for how to make the batter without a blender.
- For best results, place the batter in a sealed container and refrigerate overnight or for up to 3 days.
- Before using the batter, remove it from the refrigerator, whisk until smooth, and allow it to come to room temperature. It should be about the consistency of half and half (thicker than milk, thinner than heavy cream).
- Transfer the batter to a large spouted measuring cup for easy pouring into a skillet to cook.
- Heat a heavy-bottom nonstick 9 or 10 inch skillet, well-seasoned cast iron skillet or crepe pan over medium heat for 1 minute or until it feels slightly uncomfortable to hold your open palm right above it. Grease it lightly but evenly with cooking oil.
- Holding the warm skillet at a 45° angle just above the flame, carefully pour about 5 tablespoons (a bit more than 1/4 cup) of batter right into the center of the skillet and swirl the pan to distribute the batter evenly across the entire flat surface of the pan.
- Once you get a rhythm going, you should be able to begin swirling as soon as the first drop of batter hits the pan. Cook over medium heat until the edges and underside of the crêpe are lightly golden brown (about 90 seconds).
- With a wide spatula (and/or your fingers, carefully), turn the pancake over and cook until the other side is lightly golden brown (about another 30 seconds). Slide the crêpe out of the skillet onto a parchment-lined plate.
- Repeat with the remaining batter, stacking the finished crêpes on top of one another.
- The pancakes may be covered well with a moist towel and kept at room temperature for about 3 hours until you are ready to serve them, or wrapped tightly in freezer-safe wrap and frozen until ready to use.
- Defrost at room temperature, and refresh the crêpes in a warm, nonstick skillet for a few moments per side.
Video
Notes
Nutrition
Nutrition information is automatically calculated, so should only be used as an approximation.
FAQs
Did you blend the ingredients well? Were your ingredients cold, especially the butter? If so, it will clump and stay that way until warmed and reblended.
Cook each crêpe on the first side over medium heat until the edges and underside are lightly golden brown. It only takes about 90 seconds or less when the pan is properly heated and greased. You can use your spatula to lift an edge a bit to peek under, but the edges usually give it away!
Rubbery crepes are typically made with the wrong gf flour blend, especially if yours contained xanthan gum. We need to use something that doesn't contain xanthan gum already in the blend, since it will always contain too much. You may also have poured too much batter in the pan at once, leading to crepes that are just too thick.


Hi! I made the batter but it is very thin. I thought if I leave it in the fridge overnight, it would help, but it didn’t. What flour or starch should I add to thicken the batter? Thank you!
For proper consistency of the batter, please see the how to video on this page. It isn’t a thick batter. Beyond that, and without knowing where you may have deviated from the recipe as written, here is what I always recommend for troubleshooting:
super easy! I mixed the batter in a blender and the crepes cooked beautifully – easy to flip and no breaks, great flavor
I’m so glad, Stephanie! Thank you for sharing that.
SO GOOD!
A couple notes though:
– they take a long time to cook, so be prepared for that
– I usually make them right after I make the batter, but then I chilled it overnight as described, I found that make the crepes way more brittle and didn’t cook the same. Next time I cook them I will go back to cooking right away
– they freeze or refrigerate well for quick reheating throughout the week, separated by parchment paper
These look so good and I can’t wait to try them!!
Nicole, thank you for sharing this recipe! We recently went gluten-free and this is one of the first gluten-free recipes we tried – it’s amazing! I make everything from scratch and consider myself a major foodie and can’t tell you how thrilled I am to find such a good crepe recipe. Crepes are one of our favorites. I never doubted gf crepes would be great as Vietnamese pancakes tend to use some rice flour in the mix. Thanks again!
These crepes are awesome wrapped around hotdog and dipped in ketchup and mustard. Kind of like a corn dog without a stick. My husband and I were so frustrated with gf hotdog buns that just fall apart. And it has the added bonus of freaking out a chef friend who thinks crepes are only for sweet fillings!
Haha that sounds like a neat party trick, Sharon! So glad you liked them. Yes, store-bought gf shaped buns (hot dog buns, hamburger buns) are really disappointing all around. I do have a really good gf hot dog bun recipe, if you’re interested.
I’m very grateful for this recipe, which I’ve made for my family every second Saturday for two years! One change I made is using brown rice flour instead of white. It gives more nutty depth to the crepe. Plus I use a cast iron Comal (which has no rim so you can flip them easily) and some wooden crepe tools. Both–very inexpensive– help make thinner larger crepes. And they are good for making Galettes too, which are also gluten free, more savory, and a good brunch. Thanks for this recipe in any case. Gave me the confidence to start experimenting with flours and serve gf food that’s just as good.
“Just egg” works wonderfully to replace eggs and I’ve also had perfect success using banana as an egg replacer in this recipe as well! Just choose wisely for the savory or sweet flavor you’re going for!
great receipe! I am curious, why is xantham gum not reccomended?
I discuss xanthan gum a few times in the text of the post, Diana!
Hello! Thank you for sharing this recipe. I just tried it this morning, I followed the recipe exactly (scaled it for a yield of 8 crepes) and it was very good but it tasted more like an egg wrap than a crepe. Not sure where I went wrong but may try again without as much egg to get more of a crepe.
Awesome! Crepes were always a great family meal until I became celiac. These are just like the ones I use to make.
Thanks so much Nicole. I can always trust your recipes to be excellent.
You’re so welcome, Muriel! I’m honored to have your trust, and will always endeavor not to let you down. :)