
This post may contain affiliate links. Please read our disclosure policy.

Table of Contents
These days there are more and more packaged gluten free crackers being sold in regular grocery stores. And that's great! I love it when new gluten free products enter the marketplace. It forces prices down and quality up, and some of the gluten free crackers you can buy are really lovely (I'm looking at you, Nut Thins!). Today's recipe for Gluten Free “Chicken-In-a-Biskit” Crackers, a copycat of the crispy, buttery and flavorful Nabisco favorite, is because most cracker manufacturers are just not going to bother putting out a gluten free version—and because so much of what you can buy is still just too expensive!
About rolling out dough
If you see a recipe that calls for rolling out dough and click away or turn the page, we need to talk! Rolling out out anything, be it cookie dough, cracker dough, pie crust or even pizza dough, is really very simple once you know the secrets. On page 28 of my newest cookbook, Gluten Free Classic Snacks, I spill all those secrets in detail. But in case you don't have the book yet, or you just haven't read it like a novel (you mean not everyone does that with cookbooks? ;), I'm giving you the abbreviated version of those secrets here today on the blog. So (forgive me), let's get rolling!

First, follow the rolling instructions in the recipe. Some doughs should be rolled out on a lightly floured surface, sprinkling lightly with more flour as you roll out the dough (like this one). Others, between two sheets of unbleached parchment paper. Ditto for the thickness of the dough.
Second, go by feel. Rolling out the dough into an even layer is the most challenging and scariest part of the whole process. Your hands are much more sensitive in this regard than your eyes, because your eyes simply can't compare the relative thickness of the dough from one spot to another. Running your hands lightly across the dough will tell you everything you need to know about where to roll thinner, where to leave the dough be. Trust those hands! They're a cook's best tools.
Third, use unbleached parchment paper when rolling between two sheets of paper. It's thinner and more flexible than the bleached kind, and allows you to follow Secret Number 2 above like nobody's business.
Fourth, take it easy! If you press too hard during rolling, you'll get those unsightly creases when you're rolling between two sheets of that unbleached parchment. For stiffer doughs, just pass over the dough more times with the rolling pin rather than muscling through it by pressing too hard.
Fifth, chill it. If you are having trouble getting clean lines when cutting out dough or the dough is just too difficult to handle, roll it out, and then chill the dough in the refrigerator or freezer. Clean lines await!
Finally, peel away. Rather than trying to peel more delicate shapes of dough off the parchment, try removing the dough surrounding the cut out shapes first, and then peeling the paper away from each cut out shape instead of the other way around. This will help keep the shapes from stretching or tearing.
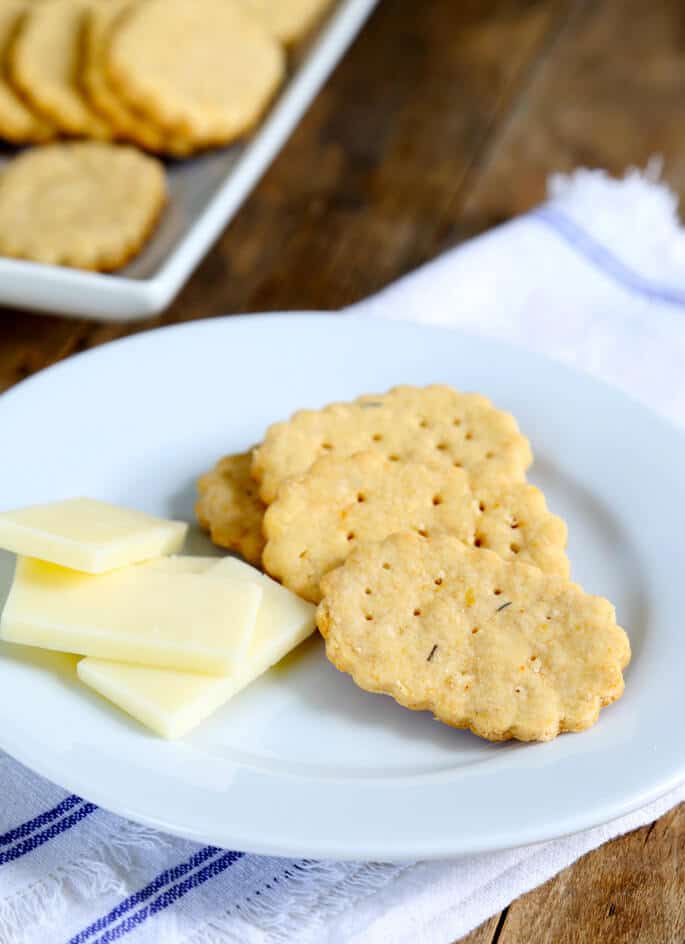
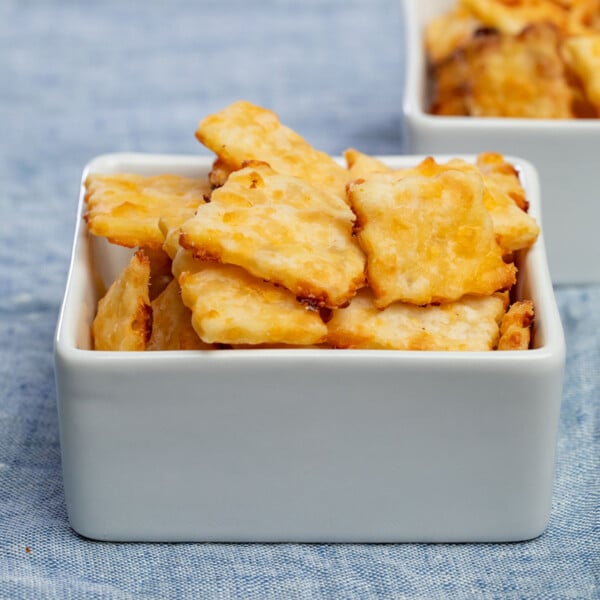
Gluten Free “Chicken-in-a-Biskit” Crackers

Ingredients
- 1 ⅞ cup (263 g) all purpose gluten free flour blend, plus more for sprinkling (I used Better Batter; please click thru for full info on appropriate blends)
- ¾ teaspoon xanthan gum, (omit if your blend already contains it)
- 6 tablespoons (54 g) cornstarch, replace with more Cup4Cup if that is your all purpose gluten free flour blend
- 7 tablespoons (42 g) nonfat dry milk powder
- ½ teaspoon baking soda
- ¼ teaspoon baking powder
- 3 tablespoons (30 g) vegetable bouillon powder
- 10 tablespoons (140 g) unsalted butter, at room temperature
- 7 tablespoons milk, at room temperature plus more as needed
Instructions
- Preheat your oven to 350°F. Line rimmed baking sheets with unbleached parchment paper and set them aside.
Make the dough.
- In a large bowl, place the flour, xanthan gum, cornstarch, dry milk, baking soda, baking powder and bouillon powder, and whisk to combine well. Create a well in the center of the dry ingredients and add the butter and 3 1/2 ounces (7 tablespoons) of the milk, mixing to combine after each addition. Add more milk by the half-teaspoonful as necessary to hold the dough together when squeezed with clean hands.
Shape the dough.
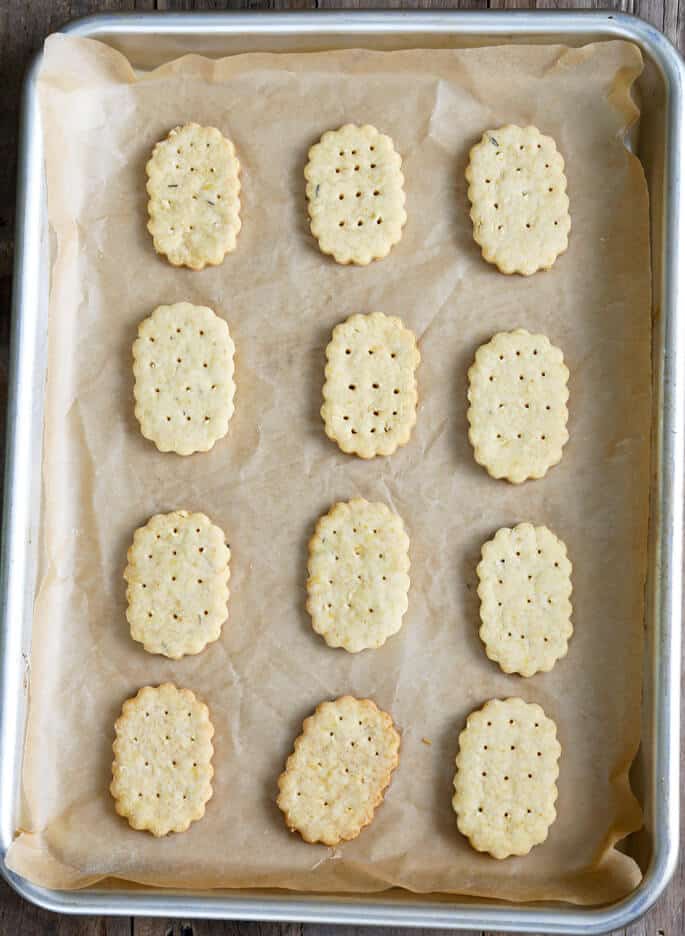
- Turn out the dough onto a lightly floured surface and roll out into an even layer about 1/4-inch thick, sprinkling very lightly with more flour as necessary to prevent sticking. The dough should roll out easily and will become smoother as you roll it out. Cut into 2 1/2-inch long rectangles using a scalloped cookie cutter or a pizza or pastry wheel. Pierce the rectangles randomly on top with a toothpick or wooden skewer. Place about 1 inch apart on the prepared baking sheets. Gather and reroll the scraps to cut out more crackers until you’ve used up the dough.
Bake the crackers.
- Place the baking sheets, one at a time, in the center of the preheated oven and bake for 12 minutes, or until the crackers are very light golden brown all over. Allow to cool for 10 minutes on the baking sheets before transferring to a wire rack to cool completely.
Storage.
- The crackers can be stored in a sealed glass container at room temperature and should maintain their texture for at least 5 days.
Nutrition information is automatically calculated, so should only be used as an approximation.


Was this recipe made before cup4cup took out the milk powder in there flour mix? I use cup4cup but now it has no milk powder so will it still work? And I would leave out the corn starch correct? Thanks
Hi, Amie, yes, this recipe was posted a very very long time ago and I actually no longer recommend Cup4Cup’s blend since they changed the formulation. So sorry for the confusion, please see the all purpose gluten free flour blends page for full info.
I didn’t see anything in your post of this recipe about any other flour blends that can be used in this recipe.
Please see the all purpose gluten free flour blends page, which is linked to that term in the recipe card, to learn about my recommended blends.
I thought cookbooks were novels that required being read cover to cover within first 24 hours! So glad I am not alone-and yes I own all of Nicole’s cookbooks finally!!!
Thanks, Kat!!
also where did you find the veg powder…thanks again.
Kimberly, please click the link associated with that ingredient in the recipe. It leads you to my recipe for homemade powdered vegetable bouillon.
Hello Nicole love this recipe …just one question….where did you find the oval scalloped cookie cutter????? Thanks so much for what you do…
I love the rolling advice; so crucial for perfect crackers!
ok, so their IS somebody else out there who reads a cookbook like a novel? Good. i was starting to think i was weird or something.
AWESOME!!! Thank you so much Nicole, these used to be some of my favorite crackers. Can’t wait to make them.
I used to love these! Thank you! They will be good with some jalapeño goat cheese from the Farmer’s Market.
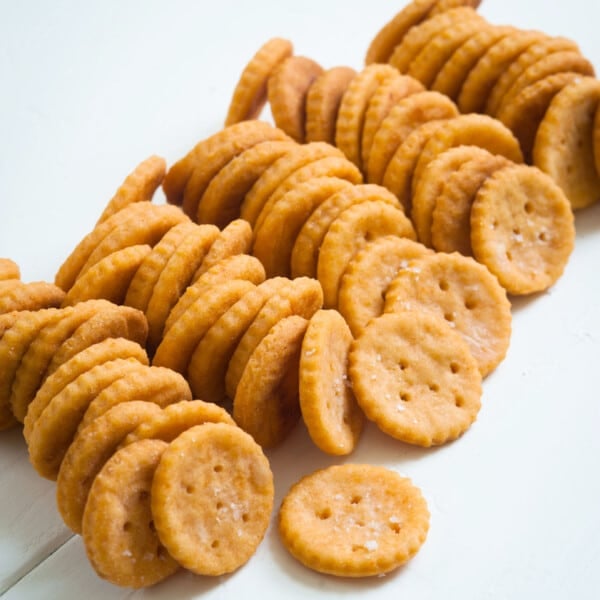
I think these crackers are big hit with the middle school and high school crowds….. I’ll stick with ritz please – which I haven’t even made yet – putting that on my list.
My 7th grade daughter loves them, but she loves all crackers. I’ll have to test them out on her friends, Jennifer! ;)