
This post may contain affiliate links. Please read our disclosure policy.
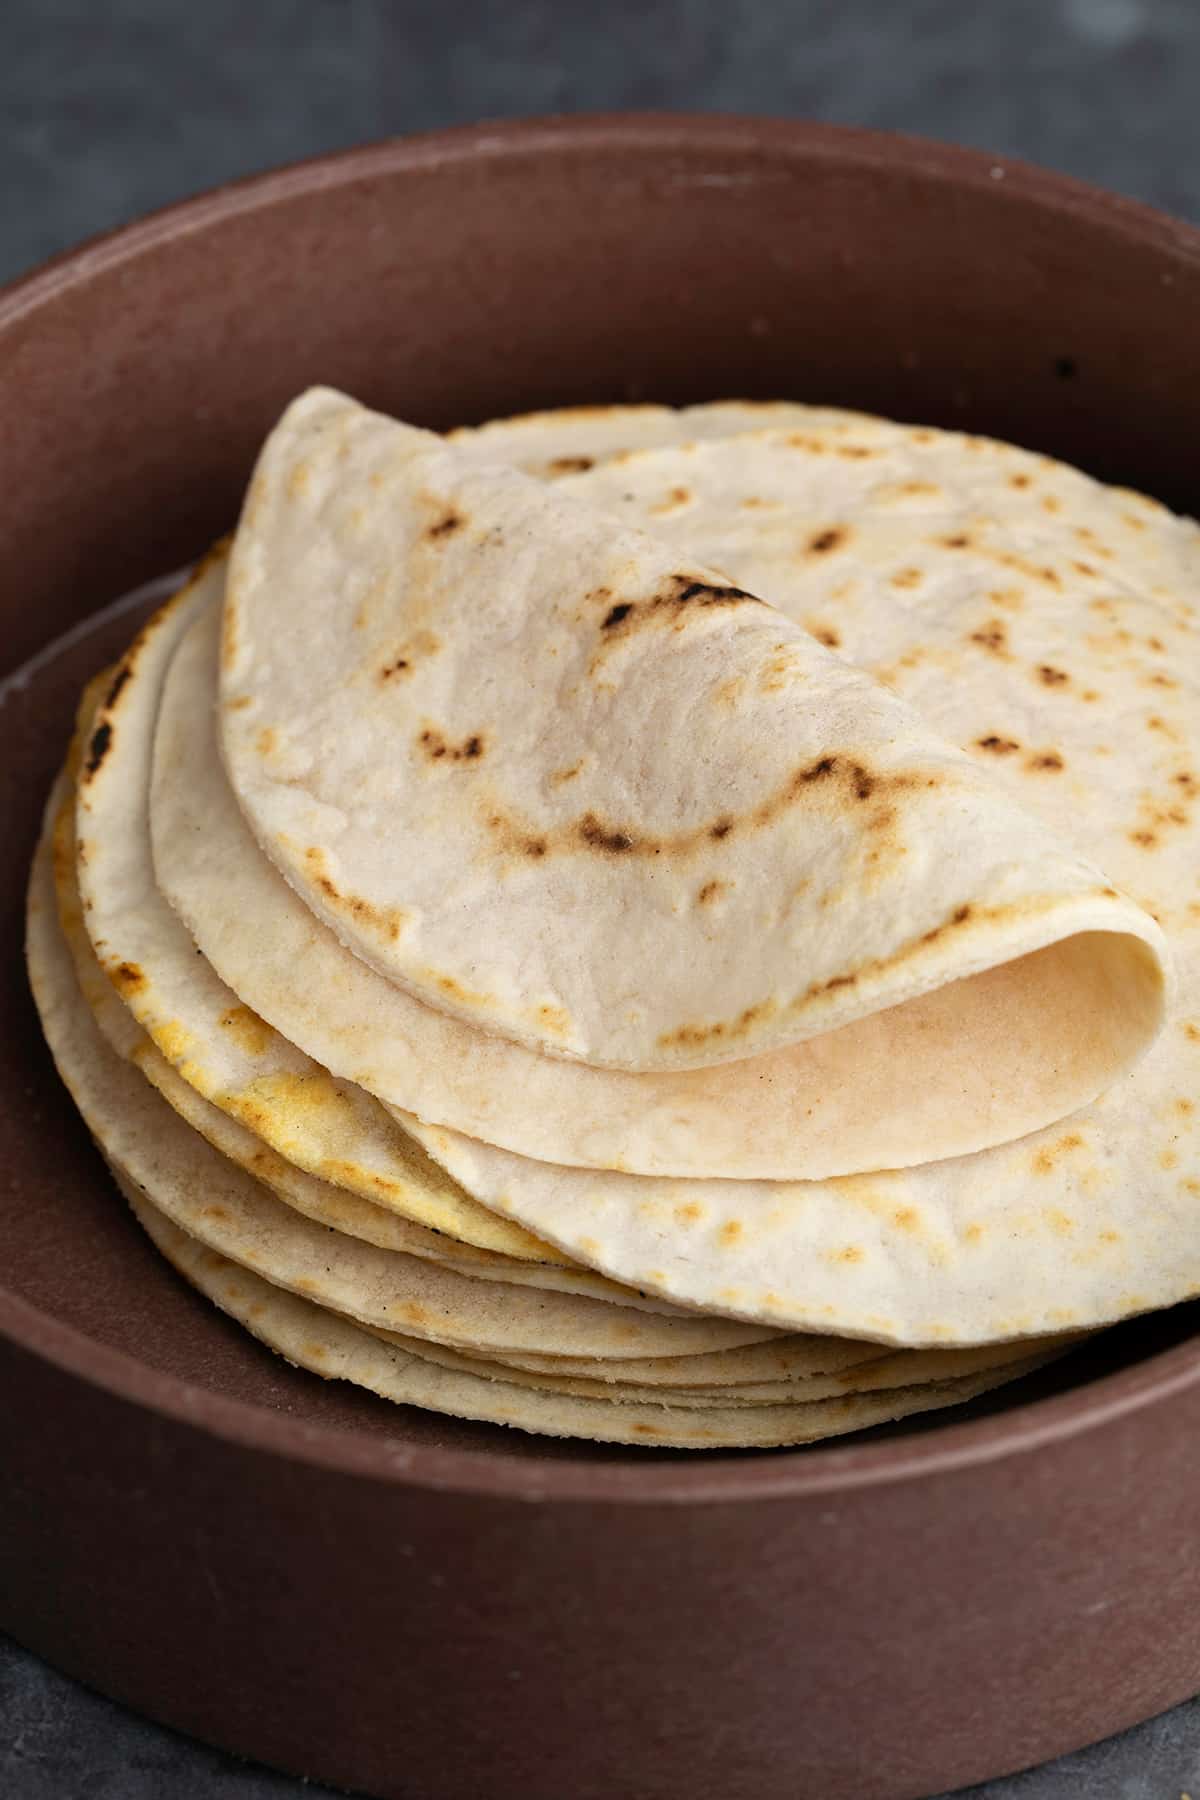
Soft and tender, these cassava flour tortillas are made with 6 simple ingredients (including salt and water!), and stay fresh for days. These easy, grain-free cassava flour wraps tastes just like “regular” gluten free tortilla recipe, but they're grain free!
Why you'll love these tortillas
Cassava flour has a really neutral taste and smell, unlike some other single-ingredient gluten free flours. You only need a handful of basic ingredients to make these cassava flour tortillas, which taste and feel so much like a tortilla made with wheat-based flour. They have a delightfully soft and chewy texture right out of the pan which only gets better as they sit in a beautiful stack on your kitchen counter.
This recipe combines 8 parts cassava flour with 3 parts tapioca starch/flour, which makes the raw dough much more stable and easier to handle than a recipe using cassava flour alone. The tortillas you'll make with this recipe fold easily, and have that delicious chewy texture without using any cheese, like in our soft tapioca flour wraps.
Not only are these tortillas gluten free and grain free, they're also naturally dairy free, egg free, nut free, sugar free, and naturally vegan. They can fit almost any dietary restrictions.
Recipe ingredients
Here's are the ingredients you'll need to make these tortillas at home, and a bit about the role each one plays in a successful recipe:
- Cassava flour – Made by peeling, drying, and grinding the entire cassava root vegetable into a fine powder, cassava flour is a really mild, very powdery grain-free flour. I usually buy Otto's Naturals brand cassava flour from Amazon.com, but also like to buy it from nuts dot com.
- Tapioca starch – Sometimes referred to as tapioca flour, tapioca starch helps make the raw tortilla dough easier to handle, especially after it's been shaped, and you're trying to move it from the preparation surface to the hot skillet.
- Kosher salt – Brightens the flavor of these flour tortillas. I use kosher salt since it's easier to measure properly than table salt.
- Baking powder – Responsible for the rise in these tortillas in the skillet. Baking powder usually contains a tiny bit of cornstarch in it, so if you're strictly grain free, be sure to choose a variety without starch.
- Shortening or coconut oil – Using a fat that's solid at cool room temperature (like virgin coconut oil or Spectrum nonhydrogenated vegetable shortening) helps make the raw tortilla dough from feeling greasy and slippery.
- Water – Brings the tortillas together. Be sure to use warm, not hot, water that will help the shortening to mix fully into the dry ingredients without melting the fat. For the most precision, measure your water by weight (6 fluid ounces is a volume measurement but for water, it also weighs 6 ounces).

Expert tips
Add just the right amount of water
The key to making raw cassava flour dough that you can shape properly and transfer to a hot skillet in one piece is the proper balance of ingredients. Your dough won't hold together as well as a more classic gluten free flour tortilla dough, but should be moist enough to hold together when pressed in your palms.
If your dough has dry bits, knead in more water by the drop. Be careful not to overdo it, though, or the dough will be too fragile.
Line your tortilla press with a plastic bag
There's really only one way to shape these tortillas into rounds without lining your tortilla press with something. If you take a zip-top plastic bag, slice it open on both sides, you have a thick piece of plastic without a seam.
Pressing your tortilla dough in that plastic allow you to make clean rounds without the creases that are unavoidable if you roll between parchment paper or plastic wrap. It also makes cleanup much easier!
Use a very hot skillet
Be sure your skillet is warmed all the way to medium-high heat or your raw tortilla won't form bubbles on the first underside. If your first raw tortilla doesn't begin to bubble within the first 40 to 60 seconds, raise the temperature before cooking the next one.

Storage instructions
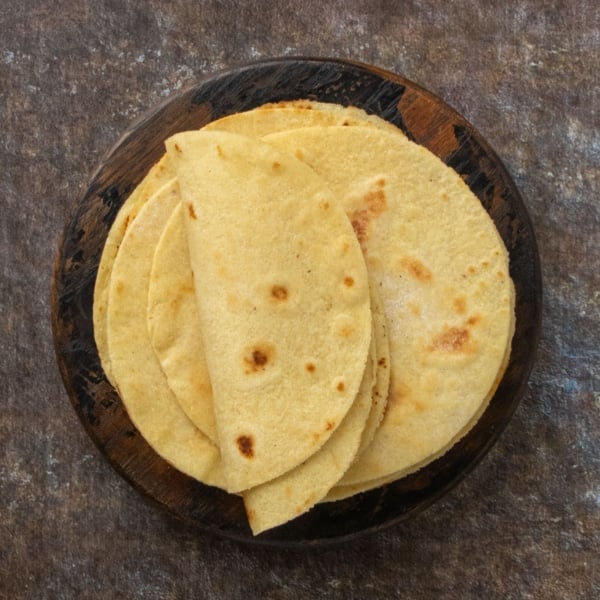
If your tortillas were made on a hot enough skillet, they will have some brown spots and shouldn't stick together when you place them in a stack. If any of your tortillas didn't brown, they may stick together a bit if you stack them when they're still warm.
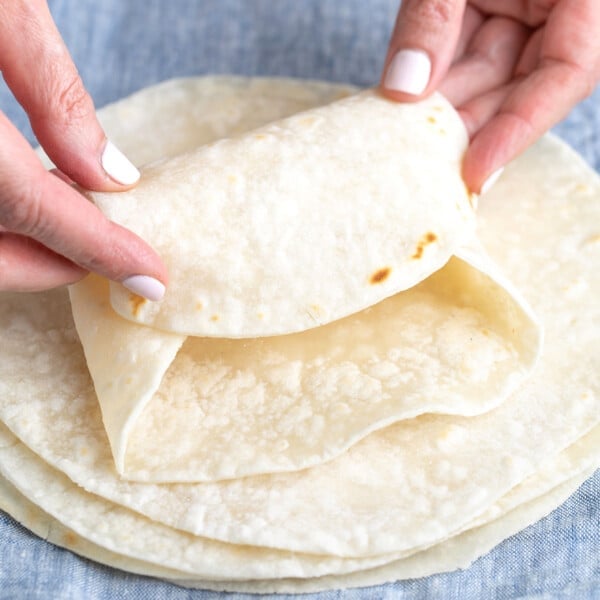
They shouldn't tear, though, when you separate them as long as you pull them apart slowly and carefully, exerting even pressure with each hand as you separate them.
Your freshly cooked tortillas will stay fresh, covered well, on your kitchen counter at cool room temperature for a few hours. When wrapped tightly, they will last up to 5 days in the refrigerator. They'll become stiff, but will soften in the microwave or in a hot skillet.
For longer storage, wrap them tightly in freezer-safe wrap and freeze them for up to 2 months. Try refreshing any gummy tortillas in a hot, lightly-greased skillet before serving.

FAQs
Siete brand makes its own version of packaged cassava flour tortillas, which are made with cassava flour along with coconut flour, coconut oil, apple cider vinegar, salt, xanthan gum, and water. This recipe contains tapioca starch, but no coconut flour.
No, the approximate nutrition information in the recipe card below estimates that each cassava flour tortilla made with this recipe contains 23 grams of carbohydrates.
No, you definitely don't need one. If you have a simple tortilla press, it can help give you a head start on pressing your tortilla into a round, but you'll still have to roll it thinner using a rolling pin.
Did you measure your ingredients by weight, not volume? If you used too much cassava flour and not enough water, your tortilla dough will be crumbly. Add more water by the drop and knead it in until you have the proper consistency.

Cassava Flour Tortillas Recipe

Equipment
- Rolling Pin
- Gallon-size plastic zip-top bag (See Recipe Notes for how to prepare the bag)
- Tortilla press (optional)
- 6-inch round cutter (optional)
Ingredients
- 1 ⅓ cups (160 g) cassava flour
- ½ cup (60 g) tapioca starch
- 2 ½ teaspoons baking powder
- ½ teaspoon kosher salt
- 3 tablespoons (42 g) Spectrum brand non hydrogenated vegetable shortening, or virgin coconut oil (See Recipe Notes)
- ¾ cup (6 fluid ounces) warm water
Instructions
Prepare the tortilla dough.
- In a large bowl, place the cassava flour, tapioca starch, baking powder, and salt. Whisk to combine well.
- Add the shortening or coconut oil, and mix until evenly distributed through the dry ingredients. Use the back of the mixing spoon to press in the shortening.
- Add the warm water and mix, then knead until the dough comes together. It should come together well, but may crumble into moist shards.
- Press the dough together, and then cover the mixing bowl. Allow the dough to sit for about 30 minutes. It will absorb moisture as it rests.
Shape the tortilla dough.
- Divide the dough into 8 equal portions, each about 65 grams. Work with one piece of dough at a time, keeping the rest of the dough covered.
- Place a large, heavy-bottom (ideally, cast iron) skillet over medium-high heat. If your skillet isn’t cast iron or nonstick, grease very lightly to prevent the dough from sticking.
If using a tortilla press.
- Open the tortilla press and drape the prepared plastic over both halves of the open press. Shape the first piece of dough into a round, press it into a disk, and place it in the center of the plastic-lined bottom of the press.
- Close the tortilla press, enclosing the dough on both halves of the plastic, and press the press down using the lever to flatten the dough.
- Remove the dough from the press, still in the plastic, and using your rolling pin to roll further into a thinner round, about 6.5-inches in diameter.
If not using a tortilla press.
- Shape the first piece of dough into a round, press it into a disk, and place it in the center of one half of the prepared plastic.
- Cover the dough with the other half of the plastic, encasing the disk of dough fully in the plastic.
- Use a rolling pin to roll the dough into a thin round about 6.5-inches in diameter.
Transfer the shaped dough to the skillet.
- If you’re using a 6-inch round cutter, press it onto the round of dough to create a clean 6-inch disk. Carefully remove the excess dough from the edges, taking care not to disturb the clean edges.
- To ensure that the dough won't stick to the plastic, open the plastic carefully, peeling it away without disturbing the dough. Replace the plastic, turn the whole thing over, and peel away the other side of the plastic carefully, leaving the raw tortilla exposed.
Cook the tortillas.
- Once the skillet is properly heated, remove the raw tortilla from the plastic by placing one hand on top of the shaped dough, inverting the dough on that hand, and peeling the plastic away with your other hand.
- Place the raw tortilla on the skillet. Wait for the air bubbles to form (about 40 to 60 seconds) and then use a wide, flat metal spatula to flip it over.
- Press down on the top of the tortilla with a spatula to help the second side cook evenly. Cook the second side until set, about 20 seconds.
- Remove the tortilla from the skillet before it becomes stiff.
- Repeat with the remaining pieces of dough. Stack the prepared tortillas one on top of the other, and cover with a tea towel to keep them warm.
Serving instructions.
- Serve the tortillas immediately, while still warm. They may stick together a bit in the stack, as they sit. Just carefully peel them carefully, one from the other.
Storage instructions.
- Once the tortillas are fully cool, you can wrap them tightly in plastic wrap or place the stack in a quart-sized zip-top plastic bag.
- Store in the refrigerator for up to 5 days. Refresh in the microwave for 10 seconds, or sprinkle lightly with water and refresh in a hot, dry skillet until warm and pliable.
Video
Notes
Nutrition
Nutrition information is automatically calculated, so should only be used as an approximation.
What to serve with cassava tortillas
Like almond flour tortillas, there are some of the many ways you can serve cassava flour tortillas:
- Soft taco shells for gluten free chicken tacos;
- Breakfast tacos filled with scrambled eggs;
- With sandwich fillings such as a turkey and cheese for a lunch wrap; or
- Filled with cheese for a gluten free quesadilla.


Can you please clarify.. is there a difference between tapioca starch and tapioca flour?
I too thought they were one in the same but hubby said no they are not the same.. Google says they are different as well?
Hi, Jamie, they’re exactly the same thing. The names are used interchangeably, and I really wish they weren’t since it’s such a common area of confusion! Don’t trust the AI results!
Thank you Nicole I appreciate your speedy response.. I’m going to give it a try right now!!
Would this work if I use potato or corn starch instead of Tapioca?
I don’t recommend that, no. Those don’t perform like tapioca starch. Instead of tapioca starch, you can try using superfine glutinous rice flour, also known as sweet white rice flour.
I had an extremely hard time trying to read this recipe due to popup ads and other videos sliding in, obscuring the screen. It is so crowded that I could hardly find the recipe. Makes me not want to visit your page in the future.
Kelly, advertisements on the blog pay for the content that is otherwise completely free to you and unencumbered. I am about to launch a paid members option that will allow you to pay $5 a month to view content without ads. If history is any guide, it won’t be very popular, as everyone wants the content but rarely does anyone want to pay for it. But it costs me time and money, and I deserve to be paid for that.
The taste is fantastic. However, they were impossible to peel off of the plastic bag. I added a bit more tapioca flour and used waxed paper to roll out. Worked great and much easier to transfer to the pan. I’m so excited to be able to eat a wrap again. Thanks for all of your wonderful recipes.