

This post may contain affiliate links. Please read our disclosure policy.
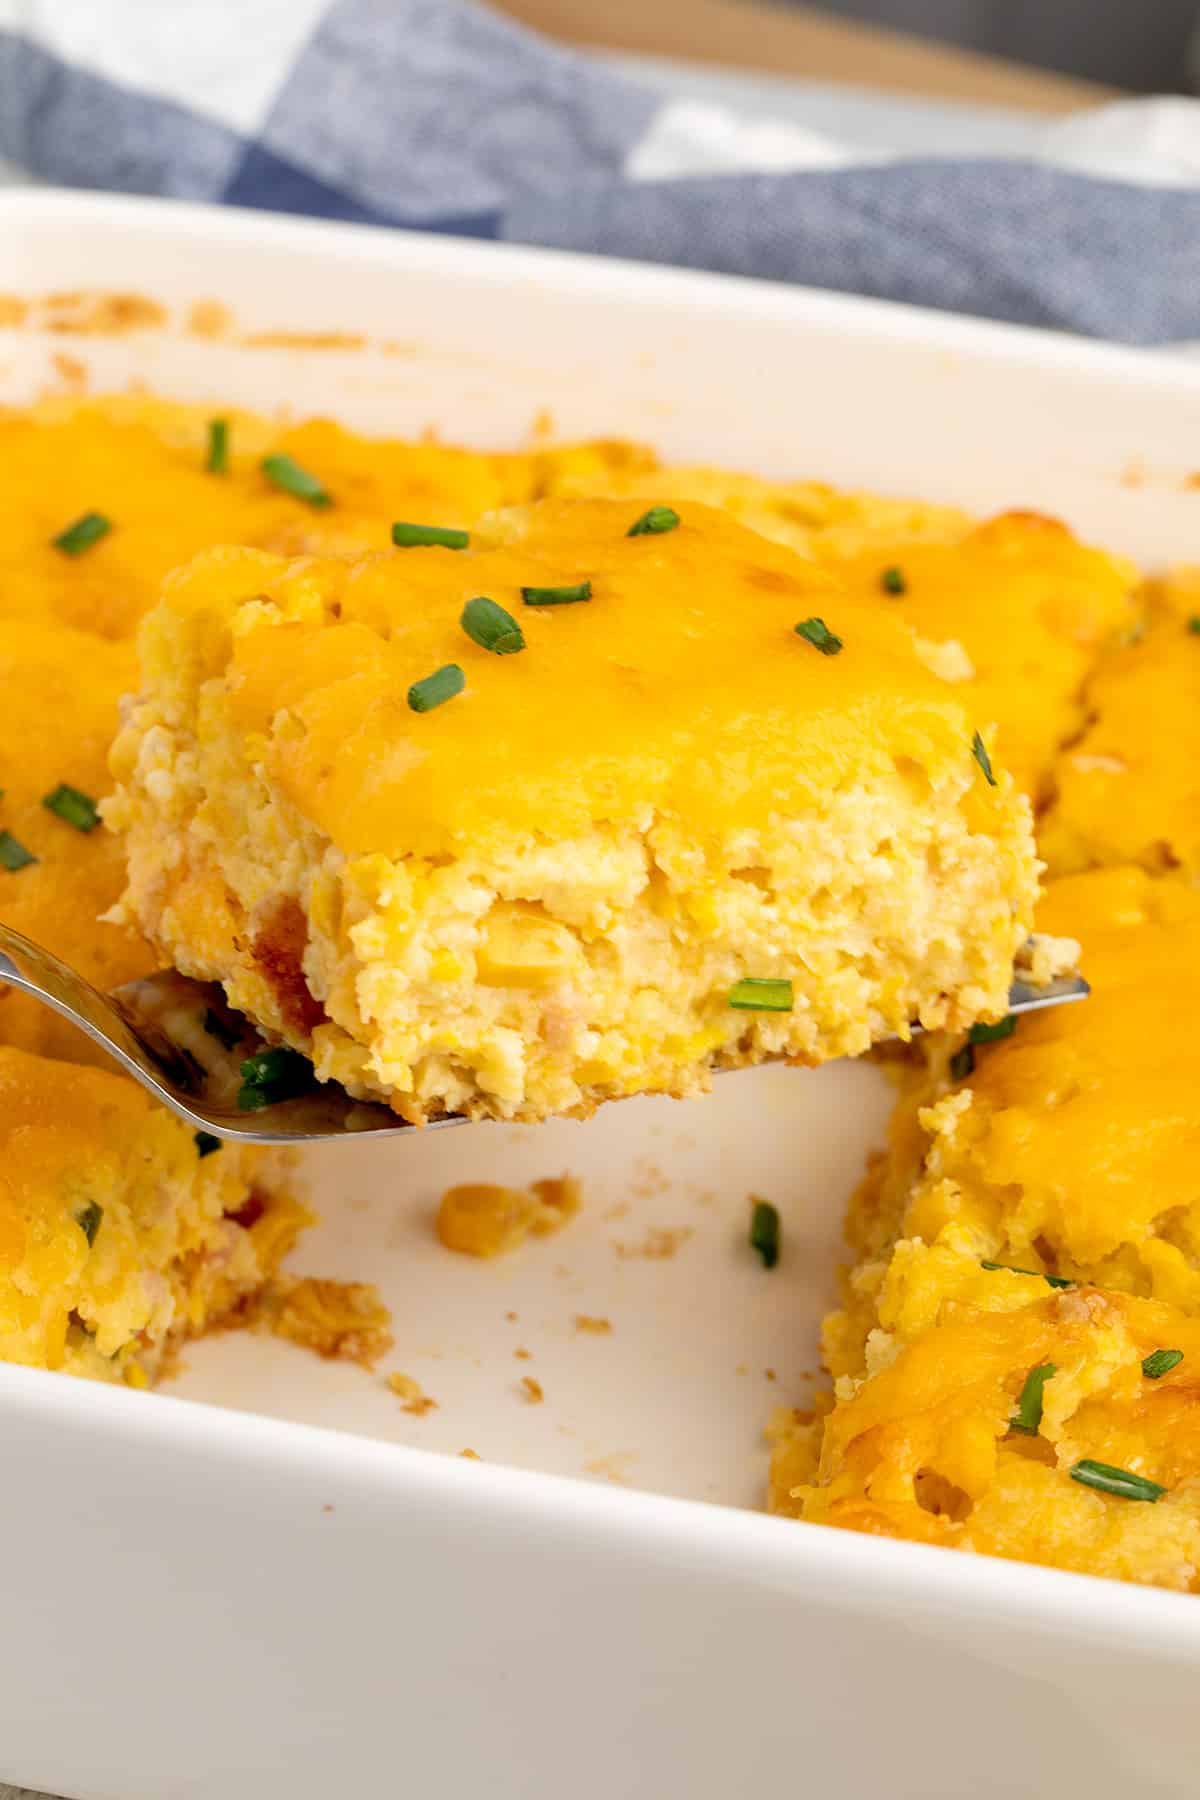
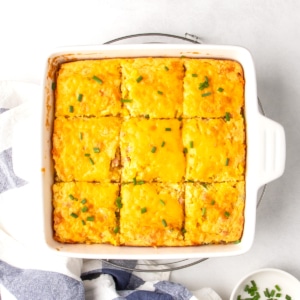
This gluten free corn casserole is creamy and buttery with a golden brown top. I make it from scratch the easy way, with a DIY corn muffin mixture and two ordinary cans of corn. No hunting down gluten free creamed corn.
Add pancetta, jalapeño, and sharp cheddar to balance the sweet corn, or leave them out (no other changes needed).

Why this recipe works
Pulsing half the corn gives us a creamy base, while the whole kernels add texture. Measuring the reserved corn liquid keeps the center moist without turning wet.
The corn muffin mixture gives the creamy filling enough structure to hold its shape. Let it rest briefly after baking, and you can cut neat squares without losing that soft center.
Baking it gently helps the center set without puffing too high and sinking as it cools. If you’re adding cheese on top, a hotter finish browns it after the casserole is nearly baked.
Recipe ingredients
I like to think of this recipe in two parts (the dry corn muffin “mix” and the casserole), because that makes it seem as simple as it really is. Here's what you need to make both parts:
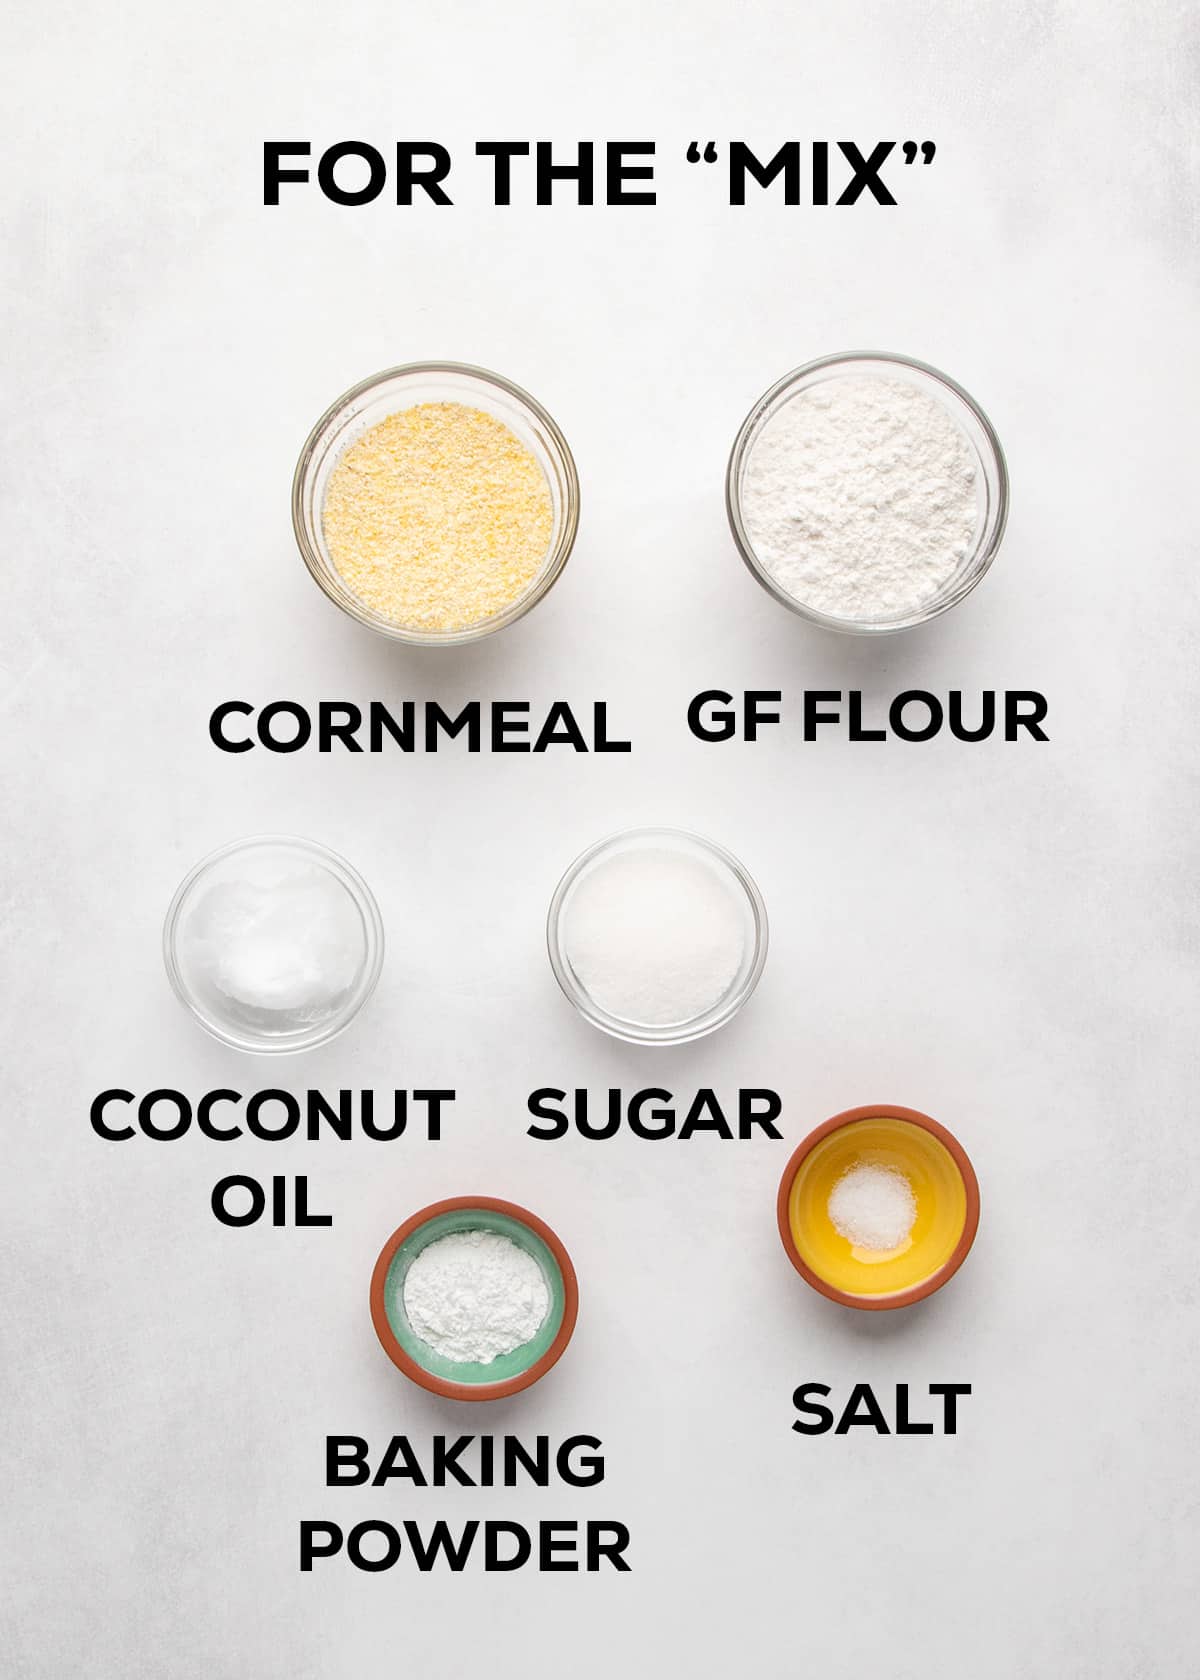
For the corn muffin mix
- Cornmeal: Adds some structure, texture, and corn flavor to the casserole. Use a medium-grind cornmeal for some, but not too much, texture. Be sure to use a gluten free cornmeal like Bob's Red Mill that's clearly marked gluten free so it's free of cross-contamination.
- Gluten free flour blend: Provides much of the structure for the whole casserole with a neutral flavor and balanced moisture. I recommend Better Batter's original blend gluten free flour without any more xanthan gum, Nicole's Best with 1/4 teaspoon xanthan gum (since it has none), or Bob's Red Mill 1-to-1 multipurpose gluten free flour (which has some xanthan gum).
- Sugar: Just a touch of white granulated sugar helps enhance the sweetness of the corn.
- Baking powder: Helps the casserole rise in the oven.
- Salt: Enhances other flavors.
- Virgin coconut oil: Enhances tenderness of the crumb without adding more moisture, coating the dry ingredients. This is the kind of coconut oil that's solid at cool room temperature. You need a solid fat without any water, so you can use shortening in its place.
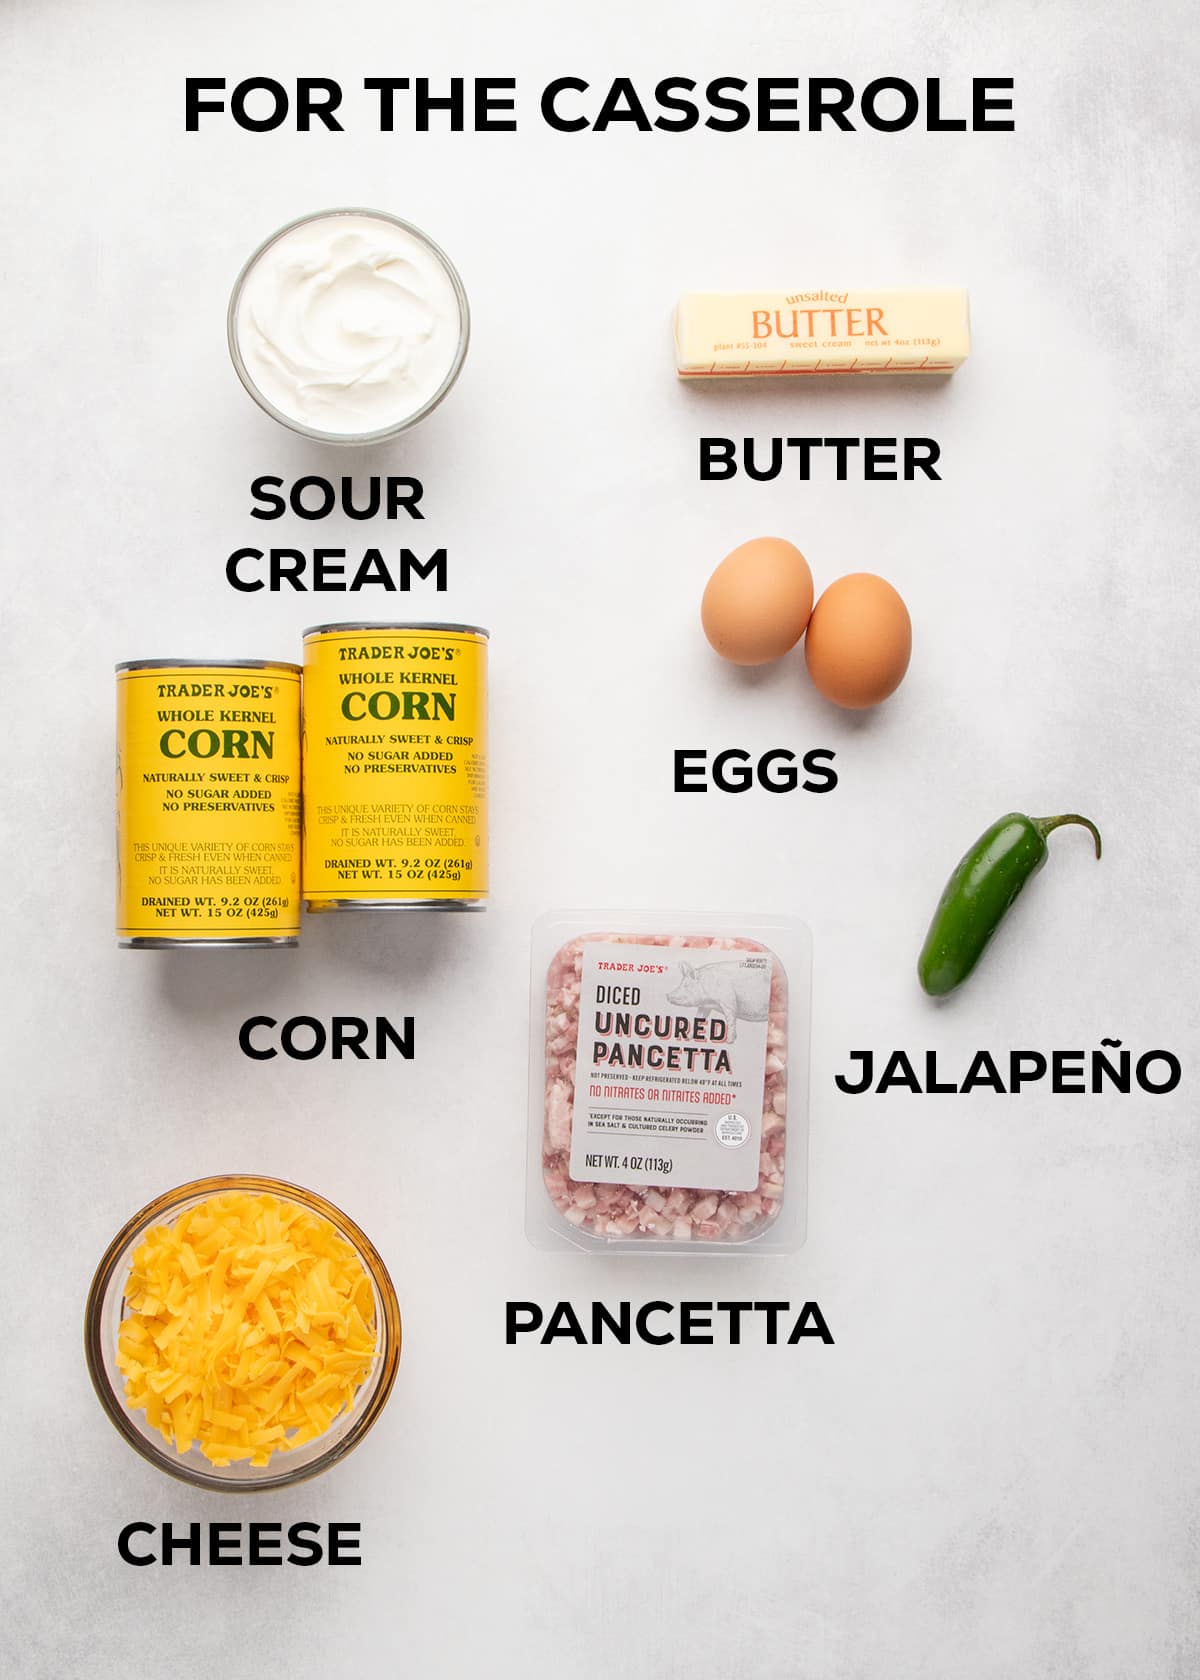
For the casserole
- Pancetta: Adds some savory flavor to help balance the sweetness of the corn. You can use an equal amount, by weight, of diced bacon, bulk sausage, or leave it out entirely.
- Jalapeño: Adds some texture and some heat to the dish. For maximum heat, dice the pepper without removing the ribs and seeds. The ribs contain the most heat, so be sure to leave at least some. If you're not using the pancetta, you'll need to add 1 tablespoon of olive oil to sauté the diced pepper, or add the diced pepper raw for a sharper bite of heat.
- Cheese: Adds some salty, umami flavor, some sharpness to cut through richness, creaminess inside, and a golden crust on top. You can use some, all, or none of the cheese, inside the dish and on top, and not make any other changes.
- Canned corn: Provides the essential sweet, starchy flavor of the dish. Many recipes for corn casserole call for something saucy and starchy like our gluten free creamed corn to use in this dish. But I find it works just as well to process one 15-ounce can of corn with 1/2 cup of reserved starchy liquid to release the starch in the corn and help create a super creamy texture. The other can of corn is drained and used as whole kernels for more crisp texture.
- Sour cream: Adds richness, some moisture without adding too much like milk might, and a slight tangy flavor.
- Butter: Adds buttery flavor, moisture, and helps the dish brown in the oven to create a crust.
- Eggs: Add moisture, and essential structure so the dish keeps its shape as it cools without collapsing even with a lot moisture and a relatively small amount of flour.
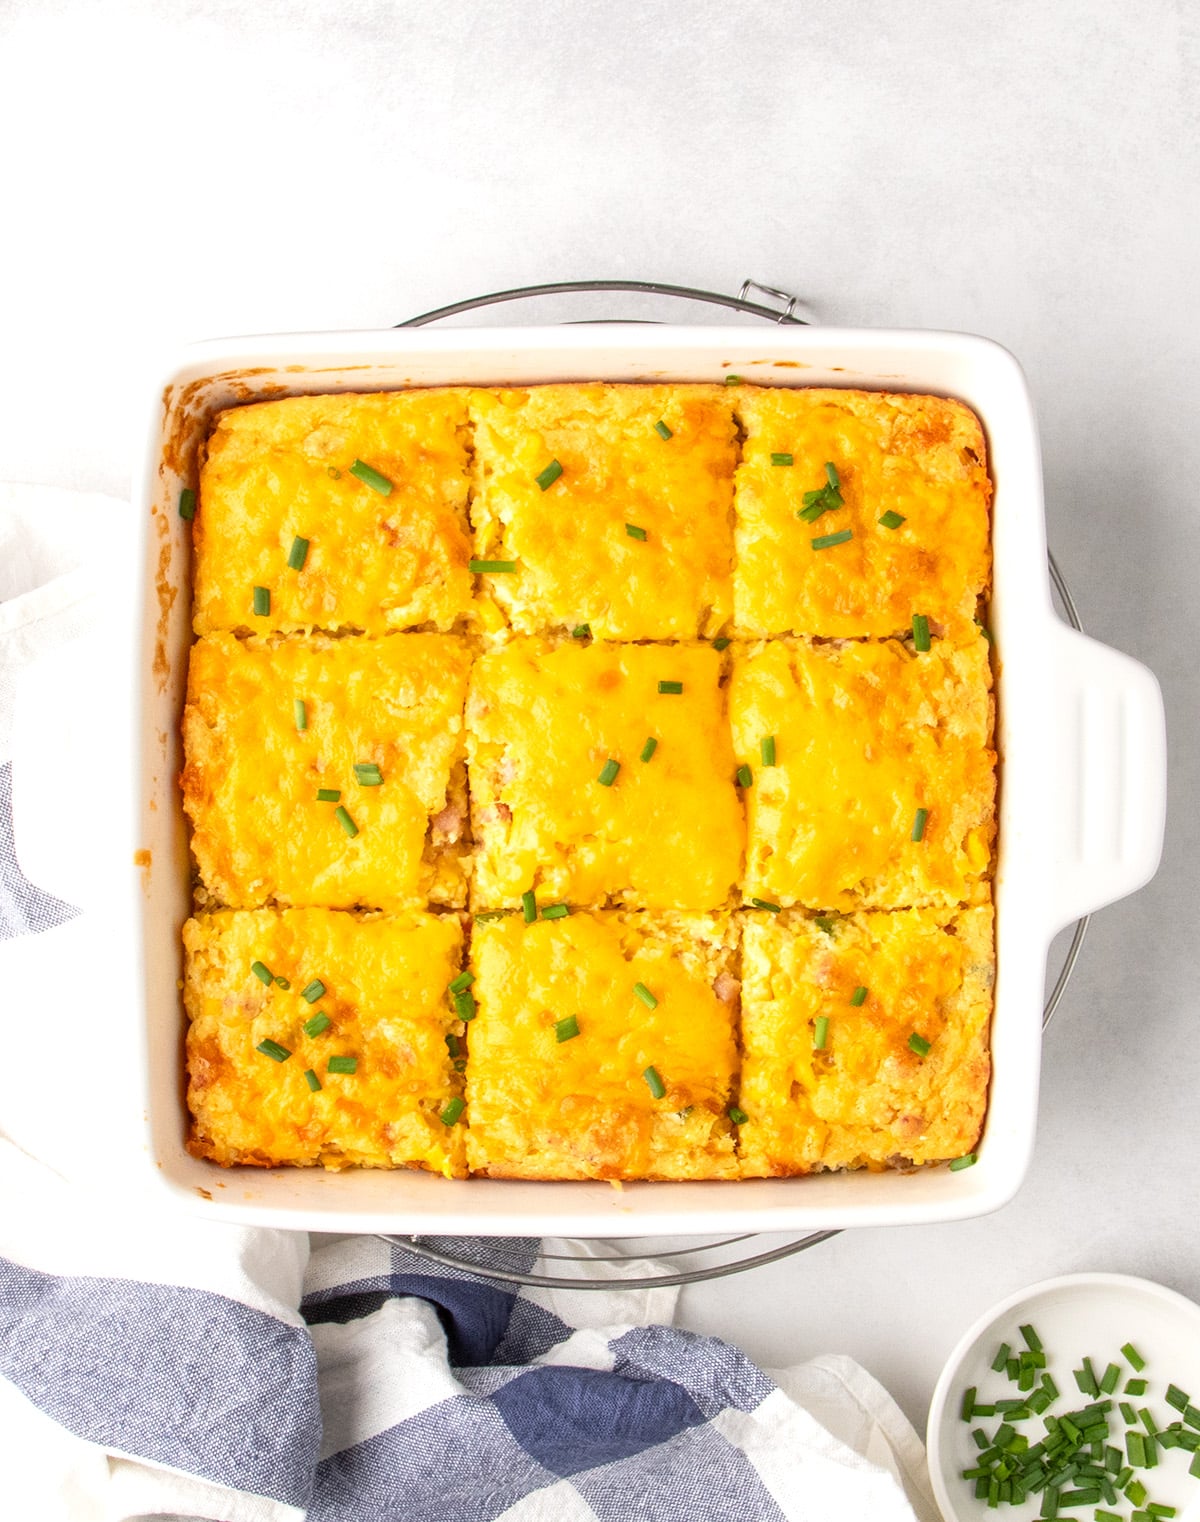
How to make gluten free corn casserole (step by step photos)
Here's a visual overview of how to make this recipe in your own kitchen, with an explanation of the reason behind each step. For full recipe amount details, see the recipe card below:
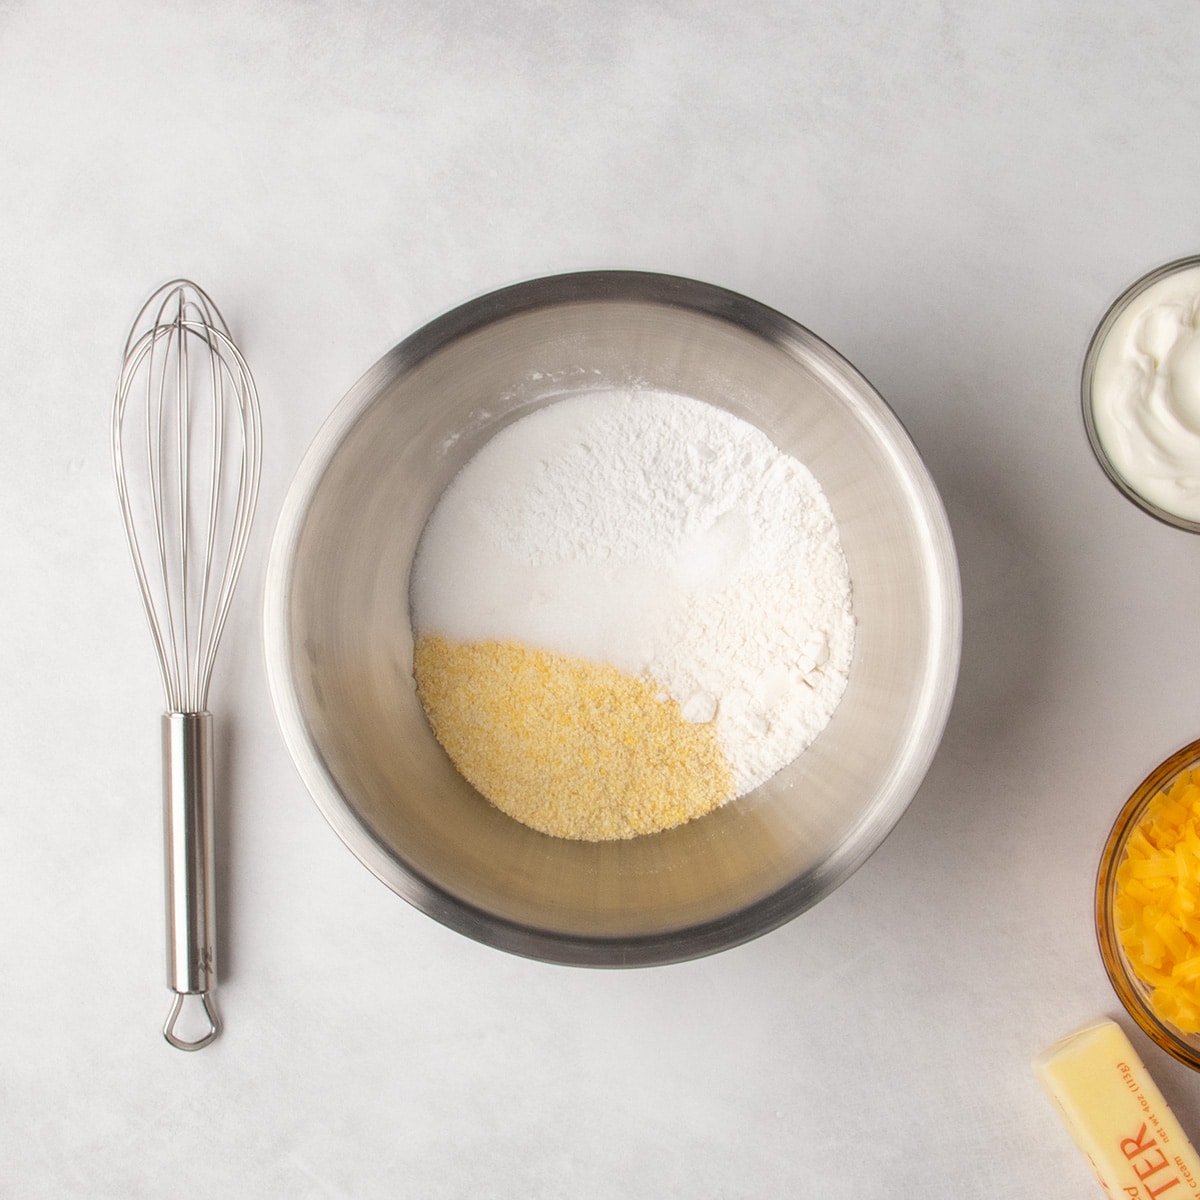
Step 1: Whisk the dry ingredients
Make the corn muffin dry mixture first by whisking together the gluten free flour blend with xanthan gum, cornmeal, sugar, baking powder and salt for even distribution of each ingredient.
Step 2: Cut in the coconut oil
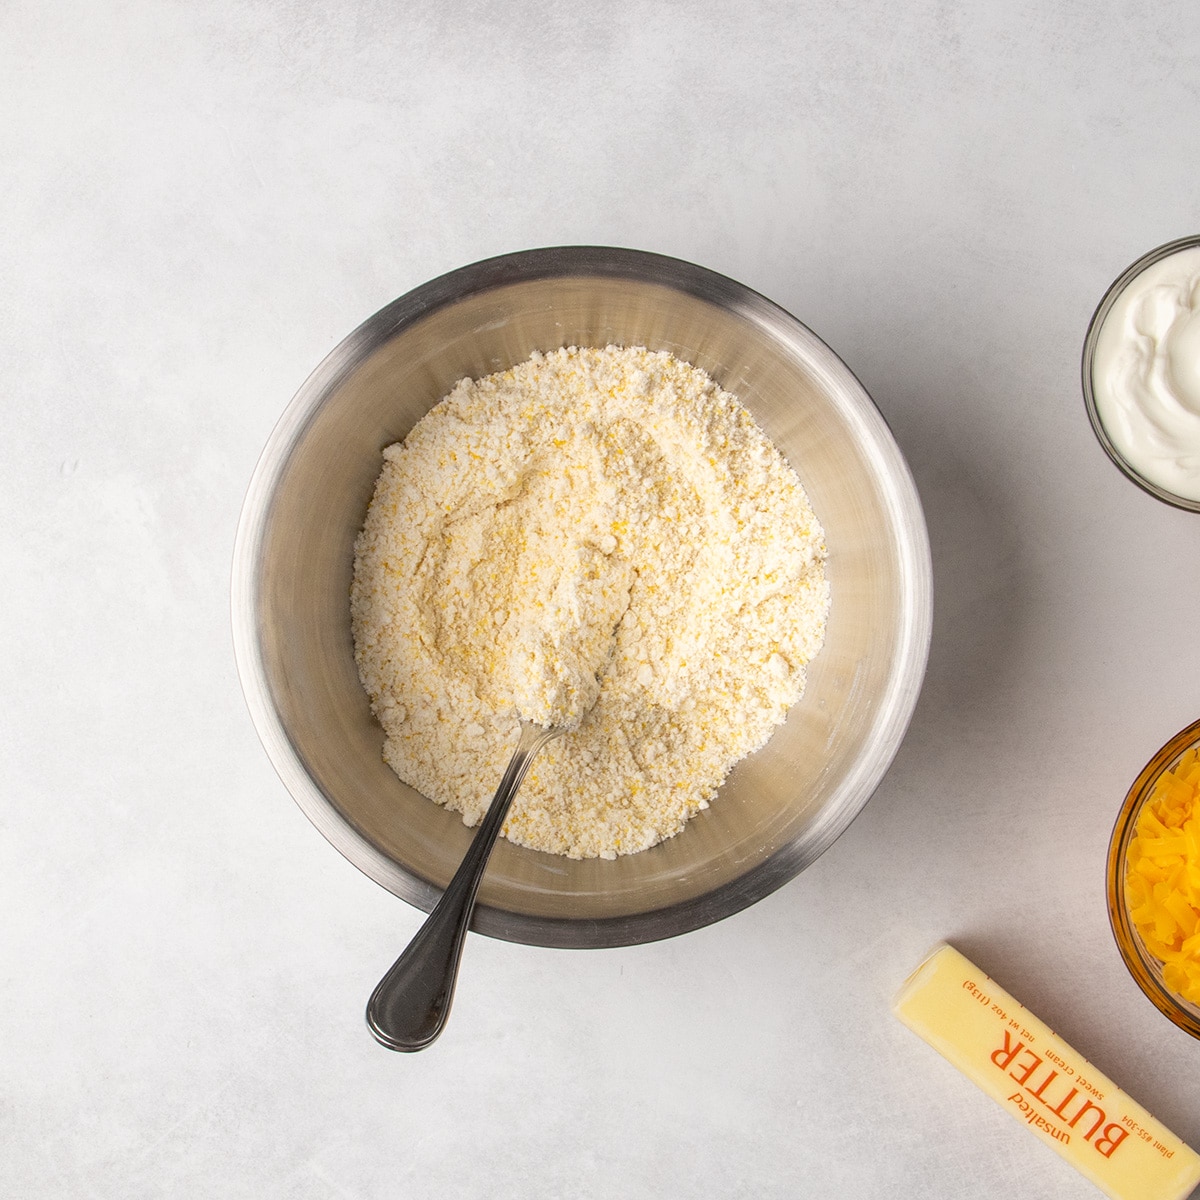
Add the virgin coconut oil to the dry ingredients. Use a fork to cut in the oil, pressing down with the tines all over until the mixture resembles coarse sand. That's how you know that the oil is evenly distributed throughout.
Step 3: Process half the corn
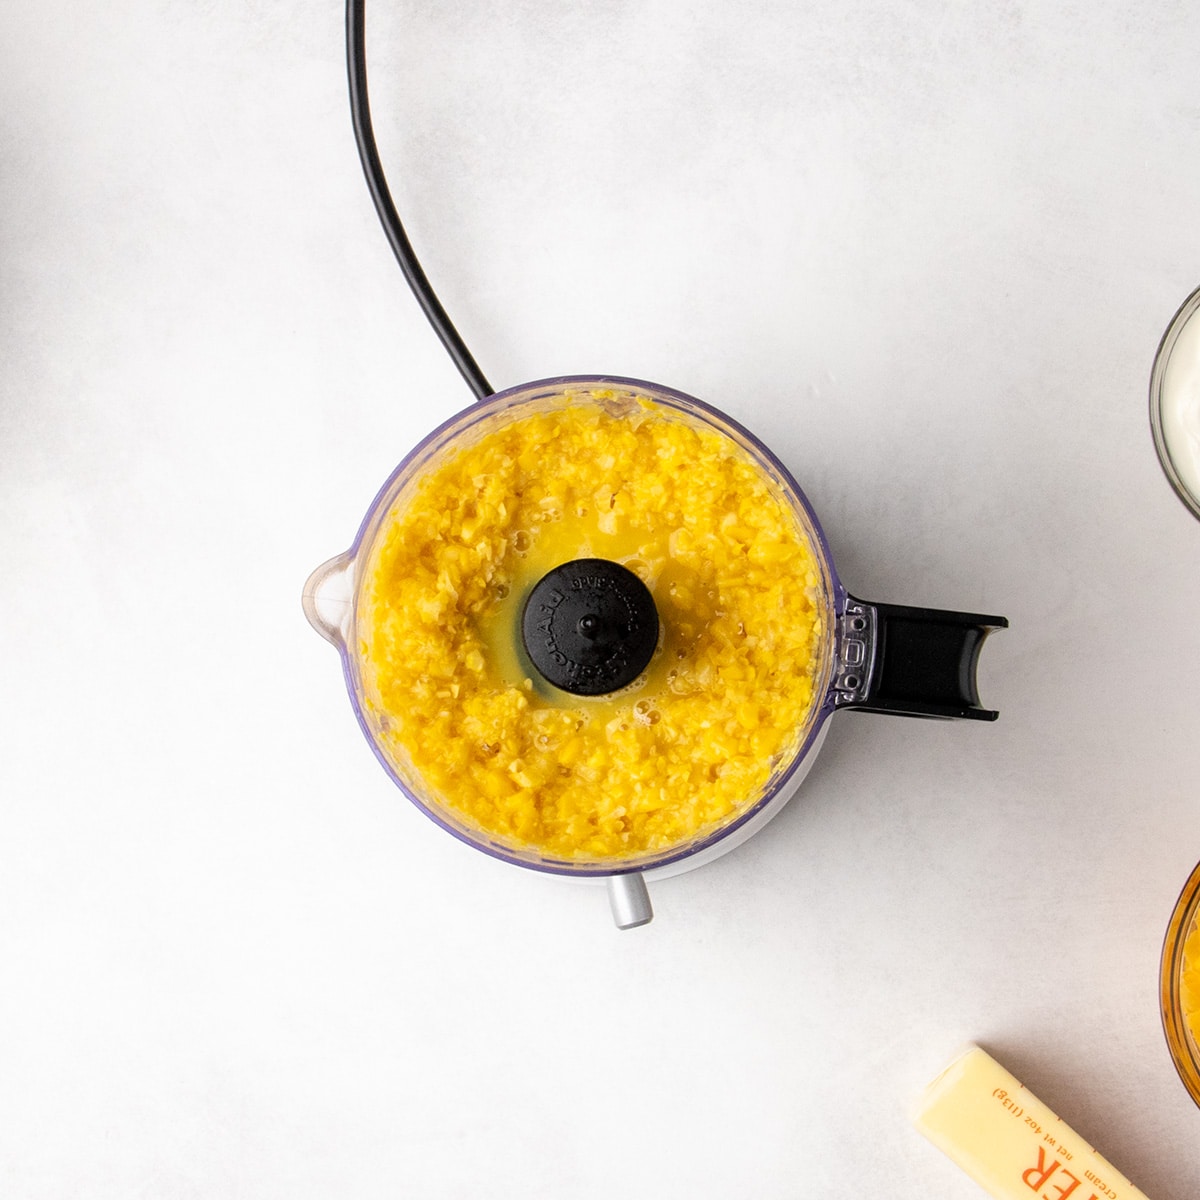
Open one 15-ounce can of corn packed in water and drain it over a small measuring cup to catch the liquid. Place the remaining corn and 1/2 cup of the drained starchy liquid into a small food processor or blender. Pulse about 2 times, until you have a lumpy mixture of partially processed corn. This limits the amount of liquid, and releases much of the starch.
Step 4: Sauté the pancetta mixture
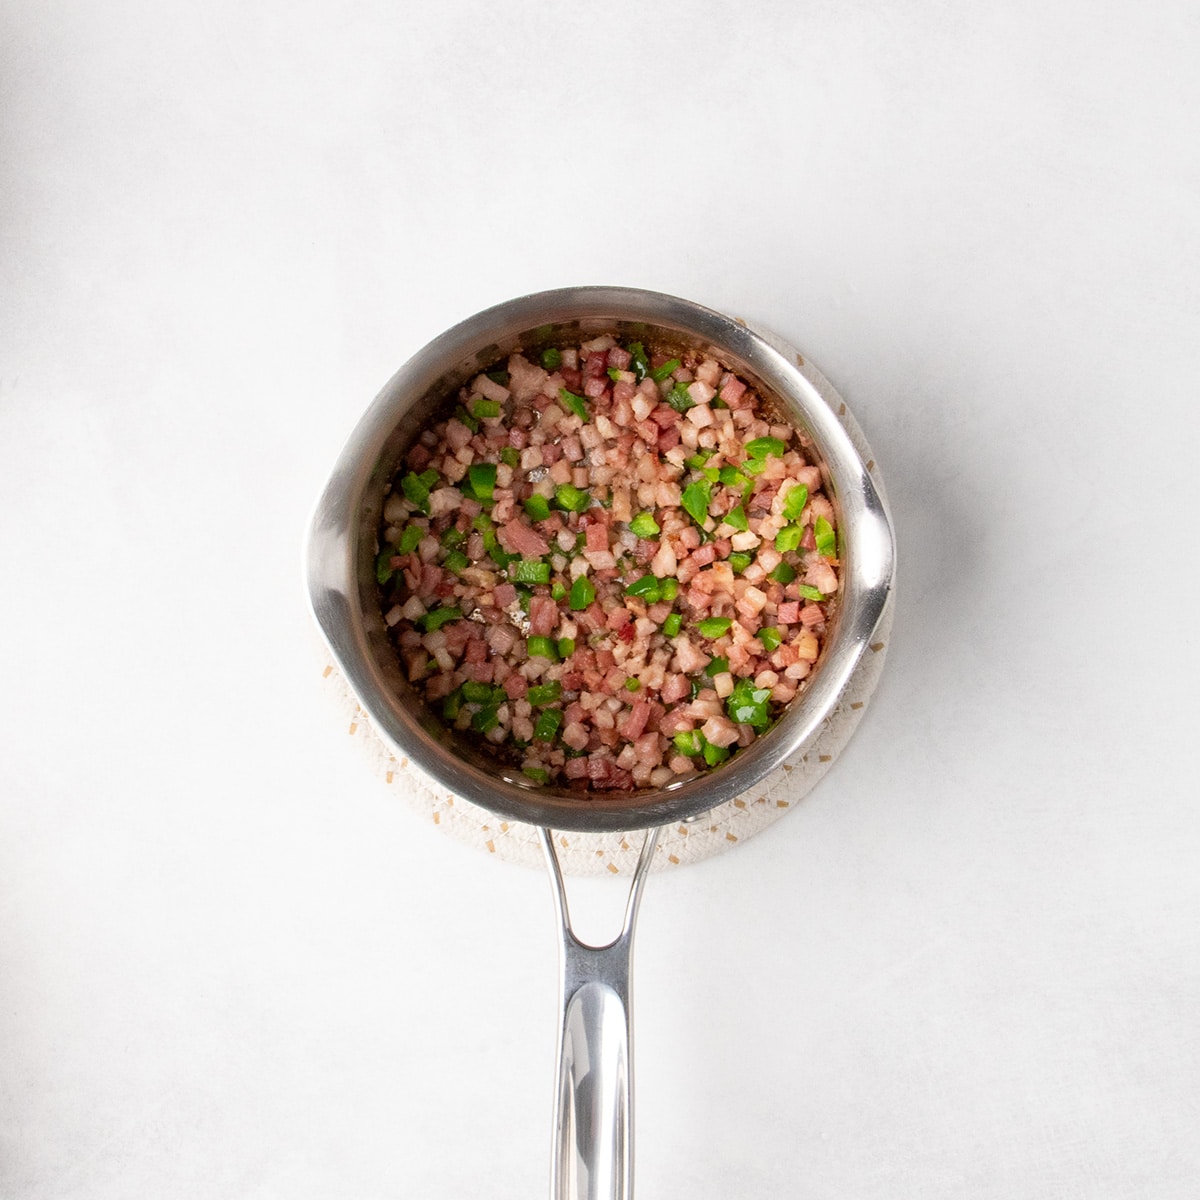
If using pancetta, sauté it over medium heat in a small saucepan until cooked through, since it may not fully cook before the casserole is done. Drain off as much rendered fat as possible to avoid a greasy casserole. Add the diced jalapeño and sauté just until softened to preserve its heat. Set aside to cool so the mixture won’t cook the eggs.
Step 5: Whisk wet ingredients
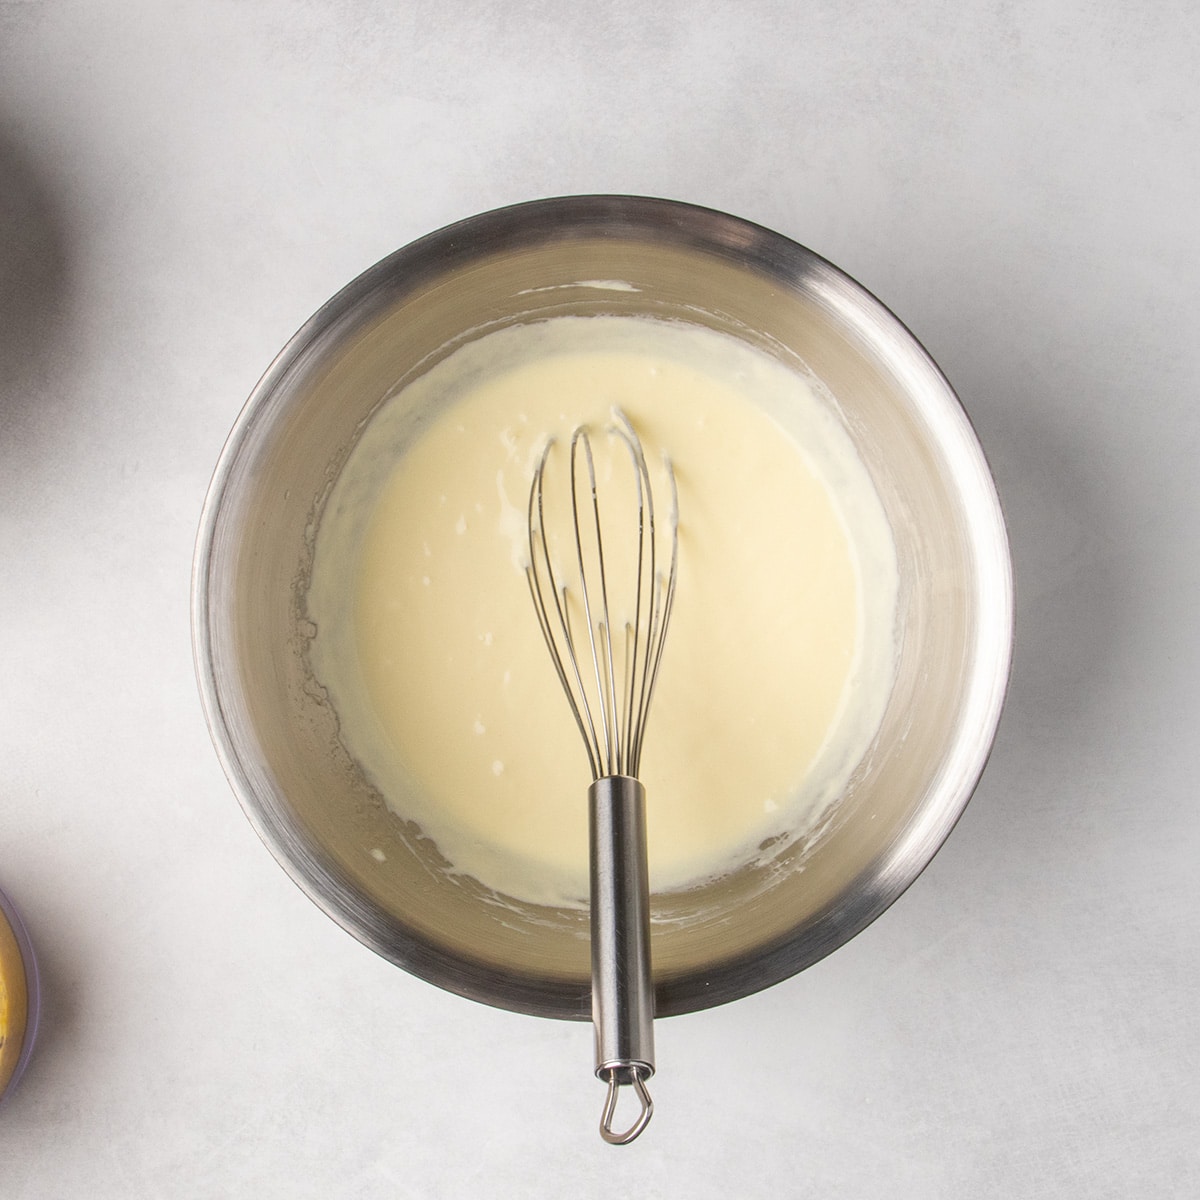
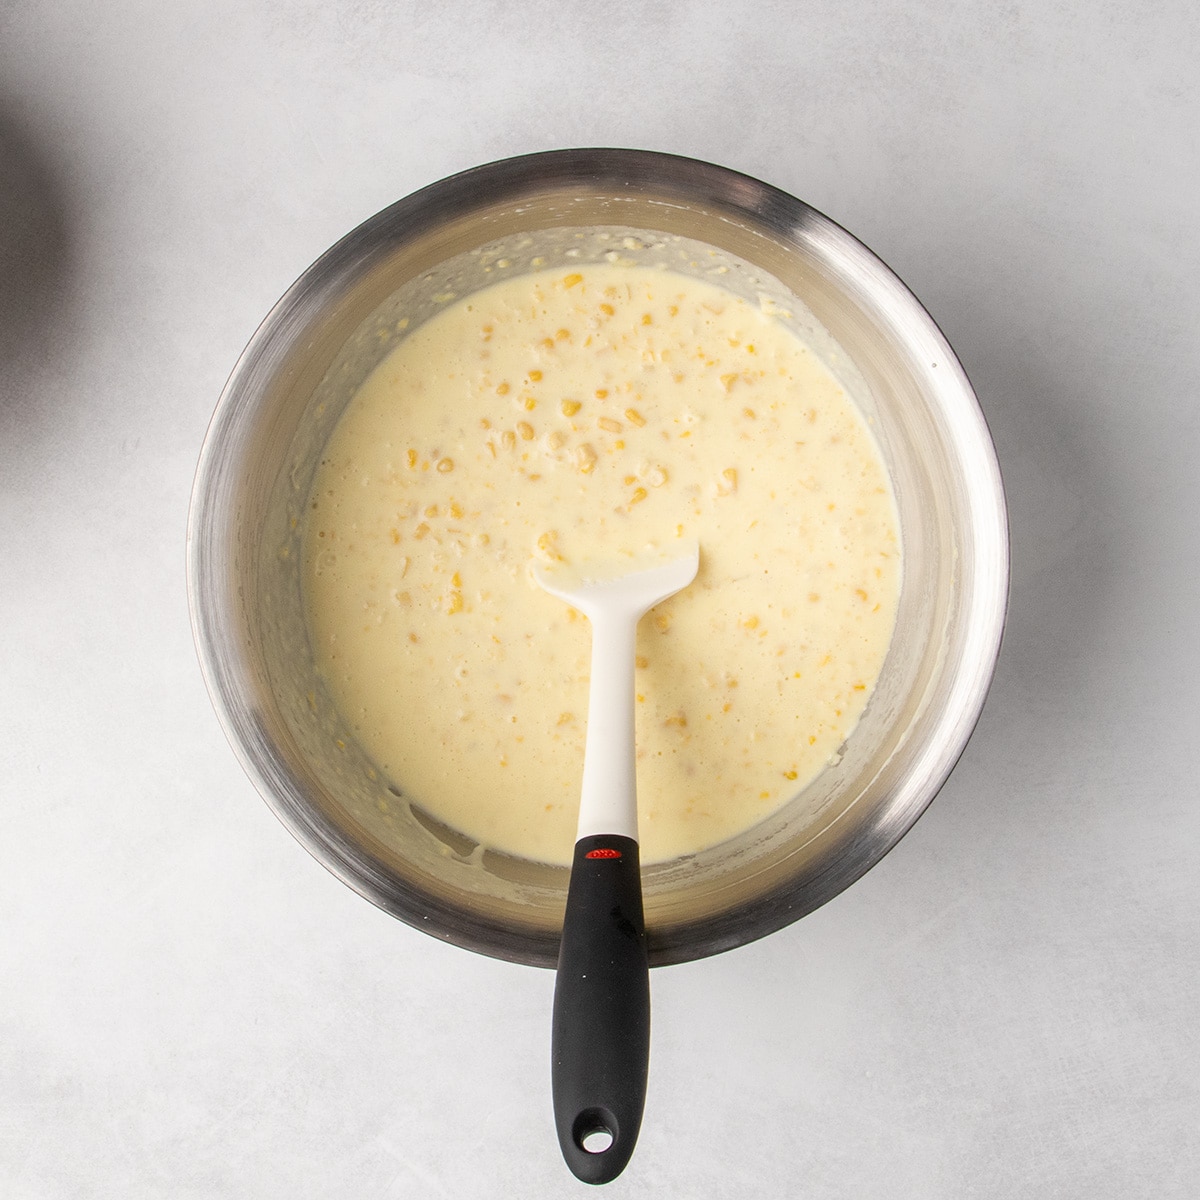
In a large mixing bowl, whisk together the sour cream, melted butter and eggs until smooth. The mixture will become very creamy when the eggs are fully emulsified, which creates a stable base for the casserole that won't separate during baking.
Step 6: Add corn
Add the processed corn from step 3, and a second can of corn that you've fully drained of its liquid, and mix to combine.
Step 7: Toss dry ingredients with mix-ins
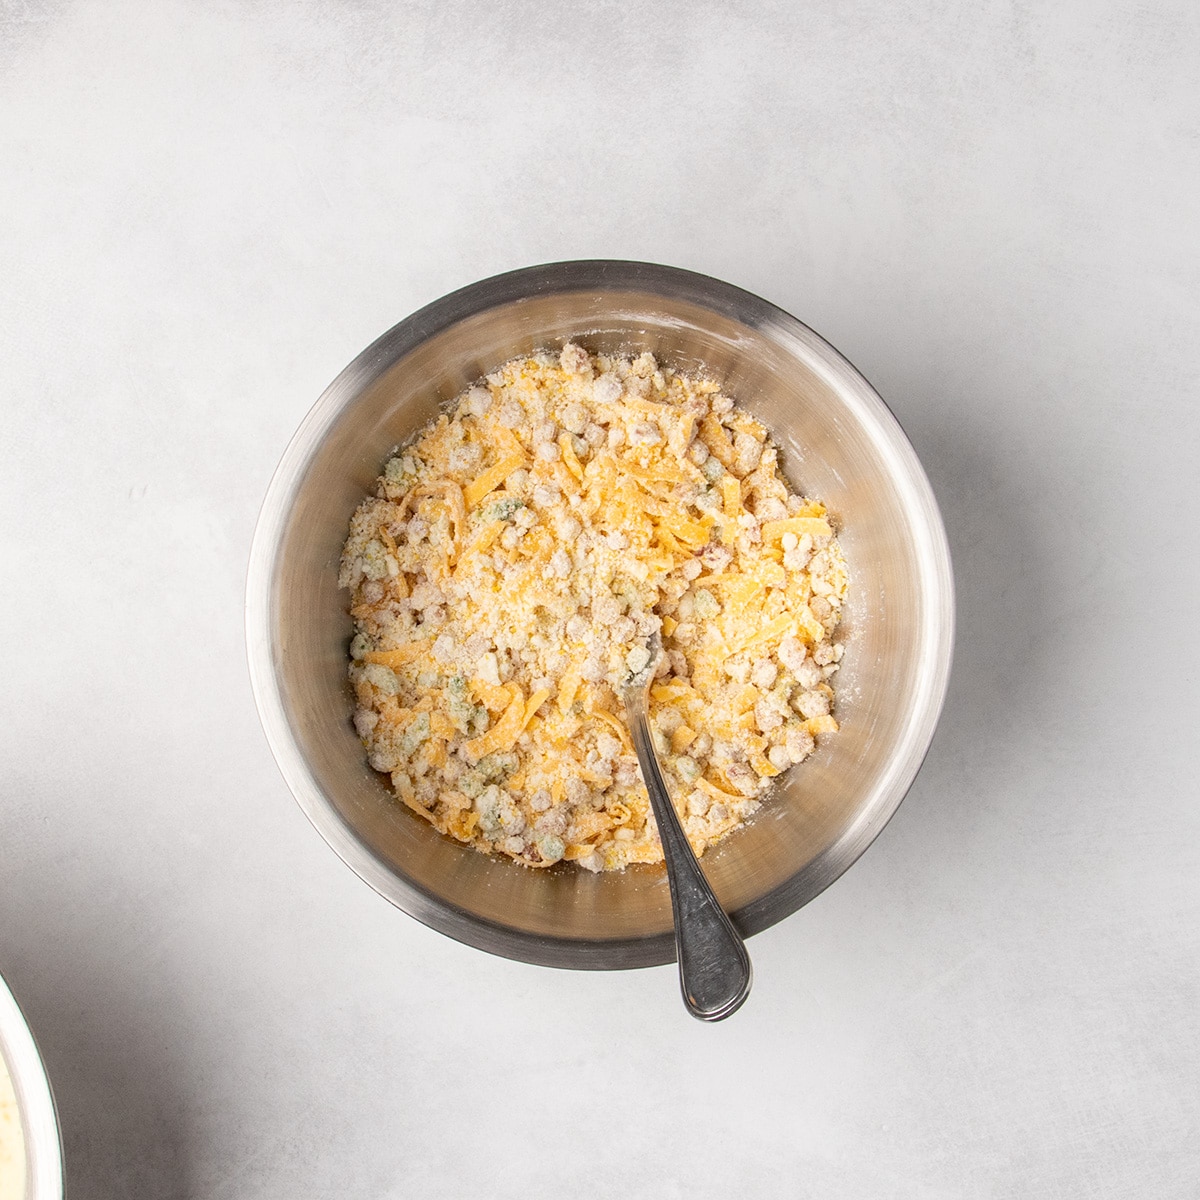
Add the cooled pancetta and jalapeño mixture, plus about 1/2 cup of the shredded cheddar cheese to the corn muffin dry mixture and toss to combine. This will help distribute the mix-ins in the casserole evenly and help prevent them from sinking to the bottom during baking.
Step 8: Finish the batter
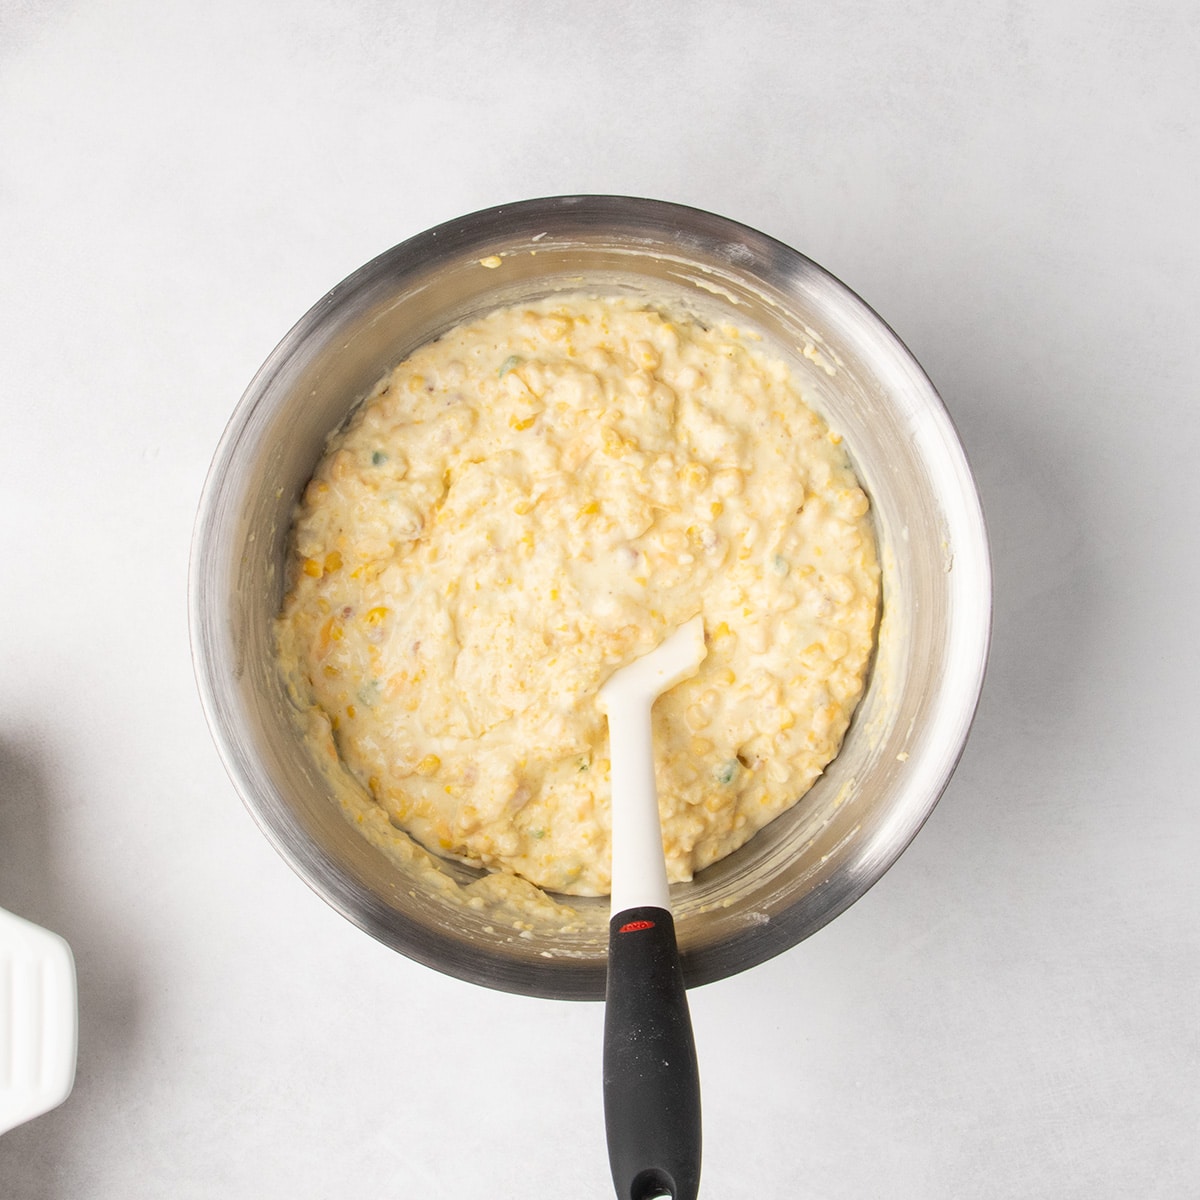
Add the full dry ingredient mixture to the creamy liquid sour cream base and mix until just combined to avoid adding more air into the mixture which could cause it to rise too high and then fall like a broken souffle.
Steps 9: Transfer
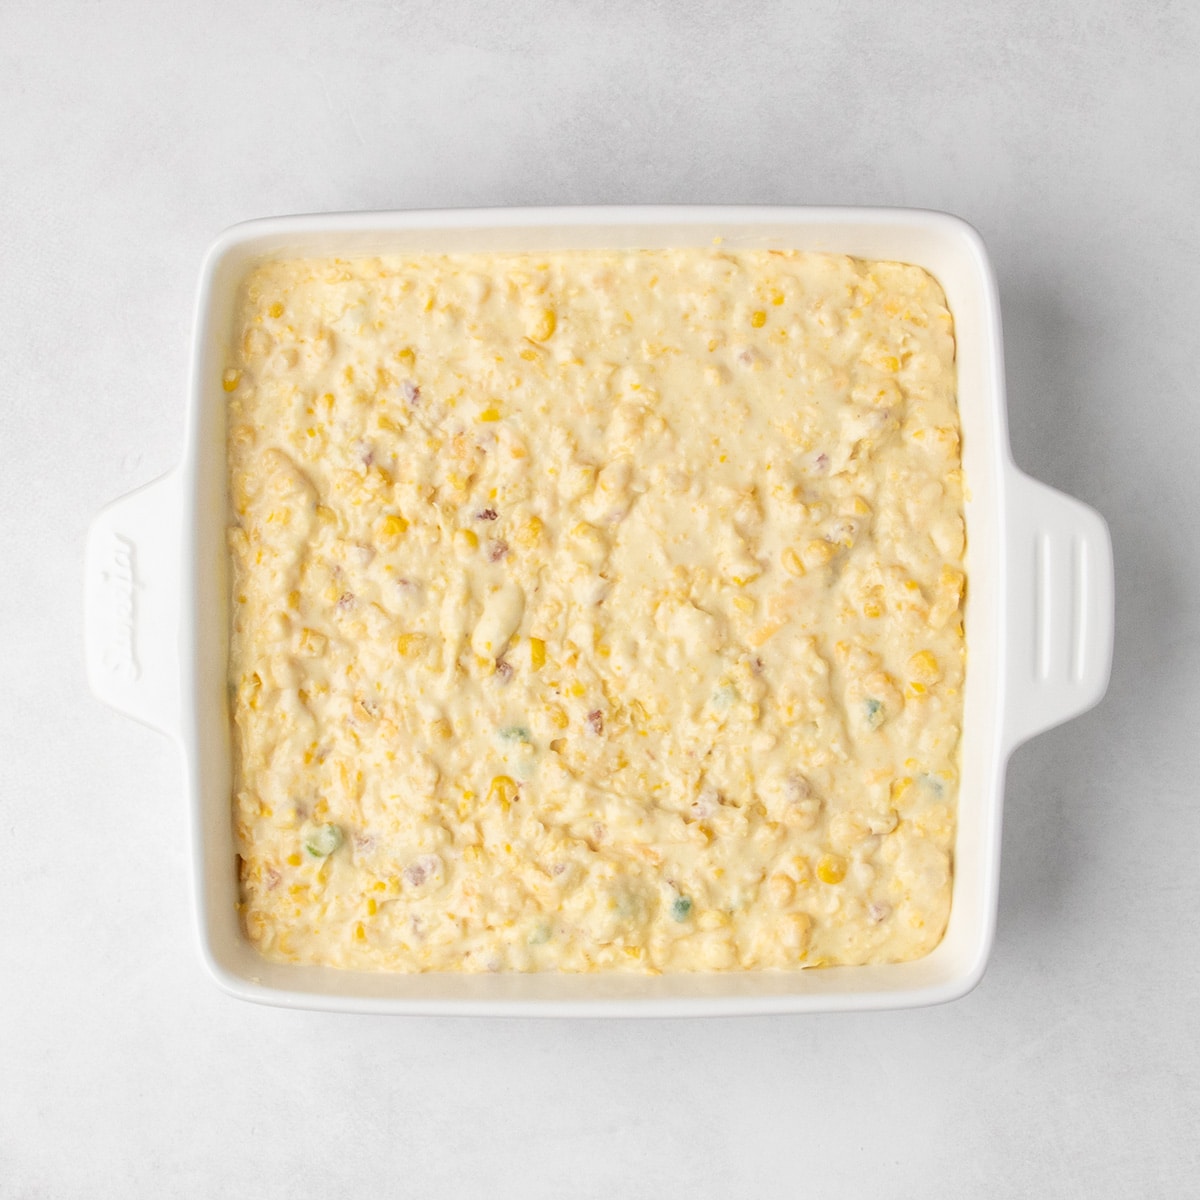
Transfer the raw mixture to a greased 9-inch square baking dish and spread it into an even layer so it bakes uniformly.
Step 10: Bake
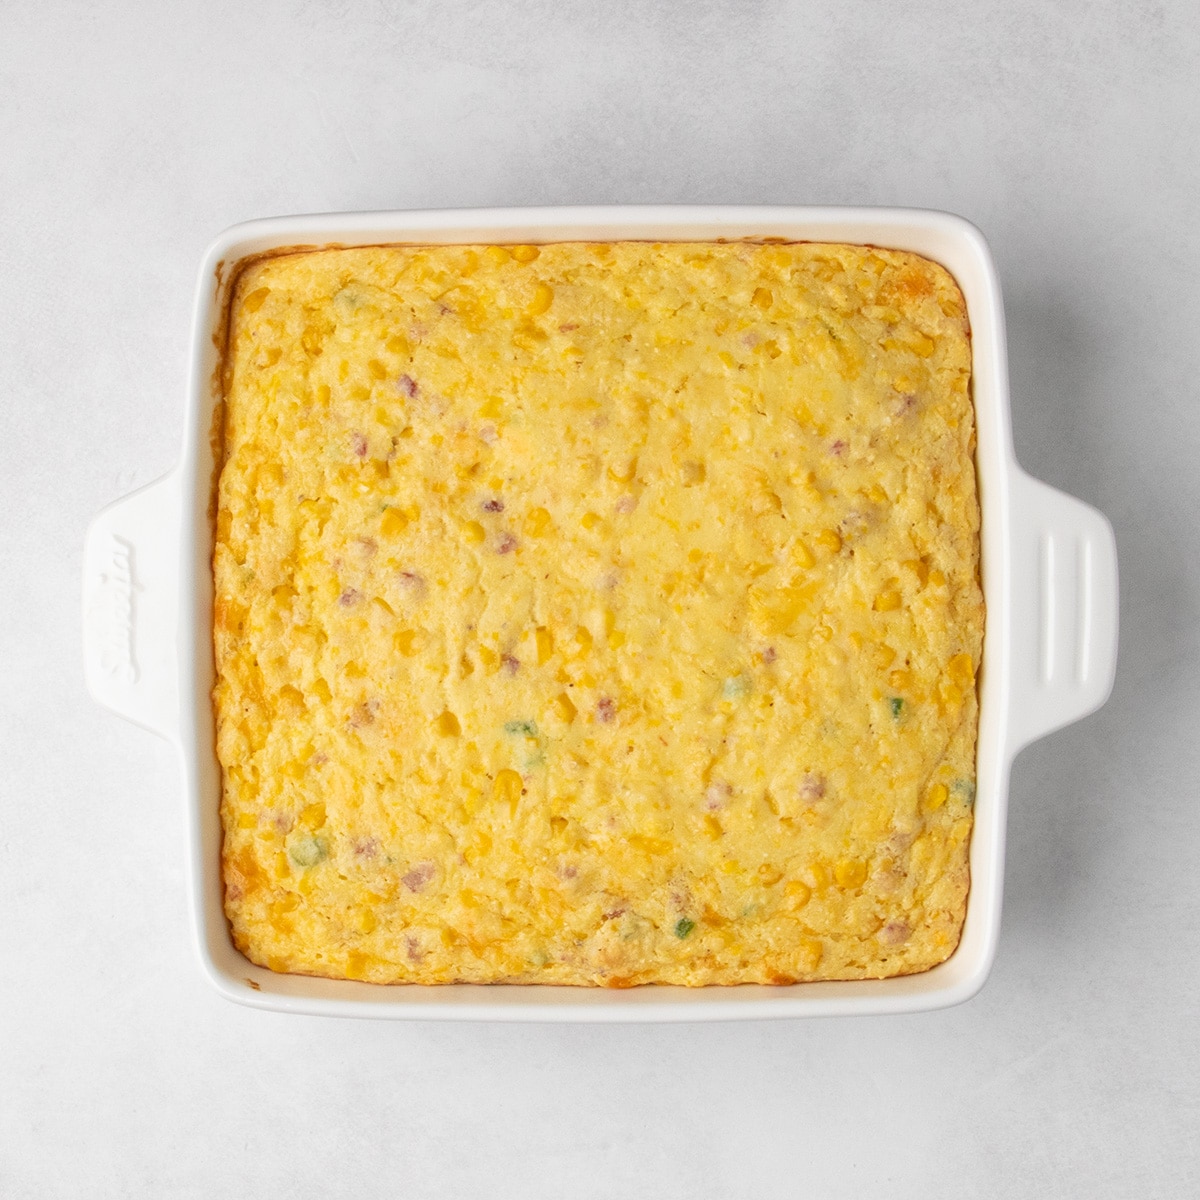
Bake at 325°F for 45 minutes or until the top is light golden brown and mostly firm to the touch. Baking it low and slow prevents it from a rise so high that the structure can't support it.
Steps 11-12: Top (optional) & finish baking
If you are not adding shredded cheese, rotate the dish and continue to bake for about 10 more minutes, or until a tester comes out mostly clean.
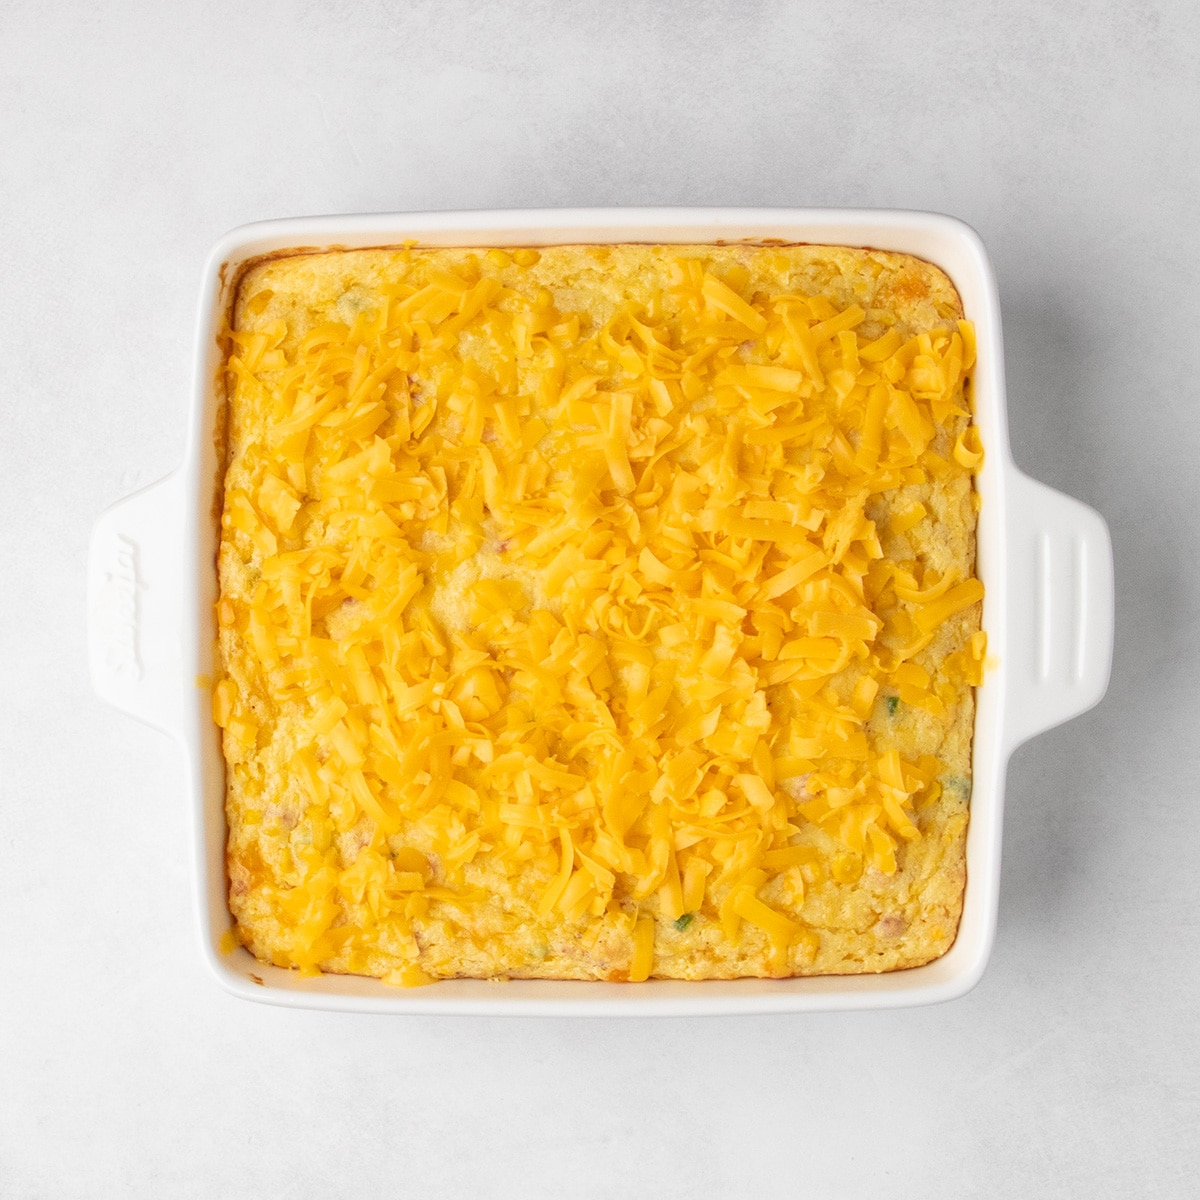
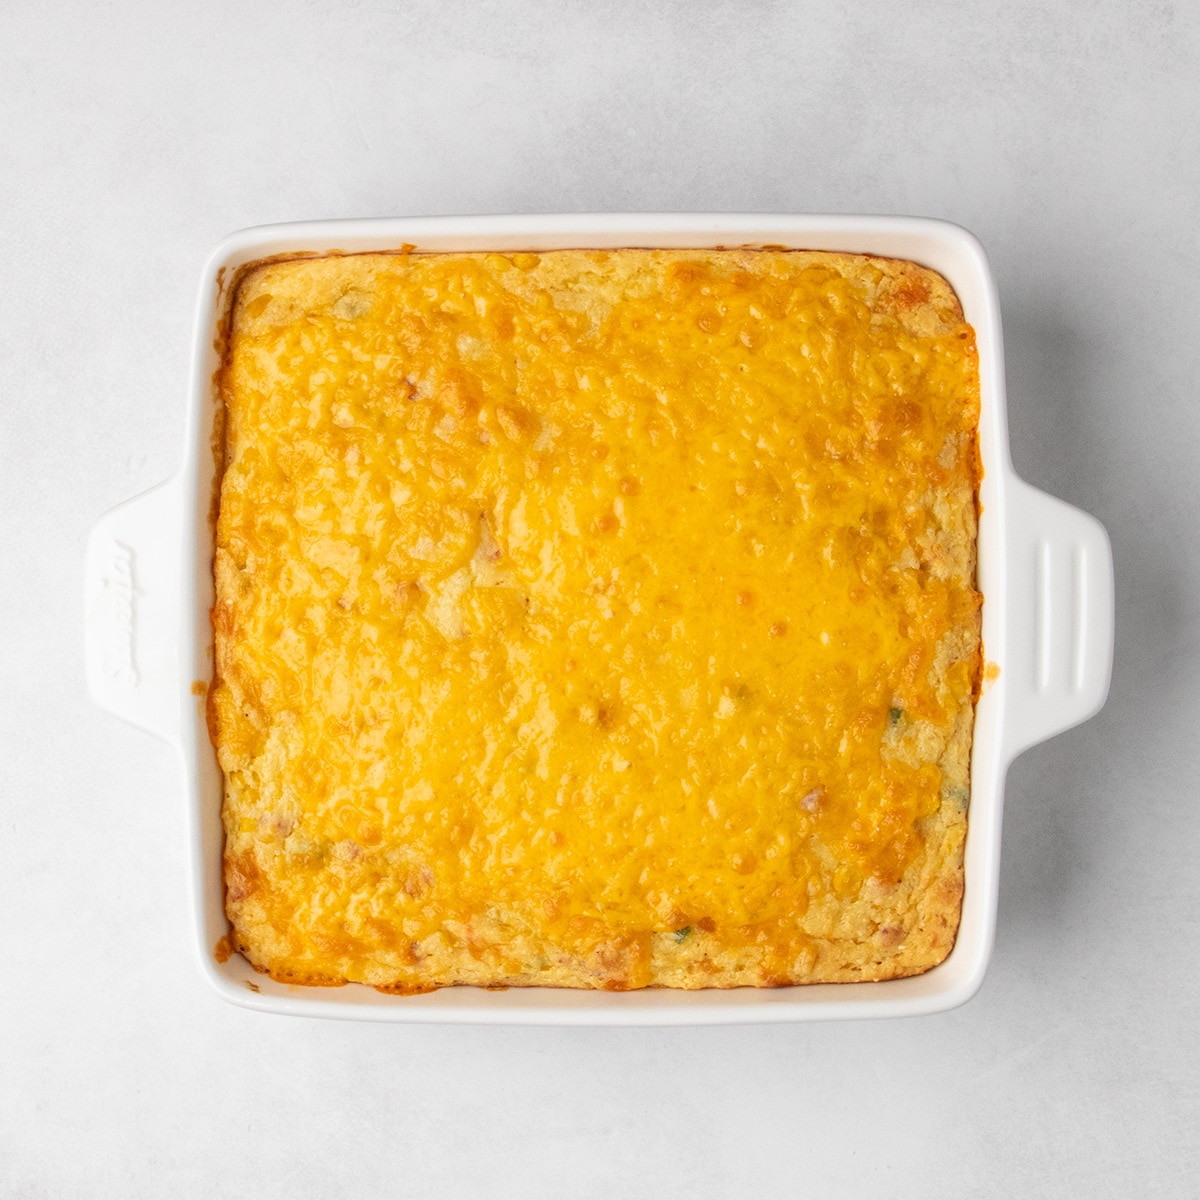
If you are adding shredded cheese, sprinkle the remaining 1 cup evenly on top, and finish baking at 350°F so the cheese melts and browns (about 10 minutes more; same doneness test).
Expert tips
To add more heat
Even if you're a bit wimpy about spice/heat like me, include at least the ribs of the jalapeño pepper, or you'll barely taste it. For a bit more heat, include the seeds from the pepper or a dice up a second one.
Pulse, don't puree
Pulse one can of corn with reserved liquid in a blender or food processor just until it’s a loose, lumpy mixture, not a smooth puree. You want to break up the kernels but maintain some texture.
Check beneath the cheese
A golden cheese topping doesn’t always mean the center is done. Insert a tester into the center of the casserole; a few moist crumbs are fine, but wet batter means it needs a bit more baking time.
Ingredient substitutions
Dairy free
To make this recipe dairy free, in place of regular sour cream, try using nondairy sour cream or Greek-style plain yogurt. In place of butter, try an equal amount of block-style vegan butter. You can either use one of the dairy free shredded cheeses I recommend in my dairy free mac and cheese recipe, or just leave the cheese out. All of these substitutions should work well.
Egg free
You can try replacing the eggs with “chia eggs,” Bob's Red Mill egg replacer, or JustEgg liquid egg replacer in the refrigerator section. If you do use an egg replacer and your flour blend is Bob's Red Mill 1-to-1, I recommend adding an additional 1/2 teaspoon xanthan gum, since the eggs do a lot of work in keeping the casserole from sinking too much as it cools.
Storage instructions
I wouldn't let this dish sit at room temperature for more than 2 hours, for food safety reasons. It's very moist, with or without the added cheese and pancetta, and won't dry out, but it will spoil. You can store leftover servings in a sealed container in the refrigerator for 3 to 4 days, and refresh in a 300°F oven or the microwave before serving.
For longer storage, you can store it in the freezer for up to 3 months, but make sure it's well-sealed so it doesn't get freezer burn and the sour cream doesn't separate. Defrost overnight in the refrigerator, then refresh as when refrigerated.
Gluten Free Corn Casserole Recipe
Equipment
- Mini food processor or blender
Ingredients
For the corn muffin mix
- ⅔ cup (94 g) all purpose gluten free flour blend, (See Recipe Notes)
- ¼ teaspoon xanthan gum, omit if your blend already contains it
- ⅝ cup (83 g) medium ground yellow cornmeal
- 3 tablespoons (37 g) granulated sugar
- 2 ¼ teaspoons baking powder
- ½ teaspoon kosher salt
- 2 tablespoons (24 g) virgin coconut oil, (or nonhydrogenated vegetable shortening)
For the casserole
- 2 15-ounce cans (30 ounces) whole kernel corn, in water
- 4 ounces cubed pancetta, (optional)
- 1 jalapeño pepper, cut into a small dice (optional)
- 1 cup (227 g) sour cream, or plain Greek-style yogurt
- 8 tablespoons (112 g) unsalted butter, melted
- 2 (100 g out of shell) eggs, at room temperature
- 1 ½ cups (6 ounces) shredded sharp cheddar cheese, (optional)
- 1 recipe gluten free corn muffin mix , (from above)
- Chopped chives, for serving (optional)
Instructions
- Butter a 9-inch square baking pan and set it aside. Preheat your oven to 325°F.
Make the corn muffin mix
- In a medium-size bowl, place the flour, xanthan gum, cornmeal, sugar, baking powder and salt, and whisk to combine well.
- Add the shortening and, with the tines of a fork cut the coconut oil into the dry ingredients until the mixture resembles coarse sand. There will be some clumps.
- Set the bowl aside.
Make the casserole
- In a small dry pan, sauté the optional pancetta in a hot pan over medium heat until cooked through (about 5 minutes), then drain off the rendered fat.
- Add the optional diced jalapeño and sauté for 1 minute, just until starting to soften. If you're not using the pancetta, add 1 tablespoon olive oil to the pan to cook the pepper and 1/4 teaspoon extra kosher salt. Set the mixture aside to cool.
- Drain the liquid from one can of corn, reserving 1/2 cup (4 fluid ounces) of the liquid. Place the corn and reserved liquid into a food processor or blender and pulse until the corn is a chunky, loose mixture. Set it aside.
- To a large mixing bowl, add the sour cream, melted butter and eggs, and whisk until well-combined and very pale yellow and smooth.
- Drain as much liquid as possible from the other can of corn, and add it and the processed corn to the large mixing bowl. Mix to combine. The mixture will be loose.
- Add the cooked pancetta and jalapeño to the bowl with the corn muffin mixture. Add about 1/2 cup of the optional shredded cheese, if using, to the same dry ingredient mixture, and toss everything to combine.
- Add everything in the medium mixing bowl to the large mixing bowl with wet ingredients, and mix until just combined. The mixture will be thick but very soft.
- Transfer the mixture to the prepared baking pan, and smooth into an even layer.
Bake
- Bake in the center of the oven for about 45 minutes, or until the top is lightly golden brown and mostly firm to the touch.
- If you’re omitting the cheese, rotate the dish in the oven and continue to bake for another 10 minutes until a tester comes out mostly clean (not wet, but a few moist crumbs are okay).
- If you’re the shredded cheese on top, remove the dish from the oven and increase the oven temperature to 350°F.
- Scatter the cheese on top in an even layer. Return the pan to the center of the oven to bake for about another 10 minutes, or until the top is golden brown and a tester comes out mostly clean (not wet, but a few moist crumbs are okay).
- Let the finished casserole stand for at least 10 minutes before sprinkling with chopped chives, slicing into 9 equal pieces, and serving.
Video
Notes
Nutrition
Nutrition information is automatically calculated, so should only be used as an approximation.









