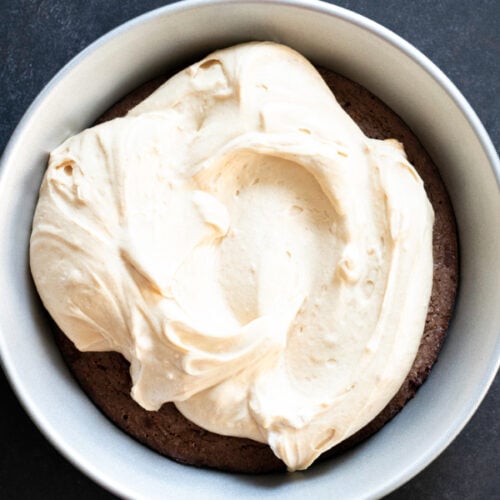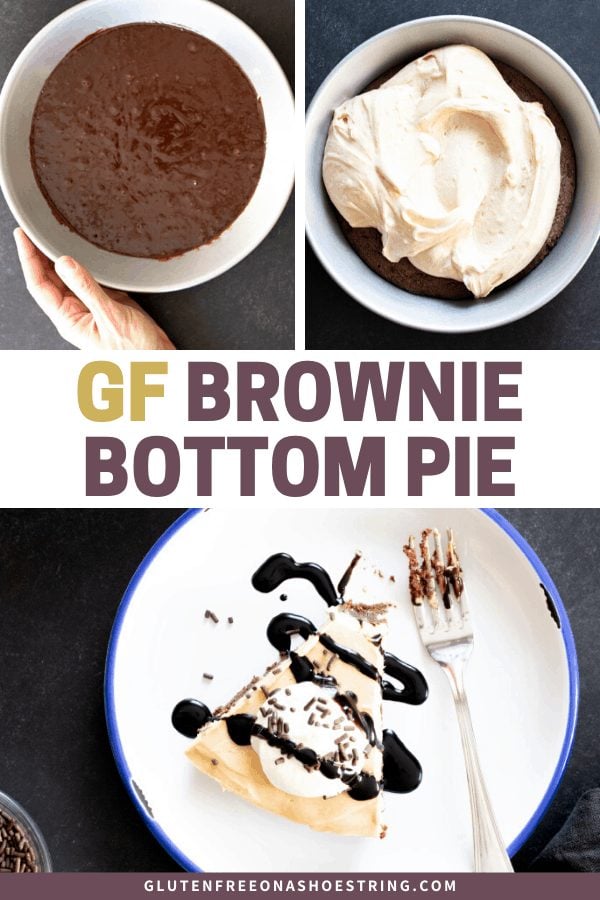

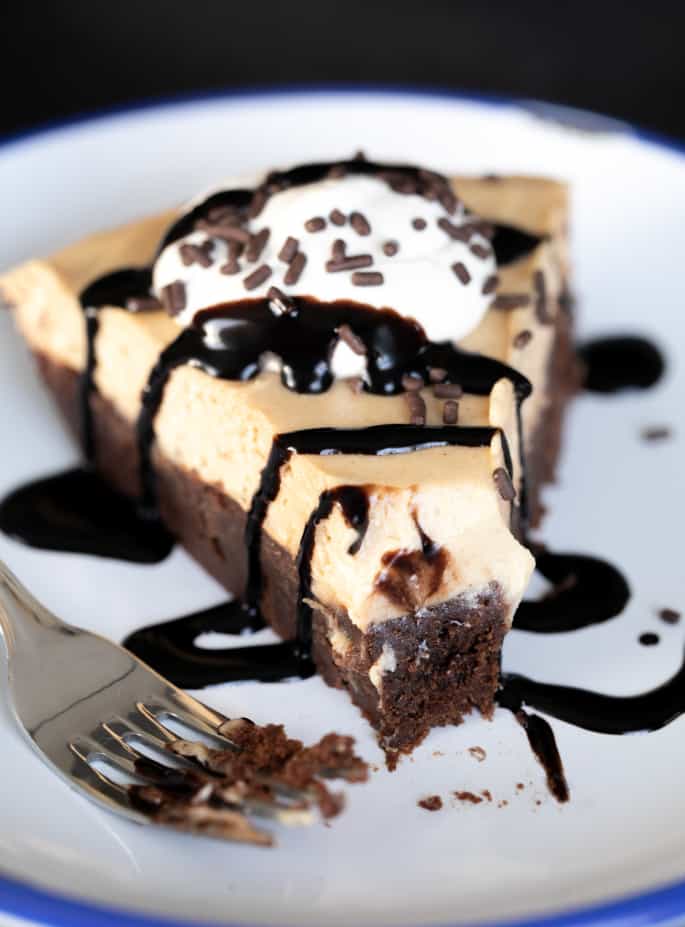
This rich and fudgy gluten free brownie bottom pie has a silky no bake peanut butter mousse-like filling, but the brownies are the main event. Fill it with chocolate pudding, pumpkin pie filling, or just a scoop of vanilla ice cream!
WANT TO SAVE THIS RECIPE?
What makes this brownie bottom pie different
There is no shortage of gluten free brownie recipes here on the blog, but this brownie bottom pie is a bit different. To make a proper crust for a pie, it's best for the brownie layer to bake up flat, fudgy and a bit glossy on top.
Our recipe for chewy gluten free brownies would actually come close, but it requires many more ingredients and more steps to get everything just right. The recipe below for the brownie bottom is as easy as can be, and makes the perfect crust for myriad possible fillings.
How to make a gluten free brownie bottom for any pie
To make the brownie bottom, simply melt 1/4 cup chopped butter and 4 ounces of chopped chocolate together until smooth. Allow the mixture to cool a bit so it doesn't heat the other ingredients.
Then, just add some granulated sugar, 2 eggs, vanilla, and salt, and mix until well-combined. The mixture will be smooth and glossy. Add just a bit of all purpose gluten free flour, and you'll have a thickly pourable brownie batter.
Once it's baked (be sure not to overbake!), the brownie bottom must be cooled to room temperature. Use a thin spatula to free it from the sides and bottom of the pie plate, and then you can even refrigerate for days before filling, or even freeze it for months until you need it.
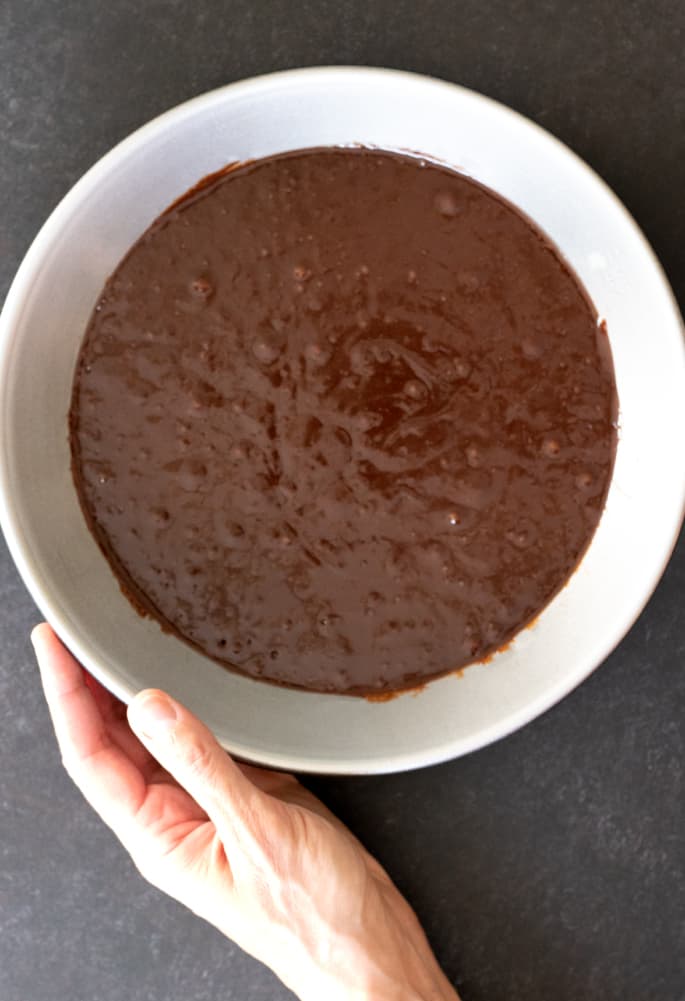
The best pie fillings for a brownie bottom
As we approach pie season, I'm super excited to make tons of traditional light and flaky gluten free pie crusts. That is still best for, say, an apple pie of any sort. But a brownie bottom, with no other crust at all, will work for so many other recipes.
Peanut butter filling
I love the simplicity of the silky, mousse-like peanut butter filling we've used here. Peanut butter and chocolate are one of life's most brilliant pairings.
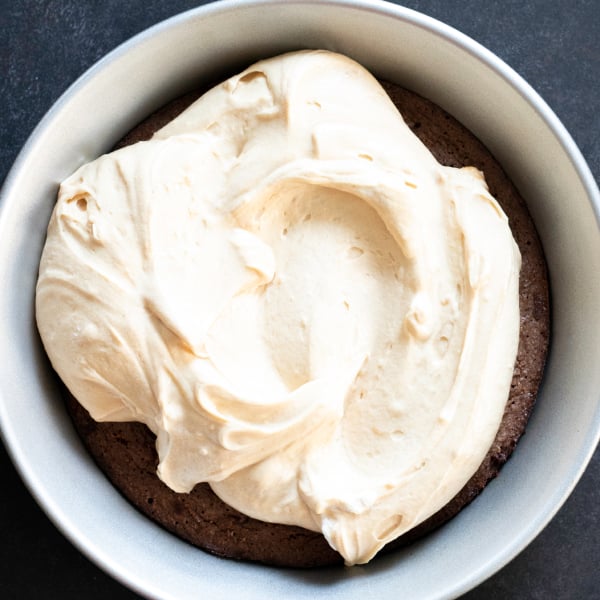
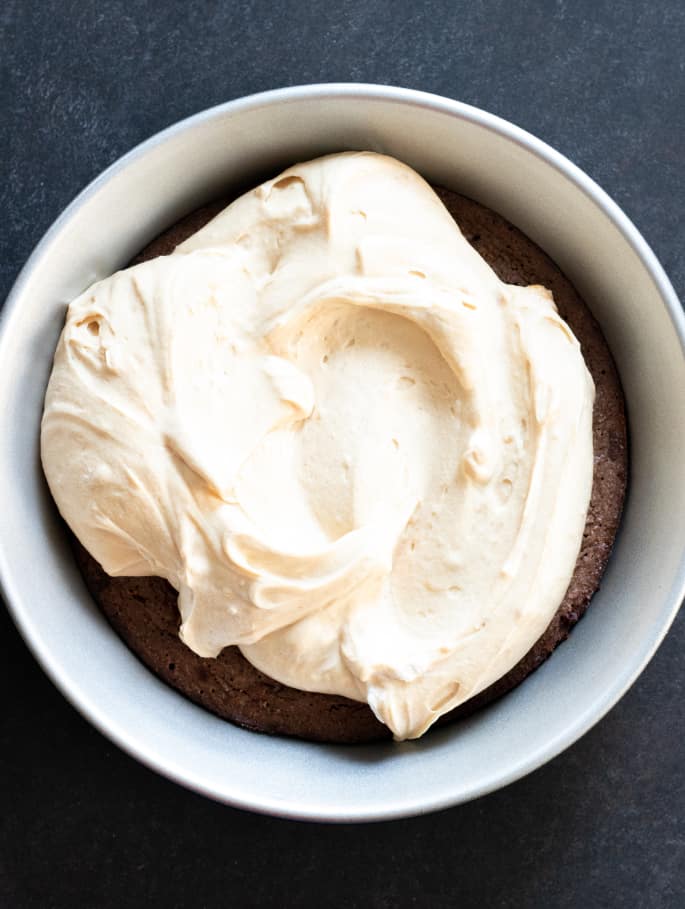
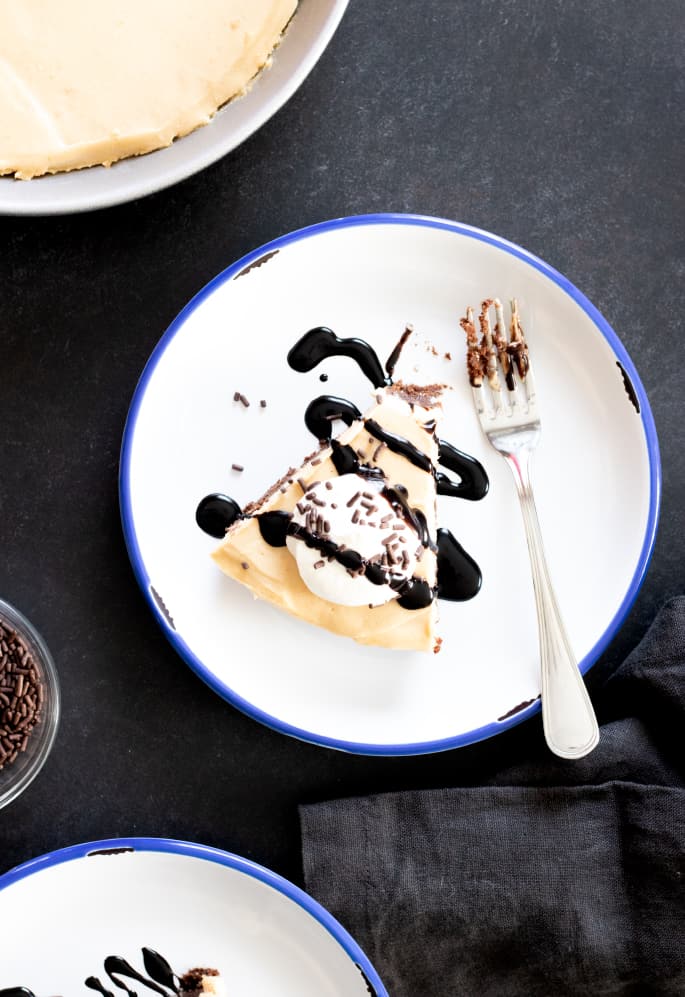
The peanut butter filling is made by beating together cream cheese, peanut butter (the no-stir kind is just the sort that doesn't separate in the jar), and vanilla, then folding in sweetened whipped cream. It sets perfectly in the refrigerator and slices nice and clean. If you'd like to try another, slightly richer filling, our shortbread crusted peanut butter pie is amazing, too.
Other no bake filling options
This brownie bottom would also make the perfect crust substitute for our clean-slicing no bake chocolate pudding pie, too. Just bake and cool the brownie bottom as described here, then follow the filling instructions in the chocolate pudding pie recipe. Our no bake cheesecake filling would also be the perfect complement to this brownie bottom.
Brownie bottom pumpkin pie
I think this brownie bottom would also work beautifully as a substitute for a crust in our classic gluten free pumpkin pie. Bake the crust for only 10 minutes, not the full 20 until it's fully baked. Then, top with the simple pumpkin pie filling recipe linked just above, and follow the instructions for baking in that recipe. That would be a real holiday show-stopper!
Double the brownie
Try multiplying all of the ingredients in the brownie layer by 1.5 to make a thicker crust. Then, top it with a generous scoop of vanilla ice cream and some chocolate sauce.
The recipe ingredients would look like this, and the instructions would remain the same (just increase the baking time to about 25 minutes):
- 6 tablespoons (84 g) unsalted butter, chopped
- 6 ounces dark or unsweetened chocolate, chopped
- 3/4 cup + 3 tablespoons (187 g) granulated sugar
- 3 eggs (150 g, weighed out of shell) at room temperature, beaten
- 1 1/2 teaspoons pure vanilla extract
- Heaping 1/4 teaspoon kosher salt
- 1/2 cup + 1 tablespoon (80 g) all purpose gluten free flour
Ingredients and substitutions
Dairy-free: The dairy in this recipe is in the brownie bottom and the peanut butter filling. The butter in the brownie bottom should be relatively easy to replace with Earth Balance buttery sticks. Just be sure to use dairy-free chopped chocolate, and you'll have a dairy free brownie bottom.
The peanut butter filling we've made here relies upon cream cheese for creaminess and heavy whipping cream for lightness and lift. I haven't yet found a dairy-free cream cheese that tastes like the real thing, but if you have a favorite, give it a try. For the heavy whipping cream, you can try using chilled coconut cream.
Egg-free: The two eggs in the brownie layer of this recipe are really important for the success of the recipe in general, and to achieve the right texture. Even though there are only two eggs, which I would normally recommend trying to replace with a “chia egg” each (1 tablespoon ground white chia seeds + 1 tablespoon lukewarm water, mixed and allowed to gel), I'm afraid I don't think that would work well here. So sorry!
Gluten Free Brownie Bottom Pie | Peanut Butter Mousse Filling
Ingredients
For the brownie layer
- 4 tablespoons (56 g) unsalted butter chopped
- 4 ounces dark chocolate chopped
- ⅜ cup (125 g) granulated sugar
- 2 (100 g (weighed out of shell)) eggs at room temperature, beaten
- 1 teaspoon pure vanilla extract
- ¼ teaspoon kosher salt
- ⅜ cup (53 g) all purpose gluten free flour blend (I used Better Batter; please click thru for full info on appropriate blends)
For the peanut butter filling
- ¾ cup (6 fluid ounces) heavy cream chilled
- ½ cup (128 g) smooth no-stir peanut butter
- 4 ounces cream cheese at room temperature
- 1 teaspoon pure vanilla extract
- ⅜ cup (70 g) confectioners’ sugar
Optional toppings
- Whipped cream chocolate sprinkles or shavings, chocolate sauce
Instructions
- Preheat your oven to 350°F. Grease and/or line a standard 9-inch pie plate and set it aside.
Make the brownie layer.
- In a medium-size saucepan, place the butter and chocolate and melt over medium heat, stirring until melted and smooth.
- Remove the pan from the heat and allow the mixture to cool briefly. Once the mixture is no longer very hot to the touch, add the sugar, eggs, then the vanilla and salt, mixing after each addition until smooth. Add the flour, and mix until just combined. The mixture will be very thickly pourable.
- Pour the brownie batter into the prepared pan and bang on the counter a couple times to break any trapped air bubbles.
- Place the pan in the preheated oven and bake until the brownie crust no longer glistens in the center, and a toothpick comes out with no more than a few moist crumbs (about 20 minutes). Do not overbake.
- Let the crust cool completely on a wire rack. Once cool, run a thin spatula carefully along the edge and bottom of the pie to ensure that it isn’t sticking to the pan.
Make the filling.
- In a medium-size bowl, place the heavy whipping cream and whip with a handheld mixer into stiff peaks.
- Place the bowl with the whipping cream in the refrigerator to chill. In a large bowl, place the peanut butter, cream cheese, and vanilla, and beat with the handheld mixer on medium-high speed until well-combined.
- Remove the whipped cream from the refrigerator, add the confectioners’ sugar and fold it into the whipped cream with a wide spatula.
- Add the sweetened whipped cream to the peanut butter mixture, and beat again until smooth. The filling will be thick but soft.
- Transfer the filling to the cooled brownie bottom and spread into an even layer. Place the pie in the refrigerator to chill until firm, at least 1 hour.
- When you’re ready to serve the pie, moisten a butter knife or thin spatula with warm water and, working carefully, run it along the edge of the filling to separate it from the edge of the pan. To slice, slide the pie out of the pan onto a cutting surface, and slice into wedges with a sharp knife.
WANT TO SAVE THIS RECIPE?

Thanks for stopping by!
Hi, I’m Nicole. I create gluten free recipes that really work and taste as good as you remember. No more making separate meals when someone is GF, or buying packaged foods that aren’t good enough to justify the price. At Gluten Free on a Shoestring, “good, for gluten free” just isn’t good enough! Come visit my bio!
