
WANT TO SAVE THIS RECIPE?
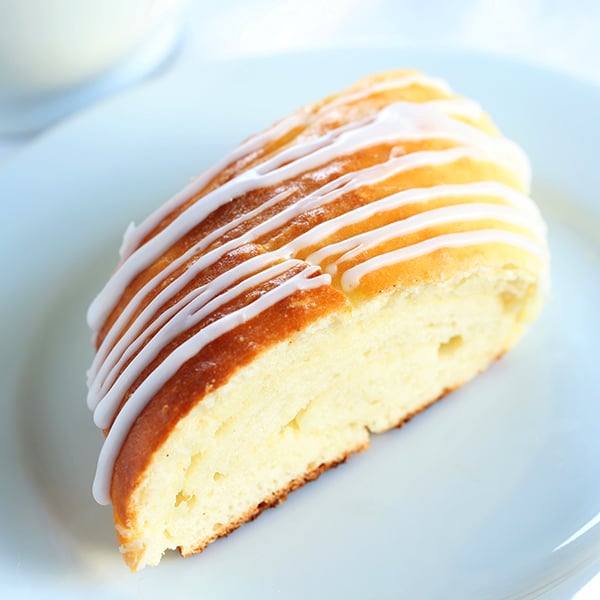
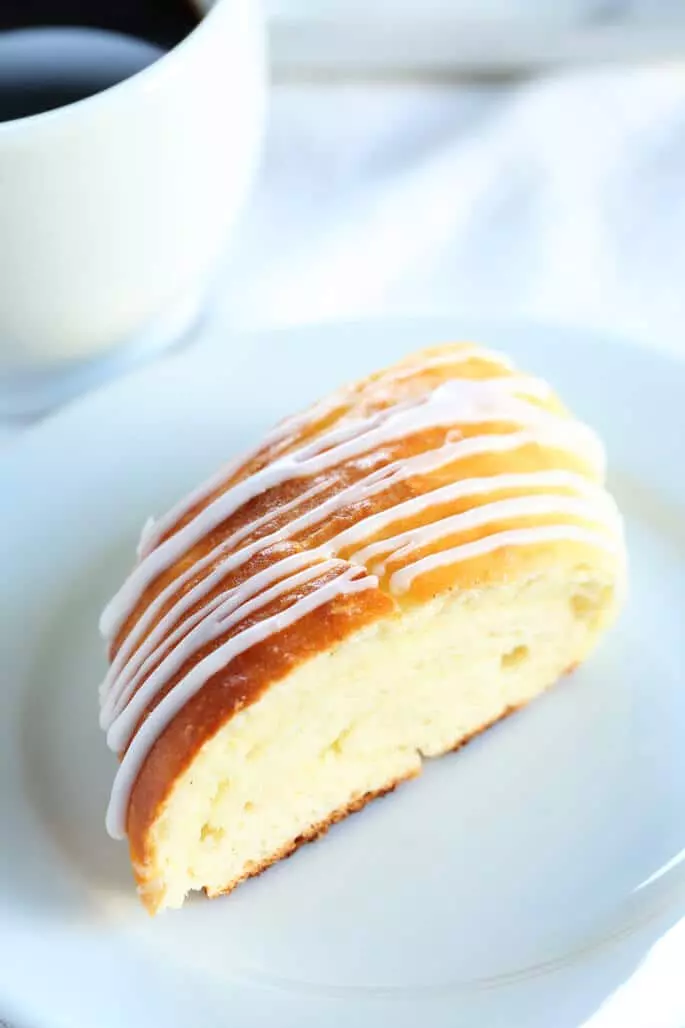
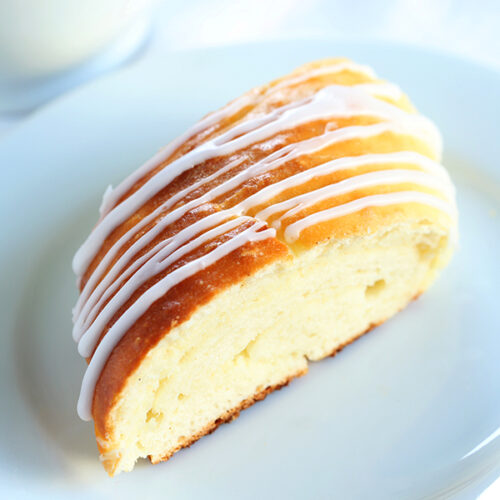
The December holiday season means that I get to focus all of my recipe-development energy (& that's a lot of energy!) on two main categories: cookies (yay Christmas cookies!) and brunch. You don't need me to shower you with step by step photos for how to spatchcock a turkey (BEST Thanksgiving decision I ever made) or cook a holiday ham. There are plenty of other reliable resources for such important matters. But when it comes to Christmas morning, a holiday dessert plate and edible hostess gifts? Follow me! The first stop this year is this cheesecake-filled gluten free Danish bread. It's ridiculously easy to make (the dough is a dream to shape!), and so soft, tender and lightly sweet that some might even call it a religious experience ?(see what I did there?).
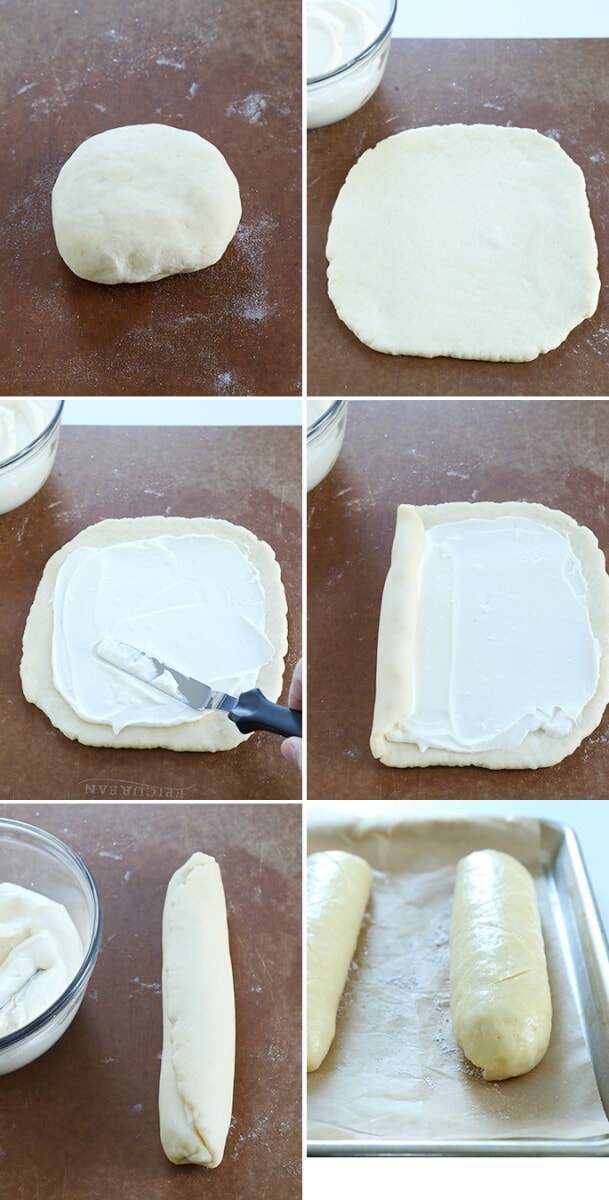
All you do is throw the dough together, let it rise (it shouldn't double—it's a low-yeast, low-moisture enriched dough), fill it with a heavenly but simple and lightly sweet cheesecake-style filling, then roll up like a jelly roll. Let rise again (again, no doubling, please), then brush with an egg wash and bake. 15 minutes later?
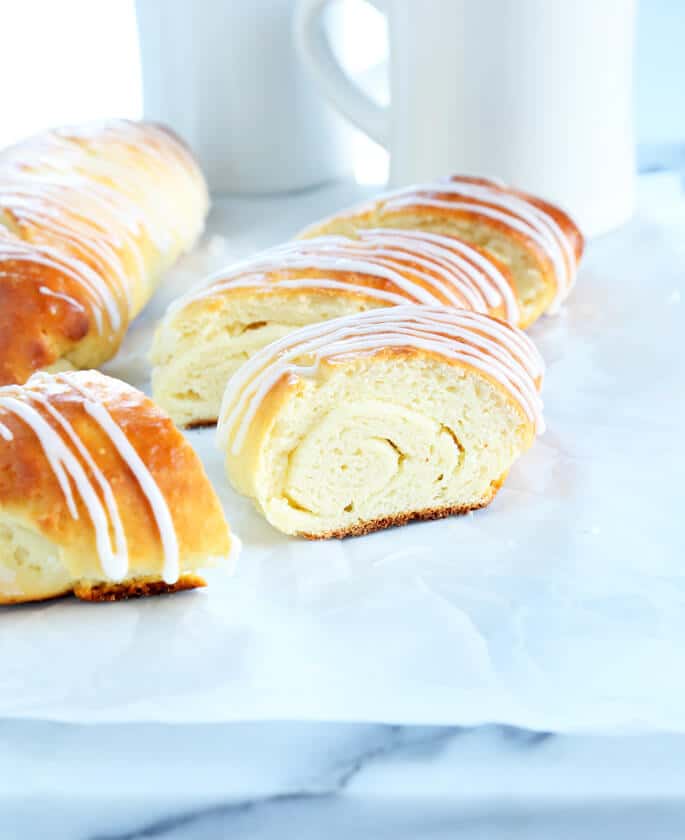
Well you've got yourself the most tender, soft and pillowy brunch bread that tastes like a cross between a lightly sweet cheesecake and brioche. What could possibly be better than that?
A few recipe notes:
- If you have extra filling, add another egg yolk to it, beat it well, then pour the filling into a small greased ramekin. Bake it at 325°F until nearly set. Cheesecake!
- I drizzled the finished bread with the simplest glaze ever. Just place about 1/2 cup (58 g) confectioners' sugar in a small bowl and add milk or water by the 1/4-teaspoon, mixing well after each addition, until you have a very thickly pourable glaze. Add water slowly and sparingly as it's much easier to thin, than to thicken, a glaze.
- Make-ahead option: You can make the bread dough a day ahead of time, place it in a proofing bucket and let it sit covered in the refrigerator for its first rise, but for no longer than 1 day.
Gluten Free Danish Bread
Equipment
- Stand mixer fitted with dough hooks
Ingredients
For the bread
- 3 cups (420 g) Gluten Free Bread Flour plus more for sprinkling (please click thru; you must use this blend)
- ¼ teaspoon cream of tartar
- 1 teaspoon (3 g) instant yeast
- ¼ cup (50 g) granulated sugar
- ½ teaspoon (3 g) kosher salt
- ⅔ cup (5 ⅓ fluid ounces) warm milk (about 95°F)
- 2 (100 g (weighed out of shell)) eggs at room temperature, beaten
- 4 tablespoons (56 g) unsalted butter melted and cooled
For the filling
- 8 ounces cream cheese at room temperature
- ⅓ cup (67 g) granulated sugar
- ⅛ teaspoon kosher salt
- 1 teaspoon pure vanilla extract
- 1 (50 g (weighed out of shell) egg at room temperature, beaten
- Egg wash for brushing (1 egg + 1 tablespoon water, beaten well)
Instructions
Make the bread dough.
- In the bowl of your stand mixer (or a large bowl if you have a handheld mixer with dough hooks), place the flour, cream of tartar, instant yeast and sugar, and use a handheld whisk to combine well. Add the salt and whisk to combine well. Add the milk, eggs and butter, and mix on low speed with the dough hook(s) until combined. Raise the mixer speed to medium and knead for about 5 minutes. The dough is a smooth, enriched dough, but it is very thick.
- Spray a silicone spatula lightly with cooking oil spray, and scrape down the sides of the bowl. Transfer the dough to a lightly oiled bowl or proofing bucket large enough for the dough to rise to about double its size, spray the top of the dough with cooking oil spray, and cover with an oiled piece of plastic wrap (or the oiled top to your proofing bucket).
- Place the dough in a warm, draft-free environment to allow it to rise to about 1 1/2 times its original size (about 1 hour). Once it has risen, place the covered dough in the refrigerator for at least 15 minutes or until it is chilled. This will make it much easier to handle.
Preparing the dough for shaping.
- Line a large rimmed baking sheet with unbleached parchment paper, and set it aside. Turn out the chilled dough onto a lightly floured surface.
- Using the scrape and fold kneading method and a very light touch, knead the dough, sprinkling with flour when necessary to prevent it from sticking and turning the dough over on itself until it has become smoother.
- Do not overwork the dough or you will incorporate too much flour and it will not rise properly.
- Divide the dough into 4 equal pieces and cover them lightly with a moist towel to prevent them from drying out.
Make the filling.
- In a medium-size bowl, place the cream cheese, sugar, salt and vanilla, and beat with a handheld mixer with the regular whisk attachments until light and fluffy. Add the egg, and beat again until smooth.
- Preparing and filling the dough, plus final rise.
- Working with one piece of dough at a time and sprinkling very lightly with more bread flour as necessary to prevent sticking, roll the dough into an 8-inch square, about 1/4-inch thick. As you work, shift and move the dough frequently.
- Dust off any excess flour from the surface of the rectangle facing up, and spread about 1/4 cup of the filling in an even layer on the dough, leaving a 1/2-inch border clean around the perimeter. Beginning at one side of the dough, roll the filled dough tightly into a cylinder, like a jelly roll. Pinch the ends closed tightly and tuck them under the bread toward the seam on the underside. Place the filled dough, seam side down, on the prepared baking sheet.
- Repeat with the remaining pieces of dough, placing them at least 3 inches apart from one another on the baking sheet.
- Cover the baking sheet with a piece of oiled plastic wrap, and place in warm, draft-free location to rise only until about 1 1/2 times its original size, about 1 hour (more in a cooler, dryer environment).
Bake.
- As the dough is in its final rise, preheat your oven to 350°F.
- Once the dough has finished rising, uncover it, slash the top of each roll no more than 1/8-inch deep, brush the surface of each roll evenly with the egg wash, and place the baking sheet the center of the preheated oven.
- Bake for about 15 minutes, or until the dough is golden brown all over.
- Remove from the oven, and allow to cool on the baking sheet for 10 minutes before transferring to a wire rack to finish cooling.
- Slice and serve when still slightly warm.
WANT TO SAVE THIS RECIPE?

Thanks for stopping by!
Hi, I’m Nicole. I create gluten free recipes that really work and taste as good as you remember. No more making separate meals when someone is GF, or buying packaged foods that aren’t good enough to justify the price. At Gluten Free on a Shoestring, “good, for gluten free” just isn’t good enough! Come visit my bio!

Jennifer Garmeson says
Can you freeze these after baking?
Danica Seadachlag says
I was wondering where you get your bread flour? Also can this be made dairy free?
Carole says
Looks really good. Made the Cranberry bars and they disappeared fast, tried it with date filling I made and it was even better. Could I use apple pie filling with that same recipe for the dough ??? Hope you had a wonderful Thanksgiving !!!!
Nicole Hunn says
Hi, Carole, I don’t see why you couldn’t use apple pie filling, as long as it’s about the same viscosity as the cranberry jam. Sounds like you found a new favorite recipe. :)
Carole says
Sure did !!! Thank You.