This post may contain affiliate links. Please read our disclosure policy.
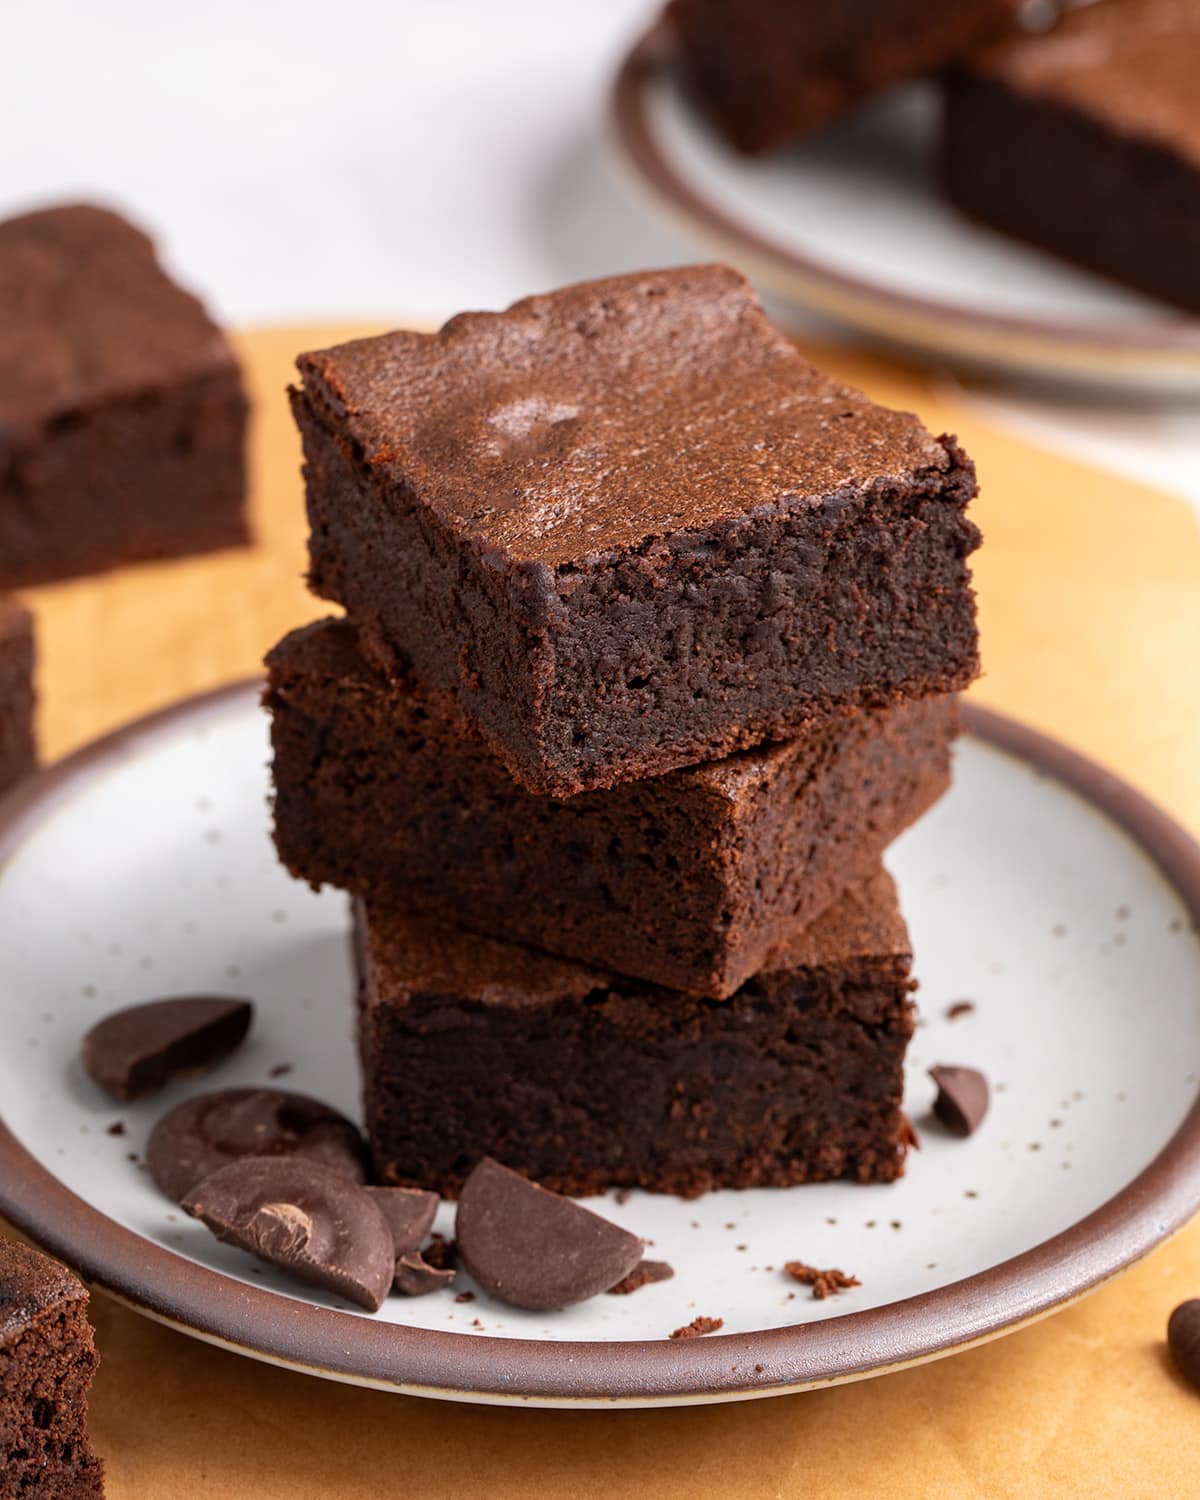
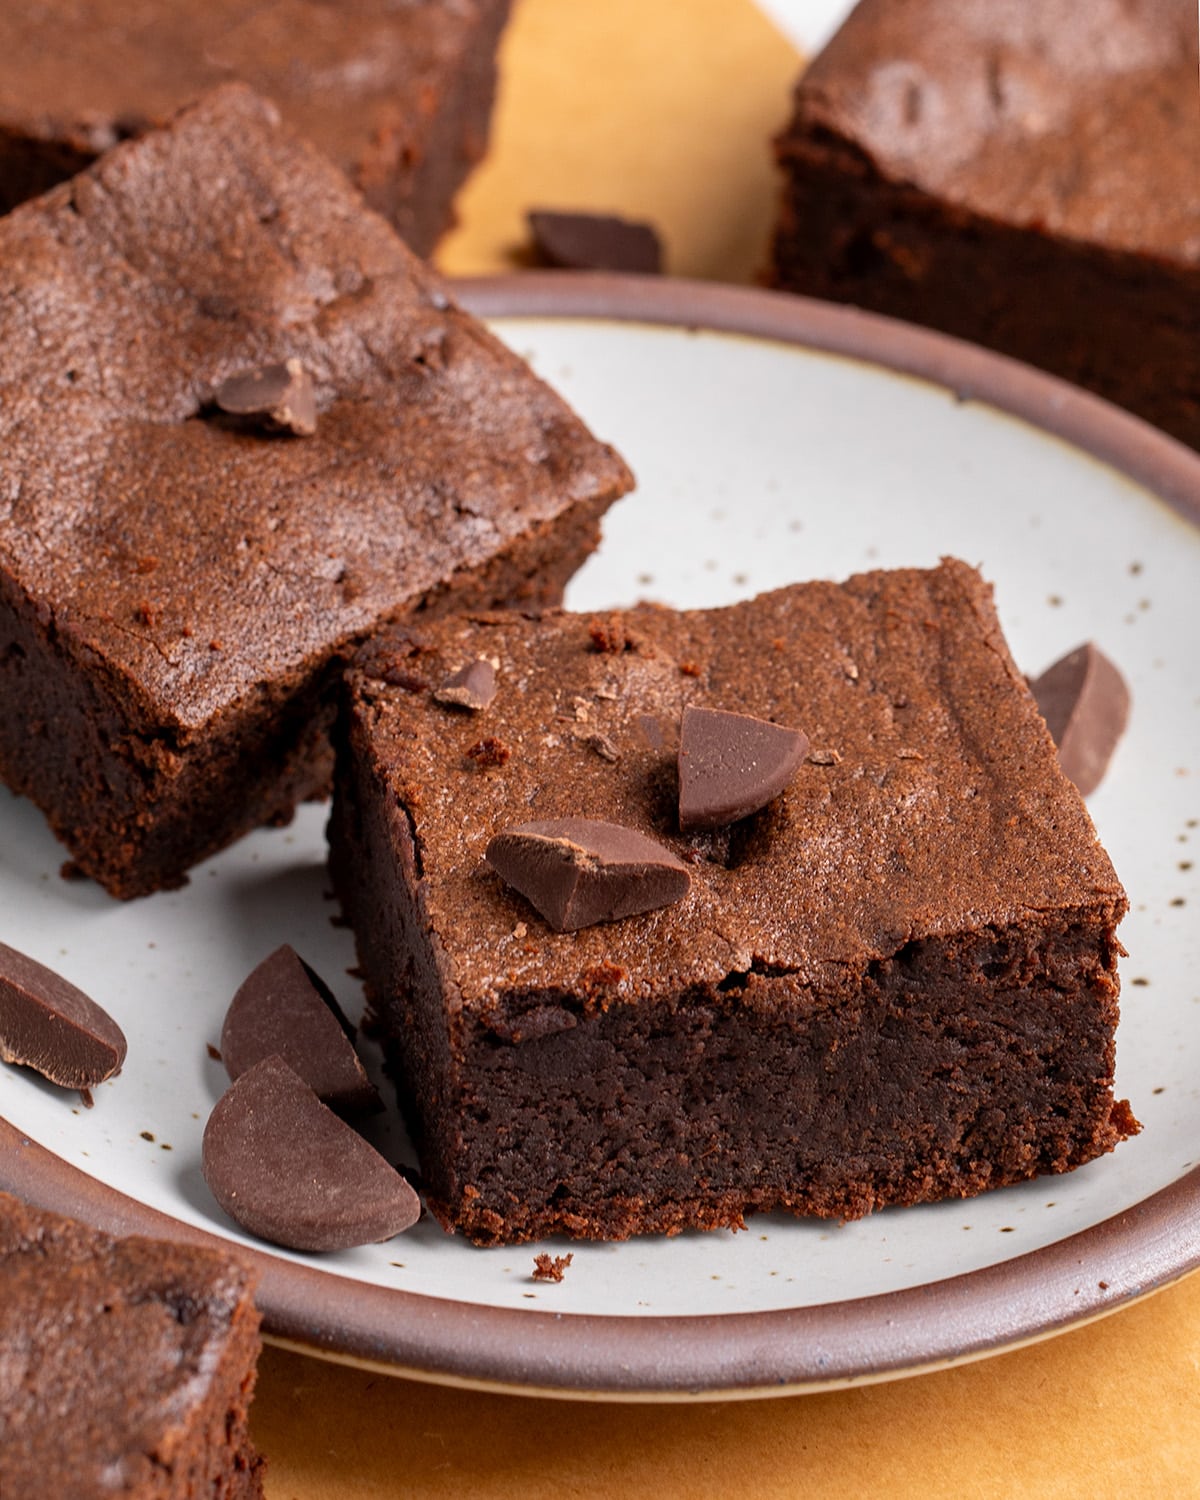
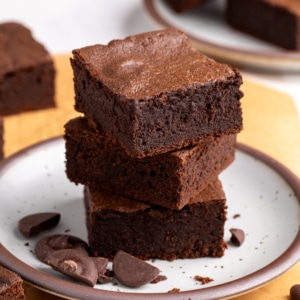
These protein brownies are thick and fudgy, with deep chocolate flavor and 10 grams of protein each. They’re moist, tender, and fully baked through, without the dry, chalky texture protein powder can create.
Why this recipe works
These brownies have the dense texture of a classic brownie, and enough structure to slice cleanly and hold their shape. They stay moist even when fully baked, so you don’t have to rely on an underdone center for that fudgy bite.
They also taste like classic chocolate brownies, without banana, nut butter, beans, or another unwelcome flavor competing with the chocolate.
And with 10 grams of protein in every brownie, they’re satisfying enough for a snack but still feel like dessert.
Recipe ingredients
Here’s what you need to make these brownies, plus some information about the role of each ingredient in a successful result:
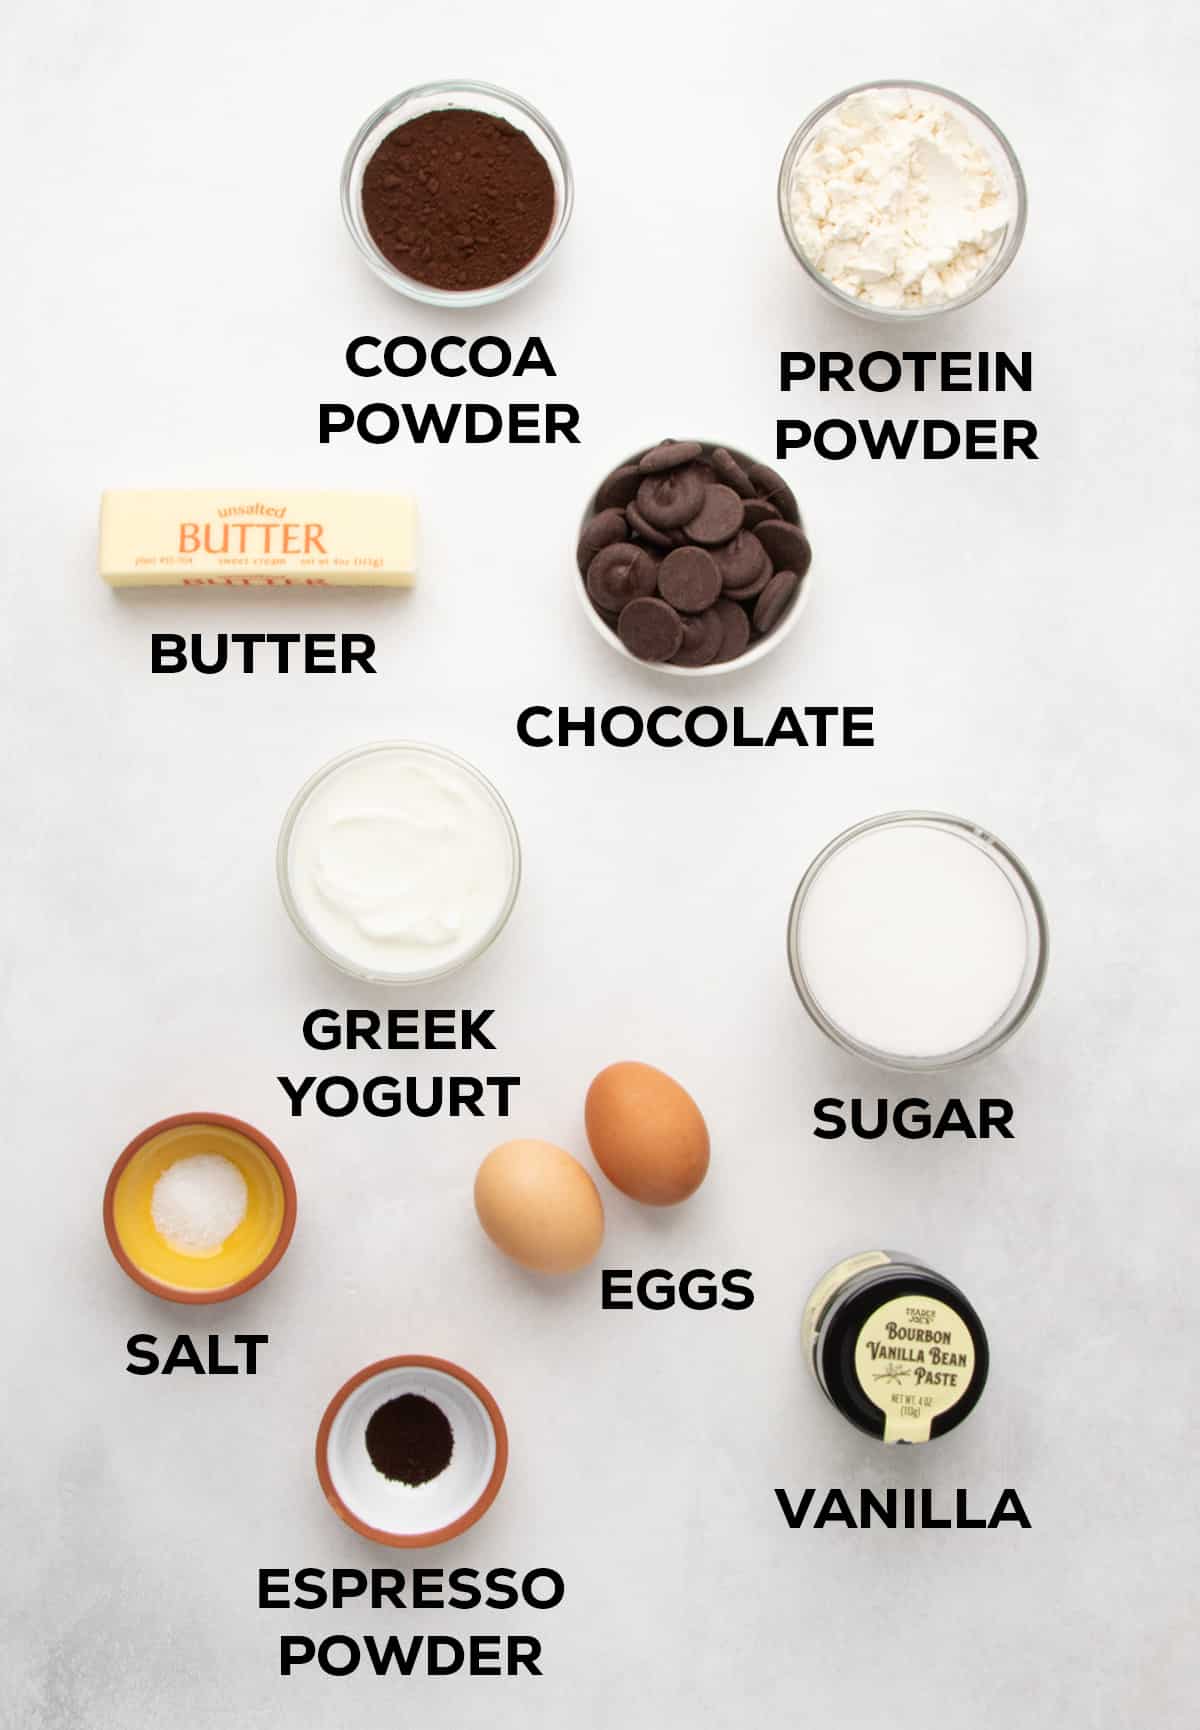
- Protein powder: Adds protein and gives the brownies structure so they don’t fall as they cool. A 50/50 whey/casein blend like PEScience brand vanilla has just enough structure from the whey without drying the brownies out, plus the moisture retention of the casein.
- Cocoa powder: Adds deep chocolate flavor. For the most richness, use Dutch-processed cocoa powder. If you’re using natural cocoa powder instead, like Hershey’s, add 1/8 teaspoon baking soda to neutralize some of its acidity.
- Chocolate: Adds rich chocolate flavor and some structure from the cocoa butter. Try to use semisweet or bittersweet baking chocolate that is designed to be melted, and avoid chocolate chips, which have additives to prevent melting. Baking wafers like Guittard or Callebaut melt really evenly and require no chopping.
- Butter: Adds buttery flavor and fat for tenderness.
- Plain Greek yogurt: Adds more protein, richness, and plenty of moisture to avoid dryness from the protein powder. You can also use sour cream, but the protein content may be a bit less.
- Granulated sugar: Adds sweetness, tenderness, and locks in moisture for a fudgy brownie. It also softens the tang of the yogurt (which brown sugar would enhance).
- Eggs: Add some richness and lots of structure without absorbing too much moisture.
- Vanilla: Adds depth of flavor. I like to use vanilla bean paste for the most flavor, but pure vanilla extract works great, too.
- Espresso powder: Enhances the chocolate flavor without making the brownies taste like coffee. You can omit this ingredient if you don’t have it (or don’t want to use it).
- Salt: Balances sweetness and brightens the other flavors.
How to make protein brownies (step by step photos)
Here’s an overview of how to make these brownies, plus the reason for each step. For full ingredient amounts, scroll to the recipe card below:
Step 1: Melt butter & chocolate
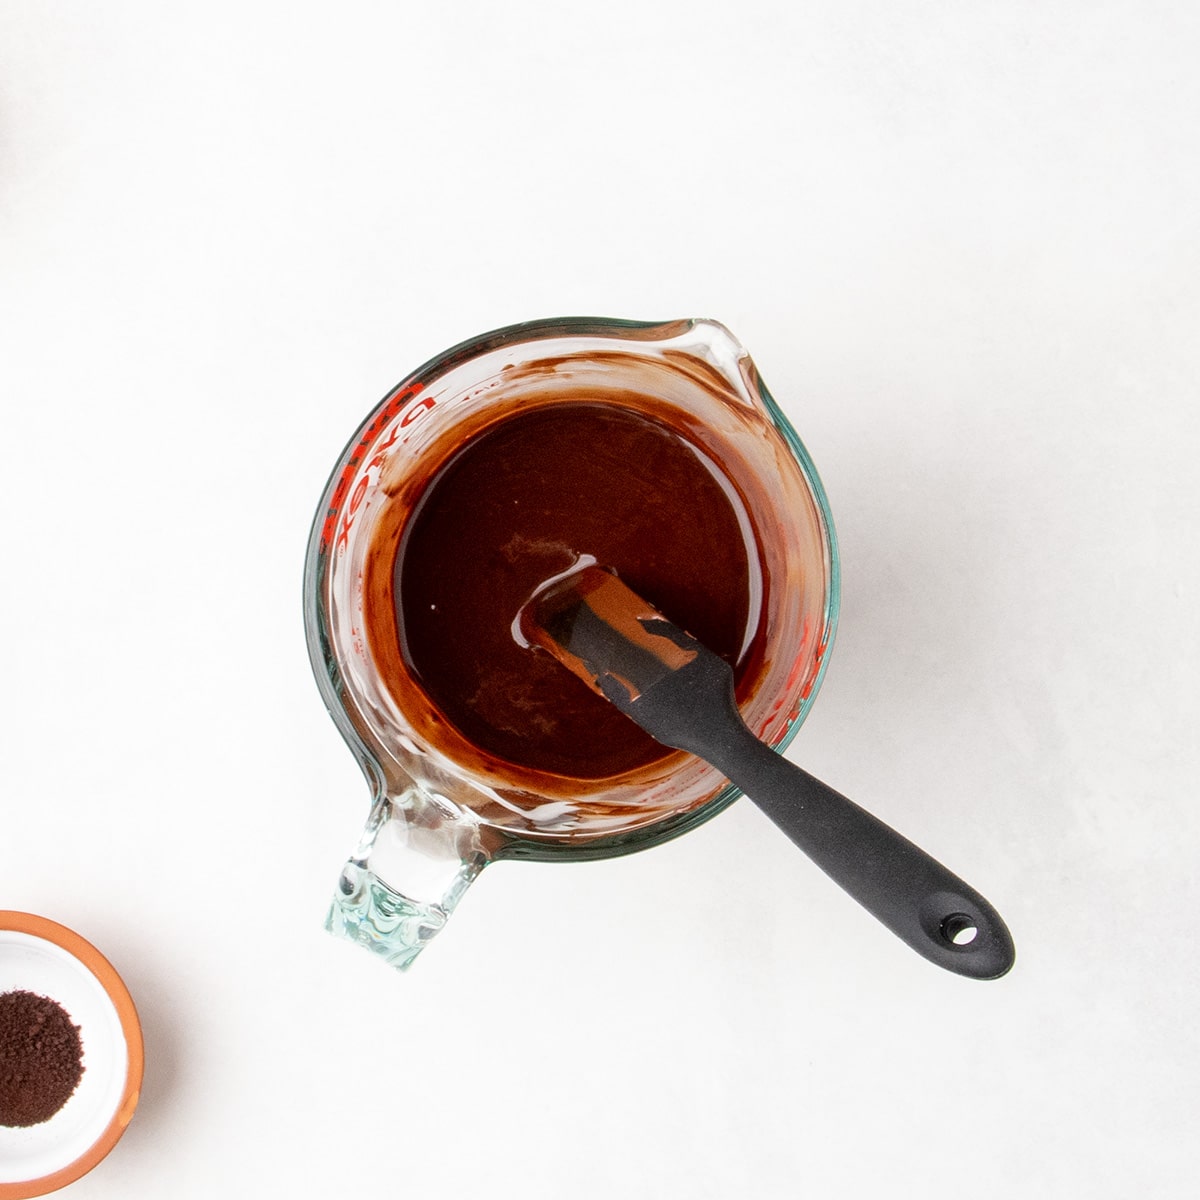
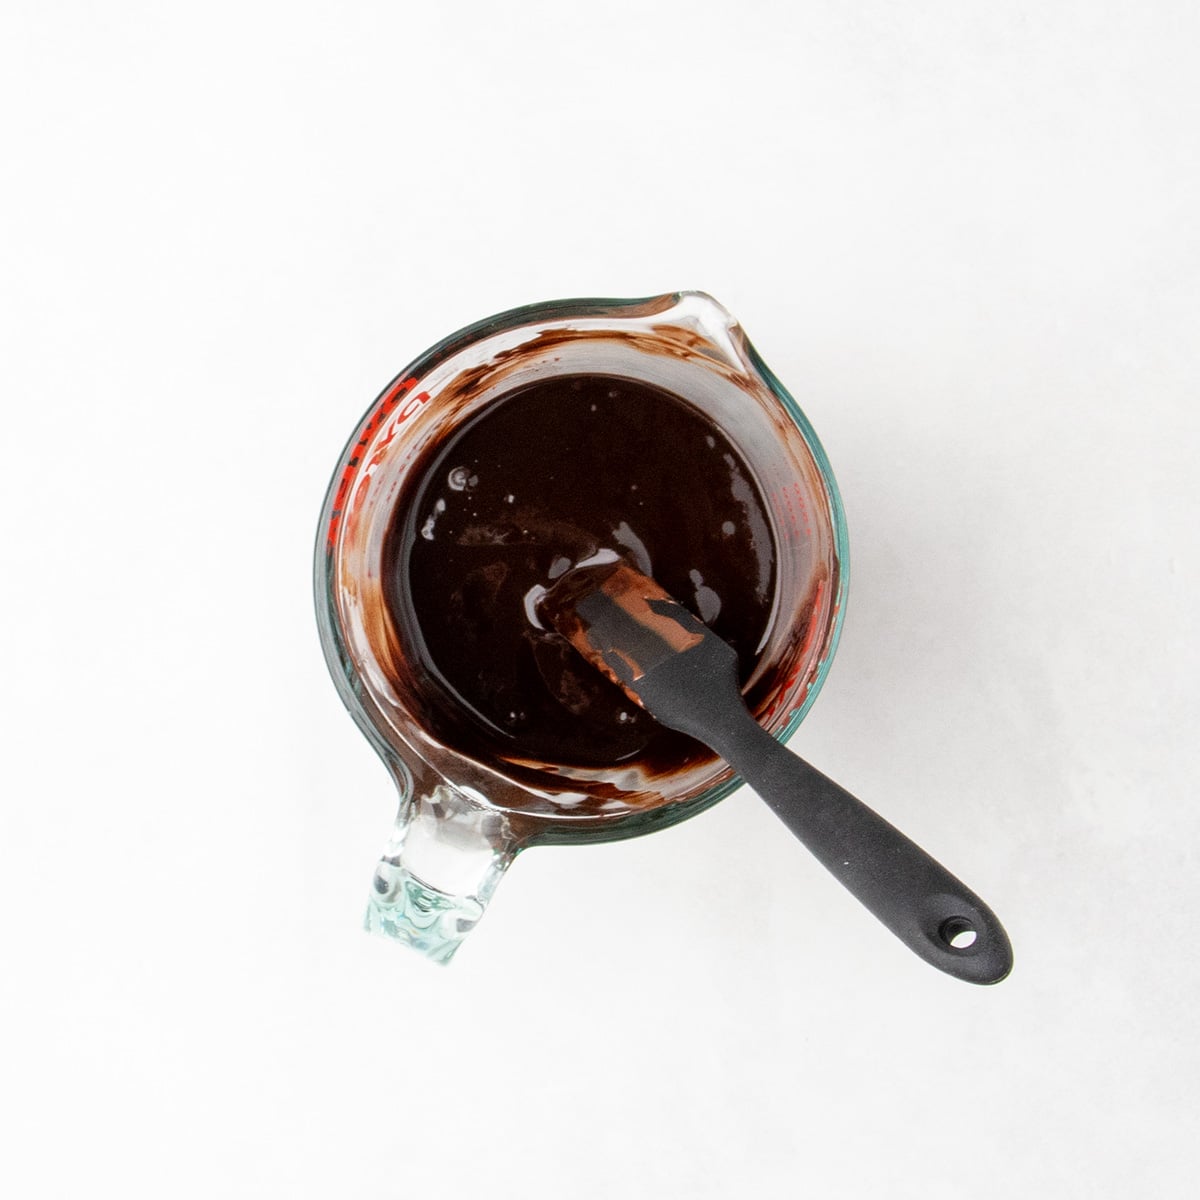
Melt together butter and baking chocolate to create a smooth, rich chocolate base that helps distribute the fat evenly throughout the batter. Melt them slowly and gently in a double boiler, or in the microwave for 30 seconds at a time so the chocolate does overheat and burn.
Step 2: Add flavorings
Whisk the cocoa powder into the warm chocolate mixture so it can bloom in the fat, deepening the chocolate flavor and helping it blend in smoothly. Add the espresso powder, salt, and vanilla to enhance and balance the chocolate flavor.
Step 3: Whisk other wet ingredients
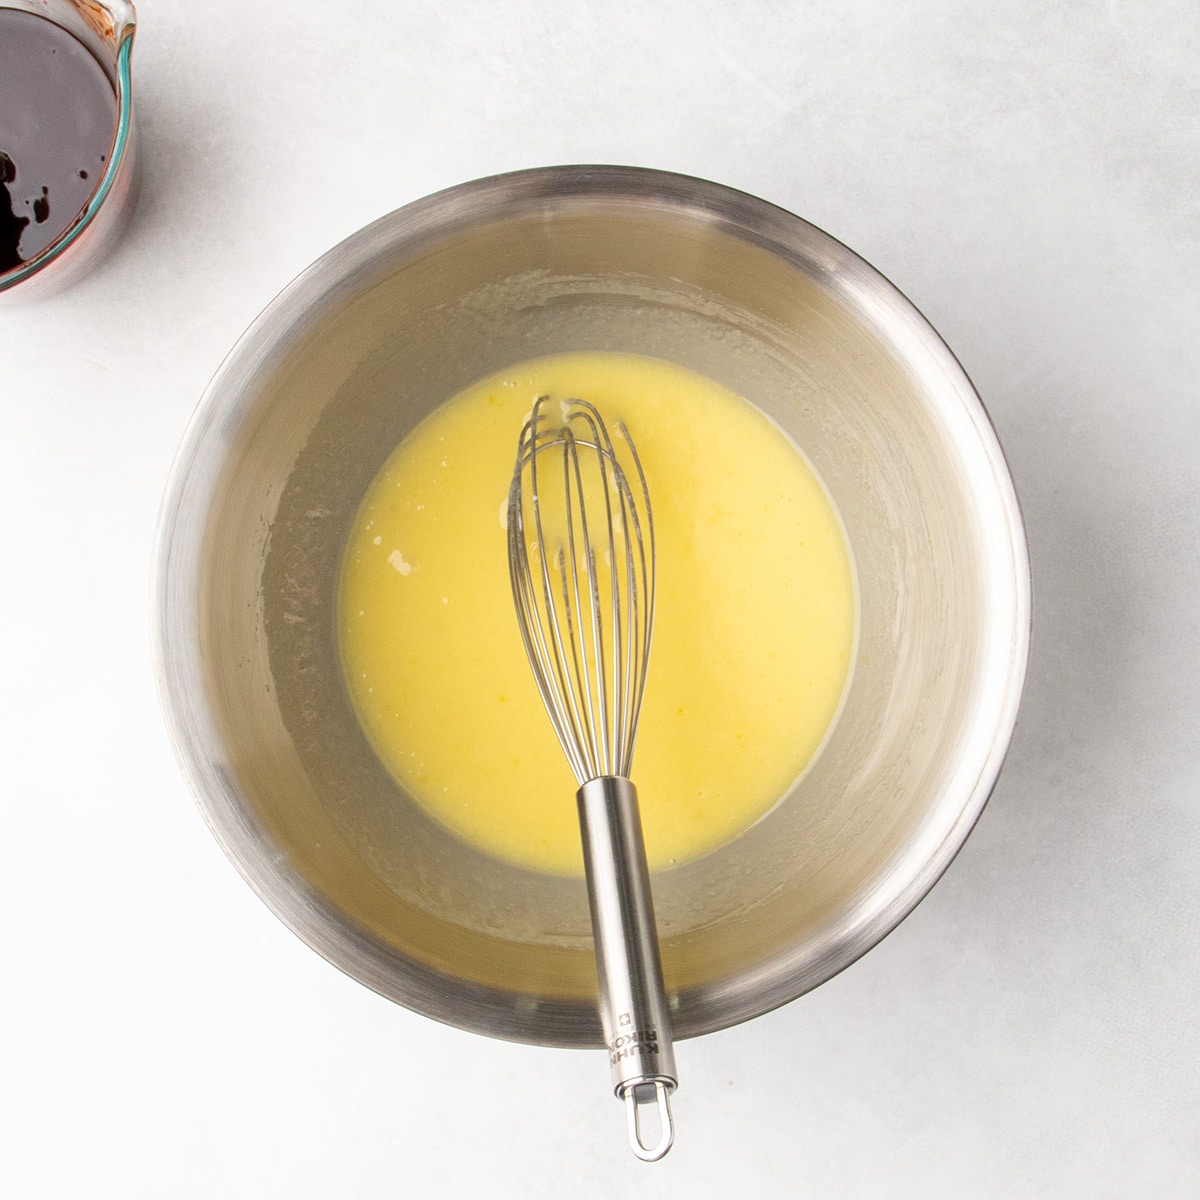
In a large mixing bowl, whisk the granulated sugar, Greek yogurt, and eggs until very smooth and uniform. Thorough mixing helps begin to dissolve the sugar and evenly distribute the eggs and yogurt throughout the batter.
Step 4: Add chocolate mixture
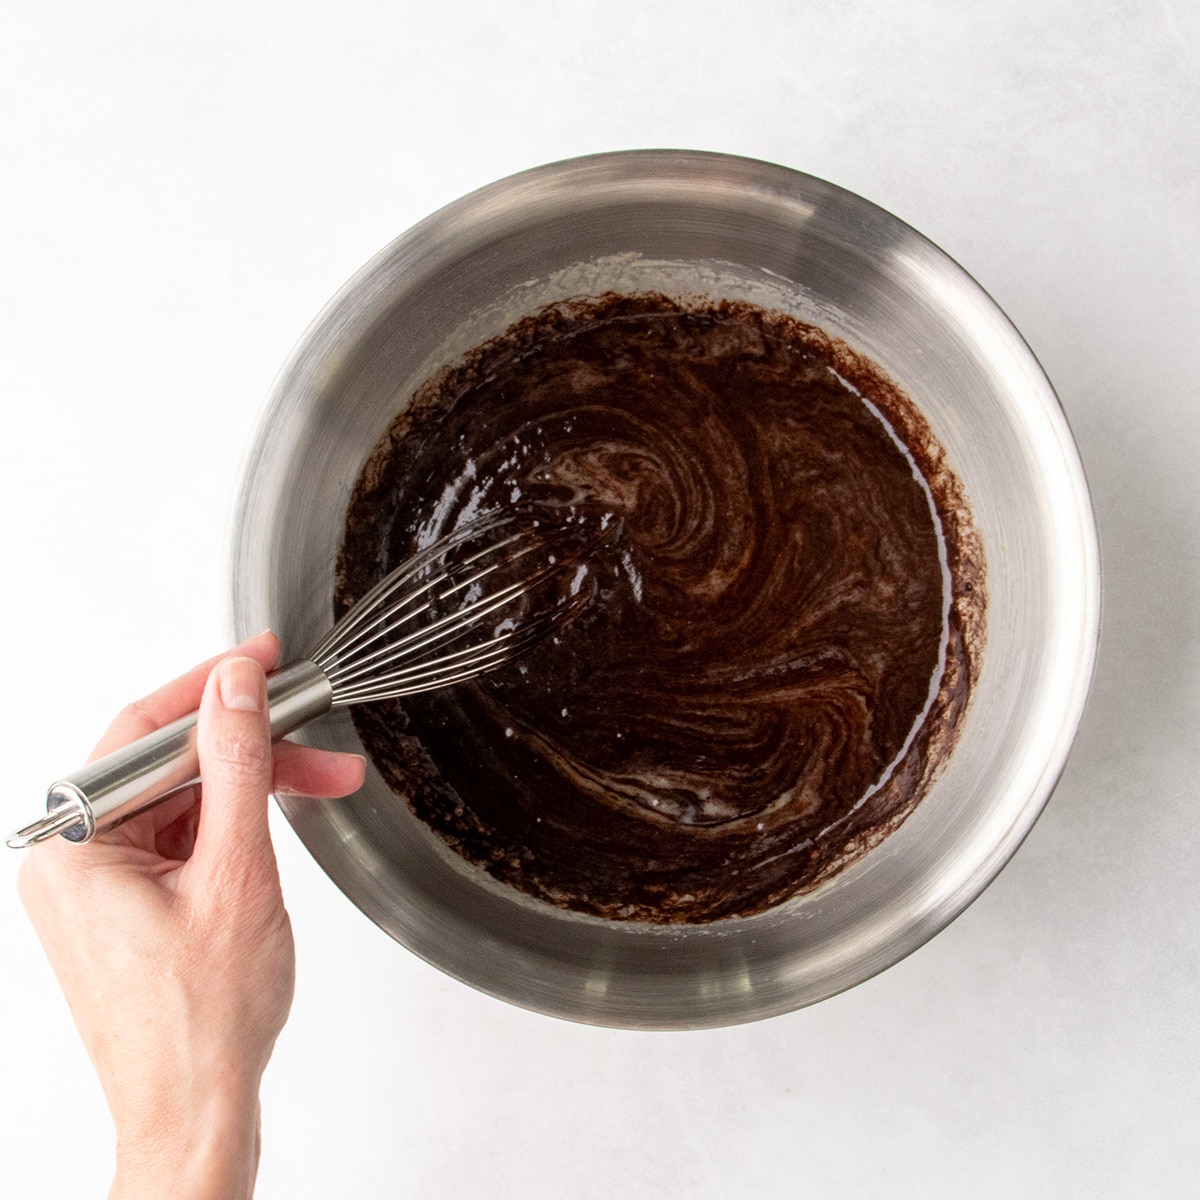
Pour the melted chocolate mixture into the egg mixture and whisk until smooth and glossy. If the chocolate mixture is still hot to the touch, let it cool more first, so it doesn’t begin to cook the eggs.
Step 5: Add protein powder
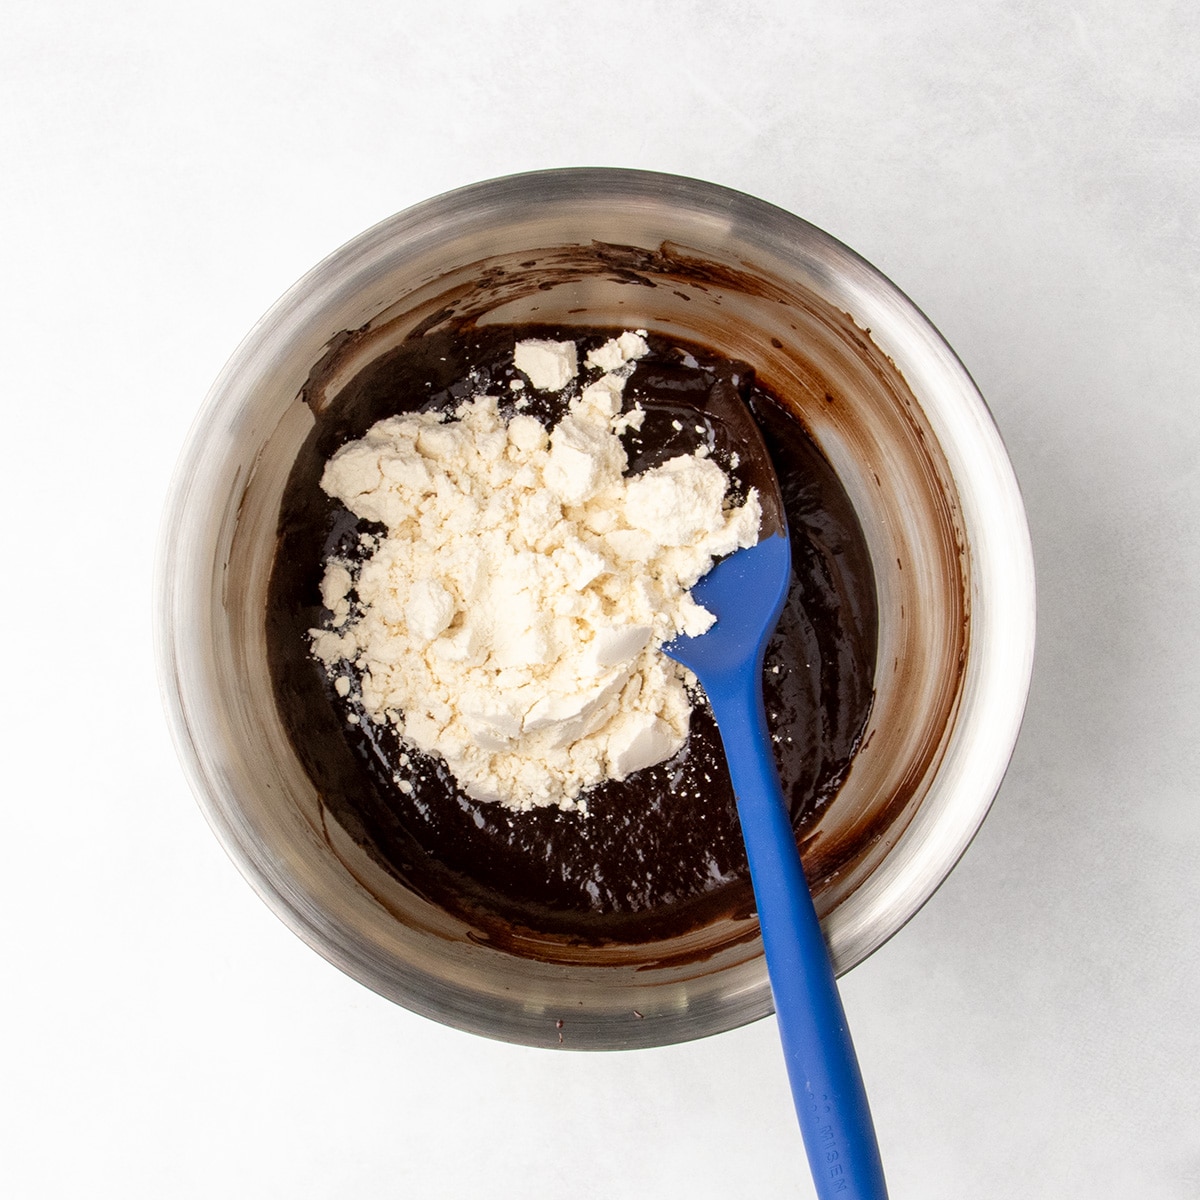
The protein powder is the only remaining ingredient. Add it all at once, but scatter it over the batter so it’s easier to incorporate evenly.
Step 6: Mix to combine
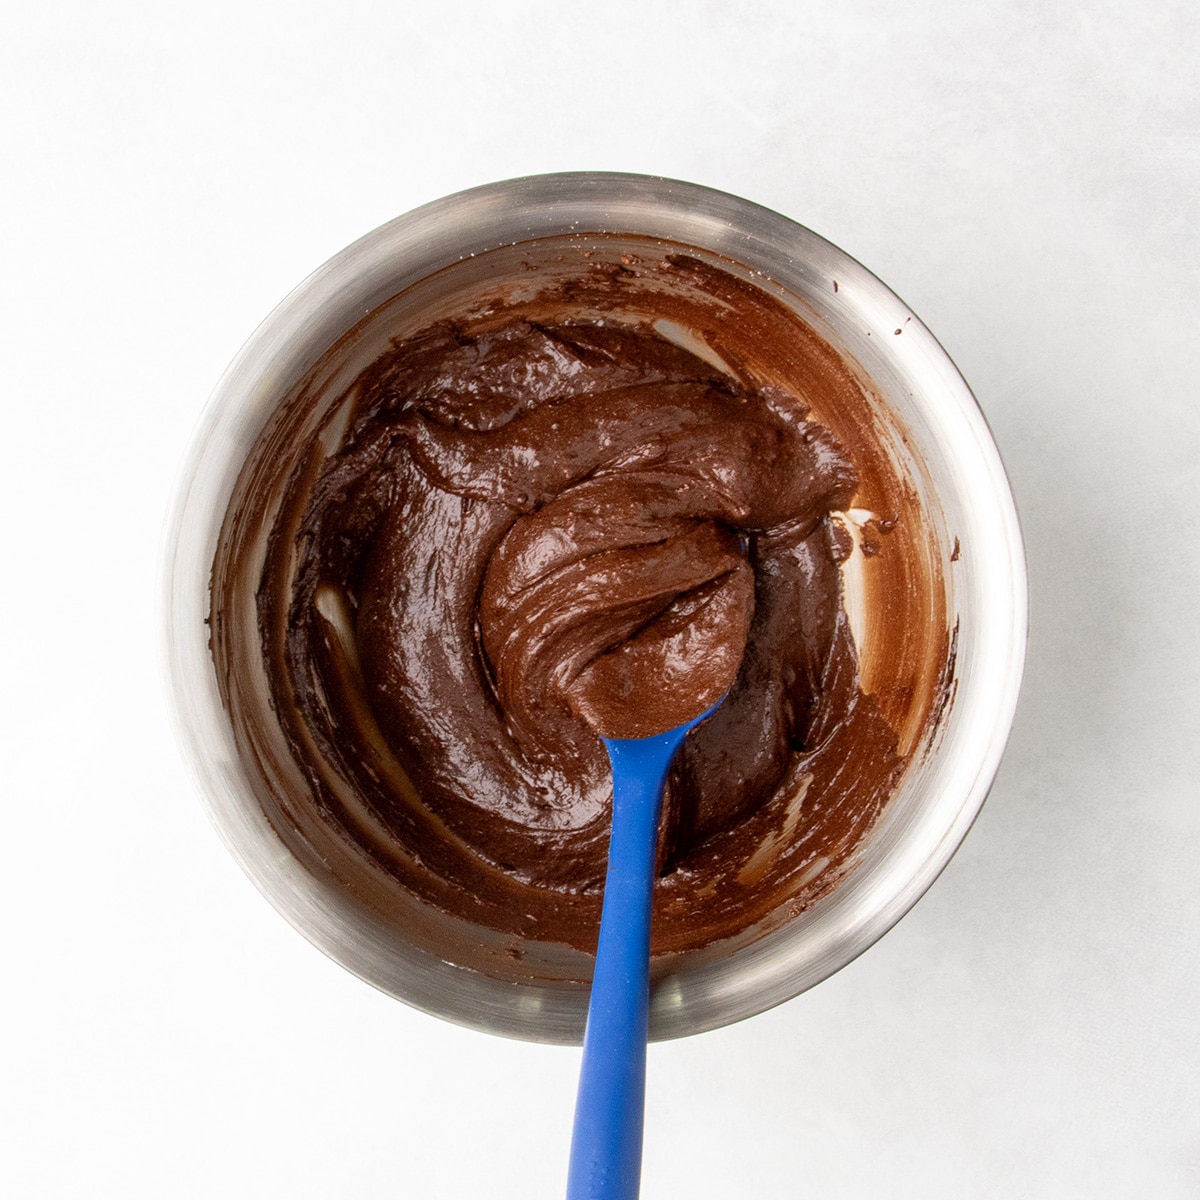
Use a silicone spatula to fold the protein powder just until no dry streaks remain. Mixing more than necessary can thicken the batter and make the brownies firmer and less tender.
Step 7: Transfer to the pan
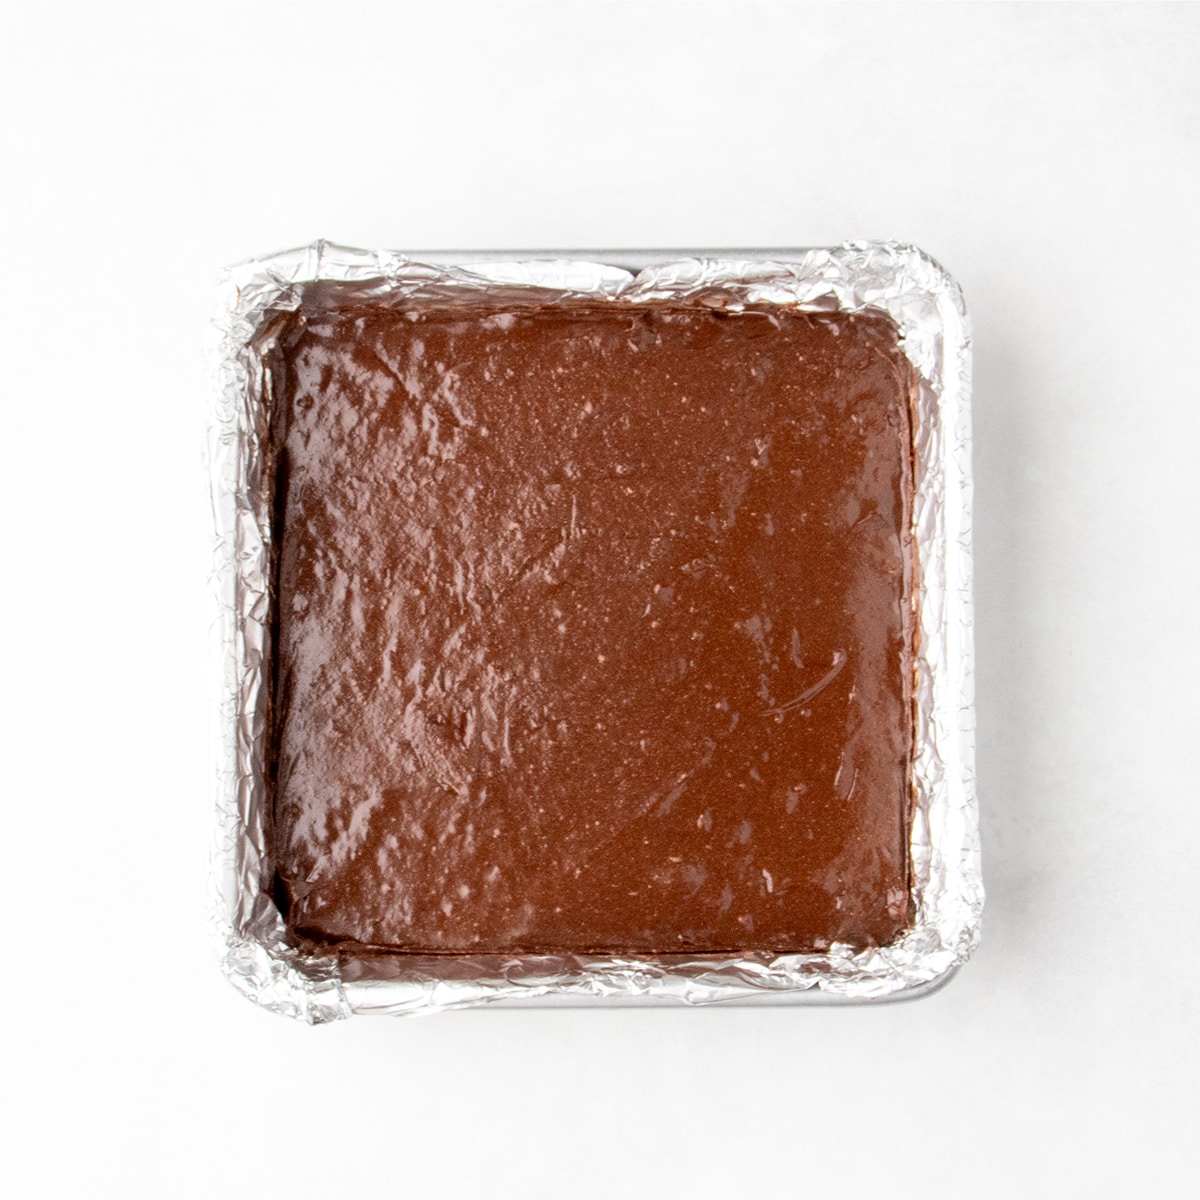
Scrape the thick batter into the prepared square baking pan and spread it into an even layer so the brownies bake evenly. Press the batter into the corners to avoid gaps, then tap the pan flat on the counter a few times to release any large air bubbles.
Step 8: Bake
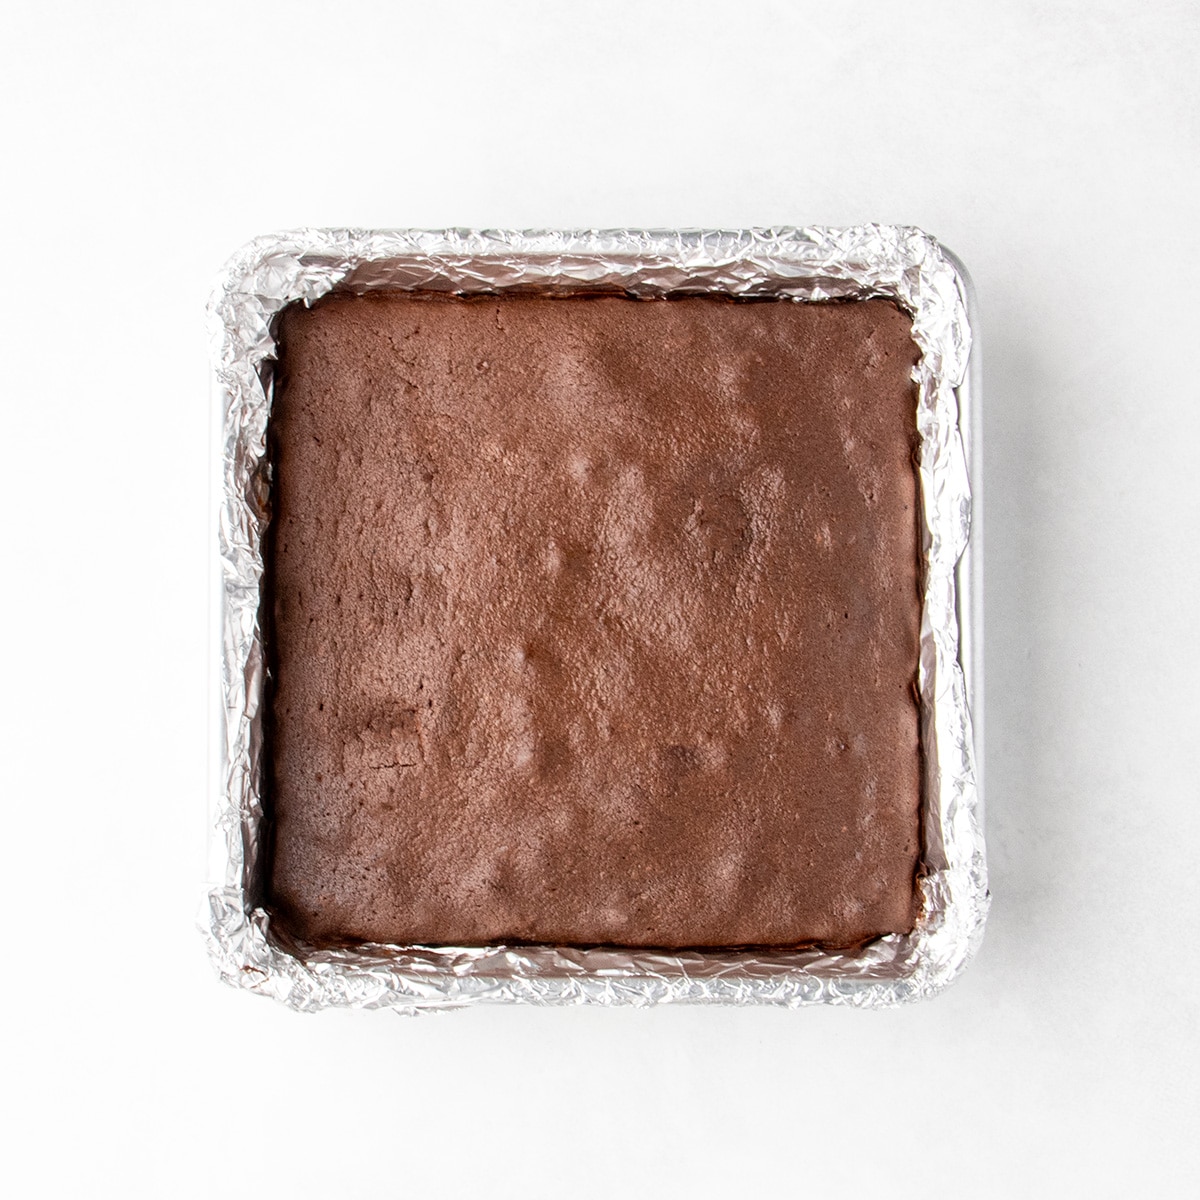
Bake at 325°F for about 30 minutes, piercing any large surface bubbles that form during baking with a toothpick. The brownies are done when the center is set and slightly paler like the edges, and a cake tester comes out with moist crumbs but no wet batter.
Step 9: Cool, chill, & slice
Let the brownies cool in the pan for at least 10 minutes or until stable enough to transfer to a wire rack to cool completely. Chill for 30 minutes in the refrigerator before slicing for clean slices.
Expert tips
Make the chocolate mixture first
By the time you’ve whisked together the remaining wet ingredients, the melted chocolate will have cooled and will be ready to combine.
Line the pan with nonstick foil
My favorite baking pans are cast aluminum because they heat quickly, bake evenly, and don’t warp. I still line the pan so I can lift the brownies out easily for clean slicing. I like aluminum foil that’s nonstick or greased with cooking oil spray because it’s very thin, conforms closely to the pan, and releases cleanly from the brownies.
Try reducing the sugar
For a less sweet brownie, you can reduce the granulated sugar to 1/2 cup. The brownies will still be moist and tender, but they’ll turn out a little flat.
Make them extra thick
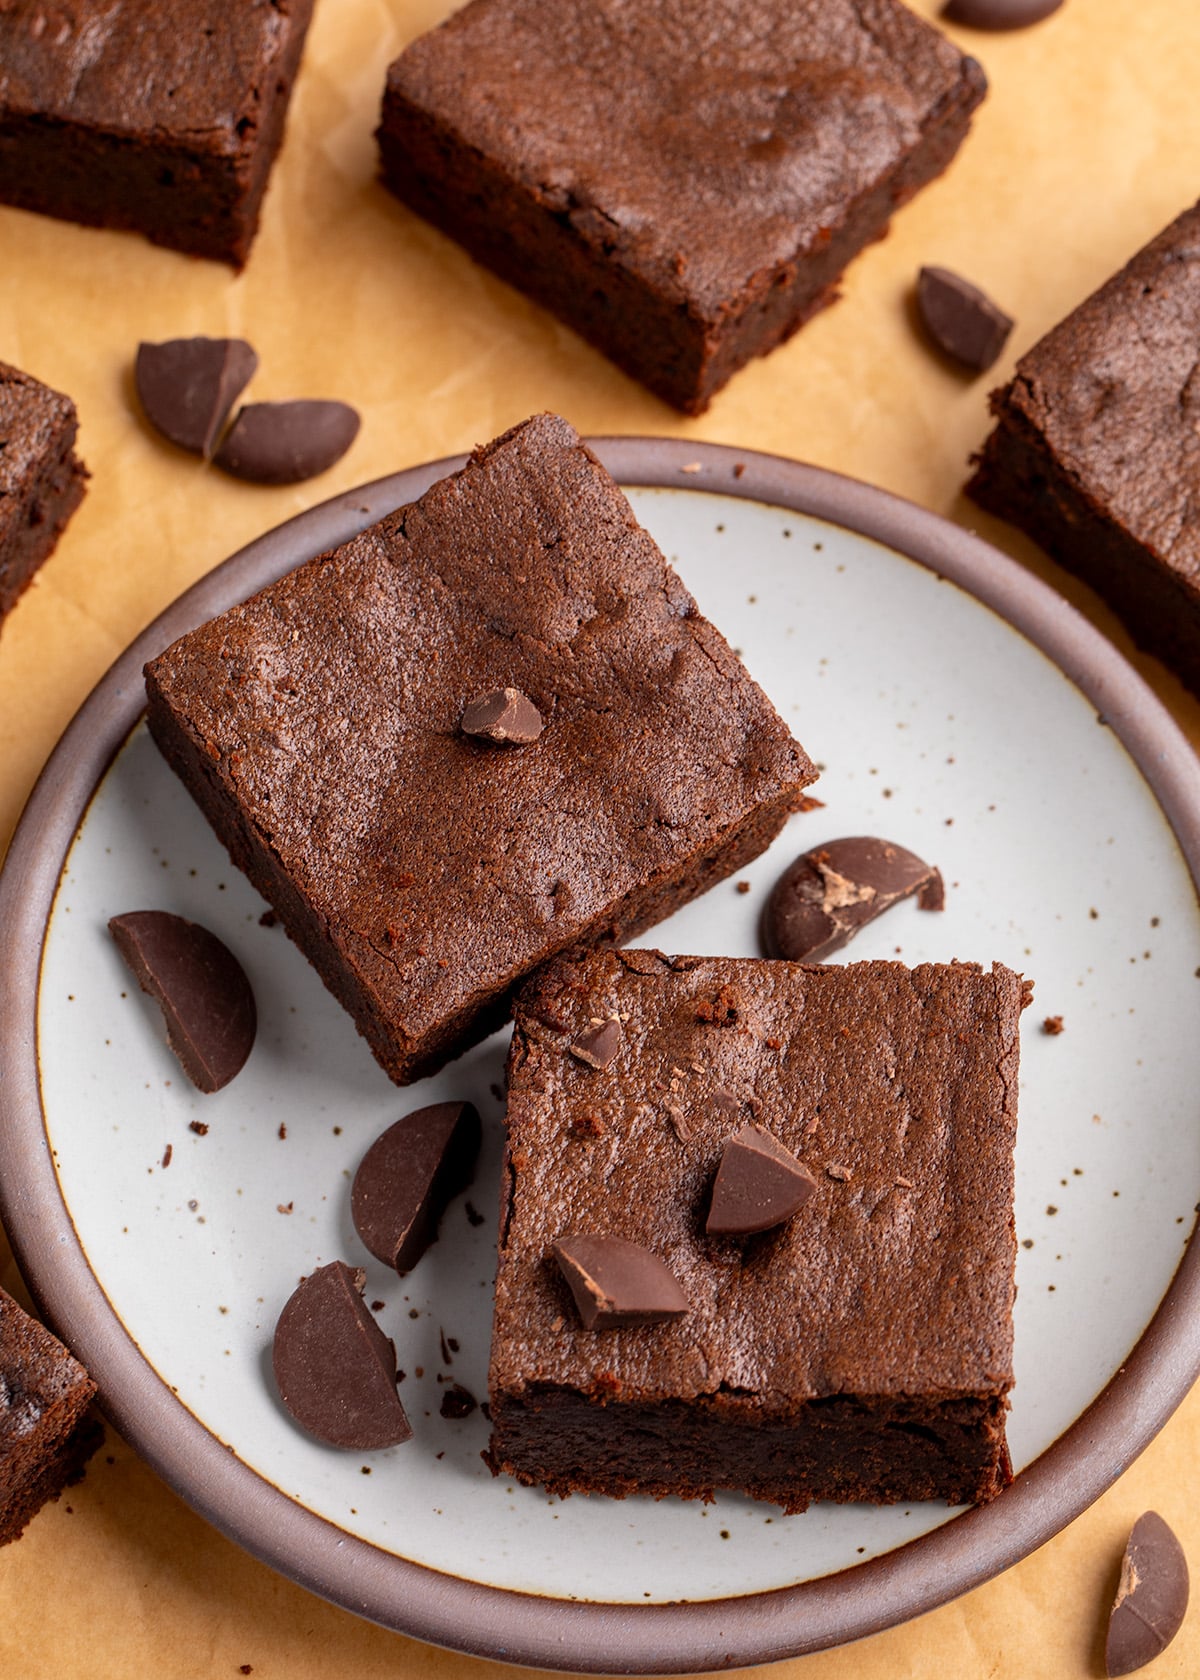
Some of the brownies pictured here are extra thick. To make them, I increased every ingredient in the recipe by 50% and baked the batter in the same 8-inch square pan for about 35 to 40 minutes. Since there isn’t a 1.5x yield option in the recipe card, you’ll have to multiply each ingredient by 1.5 yourself.
Ingredient substitutions
Dairy free
To make these brownies dairy free, use block-style vegan butter, dairy-free baking chocolate, and a plain nondairy yogurt that’s thick like Greek yogurt (or strain regular nondairy yogurt of excess moisture). The protein powder is the trickier substitution, since the recipe was developed with a whey-casein blend that provides structure without drying out the brownies.
If you use a vegan protein powder, try starting with 45 to 50 grams instead of 62 grams, since plant-based powders tend to absorb more moisture. If the batter seems noticeably thicker than the original, add more yogurt one tablespoon at a time until it reaches a consistency that looks similar to what you see in the photos here.
Egg free
Try Bob’s Red Mill Egg Replacer or Just Egg liquid replacer, using the amount recommended to replace 2 eggs. Two flax or chia eggs may also work, but they’re more likely to make the brownies softer and a little heavier.
Storage instructions
Store the brownies in a sealed container in the refrigerator for up to 5 days. Let them sit at room temperature briefly before serving if you prefer a more fudgy texture.
For longer storage, freeze the brownies in a freezer-safe container for up to 3 months. Defrost in the refrigerator or at room temperature before serving.
Protein Brownies Recipe
Tell Google you trust GFOAS!
Ingredients
- 4 ounces (115 g) semisweet or bittersweet baking chocolate, melting wafers, or a chopped bar
- 8 tablespoons (112 g) unsalted butter, roughly chopped
- 6 tablespoons (30 g) Dutch-processed cocoa powder
- ½ teaspoon espresso powder
- ½ teaspoon kosher salt
- 1 teaspoon vanilla bean paste, or pure vanilla extract
- ¾ cup (150 g) granulated sugar
- 7 tablespoons (100 g) plain Greek-style yogurt, at room temperature
- 2 (100 g out of shell) eggs, at room temperature
- 2 scoops (62 g) whey-casein protein powder, I really like PEScience Select
Instructions
- Preheat the oven to 325°F. Line an 8-inch x 8-inch square cast aluminum pan with nonstick aluminum foil or with regular foil and cover evenly with cooking oil spray. Set the pan aside.
- Place the chocolate and butter in a medium-size, heat-safe bowl. Melt in a double boiler or in the microwave in 30-second increments, stirring until until smooth.
- To the melted chocolate mixture, whisk in the cocoa powder, espresso powder, salt, and vanilla until smooth. Set aside the mixture to cool until no longer hot to the touch.
- In a large mixing bowl, whisk together the sugar, Greek yogurt and eggs until well-combined and smooth.
- Add in the melted chocolate mixture and whisk to combine fully. The mixture should be smooth and glossy.
- Add the protein powder to the batter, and fold with a silicone spatula just until fully combined. Do not overmix.
- Transfer the the batter to the prepared pan and spread into an even layer. Tap the bottom of the pan a few times on a flat surface to break any large air bubbles.
- Bake until the center of the preheated oven until the brownies are fully set, not jiggly, and a tester comes out with moist crumbs rather than wet batter (25 to 30 minutes).
- Cool completely, then chill briefly before slicing into 9 equal squares. Chilling will make it possible to get clean slices, but you may still have to wipe your knife clean after each cut.
Nutrition
Nutrition information is automatically calculated, so should only be used as an approximation.