
This post may contain affiliate links. Please read our disclosure policy.
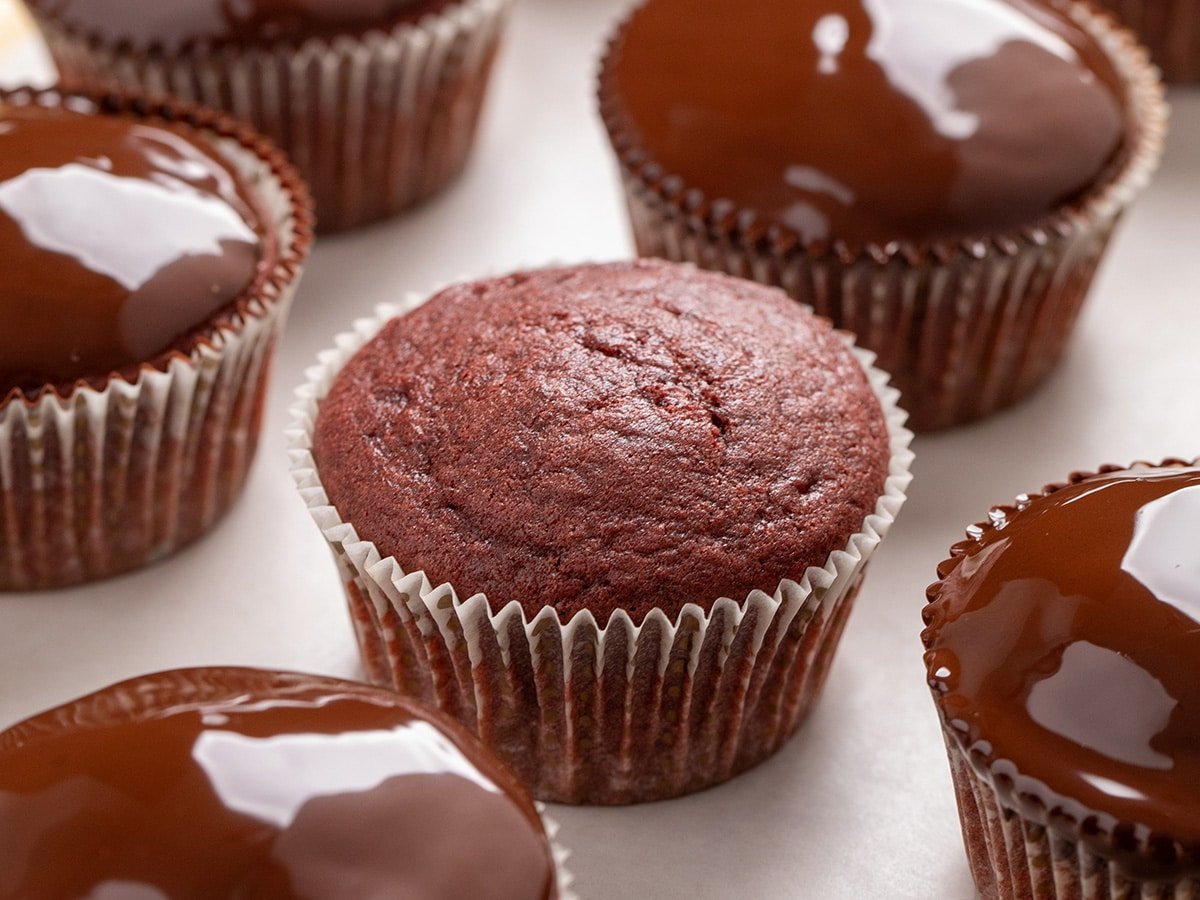
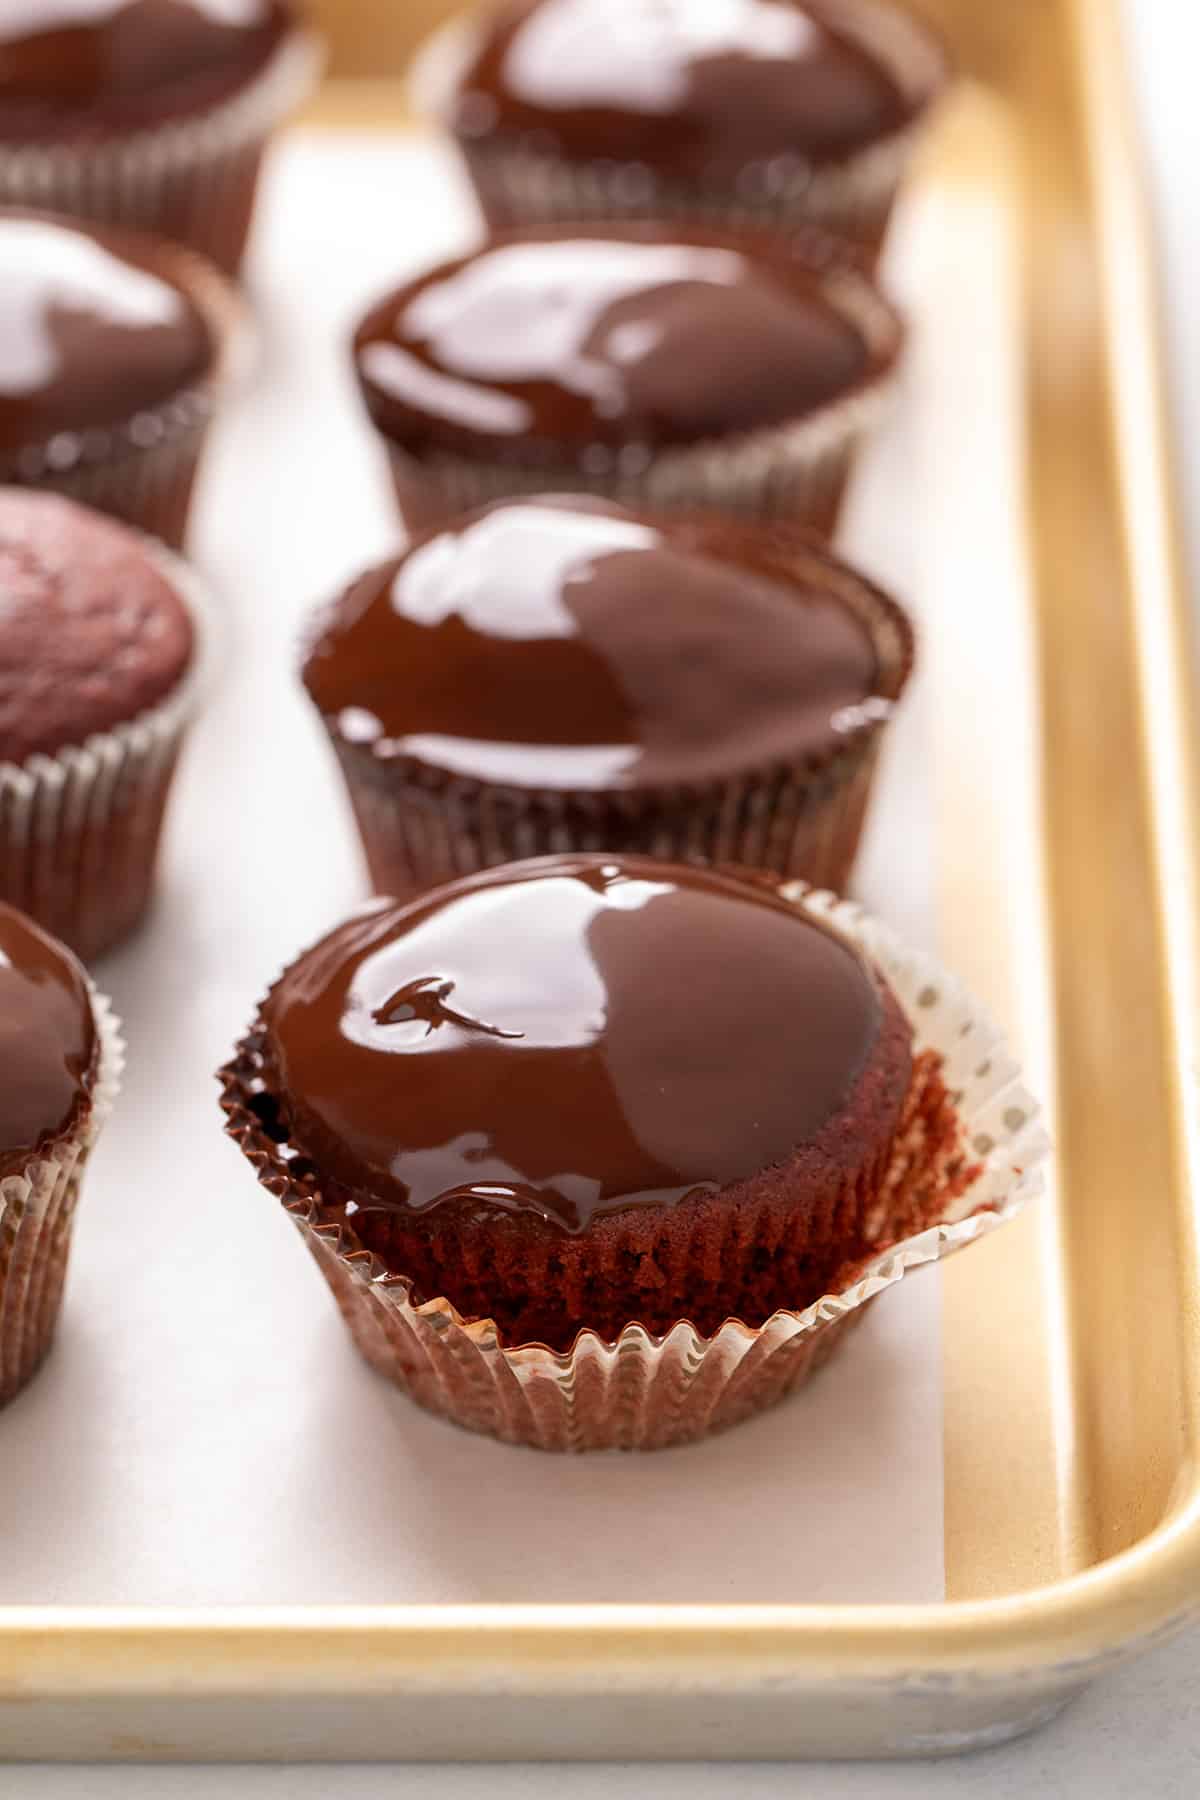
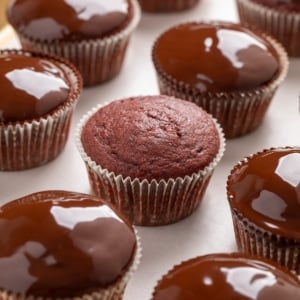
These gluten free red velvet cupcakes are buttery and rich with light chocolate flavor and a light and super tender crumb.
My vanilla-first, gluten-free son always picked red velvet for his birthday to keep the chocolate lovers happy, too. And the festive red color is ideal for Valentine's Day too!
Why this recipe works
These cupcakes have the modest chocolate flavor and gentle tang you expect from red velvet thanks to a combination of real buttermilk and apple cider vinegar. Their fun red-brown color comes from natural cocoa powder plus highly-pigmented gel food coloring (a little goes a long way).
Rather than just using the batter from our classic gluten free red velvet cake to bake cupcakes, the ingredients here are balanced differently for cupcakes that bake up flat and stay super moist.
The 2-ingredient chocolate glaze is an easy way to dress them up, but you could also frost these with your favorite gluten free frosting.
Recipe ingredients
Here are the ingredient you'll need to make these cupcakes at home, and a bit about the role each one plays in recipe success:

- Gluten free flour blend: Provides much of the cupcakes' structure. Be sure to use a well-balanced blend with a finely ground rice flour as its base for light cupcakes without any grit. I like using Better Batter's original gluten free flour blend or Nicole's Best with added xanthan gum. Bob's Red Mill 1-to-1 gluten free blend with an additional 1/2 teaspoon gum should work well, too.
- Cocoa powder: Adds just a hint of chocolate flavor. Using natural cocoa powder, which has a lighter brown color, helps keep the cupcakes red, but Dutch-processed adds more flavor.
- Baking powder and soda: Add rise and help the cupcakes brown lightly in the oven. The baking soda reacts with acidity in the buttermilk, vinegar and natural cocoa powder, if using.
- Salt: Brightens other flavors.
- Buttermilk: Adds the right amount of moisture which brings the mixture together, reacts with the baking soda to create rise, and adds bright tangy flavor. If you don't have buttermilk, you can add 6 tablespoons (or 3/8 cup milk) to 1/2 cup sour cream as a foolproof buttermilk alternative.
- Vanilla: Vanilla extract adds depth of flavor. For more flavor, use vanilla bean paste instead.
- Apple cider vinegar: Helps add some additional tang and reacts with natural cocoa powder to create a reddish color.
- Butter: Adds buttery flavor, and helps lighten the crumb by adding air when creamed with the sugar.
- Sugar: Adds sweetness, locks in moisture for a tender cake, and lighten the crumb when creamed with the butter.
- Eggs: Add binding and leavening, the yolks add richness, the whites add moisture, and the whites help the cupcakes hold their shape as they cool.
- Gel food coloring: Adds more red color than you would get from natural cocoa powder alone. Be sure to use gel food coloring, since liquid food coloring only has enough pigment to add color in quantities so large that the cupcakes will have a bitter taste. Americolor brand “super red” gel food coloring is gluten free and my choice.
How to make gluten free red velvet cupcakes (with step by step photos)
Here's a visual representation of how to make these cupcakes. For full instructions and ingredient amounts, please see the recipe card below.
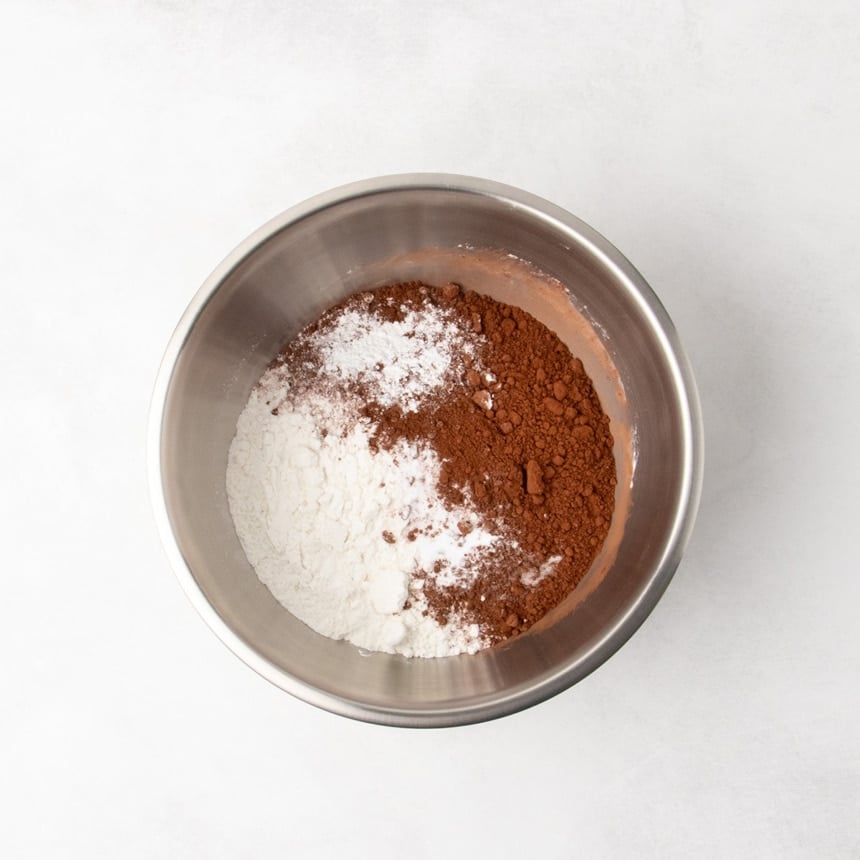
Whisk the dry ingredients
Whisk together all of the dry ingredients (gluten free flour blend with xanthan gum, baking powder and soda, salt, and cocoa powder) to ensure even combining without any pockets of concentrated leaveners.
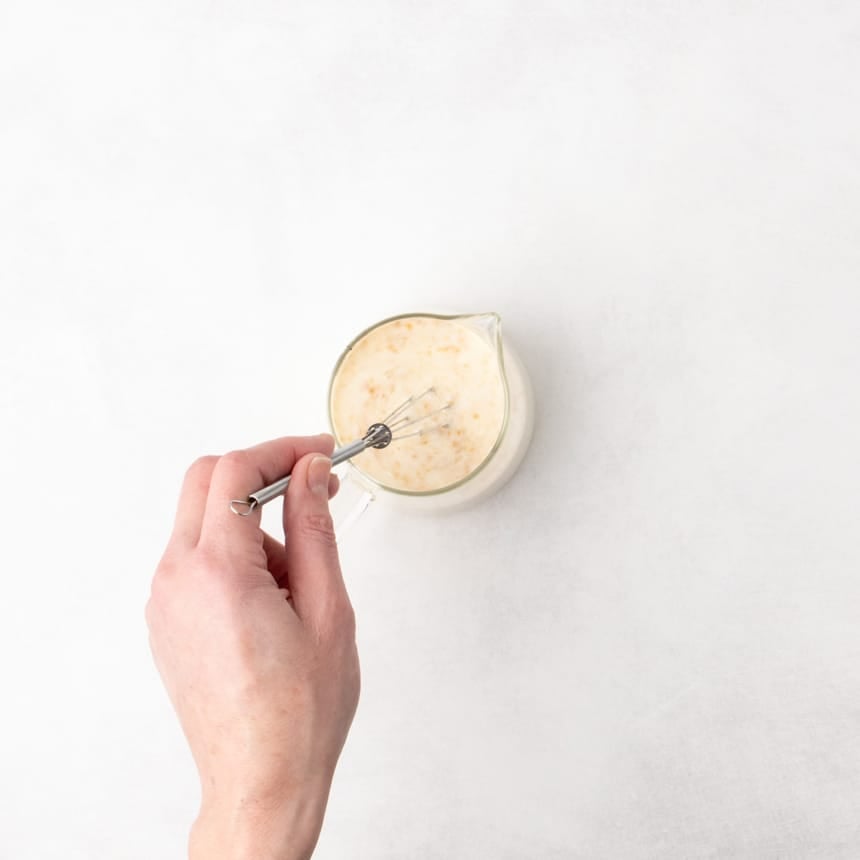
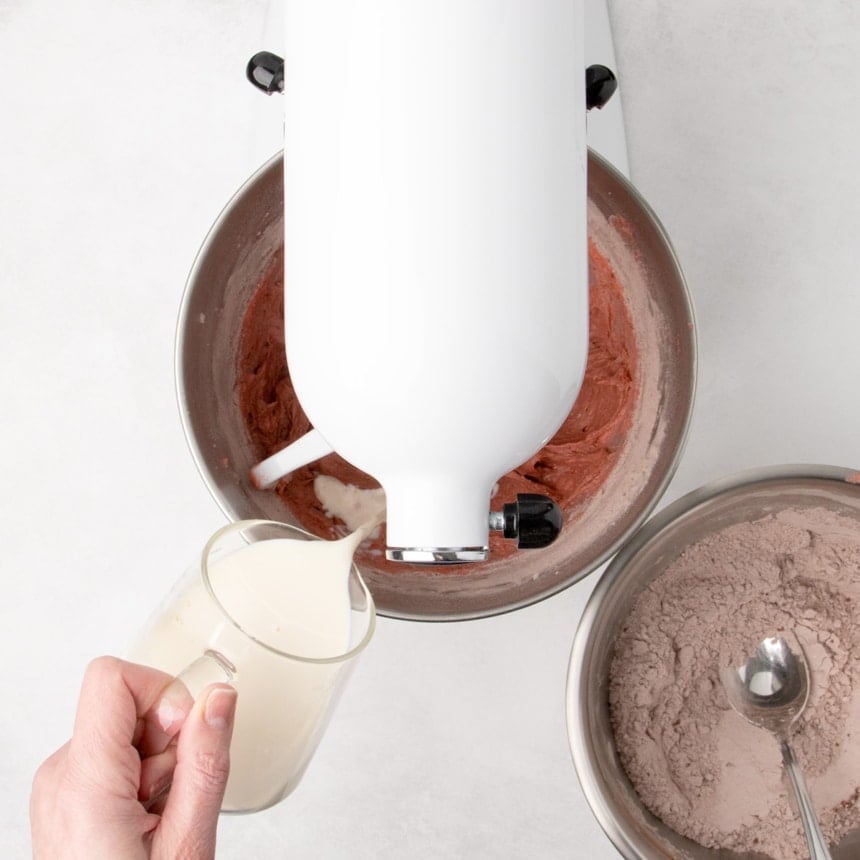
Make the buttermilk mixture
To the buttermilk, add vanilla and vinegar, and whisk to combine well. This will also ensure no clumping.
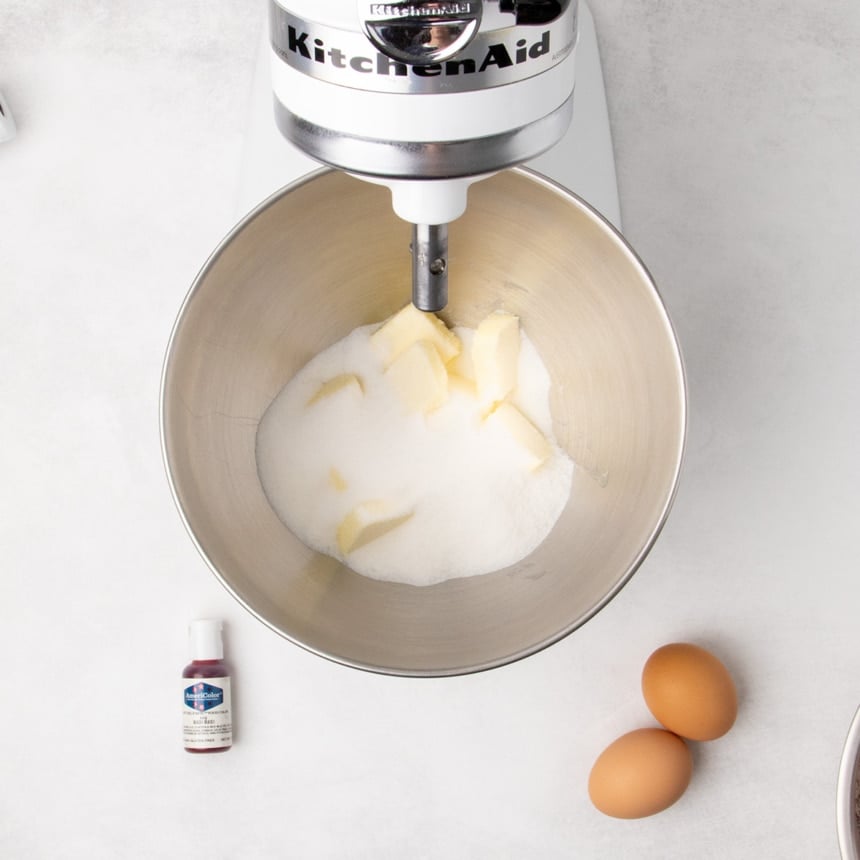
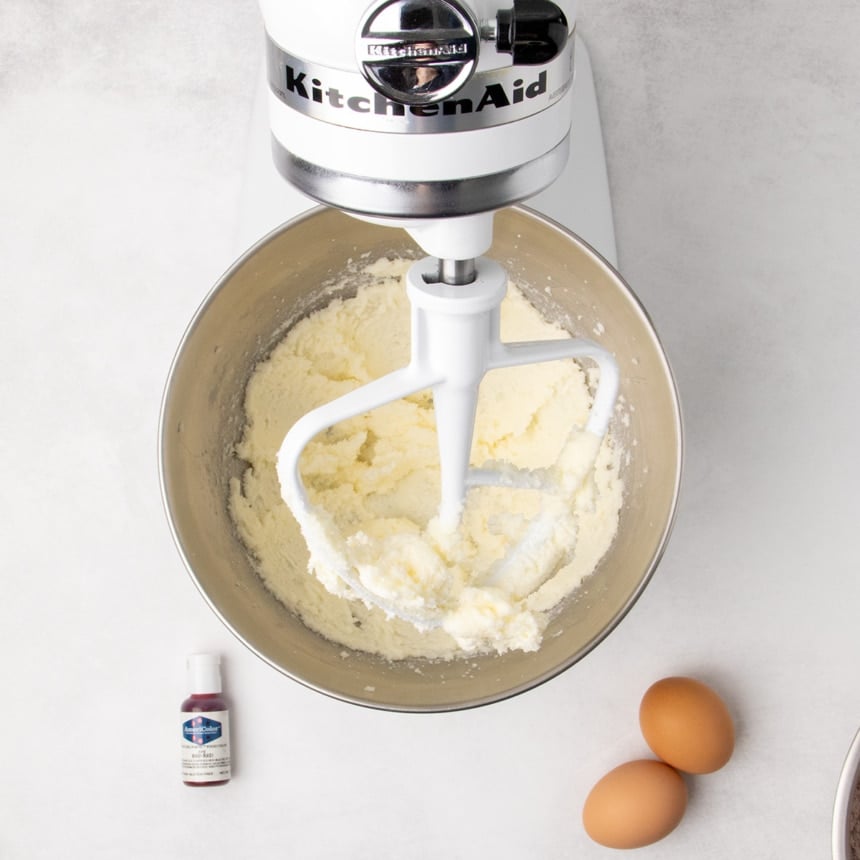
Cream the butter and sugar
In the bowl of a stand mixer with the paddle attachment or in a large bowl with a handheld mixer, cream the butter and sugar for less than 2 minutes. This will cut the sugar crystals into the butter to add some air for a light and tender crumb, but not so much that the cupcakes rise into a dome. Be sure the butter is at room temperature, between 68°F and 70°F, so it doesn't just create a pebbly, lumpy mixture.
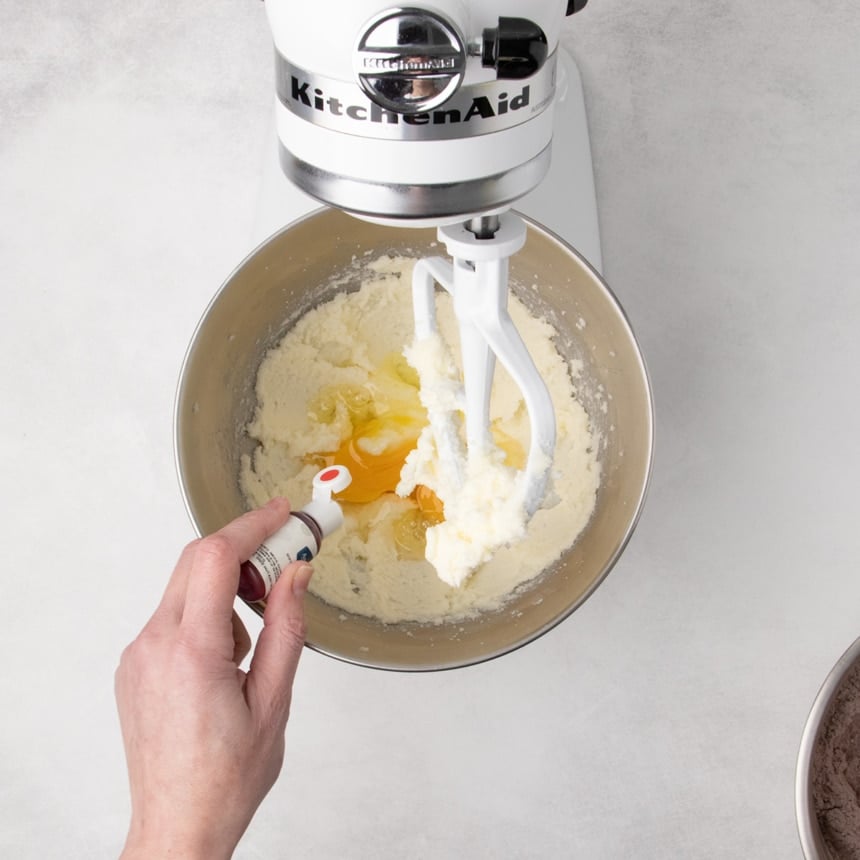
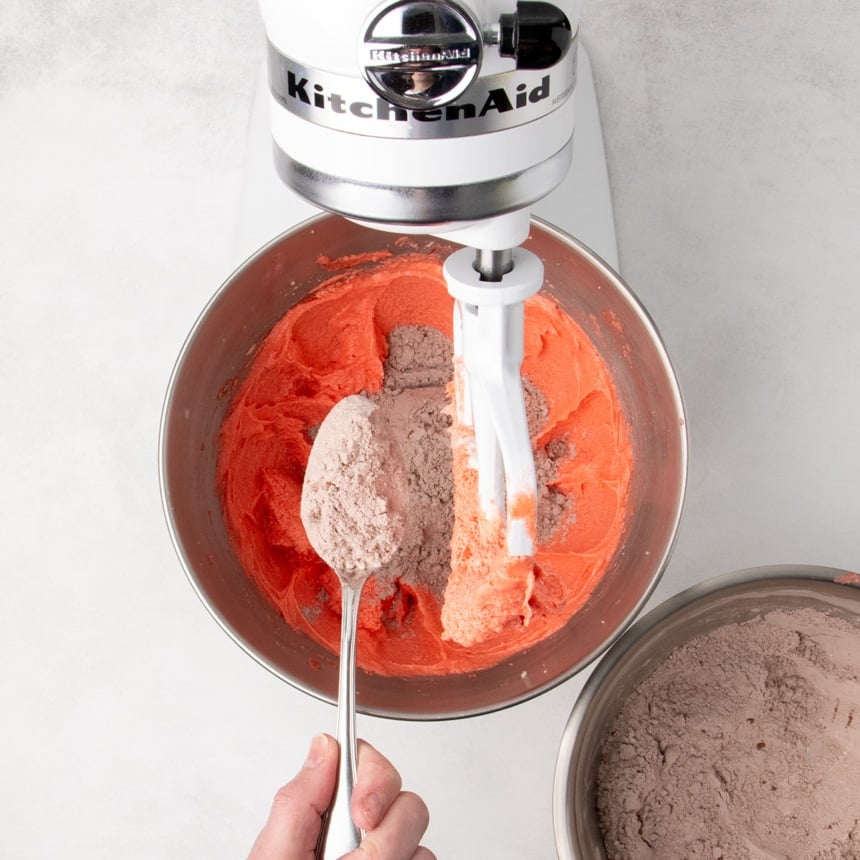
Add the eggs and food coloring
Beat in the 2 eggs and about 1/4 teaspoon super red gel food coloring for a smooth batter that's bright red. The color will fade during baking, so make sure it's brighter than you want the baked cupcakes to be.
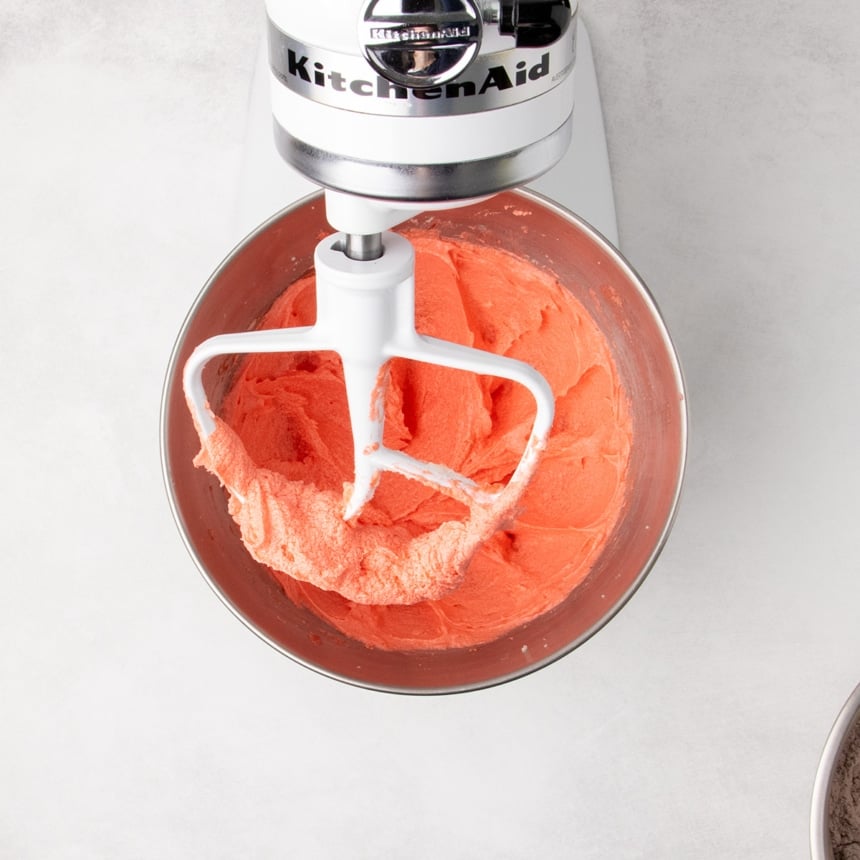
Finish the batter
Add the combined dry ingredients in 3 batches and the buttermilk mixture in 2 batches, beginning and ending with dry. This is designed for even combining of all of the ingredients without pockets of the dry mixture.
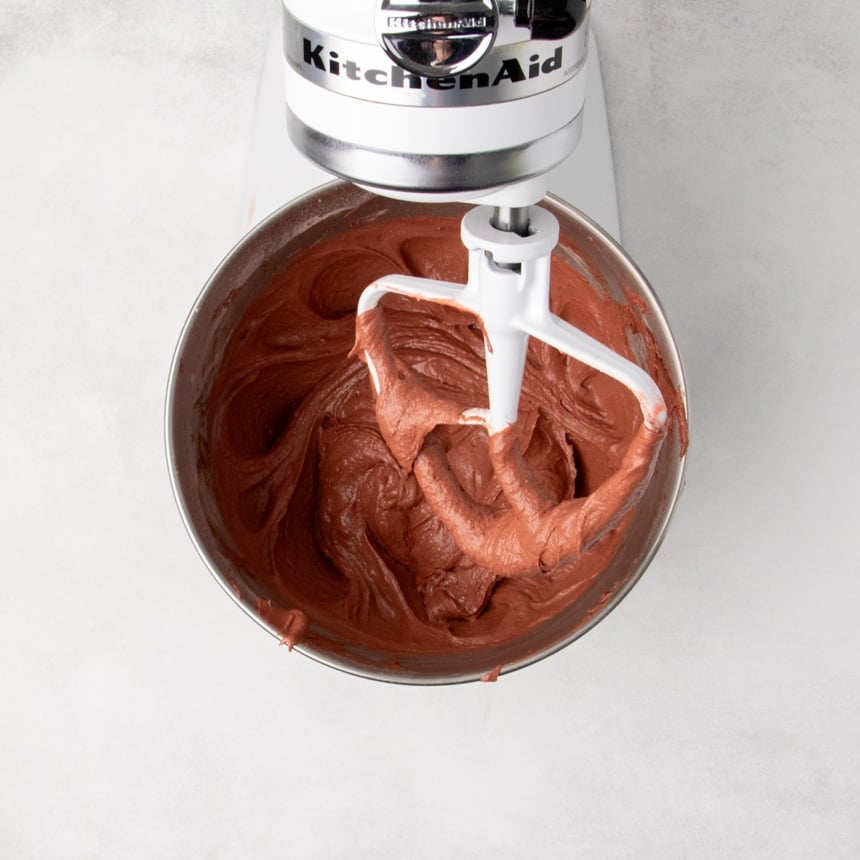
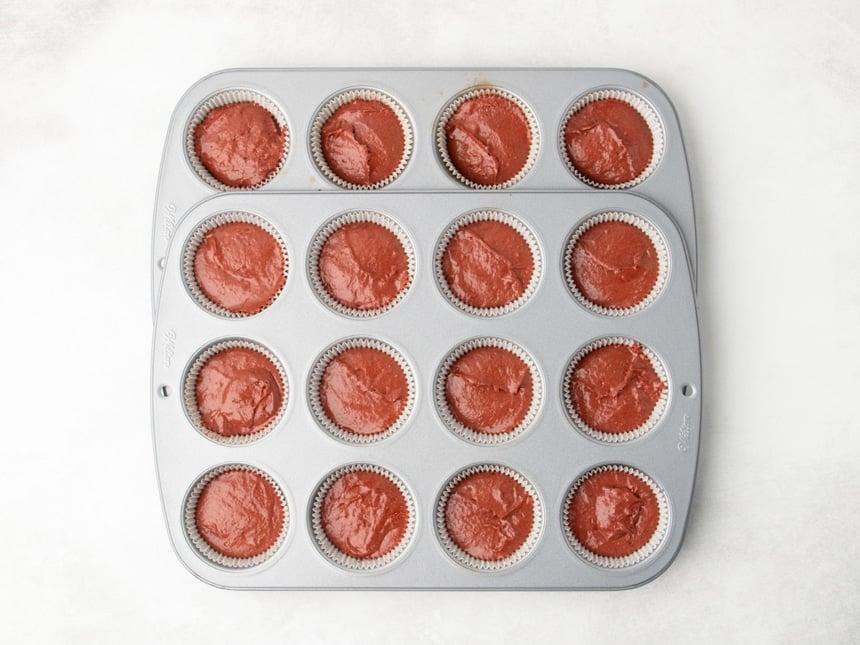
Divide the batter
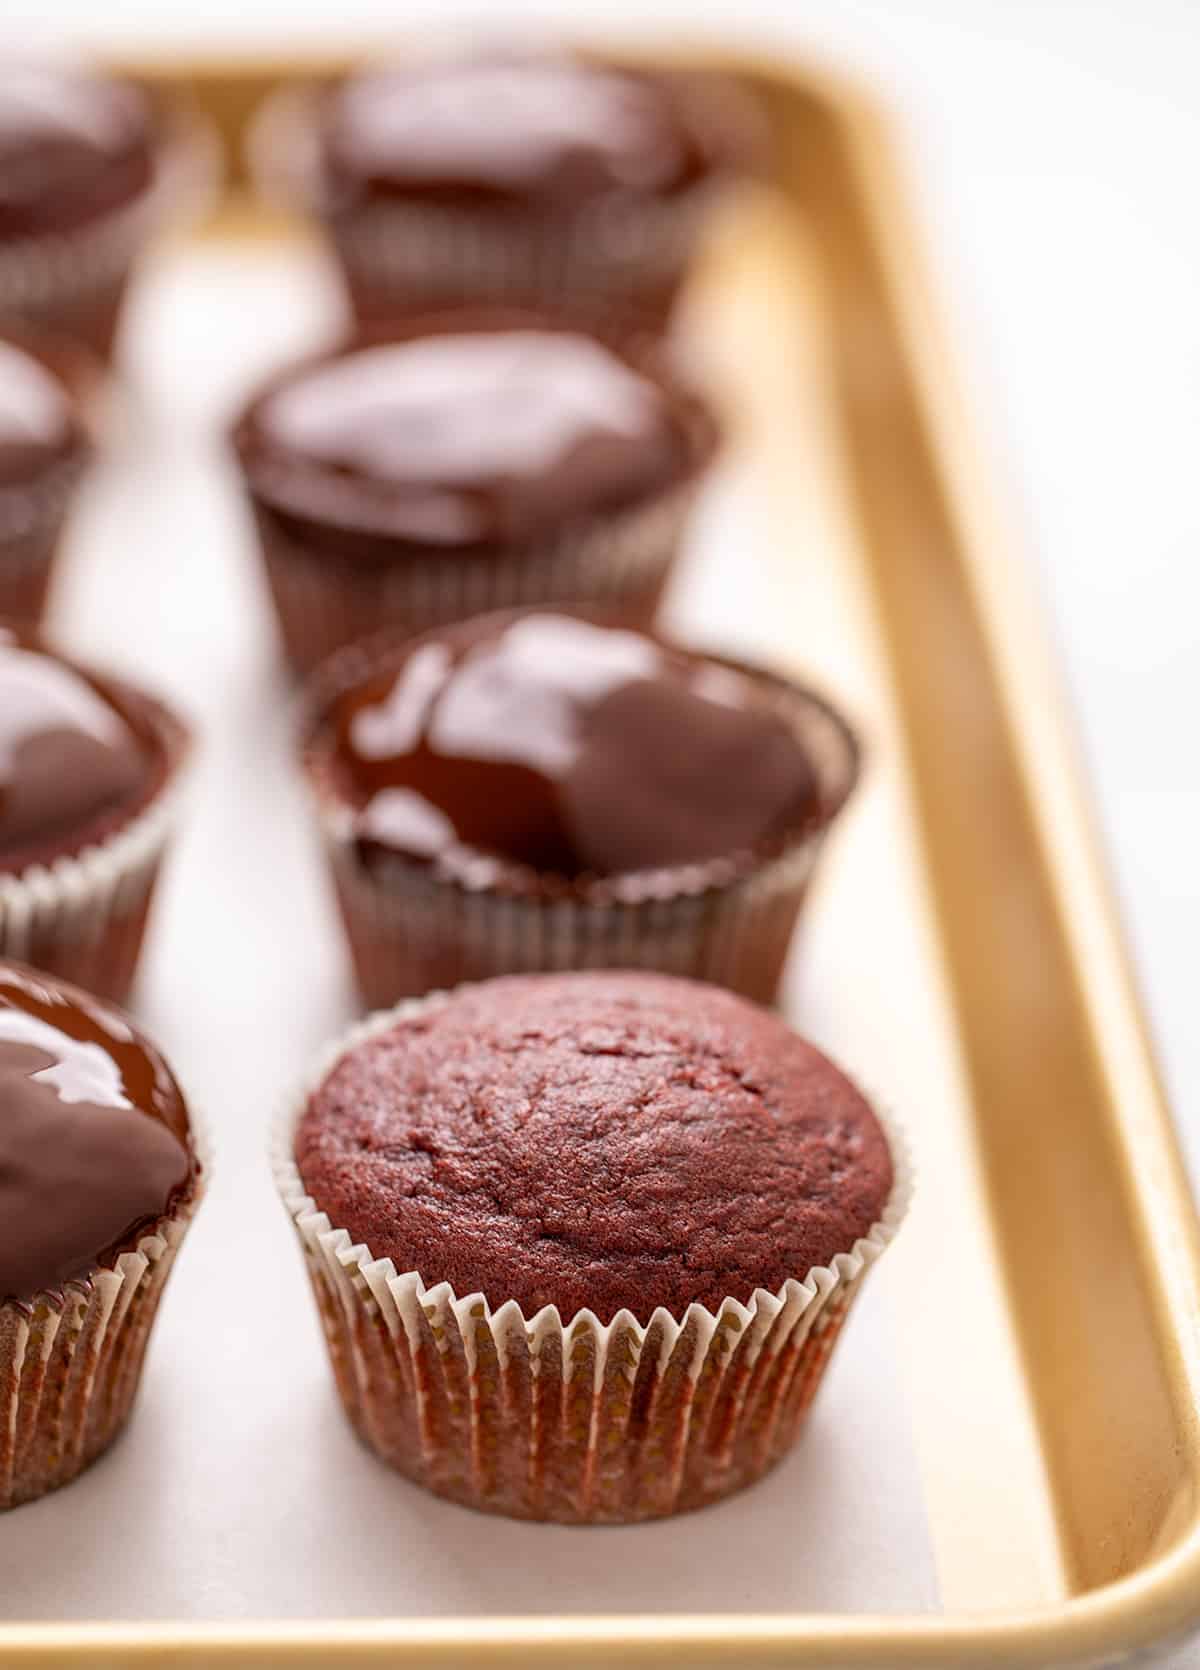
The batter will be smooth, soft and reddish brown in color. Fill the lined wells of cupcake tins about 2/3 of the way full with batter. If you overfill the wells, the cupcakes will rise into a muffin-style dome instead of the flat top we want for cupcakes to hold a chocolate glaze or frosting.
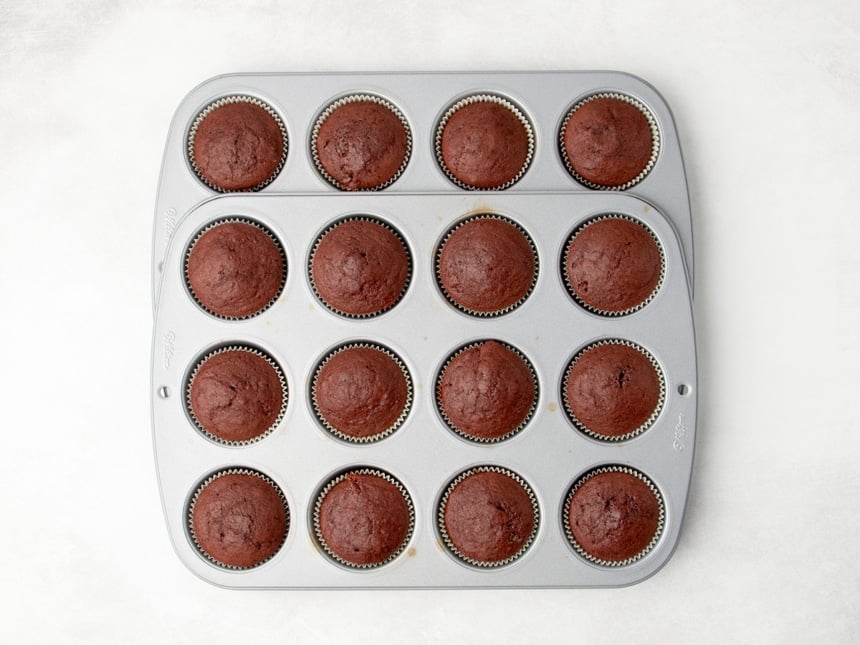
Bake the cupcakes
Bake at 325°F, a relatively low temperature, to encourage the cupcakes to bake slowly without doming, and all the way through without burning on the bottom. Let the cupcakes cool very briefly before removing from the tin so they don't steam in the liners and become chewy or shrink.
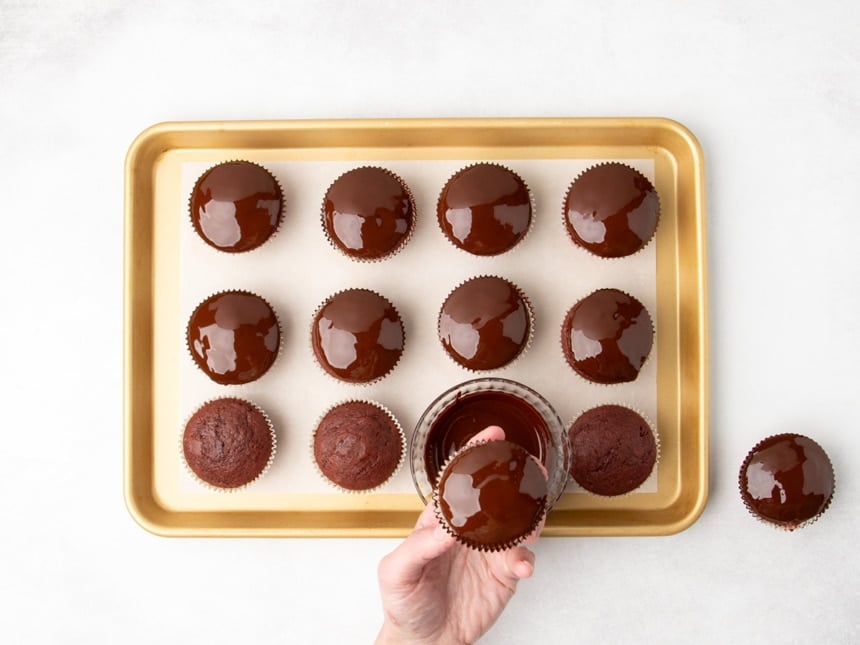
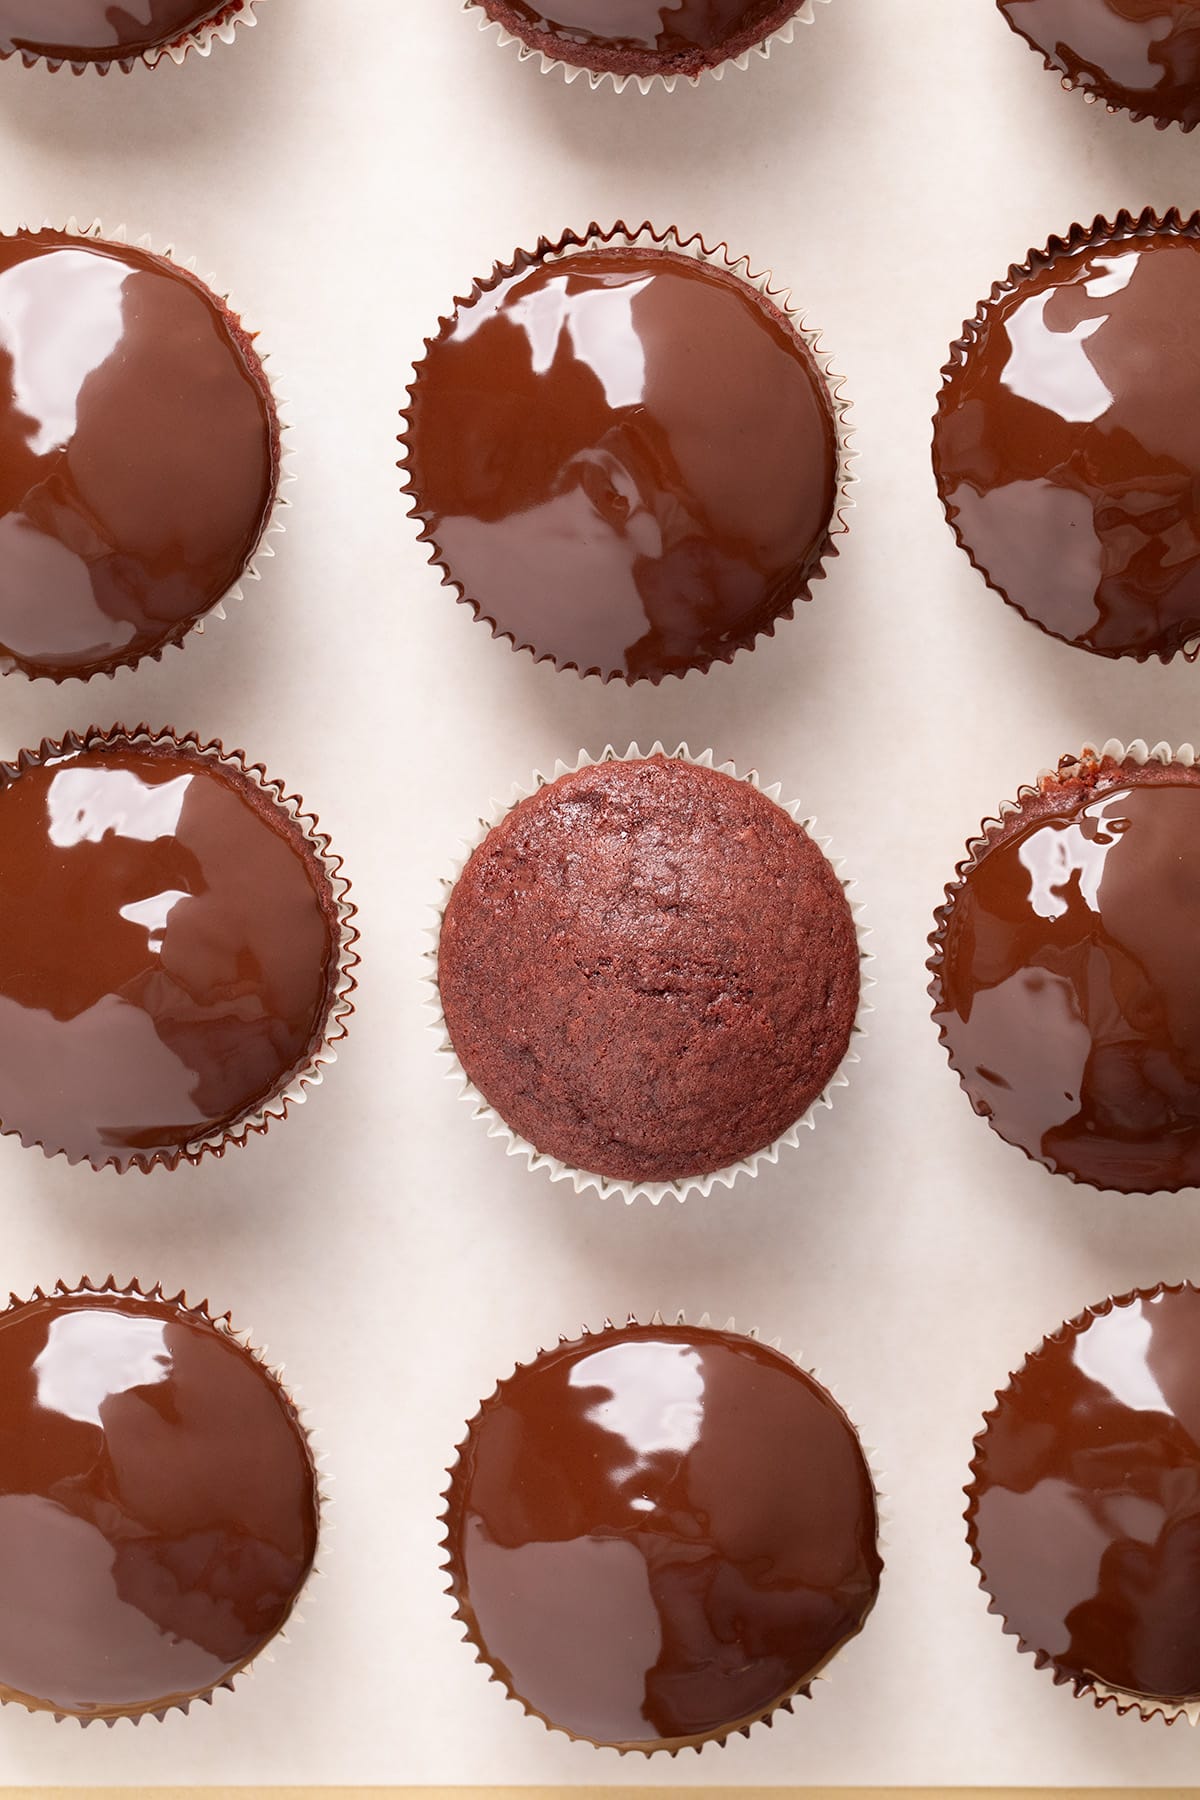
Add the optional glaze
Melt chopped chocolate and shortening in the microwave for a glaze for added richness and shine without creating a hard shell. Dip the cooled top of each cupcake in the glaze, then turn upright to sit until the chocolate glaze is set.
Expert tips
Don't whip the batter too much
The purpose of beating beat sugar with room temperature butter is to dissolve the sugar for a fluffier and more tender cupcake, and to add some air into the batter. But if you overbeat the mixture to whip it rather than just creaming it, the cupcakes will bake into more of a dome like muffins, rather than baking flat. Stop beating after no more than 2 minutes.
Use only gel food coloring
Avoid liquid food coloring, which is not pigmented enough to work without adding so much that it makes the cupcakes bitter. Americolor brand is gluten free, and their “super red” color is highly pigmented, so a little goes a long way. Remember that the color fades in the oven, so your batter should be redder than you'd like your cupcakes to be after baking.
Nest the cupcake tins
A clever way to fit one full standard 12-cup muffin tin on one rack of the oven with another with empty wells is to nest the full tin in the empty wells of the second tin. See the image gallery above for a visual representation.
You can also let the batter of the second tin rest while the first bakes. The second tin of cupcakes may rise a bit higher than the first, but not too much higher.
Ingredient substitutions
If you need to avoid additional allergens, here are my suggestions for what to use instead:
Dairy free
In place of buttermilk, add 6 tablespoons of nondairy milk to 1/2 cup nondairy sour cream or plain Greek-style yogurt. In place of butter, try block-style vegan butter like Melt or Miyoko's brand. Avoid anything that comes in a tub, which is mostly oil. For the chocolate glaze, be sure your chopped chocolate is dairy-free.
Egg free
You can try replacing the 2 eggs with chia eggs, Bob's Red Mill Egg Replacer, or JustEgg liquid egg replacer in the refrigerated section.
Food dye free
You can always just leave out the food coloring if you need to avoid food dye. It won't affect the flavor at all, either way.
Shortening
For the shortening in the chocolate glaze, I recommend either Spectrum or Crisco brand. In its place, you can use virgin coconut oil, the kind that's soft solid at cool room temperature.
Gluten Free Red Velvet Cupcakes Recipe
Equipment
- Stand mixer fitted with the paddle attachment or handheld mixer
Ingredients
For the cupcakes
- 1 ¾ cups (245 g) all purpose gluten free flour blend, (See Recipe Notes)
- ½ teaspoon xanthan gum, (omit if your blend already contains it)
- ¾ teaspoon kosher salt
- ½ teaspoon baking powder
- ½ teaspoon baking soda
- ¼ cup (20 g) unsweetened cocoa powder, (natural works best, but Dutch-processed is fine, too)
- ⅞ cup (7 fluid ounces) buttermilk, at room temperature
- 1 teaspoon pure vanilla extract, or vanilla bean paste
- ½ teaspoon apple cider vinegar
- 8 tablespoons (112 g) unsalted butter, at room temperature
- 1 cup (200 g) granulated sugar
- 2 (100 g out of shell) eggs, at room temperature
- Red soft gel paste food coloring, (optional) (I recommend Americolor brand)
For the chocolate glaze
- 5 ounces bittersweet chocolate, chopped
- 2 tablespoons (24 g) vegetable shortening
Instructions
Make the cupcakes
- Preheat your oven to 325°F. Line one standard 12-cup muffin tin plus 4 more cups along a single row of a second tin, and set them aside.
- In a medium-size bowl, place the flour, xanthan gum, salt, baking powder, baking soda and cocoa powder, and whisk to combine well. Set the bowl aside.
- In a small mixing bowl or measuring cup, whisk the apple cider vinegar and vanilla into the buttermilk. Set aside.
- In the bowl of a stand mixer fitted with the paddle attachment (or a large bowl with a handheld mixer), beat the butter and sugar on medium-high speed just until creamy (about 1 1/2 to 2 minutes).
- Add the eggs and about 1/4 teaspoon of the food coloring, if using, and beat on medium-high speed to combine well. The mixture should look quite bright pink. You can always add more food coloring later for a deeper red.
- Add the dry ingredients in 2 batches, alternating with the buttermilk mixture in 3 batches, mixing to combine after each addition.
- Begin and end with the dry ingredients. The batter should be smooth and relatively thick.
- Fill each well of the prepared muffin cups about 2/3 of the way full, filling each well with about 45 grams of batter
- Shake the pans back and forth to smooth the tops of the batter in each cup.
- To bake all of the cupcakes at the same time, nest the completely full tin in the 3 rows of empty wells of the other tin to make a super-large tin with 16 filled wells.
- Place in the center of the preheated oven and bake for 17 to 18 minutes, or until the tops spring back when gently pressed in the center. Do not overbake.
- Remove from the oven and allow to cool in the muffin tin for 5 minutes or less before transferring to a wire rack to cool completely.
Make the glaze
- Place the chopped chocolate in a small heat-safe bowl with the shortening, and melt both either over a double boiler or in the microwave in 30-second bursts until the mixture is melted and smooth.
Glaze the cupcakes
- Dip the top of each cooled cupcake in the chocolate mixture, bob it up and down 3 times before carefully lifting it out of the chocolate and twisting it slightly as you turn it right side up to avoid dripping chocolate.
- Allow the glaze to set at room temperature before serving.
Notes
Nutrition
Nutrition information is automatically calculated, so should only be used as an approximation.
Storage instructions
The baked and cooled cupcakes will stay fresh in an airtight container at room temperature for about 2 days. Once glazed, the glaze helps seal in moisture, helping them stay fresh for closer to 3 days.
For longer storage, freeze the cupcakes. The chocolate glaze may bloom in the freezer giving it white cast, but that won't affect the taste. Let defrost at room temperature. You can also microwave unglazed frozen cupcakes for 20 seconds to defrost.
FAQs
The proportions for a cake are slightly different. Use this recipe for gluten free red velvet cake instead.
No, that doesn't reproduce the moisture content or viscosity of store-bought buttermilk. If you don't have buttermilk, try using plain kefir or half sour cream, half milk by volume.
Yes! You can use an equal amount of white vinegar or fresh lemon juice instead.


I made a gluten-free test batch over the weekend before a Valentines Day brunch. The recipe was straight forward and the only change I made was to change to a gluten-free flour blend (I used Bob’s Red Mill 1 to 1). The cupcakes were scrumptious and moist. My family devoured them in 2 days and keep asking me to make more.
That’s great to hear, Kathleen! Glad to know that Bob’s worked well for you. I usually recommend adding about another 1/8 teaspoon extra xanthan gum per cup of flour when using Bob’s, in case you make another batch, since that blend doesn’t really have enough.