
Recipe Index
Find the perfect gluten free recipe
Searching for something specific? Enter keywords to find just what you're looking for!
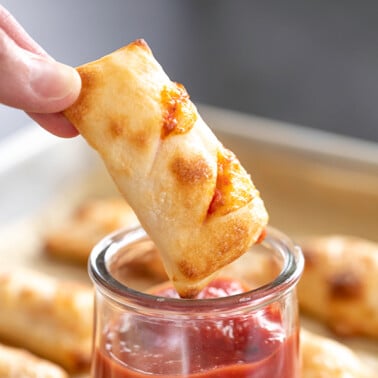
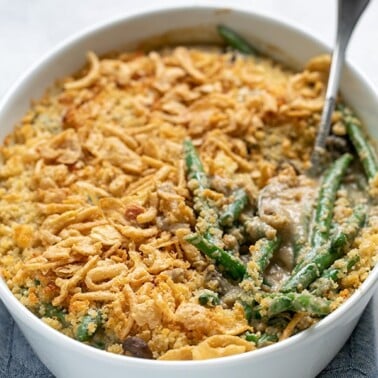
Or select a category below to explore over 700 recipes for everything you can imagine…
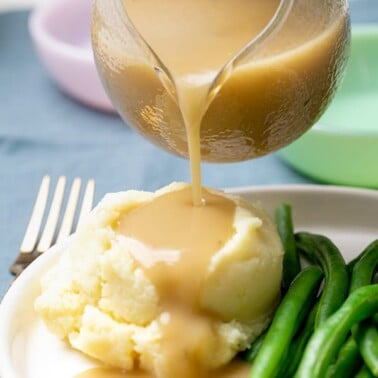
Dinners

Desserts


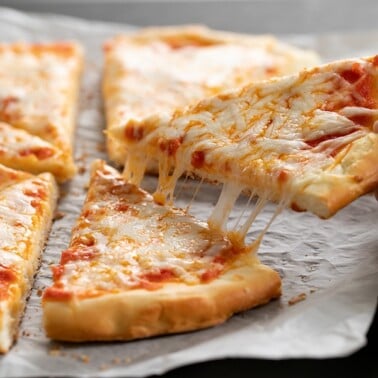
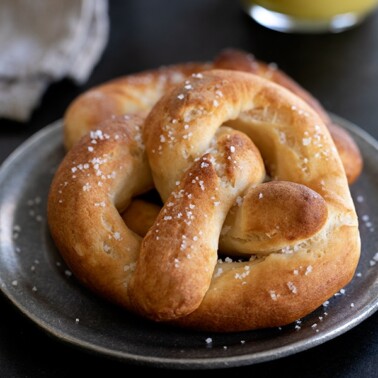
Small Plates

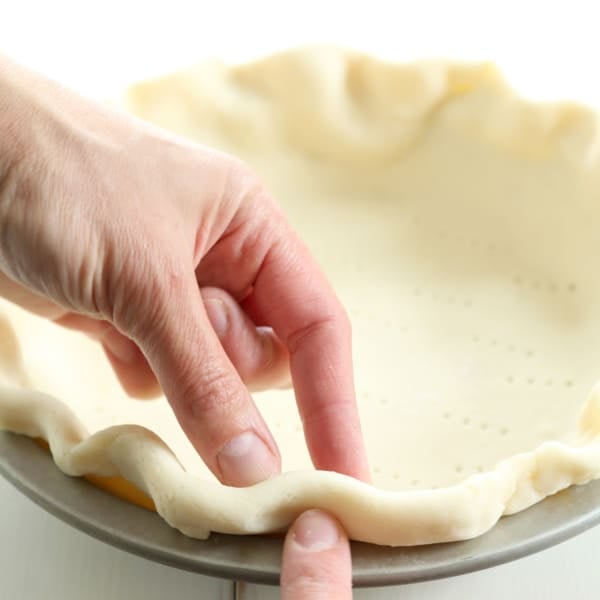
Gluten Free Baking and Flours

Special Diets, Sauces & Drinks


Other Categories

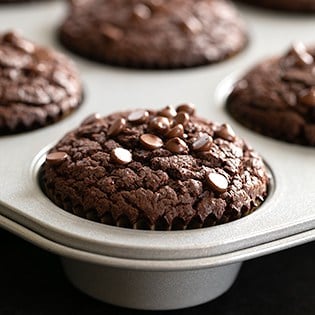
Reader Favorites
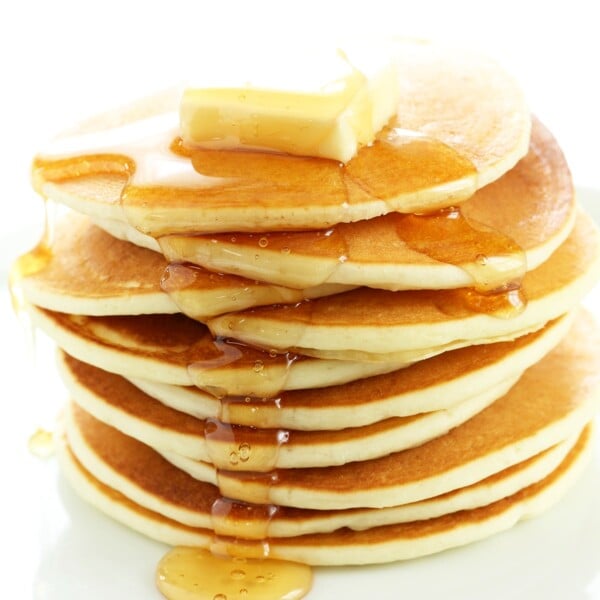
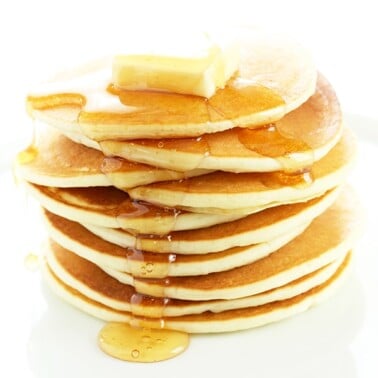
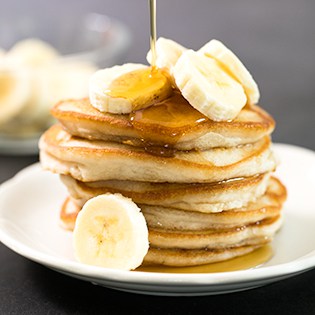
Pancakes & Waffles
Gluten Free Pancakes Recipe
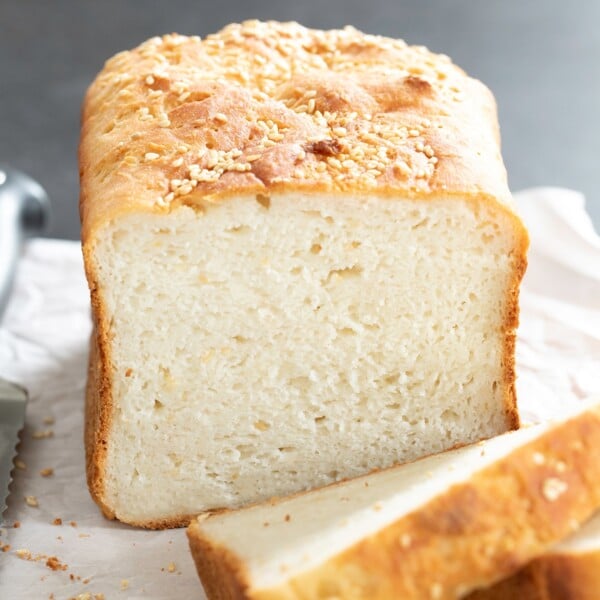
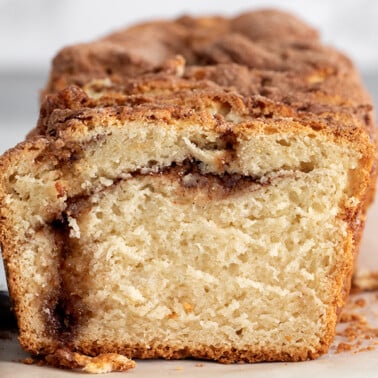
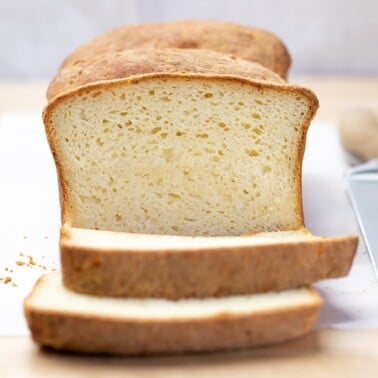
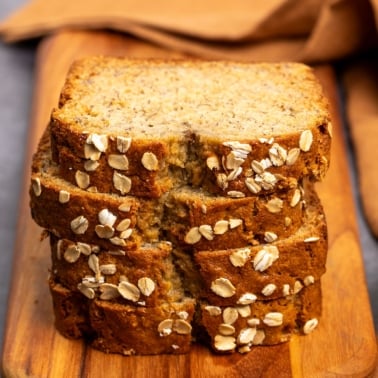
Loaf bread
Easy Gluten Free Bread Recipe
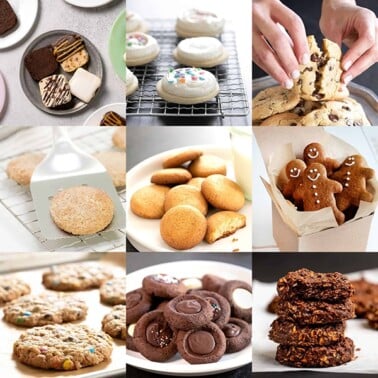
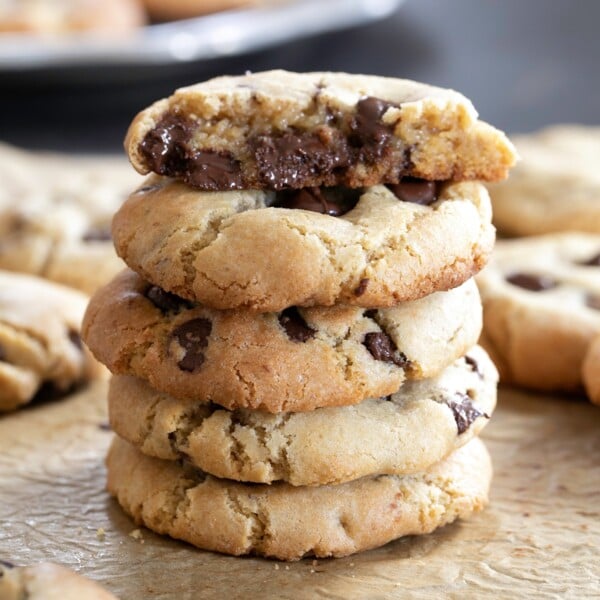
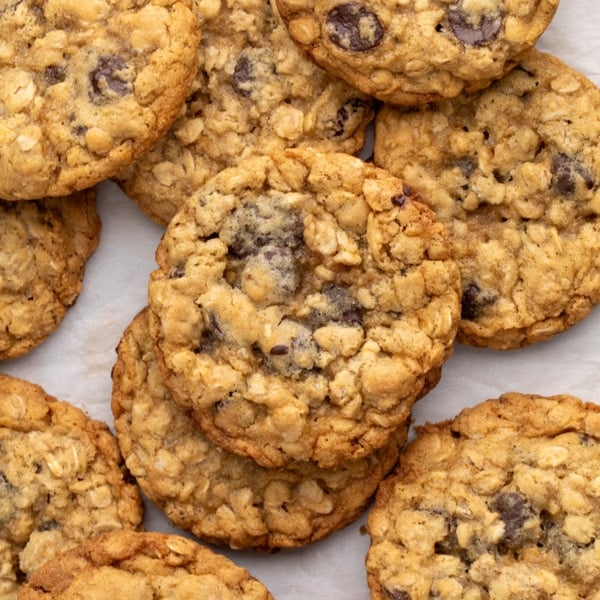
Cookies
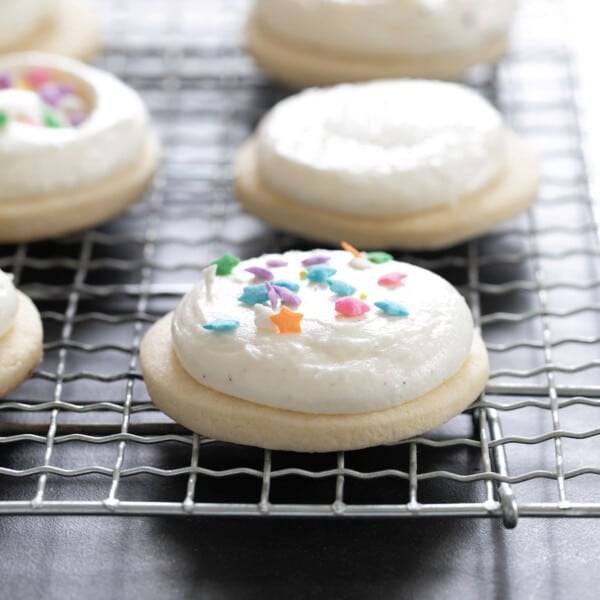
Gluten Free Sugar Cookies
Shaped Breads
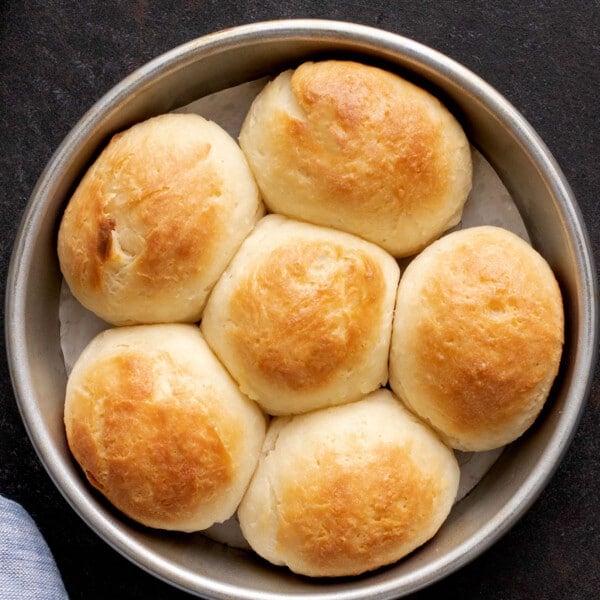
Gluten Free Dinner Rolls
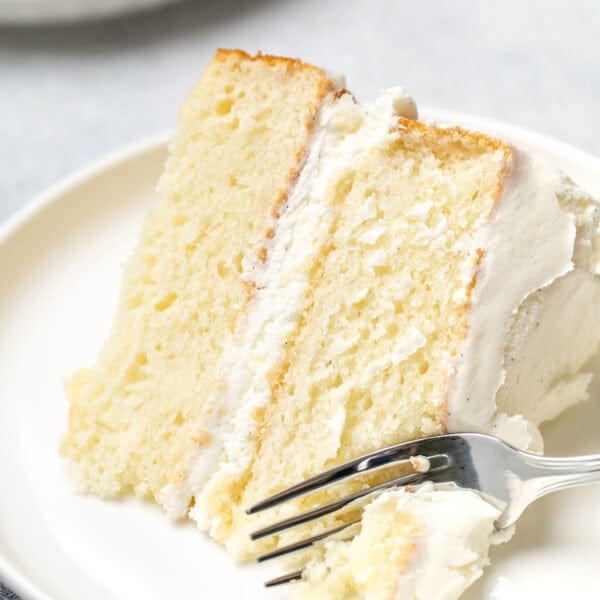
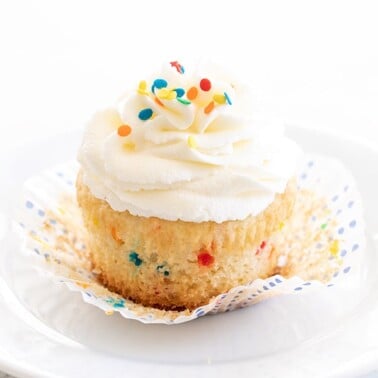
Cakes and Cupcakes


